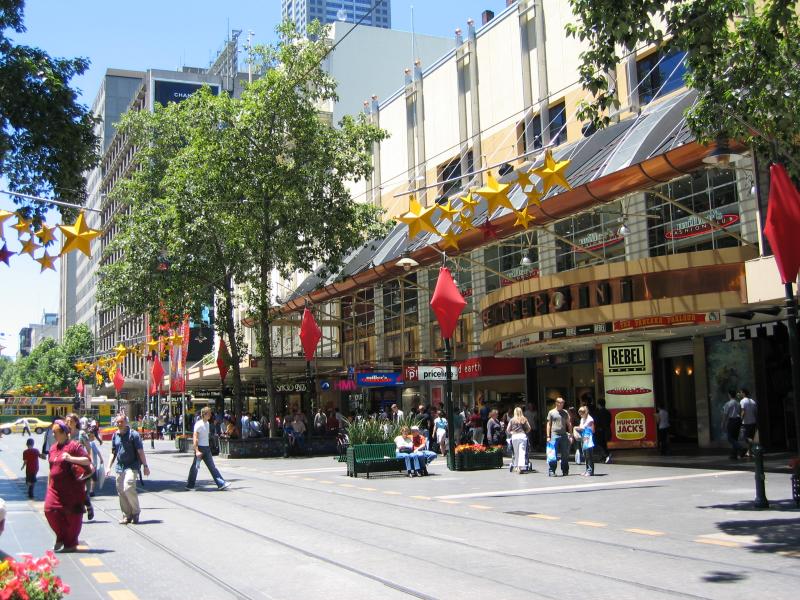
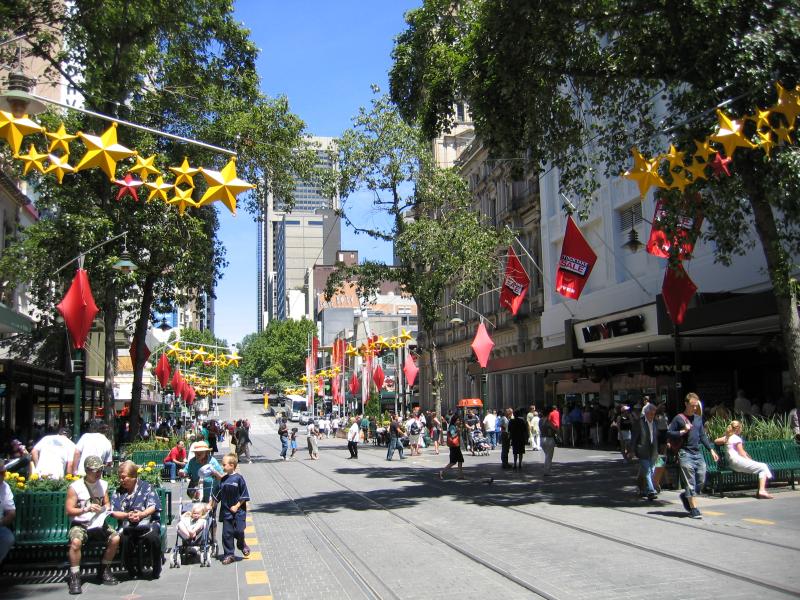
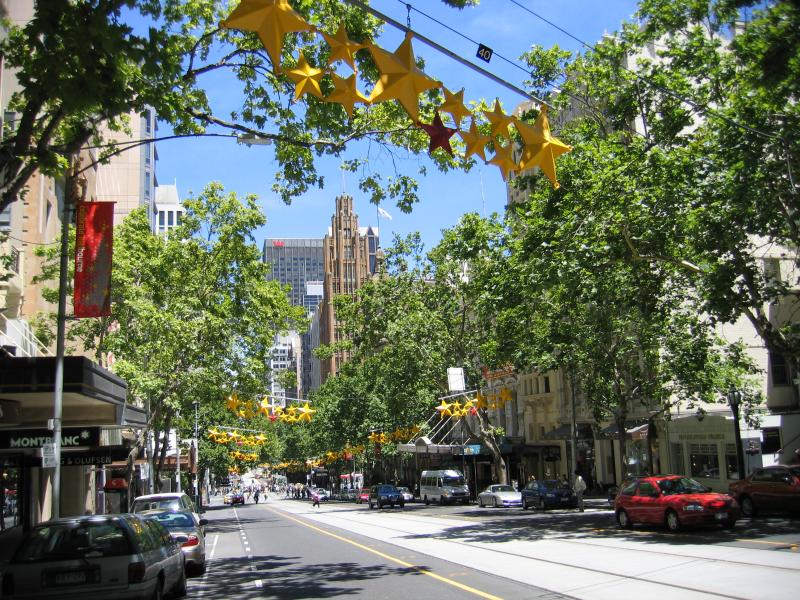
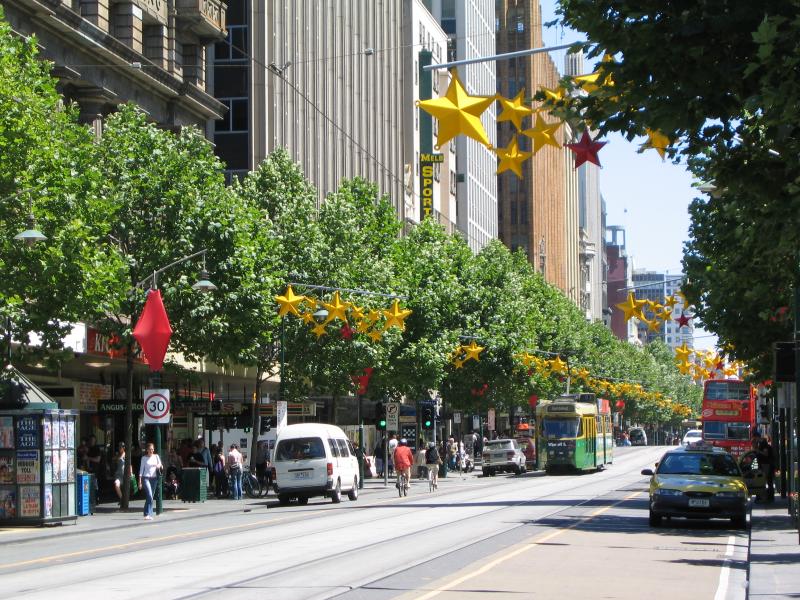
Bourke Street Mall - View east towards Swanston St
Bourke Street Mall - View east
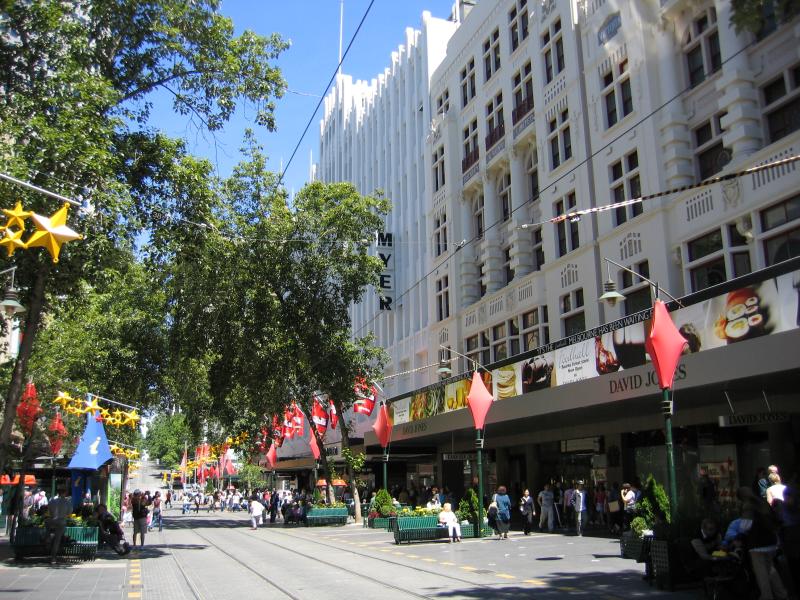
Bourke Street Mall - Myer and David Jones department stores
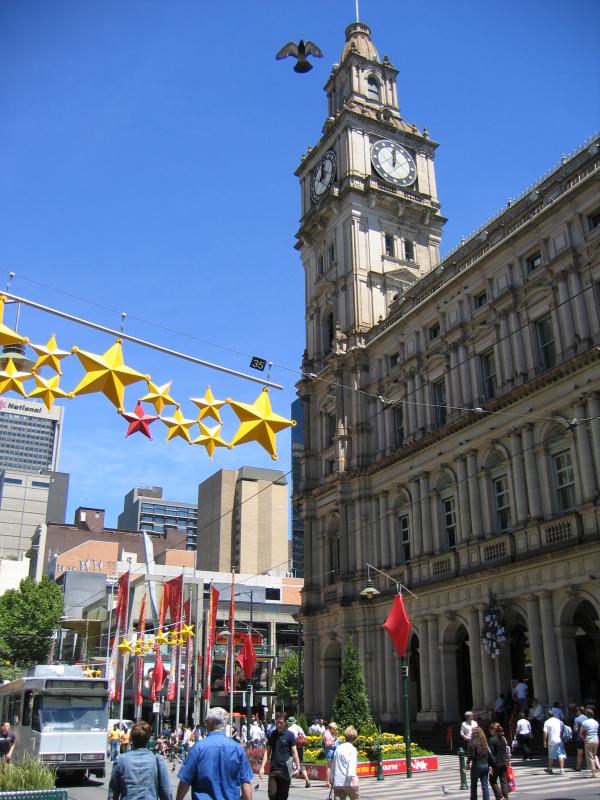
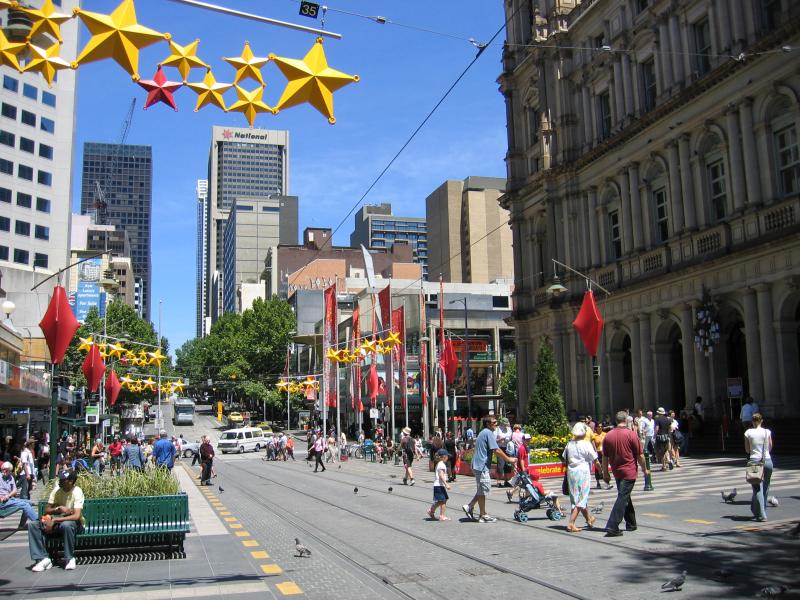
Bourke Street Mall - View west towards Myer and GPO at Elizabeth St
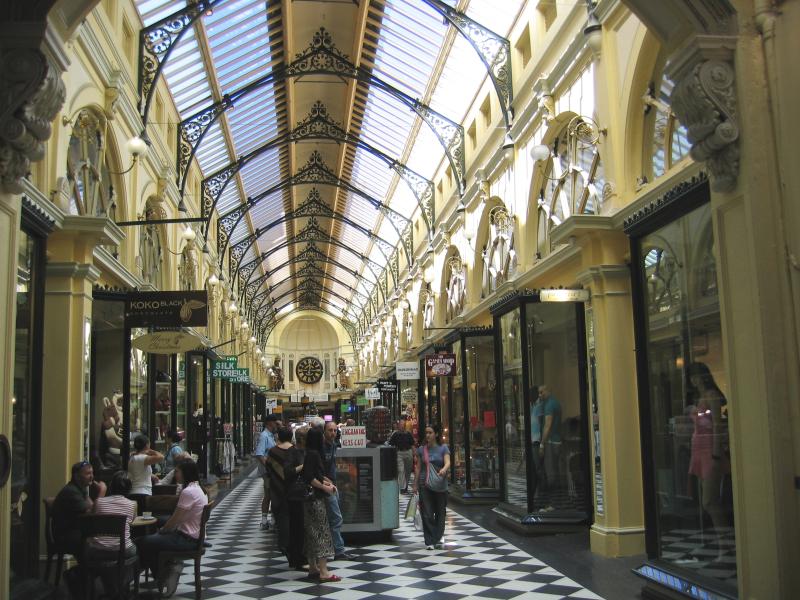
Bourke Street Mall - Royal Arcade
Bourke Street Mall - View west towards Swanston St
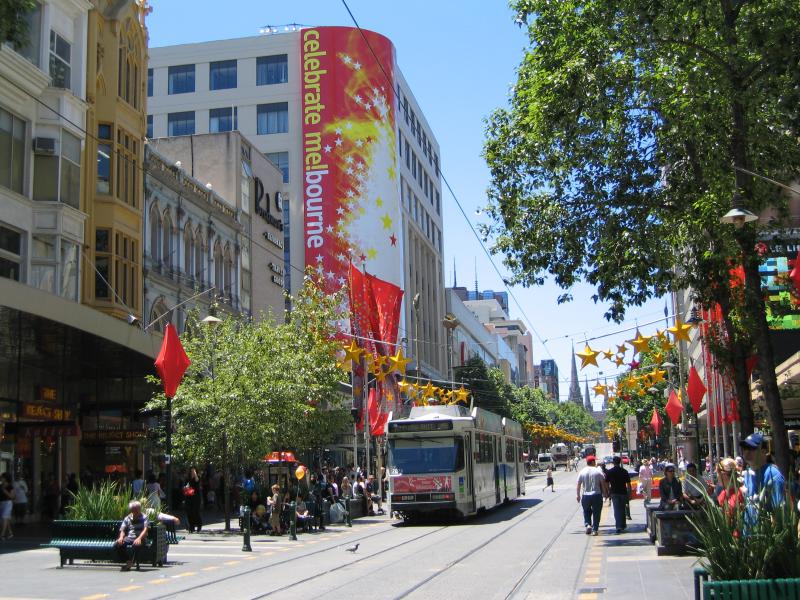
Bourke Street Mall - view west towards GPO and Elizabeth St
Bourke Street Mall - View west towards Elizabeth St
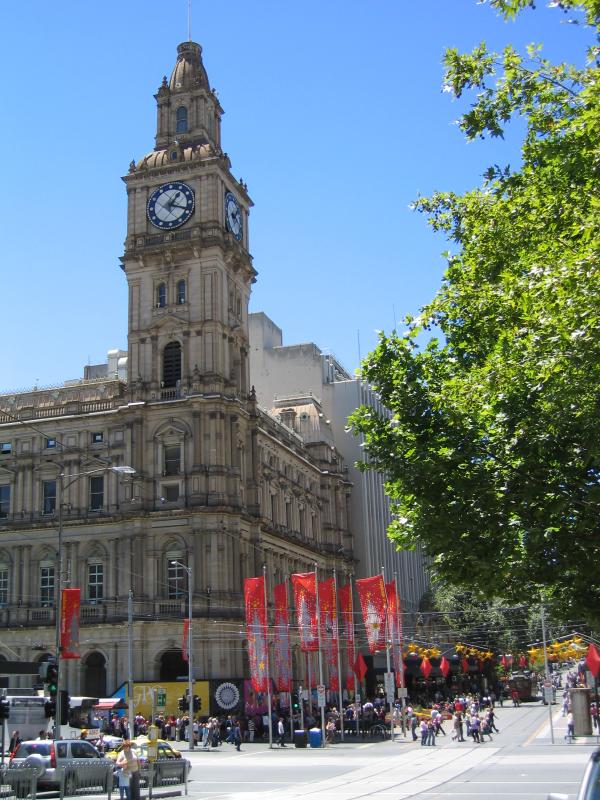
Bourke Street Mall - View east along Bourke St towards Elizabeth St and GPO
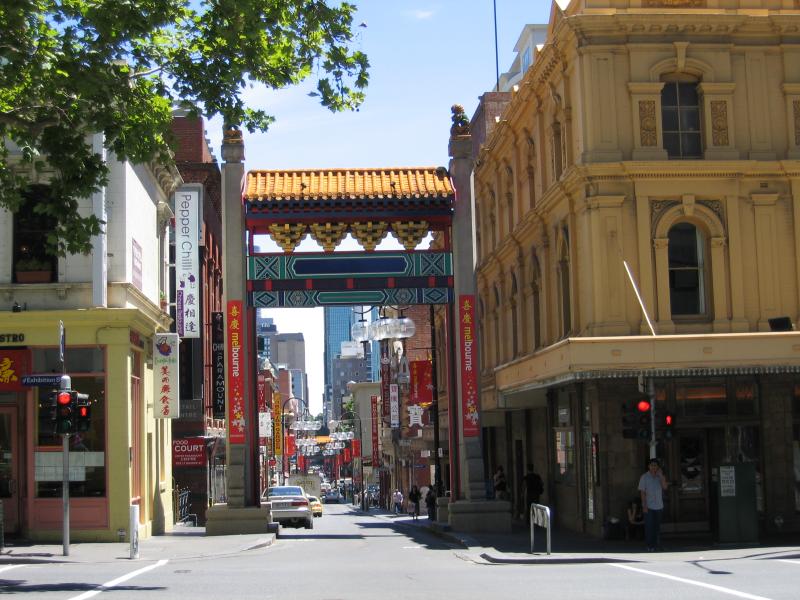
Chinatown, Little Bourke Street - View west along Little Bourke St at Exhibition St
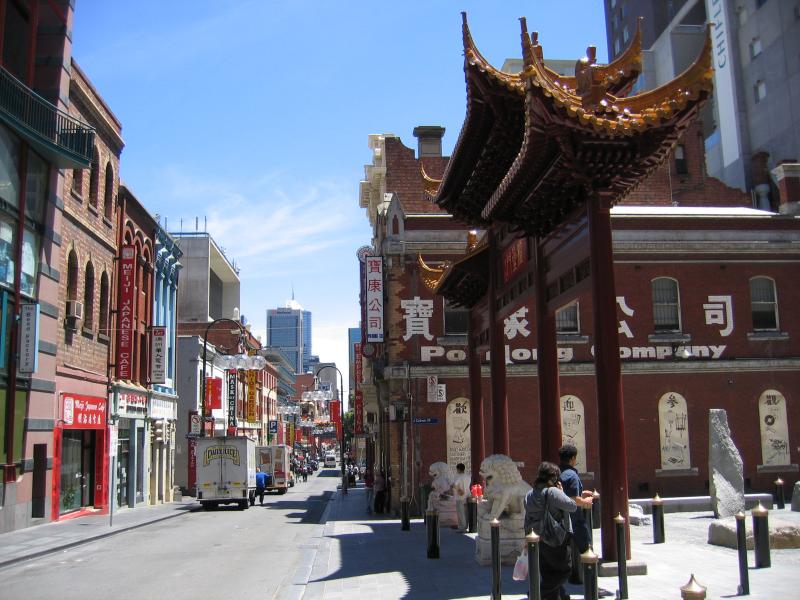
Chinatown, Little Bourke Street - View west along Little Bourke St at Cohen Place Plaza
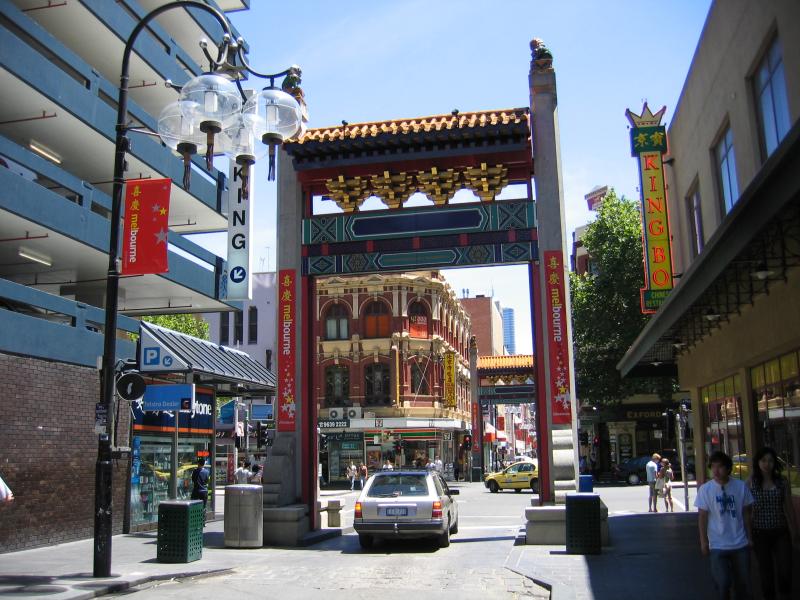
Chinatown, Little Bourke Street - View west along Little Bourke St towards Russell St
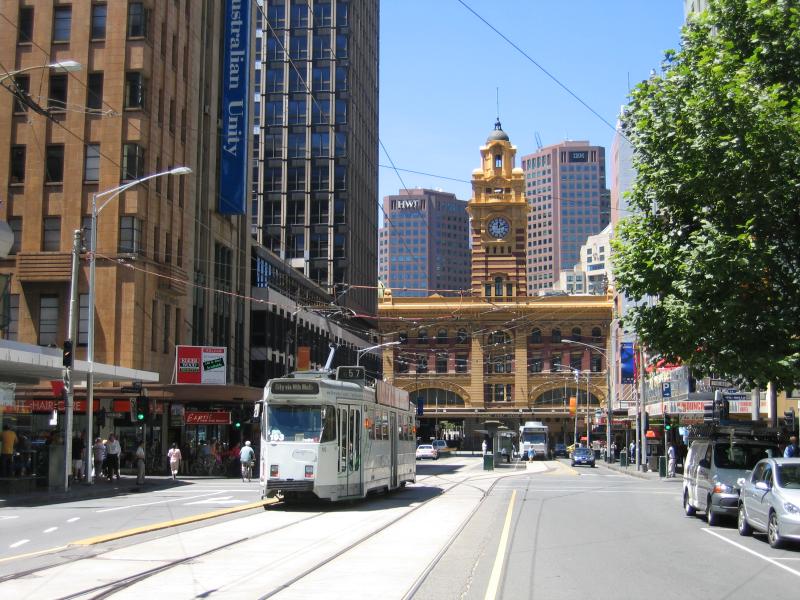
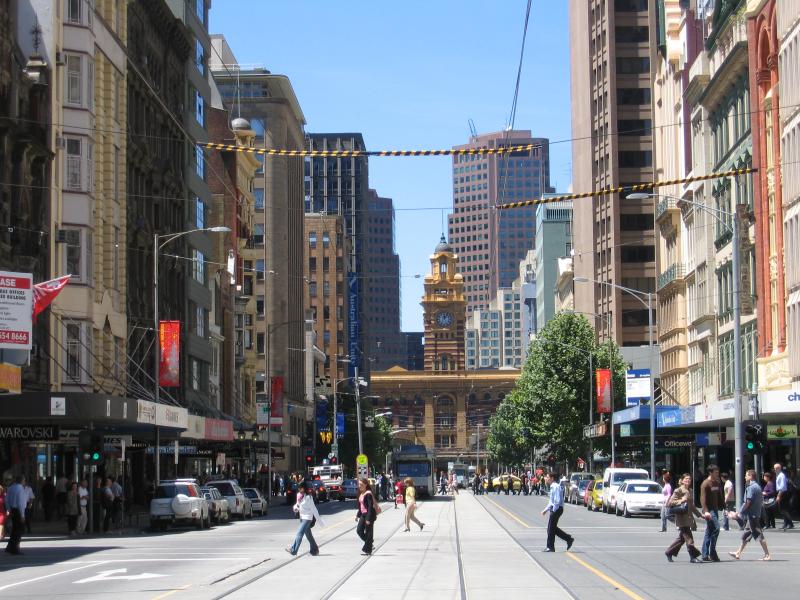
Elizabeth Street - View south along Elizabeth St towards Flinders Lane and Flinders Street Station
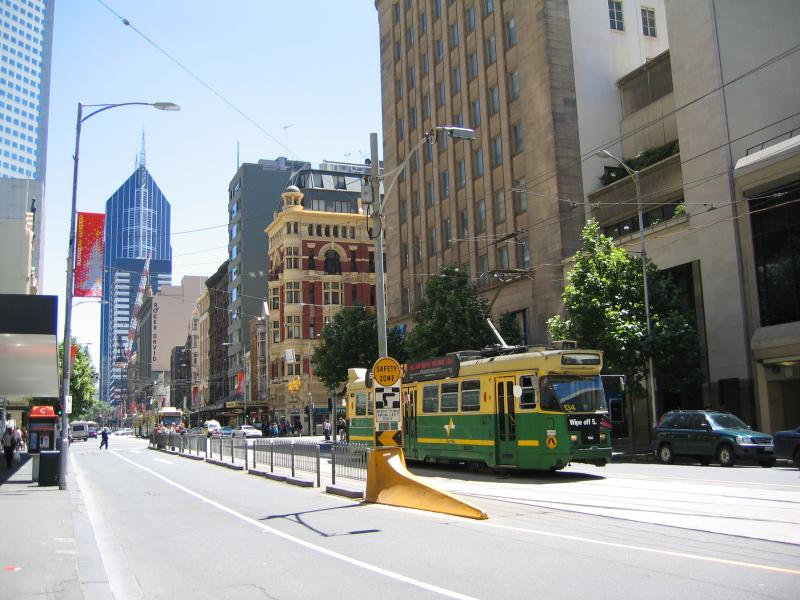
Elizabeth Street - View south along Elizabeth St at Little Collins St
Elizabeth Street - View north along Elizabeth St at Collins St
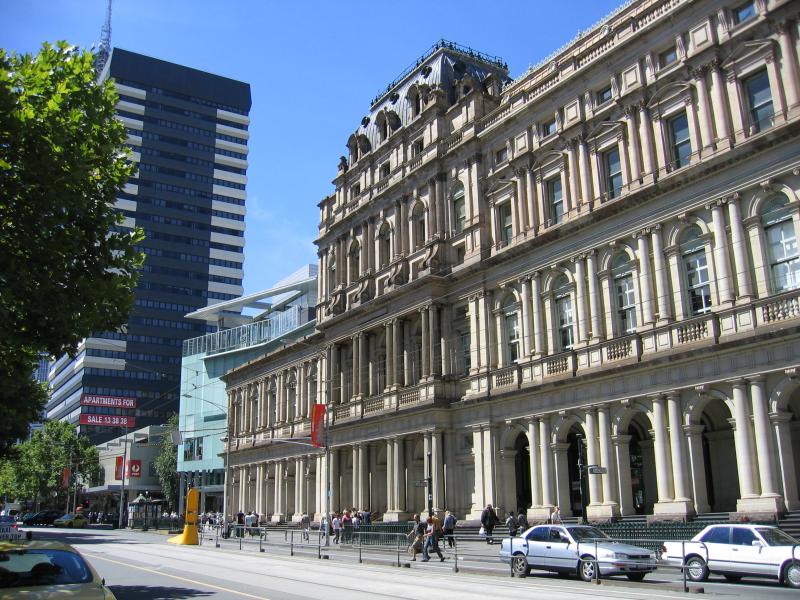
Elizabeth Street - View north along Elizabeth St towards Bourke St and GPO
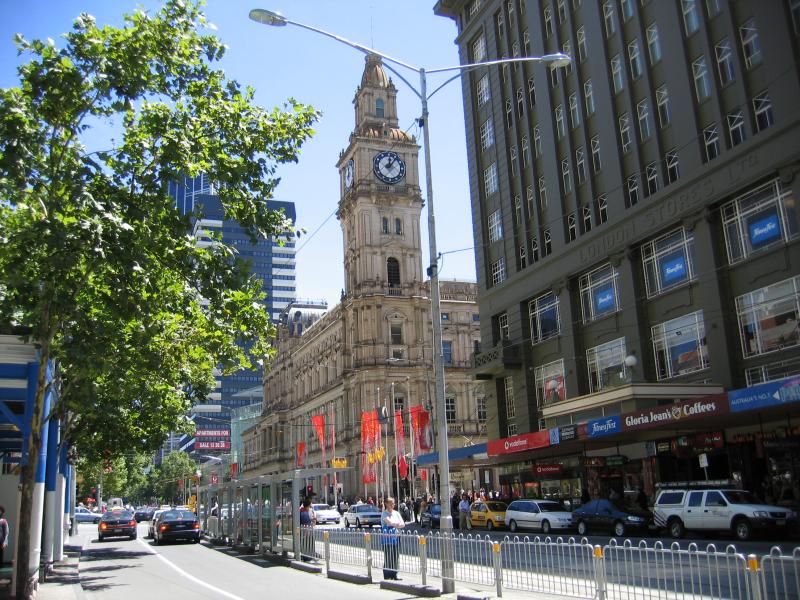
Elizabeth Street - View north along Elizabeth St at GPO and towards Little Bourke St
Collins Street - InterContinental Hotel with Rialto Towers in the background
Collins Street - View east along Collins St at InterContinental Hotel
Collins Street - View east along Collins St towards Elizabeth St
Collins Street - View west along Collins St at Swanston St
Collins Street - View west along Collins St between Russell St and Swanston St
Collins Street - Forecourt of Collins Place, looking out to Collins St
Collins Street - Shops and food court, Collins Place
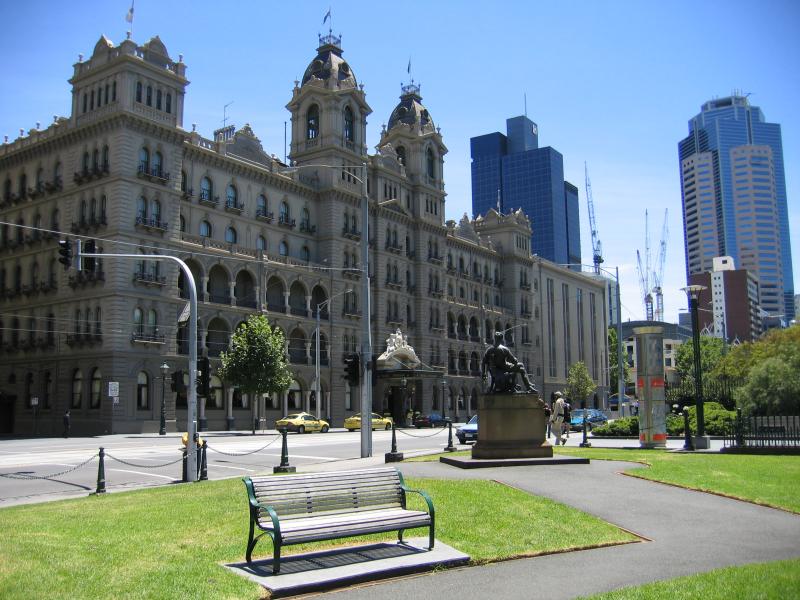
Spring Street - Hotel Windsor, view north along Spring St from Gordon Reserve
Spring Street - View west along Bourke St from steps of Parliament House at Spring St
Spring Street - View east along Bourke St towards Spring St and Parliament House
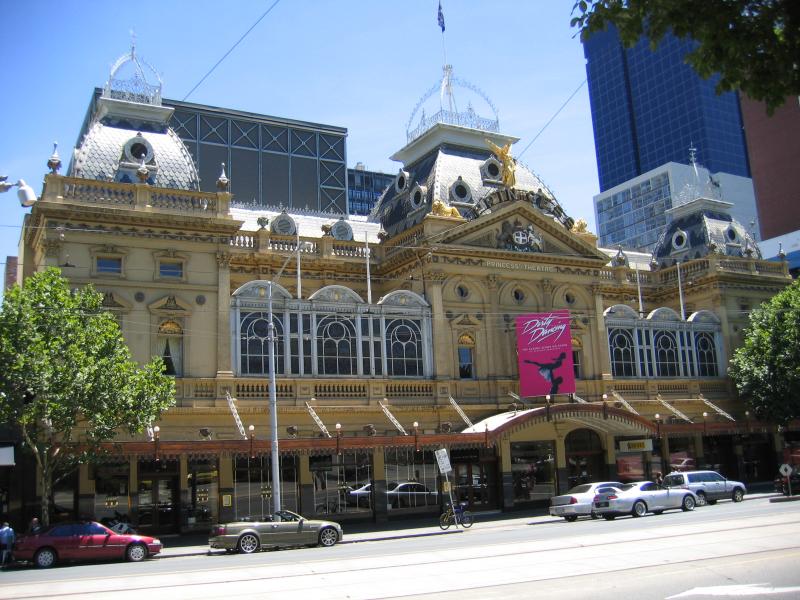
Spring Street - Princess Theatre, Spring St between Bourke St and Little Bourke St
Spring Street - View south along Spring St at Little Bourke St
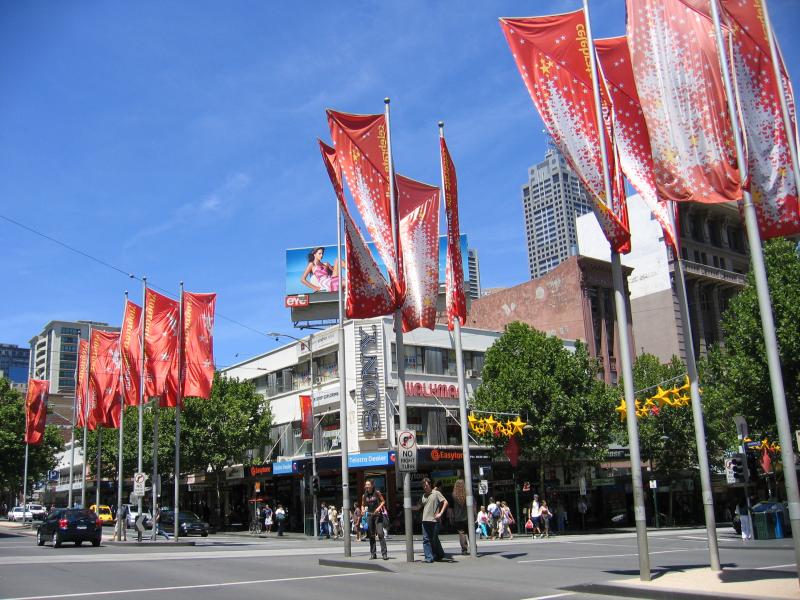
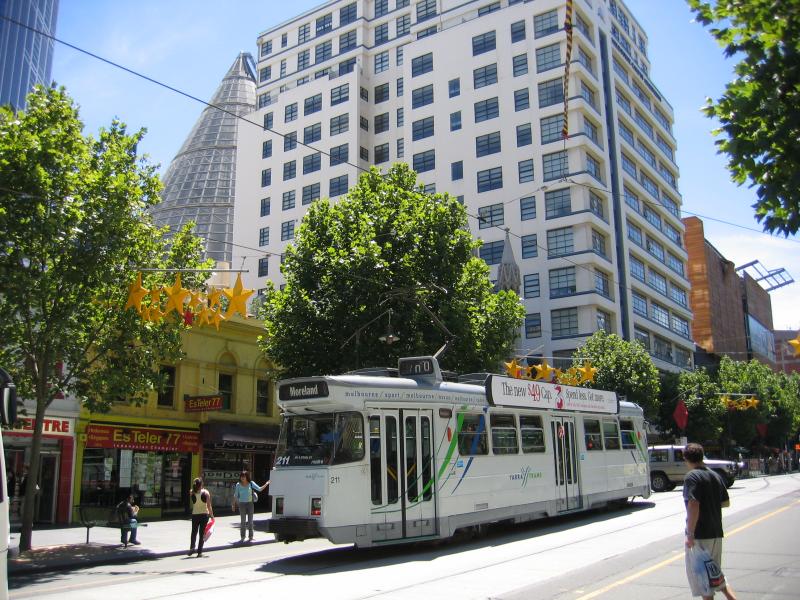
Melbourne Central Shopping Centre and neighbouring department stores - View south along Swanston St towards La Trobe St and Melbourne Central
Melbourne Central Shopping Centre and neighbouring department stores - Clock at Shot Tower Square
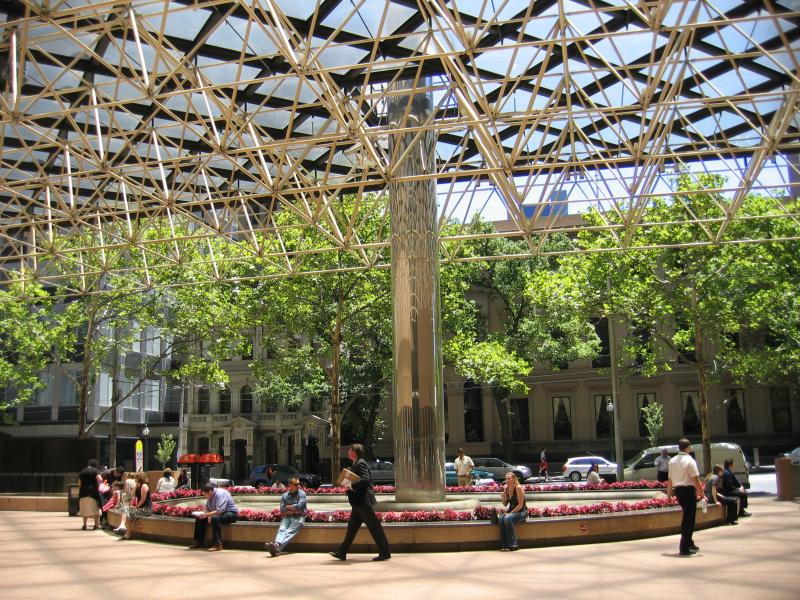
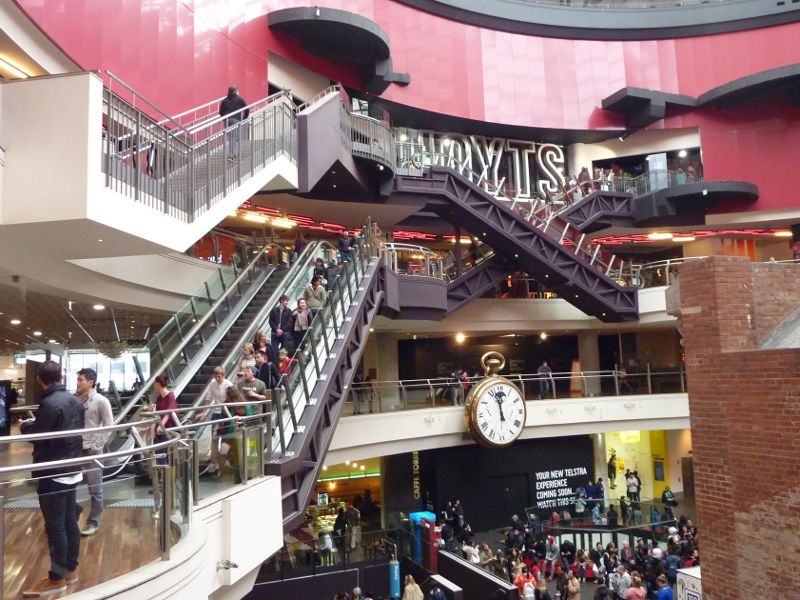
Melbourne Central Shopping Centre and neighbouring department stores - Shot Tower Square
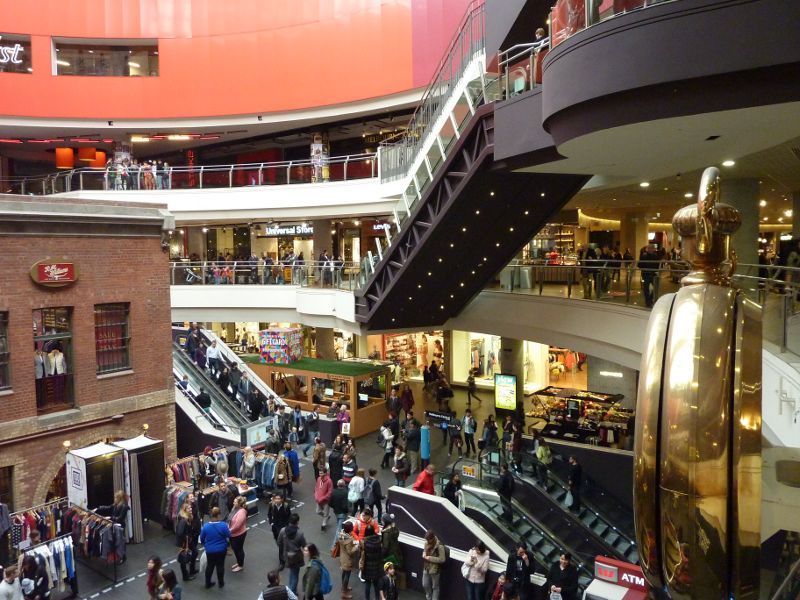
Melbourne Central Shopping Centre and neighbouring department stores - Shops at base of shot tower
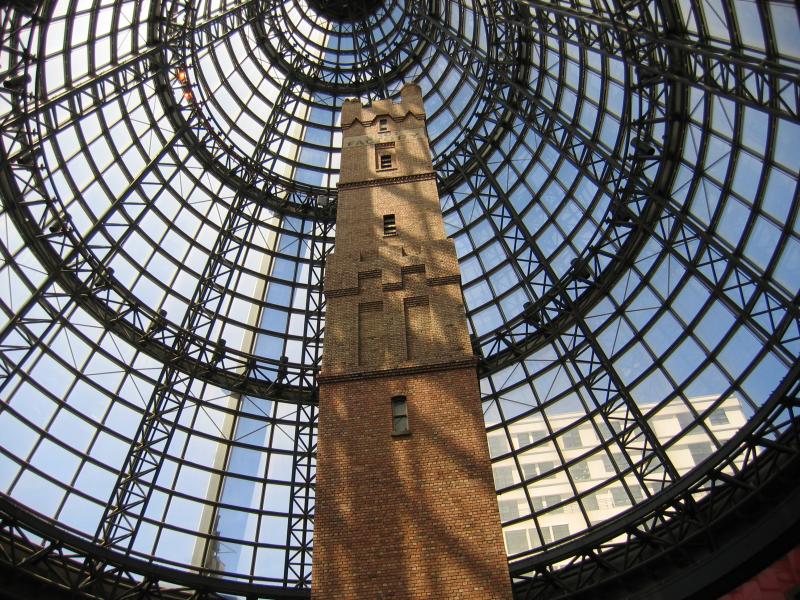
Melbourne Central Shopping Centre and neighbouring department stores - View to top of Shot Tower and glass roof
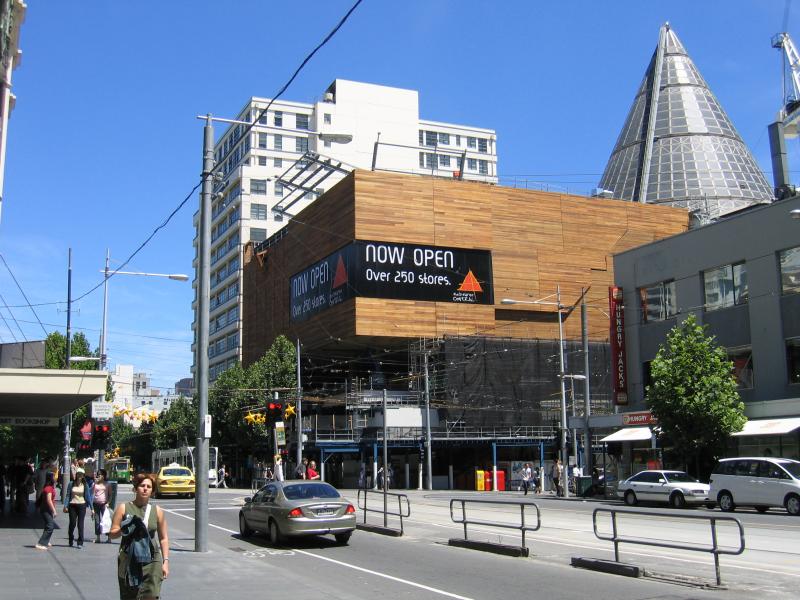
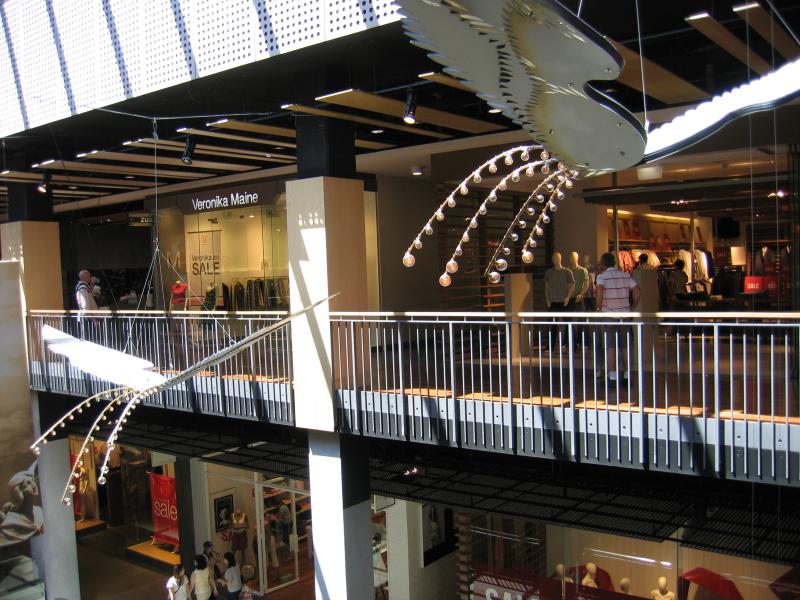
Melbourne Central Shopping Centre and neighbouring department stores - Melbourne Central Shopping Centre
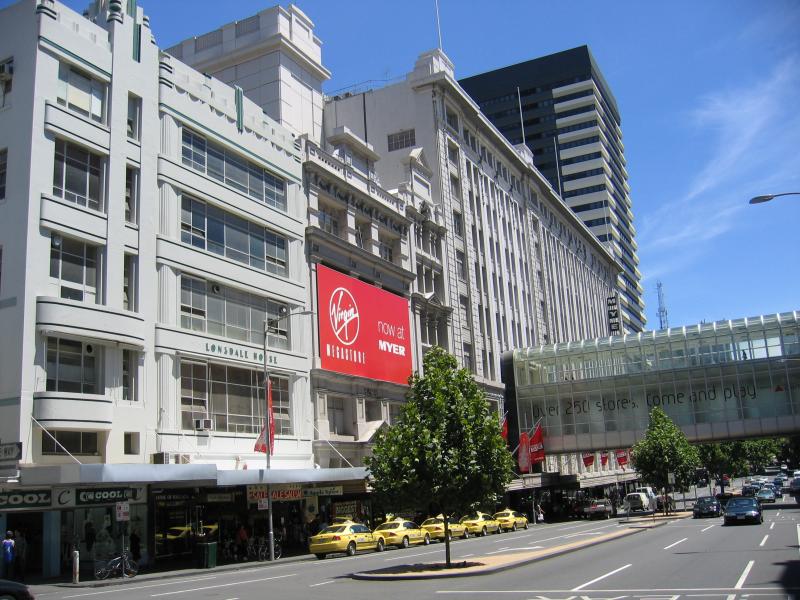
Melbourne Central Shopping Centre and neighbouring department stores - View east along Lonsdale St towards Swanston St from walkway linking Melbourne Central with Myer
Melbourne Central Shopping Centre and neighbouring department stores - View west along Lonsdale St at Swanston St towards Myer
La Trobe Street - View west along Latrobe St at Victoria St
La Trobe Street - View west along La Trobe St towards King St
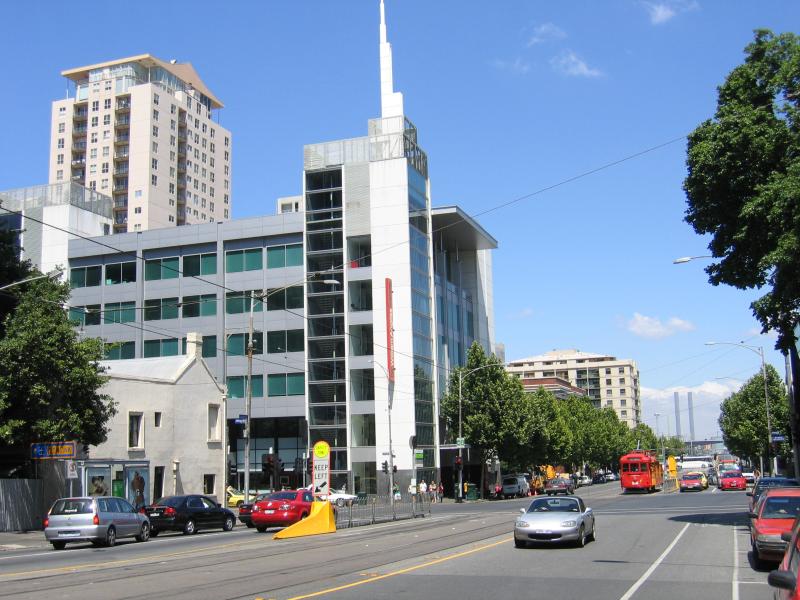
Spencer Street - Southern Cross Station viewed from corner of Spencer St and Bourke St
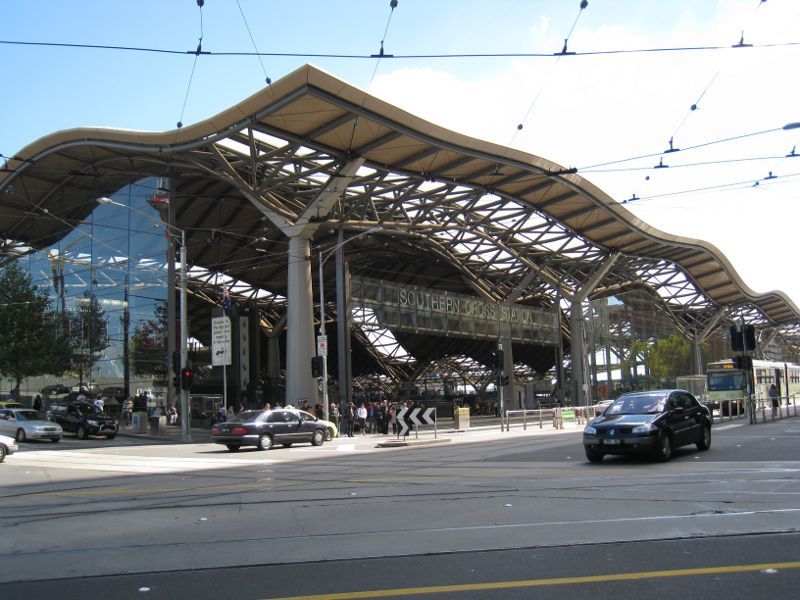
Spencer Street - Southern Cross Station viewed from corner of Spencer St and Collins St
Spencer Street - View east along Collins St towards Spencer St
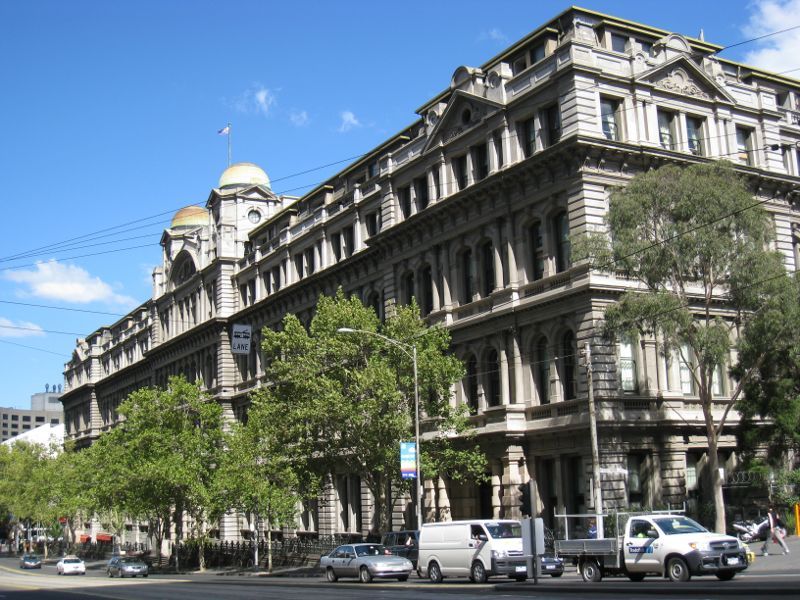
Spencer Street - Grand Central Apartments, view south along Spencer St south of Collins St
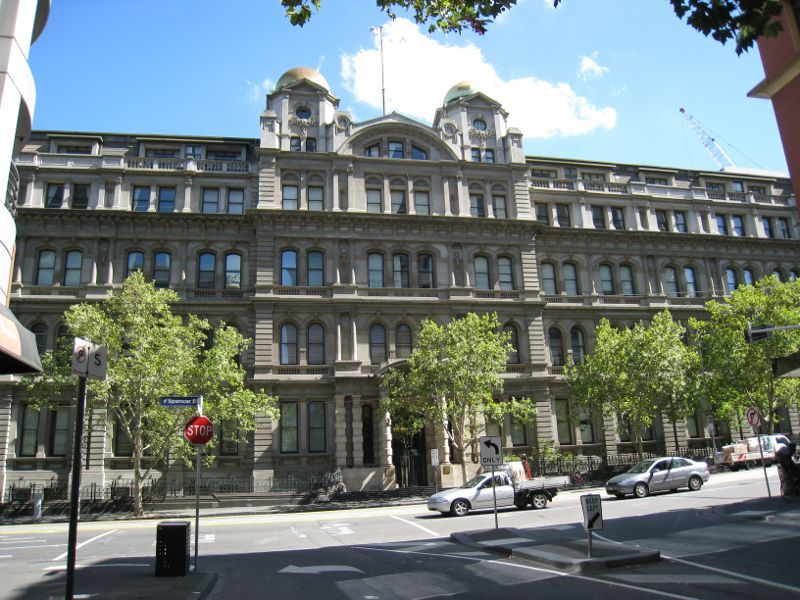
Spencer Street - View west across Spencer St at Flinders La towards Grand Central Apartments
Spencer Street - Hotel Enterprize, corner Spencer St and Flinders La
Spencer Street - View north along Spencer St at Flinders St towards Grand Hotel
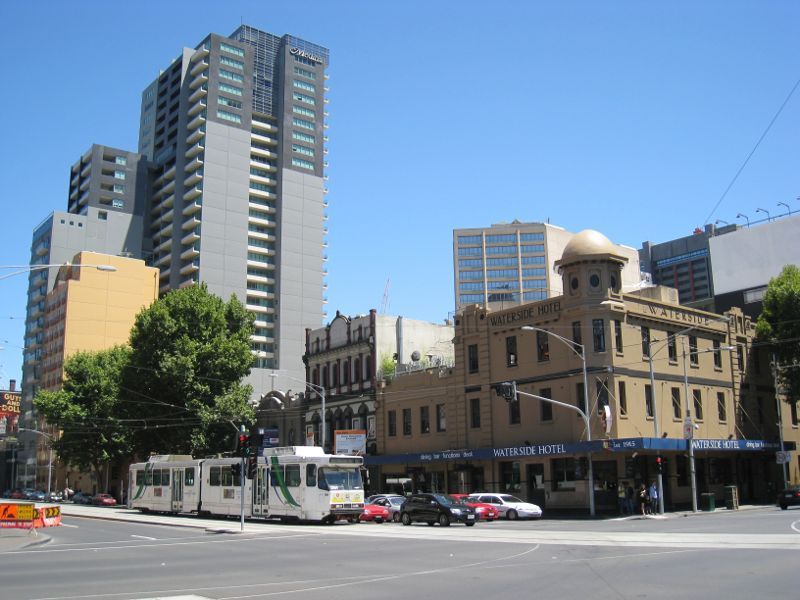
Flinders Street - Waterside Hotel, corner Flinders St and King St
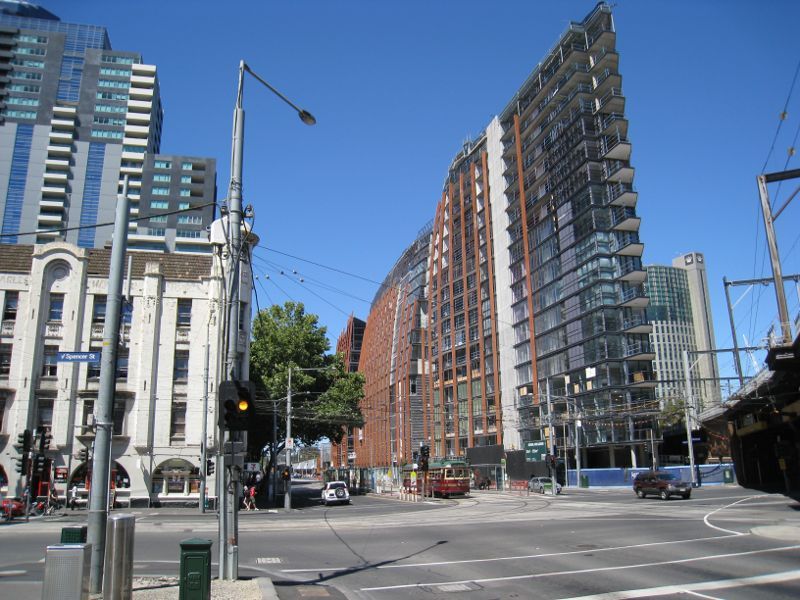
Flinders Street - View east along Flinders St at Spencer St
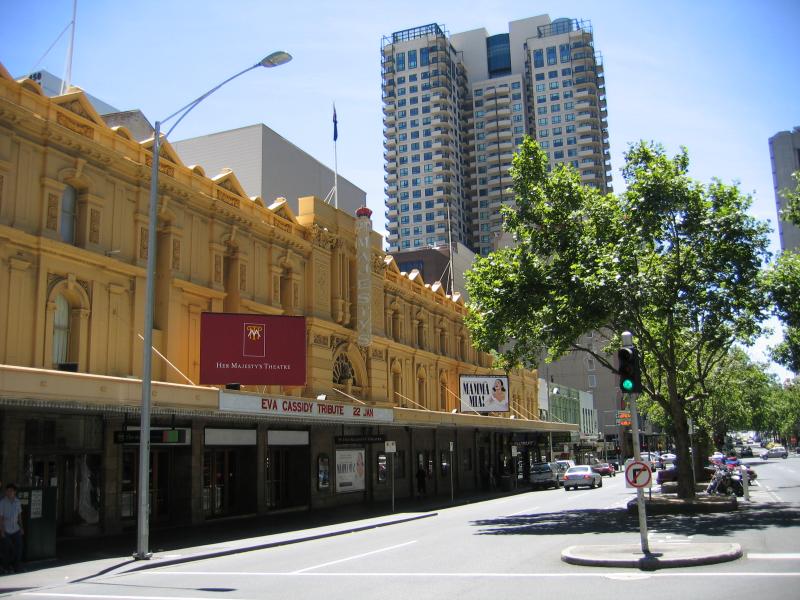
Around the central business district of Melbourne - Her Majesty's Theatre, corner Exhibition St and Little Bourke St
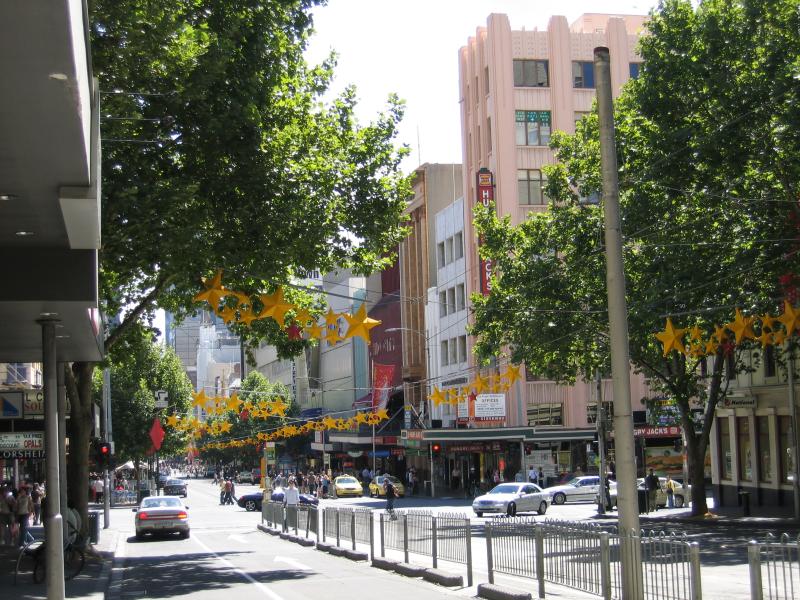
Around the central business district of Melbourne - View west along Bourke St towards Russell St
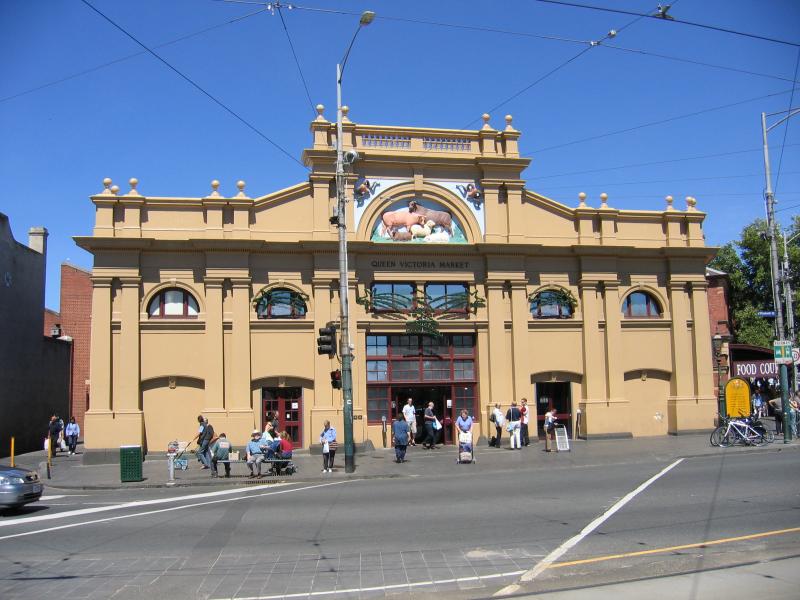
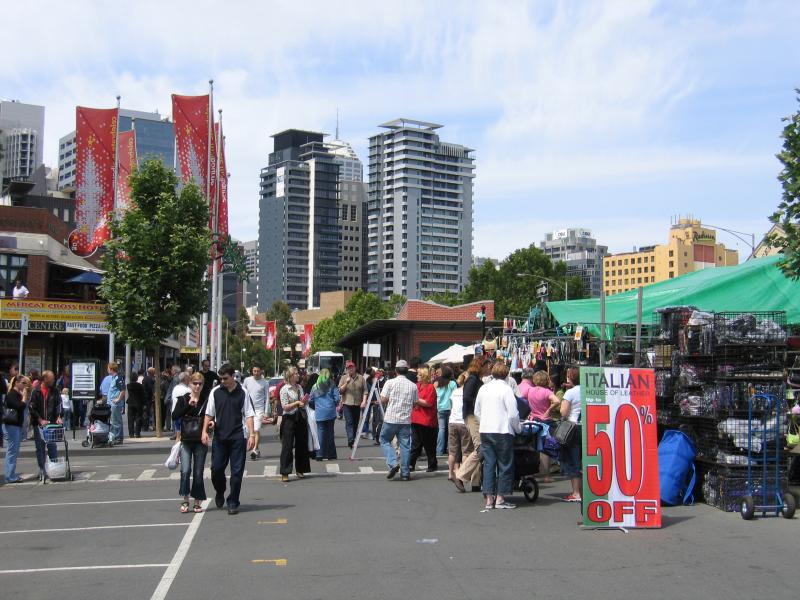
Queen Victoria Market - Entrance at corner of Elizabeth St and Victoria St
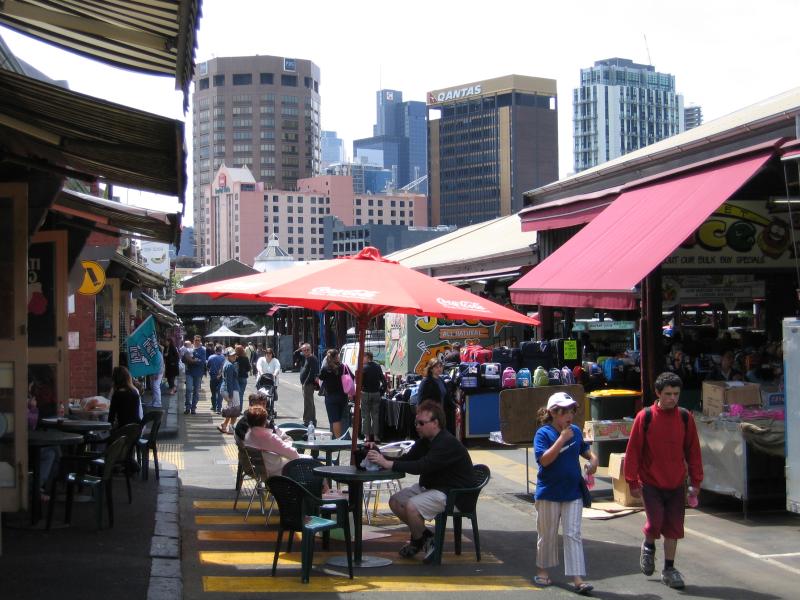
Queen Victoria Market - Walkways through market
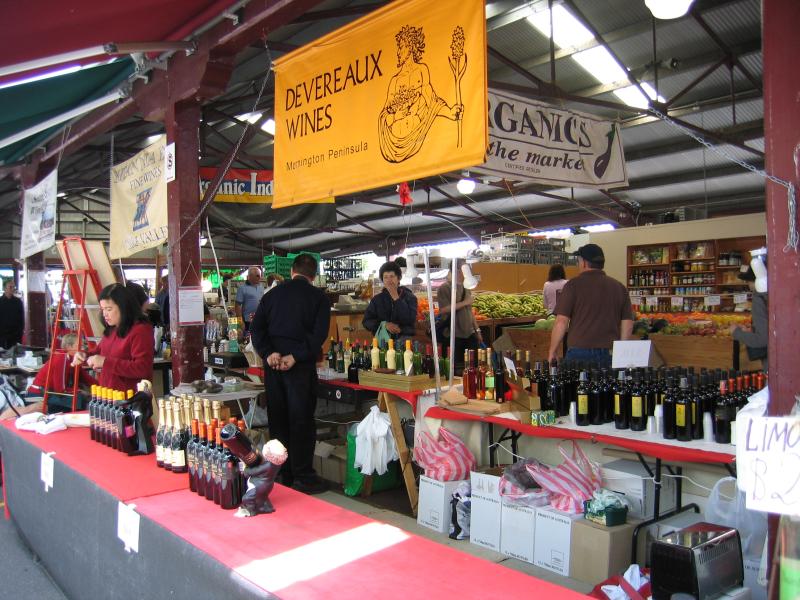
Queen Victoria Market - Wine sellers
Queen Victoria Market - Food
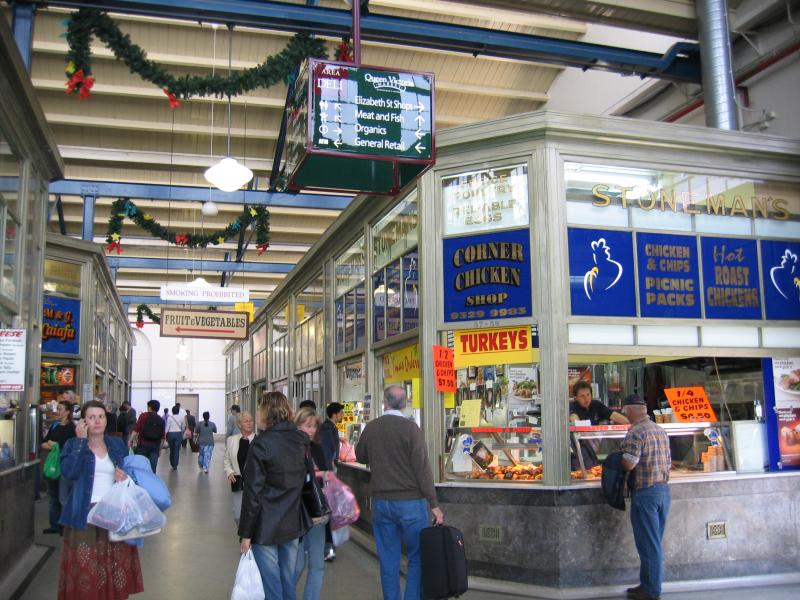
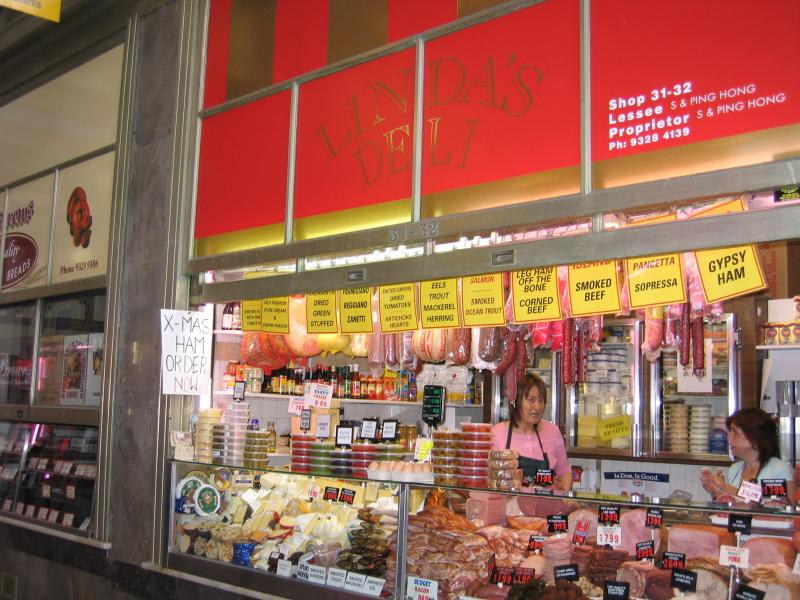
Queen Victoria Market - Linda's Deli
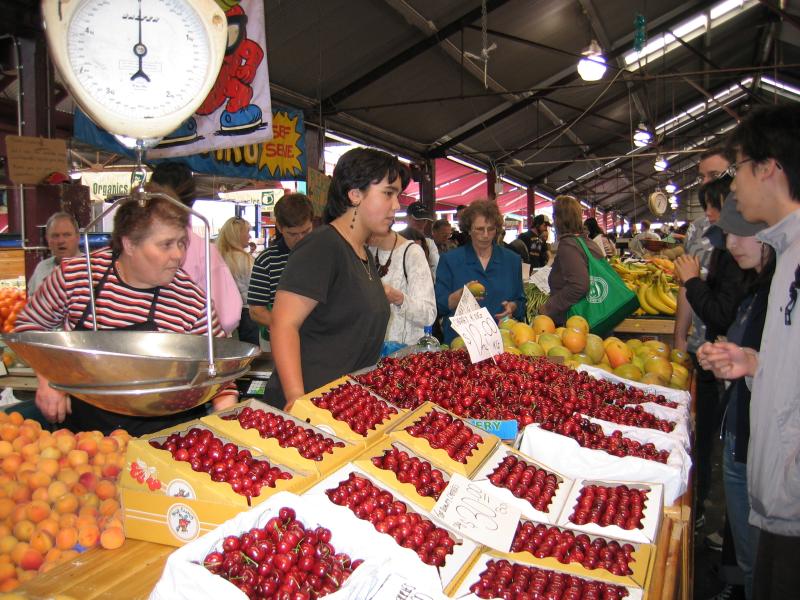
Queen Victoria Market - Fresh fruit
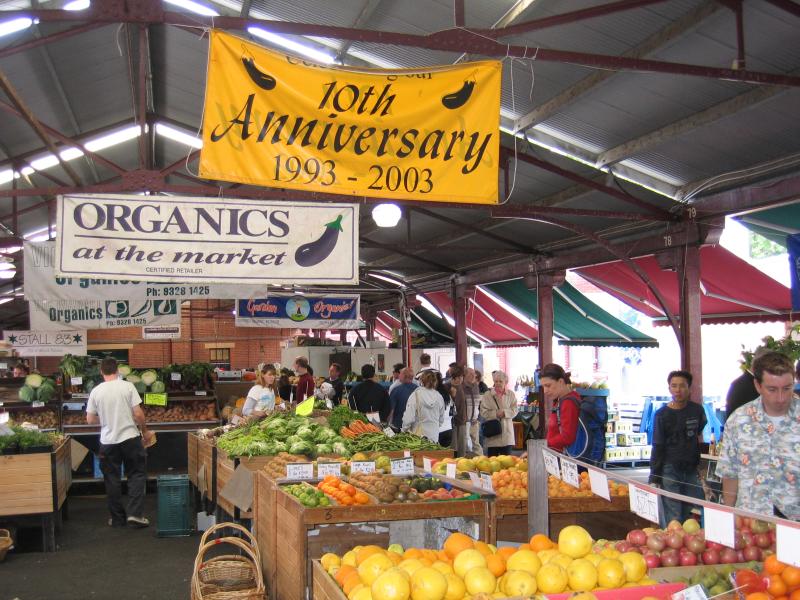
Queen Victoria Market - Organic fruit and vegetables
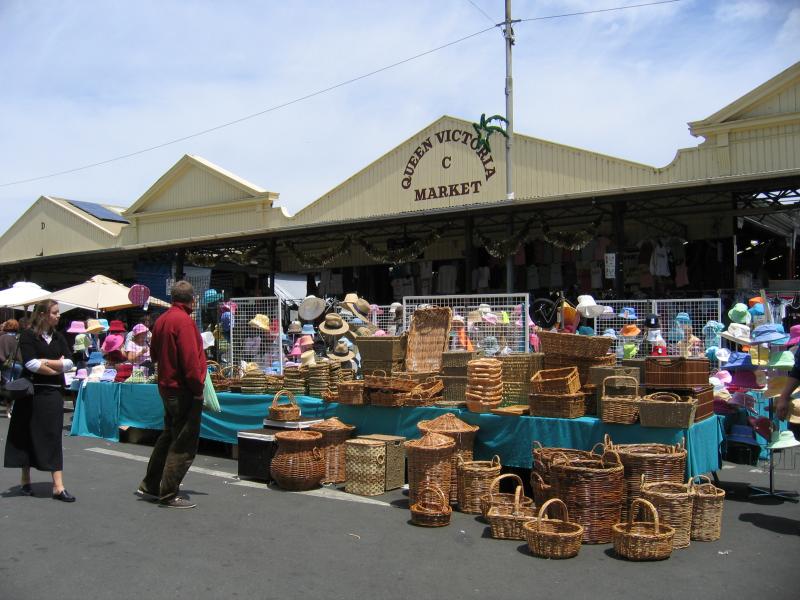
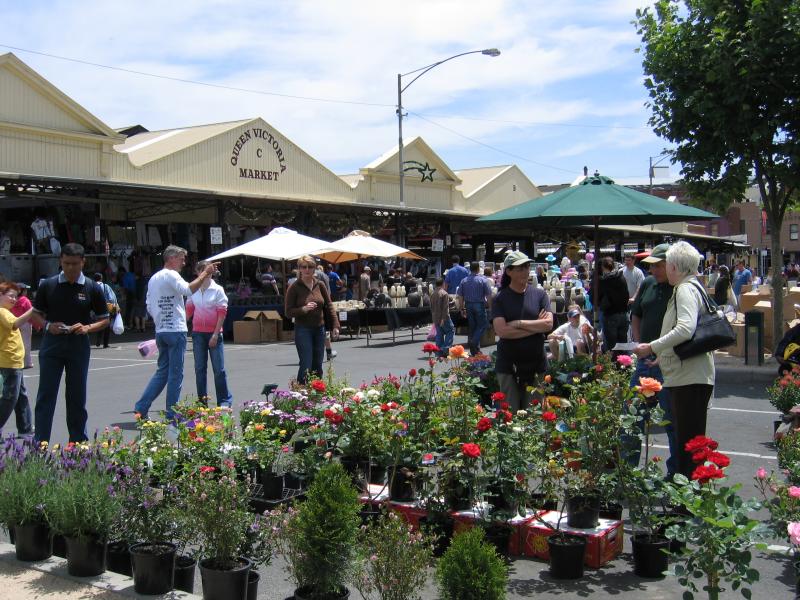
Queen Victoria Market - Outside stalls on Queen St
Queen Victoria Market - Outside stalls on Queen St
Queen Victoria Market - View of market stalls, south along Queen St towards Therry St
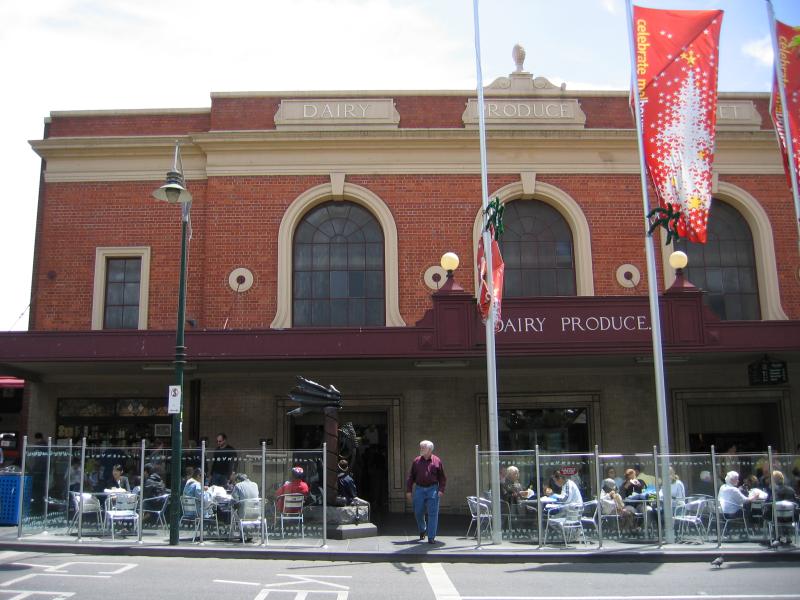
Queen Victoria Market - Market buildings, Therry St
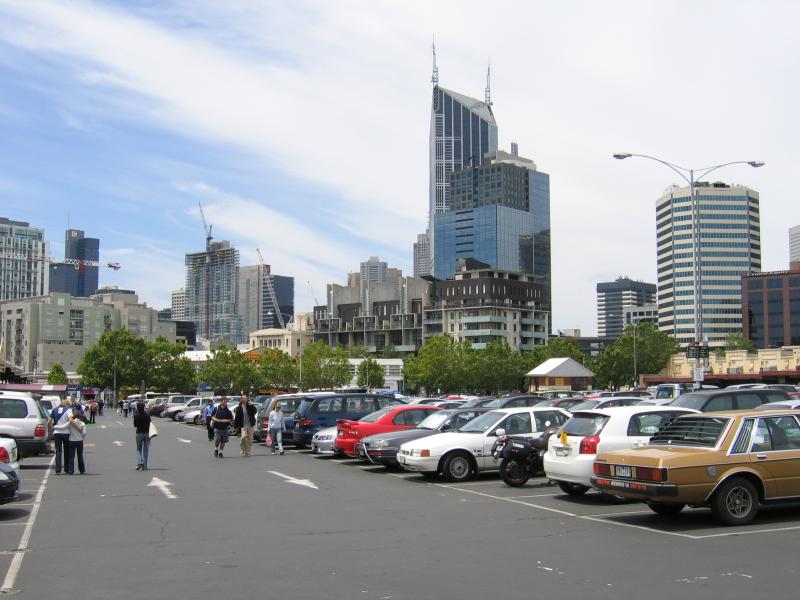
Queen Victoria Market - Car park
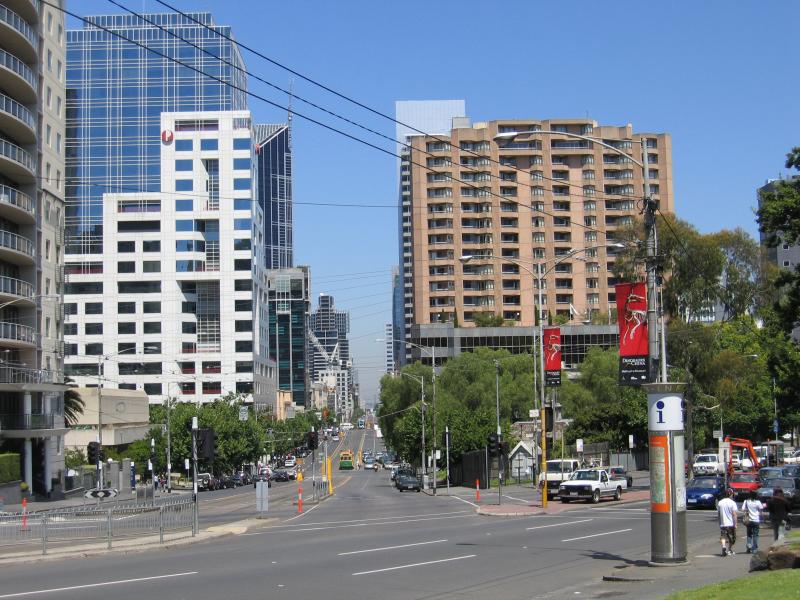
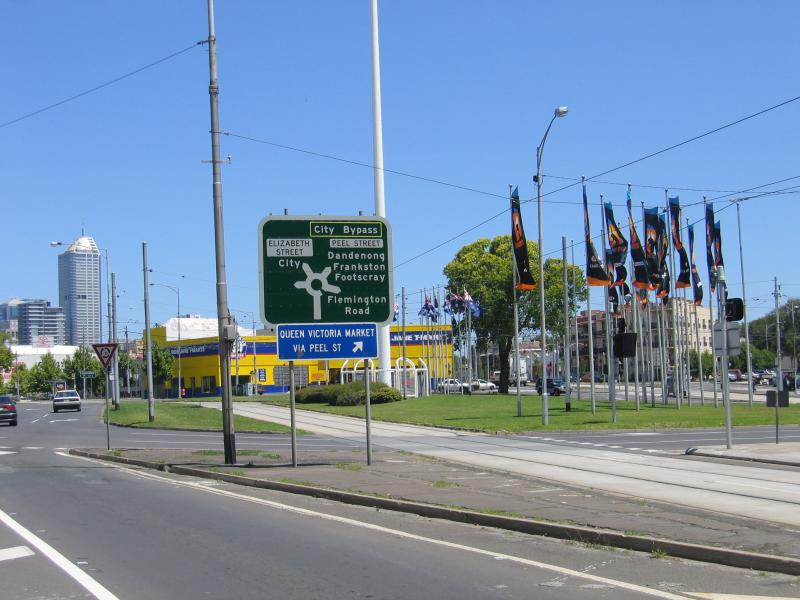
Elizabeth Street and Flemington Road junction - View south along Elizabeth St towards roundabout at Flemington Rd and Peel St
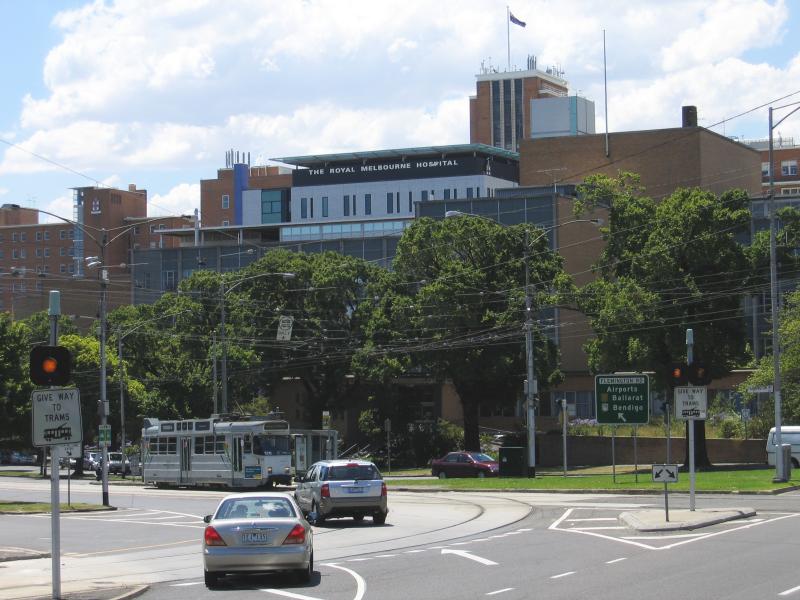
Elizabeth Street and Flemington Road junction - Royal Melbourne Hospital, corner of Flemington Rd and Elizabeth St
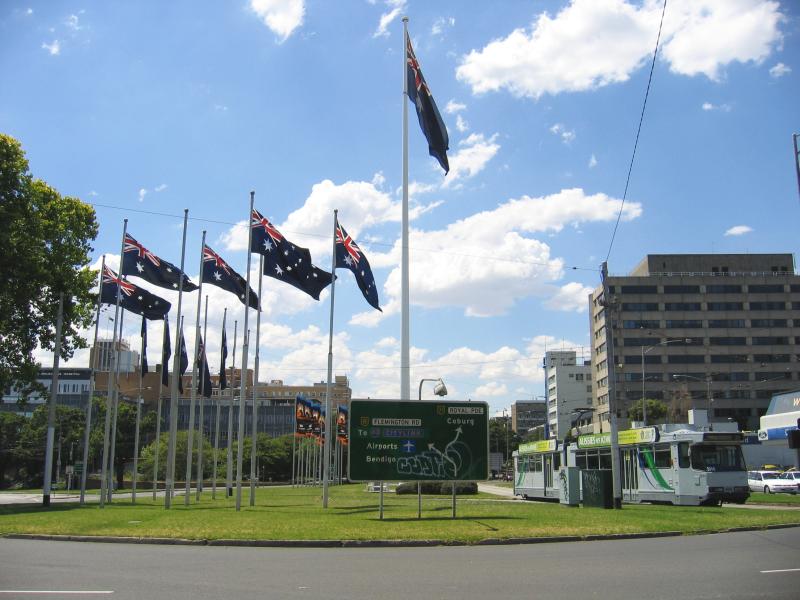
Elizabeth Street and Flemington Road junction - View north along Elizabeth St at Peel St and Flemington Rd
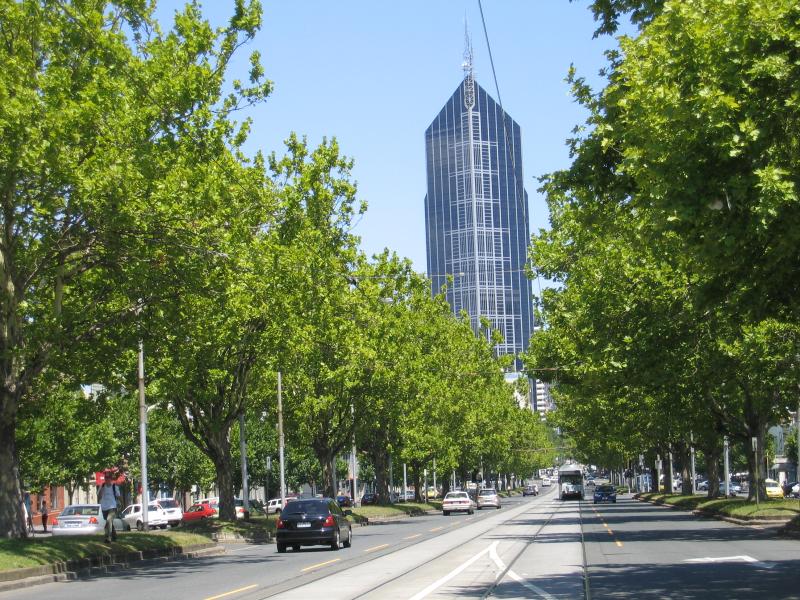
Elizabeth Street and Flemington Road junction - View south-east along Elizabeth St between Pelham St and Queensberry St
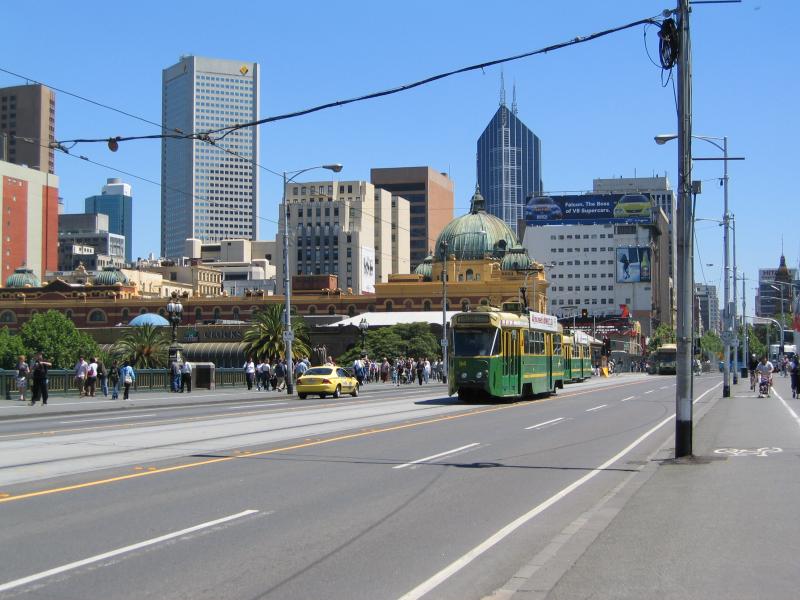
Swanston Street - View north along Swanston St across Princes Bridge towards Flinders Street Station
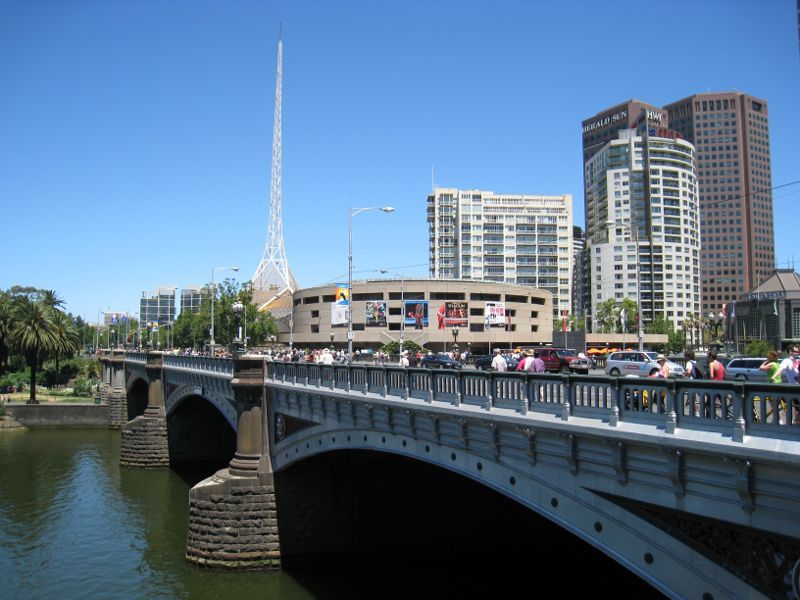
Swanston Street - View south along Swanston St across Princes Bridge towards Arts Centre
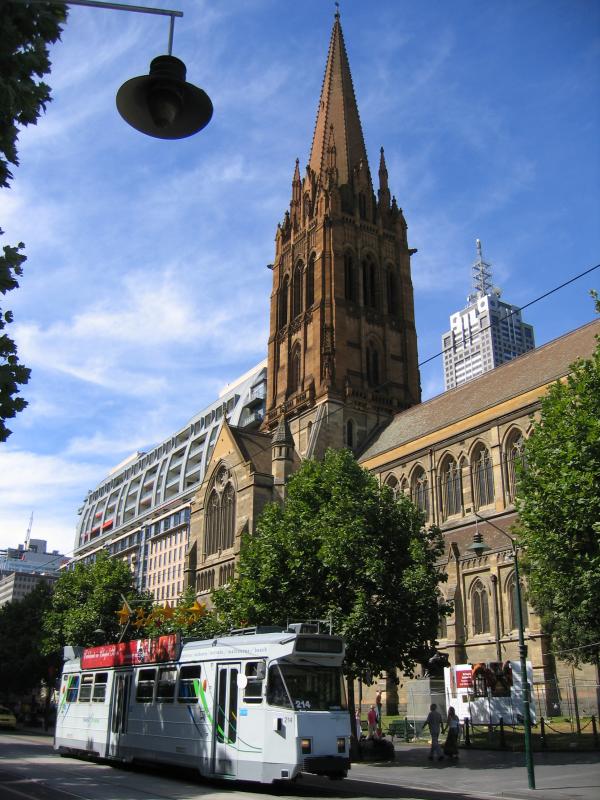
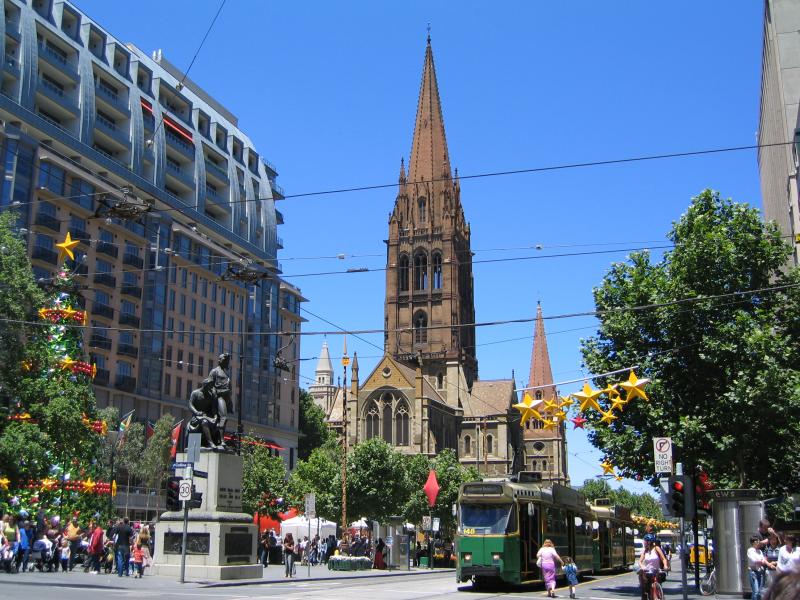
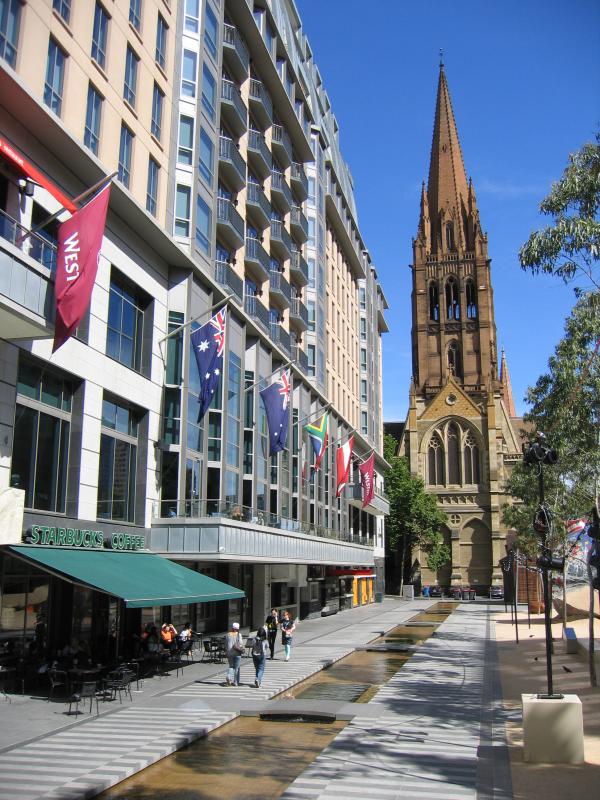
Swanston Street - View north along Swanston St at St Pauls Cathedral
Swanston Street - View north along Swanston St towards Flinders Lane
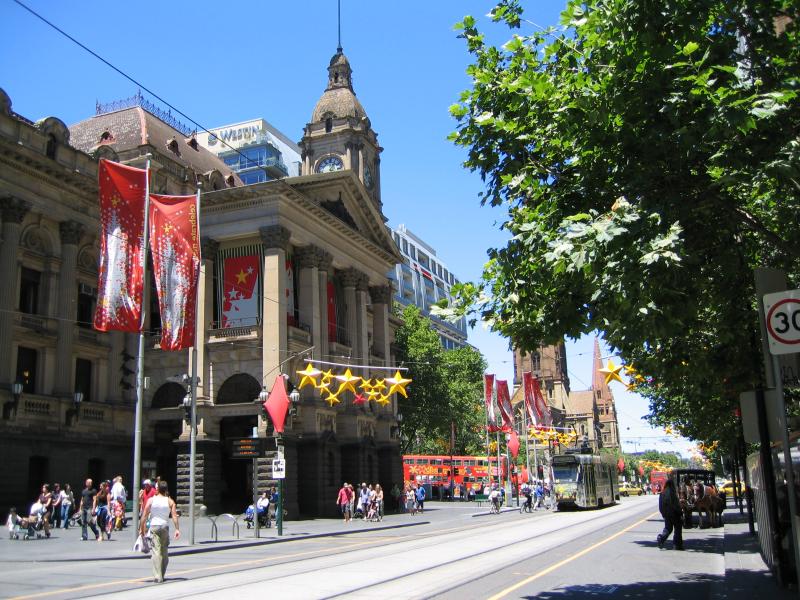
Swanston Street - Melbourne Town Hall, view north along Swanston St at Collins St
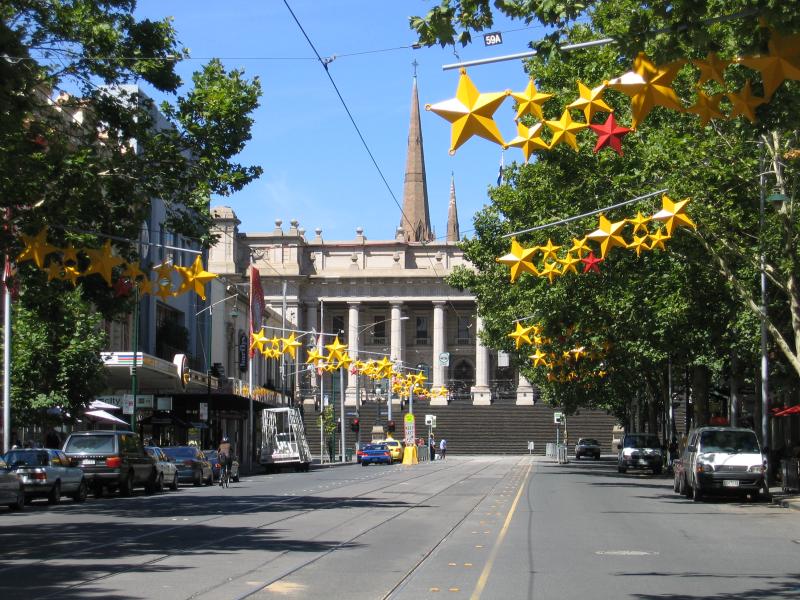
Swanston Street - Melbourne Town Hall, view south along Swanston St towards Collins St
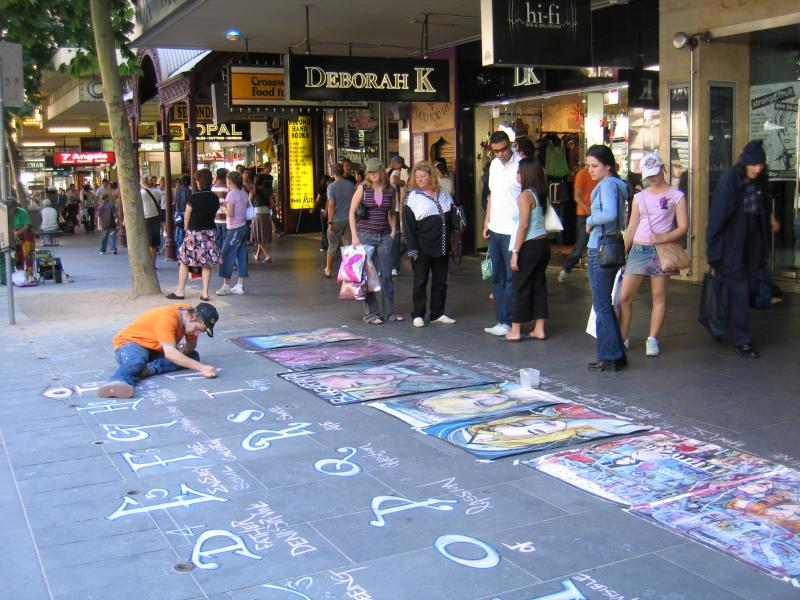
Swanston Street - Painting on the footpath, Swanston St between Collins St and Little Collins St
Swanston Street - View south along Swanston St at Little Bourke St
Swanston Street - View east along Lonsdale St at Swanston St
Swanston Street - View north along Swanston St towards Little Lonsdale St
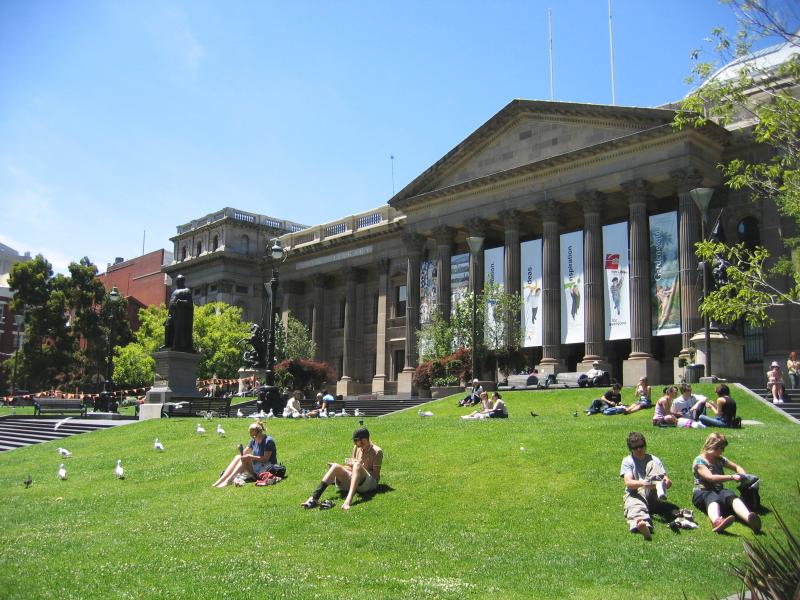
Swanston Street - Lawns in front of State Library
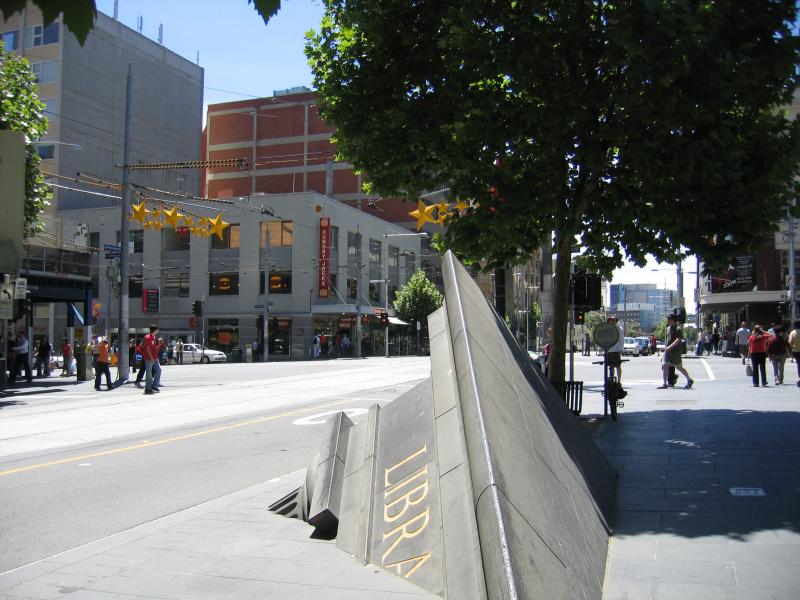
Swanston Street - View north along Swanston St towards La Trobe from State Library St
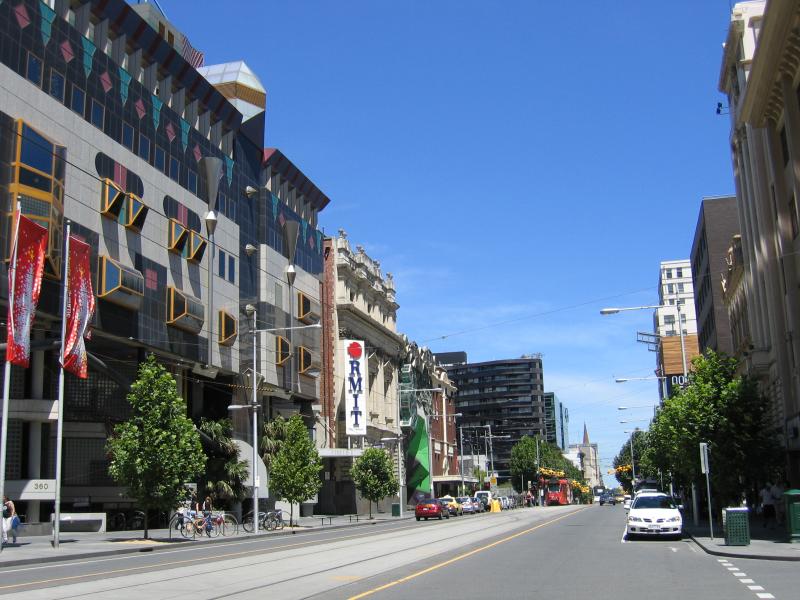
Swanston Street - View south along Swanston St at A'Beckett St towards RMIT University
City Square, Swanston Street - View south along Swanston St at Collins St towards Burke and Wills monument
City Square, Swanston Street - View south through City Square towards St Pauls Cathedral
City Square, Swanston Street - View north through City Square
City Square, Swanston Street - View north through City Square with Town Hall clock tower in background
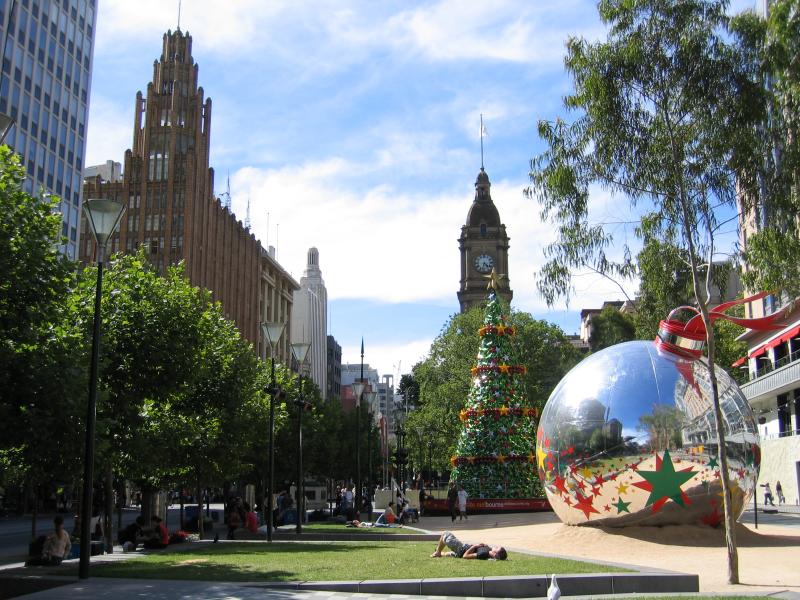
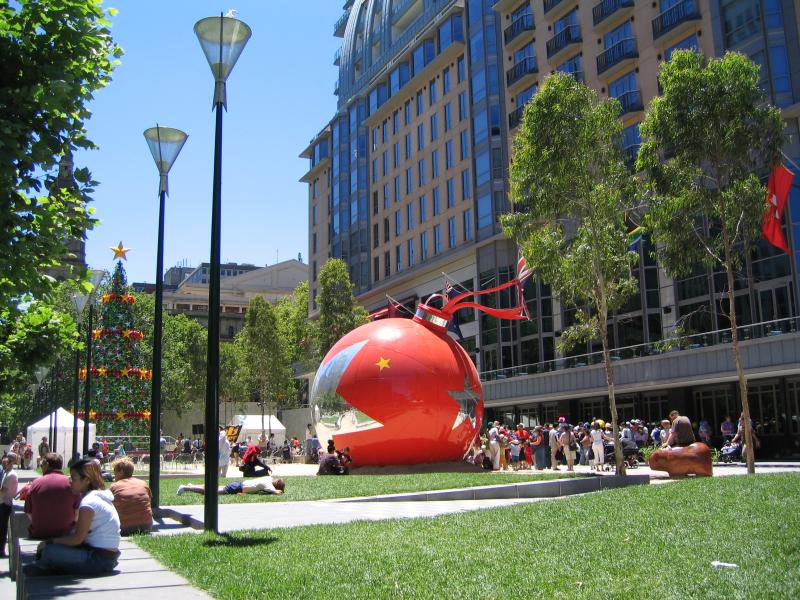
City Square, Swanston Street - Lawns with Christmas decorations
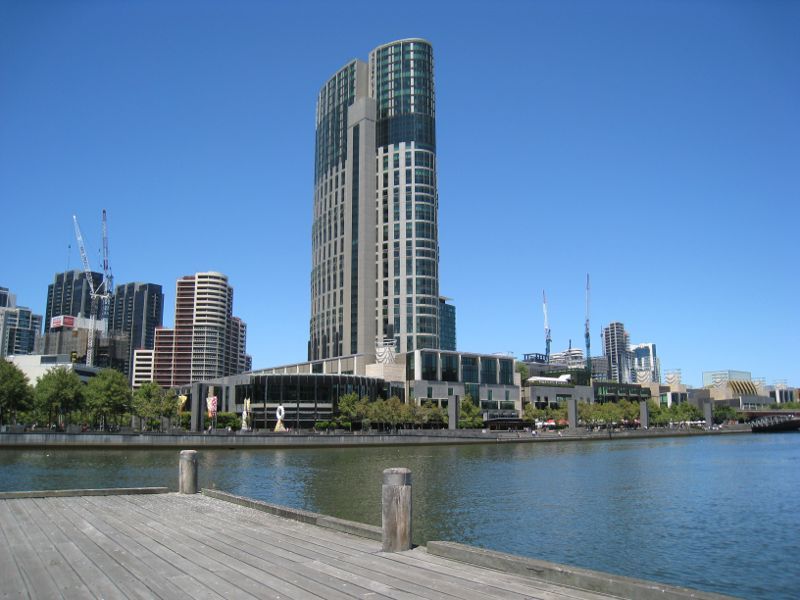
Yarra River at Batman Park - View through Batman Park towards Kings Bridge and Crown Towers
Yarra River at Batman Park - View through Batman Park towards Yarra River and Crown Casino
Yarra River at Batman Park - View north along Spencer Street Bridge towards Batman Park and Rialto Towers
Yarra River at Batman Park - View across Yarra River towards Batman Park and Rialto Towers
Yarra River at Batman Park - View east along Yarra River towards Kings Bridge and Crown Towers
Yarra River at Batman Park - View east along Yarra River towards Kings Bridge and city skyline
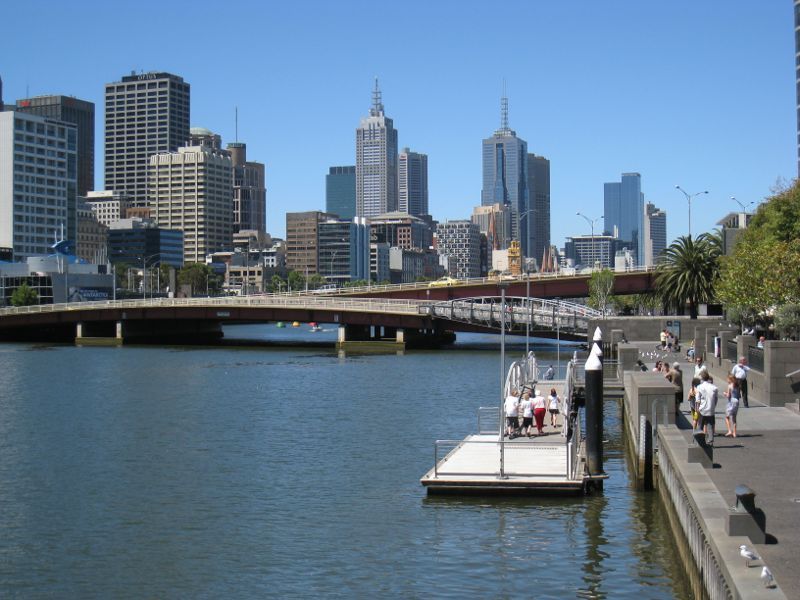
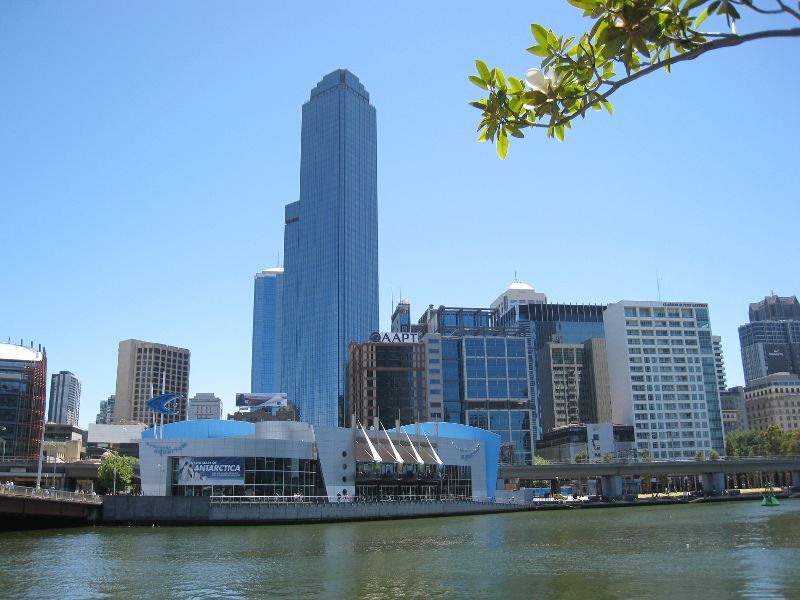
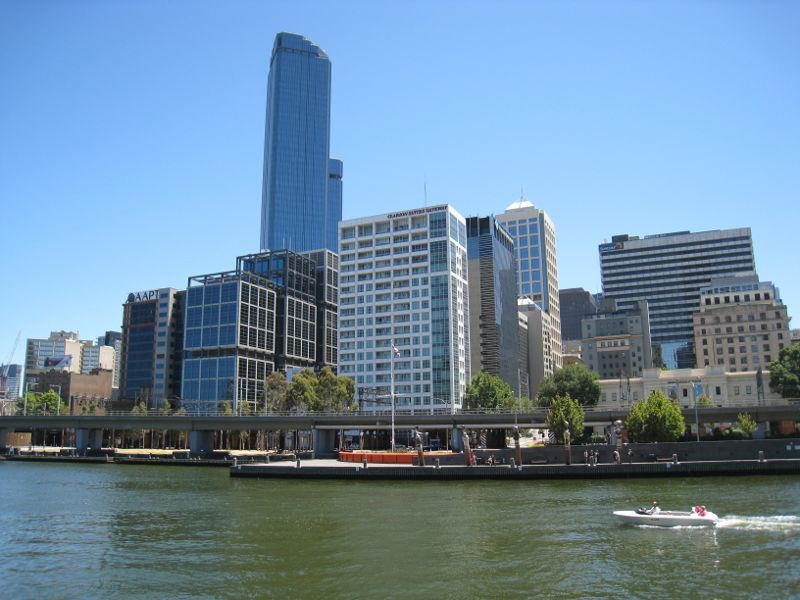
Yarra River at Melbourne Aquarium - View across Yarra River towards Melbourne Aquarium and Rialto Towers
Yarra River at Melbourne Aquarium - Aquarium viewed from Kings Bridge
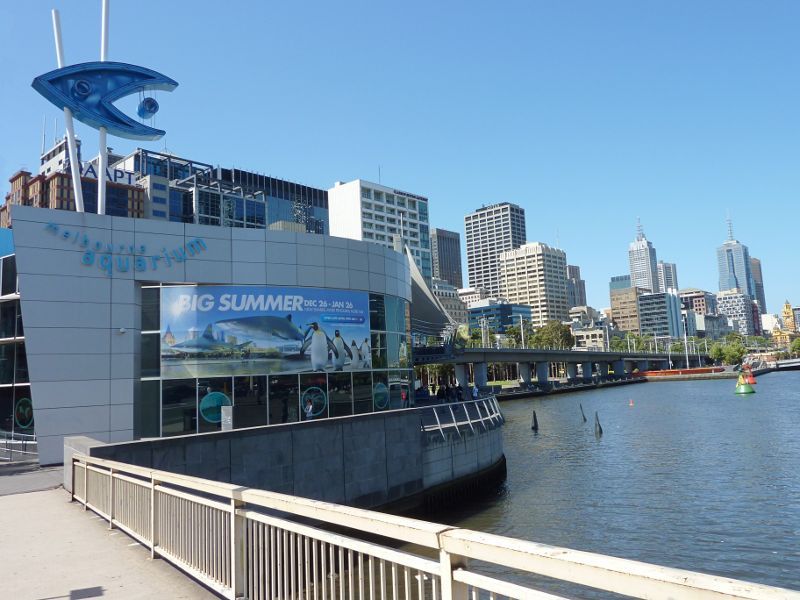
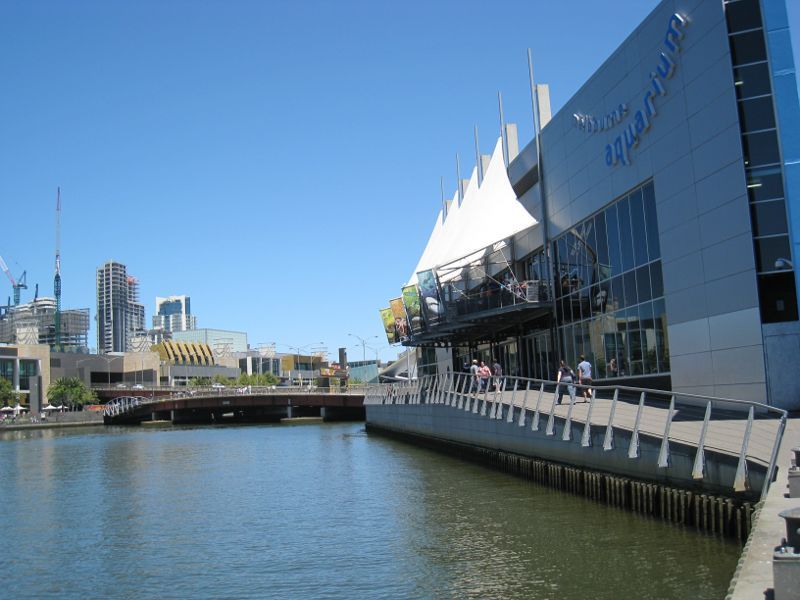
Yarra River at Melbourne Aquarium - Walkway along Yarra River at Melbourne Aquarium
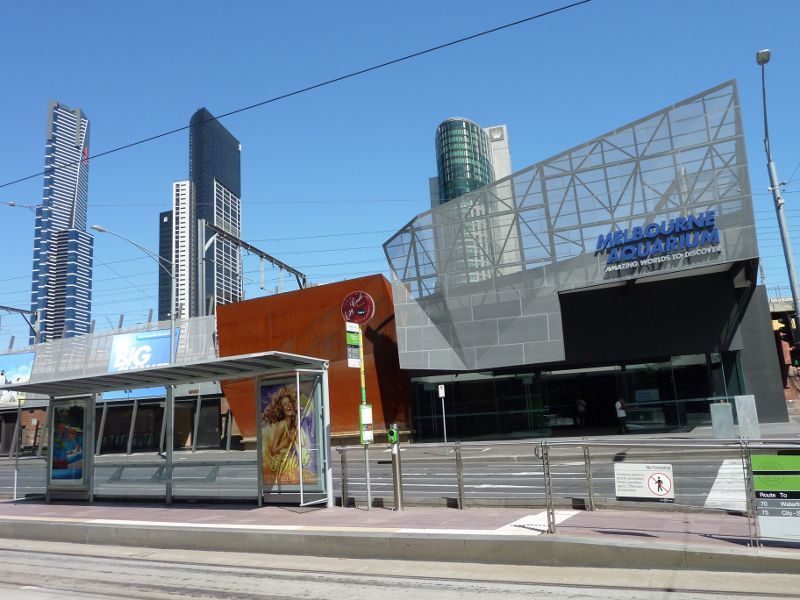
Yarra River at Melbourne Aquarium - Aquarium entrance, corner Flinders St and King St
Yarra River at Enterprize Park - View across Yarra River towards Enterprize Park
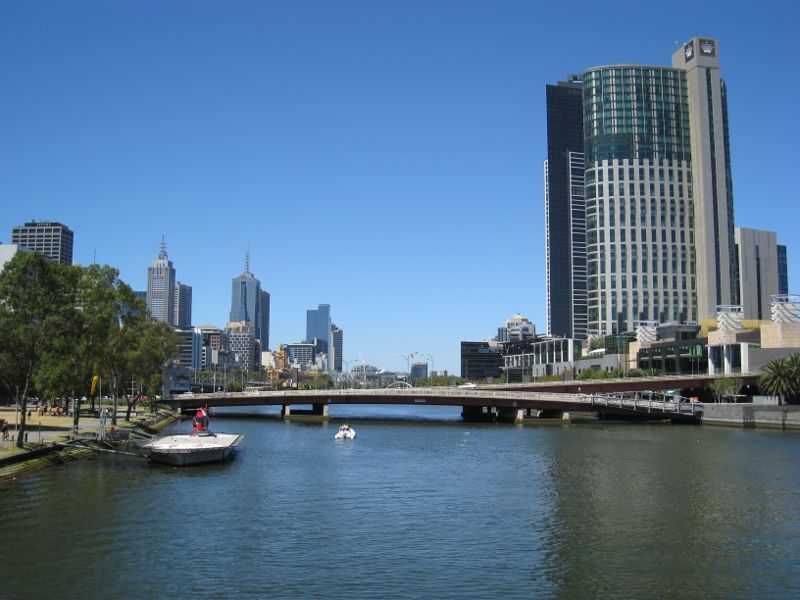
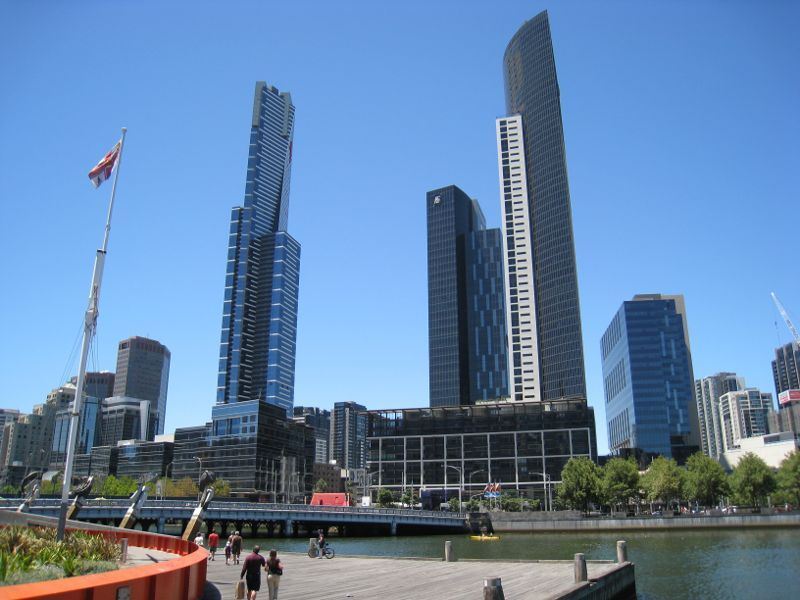
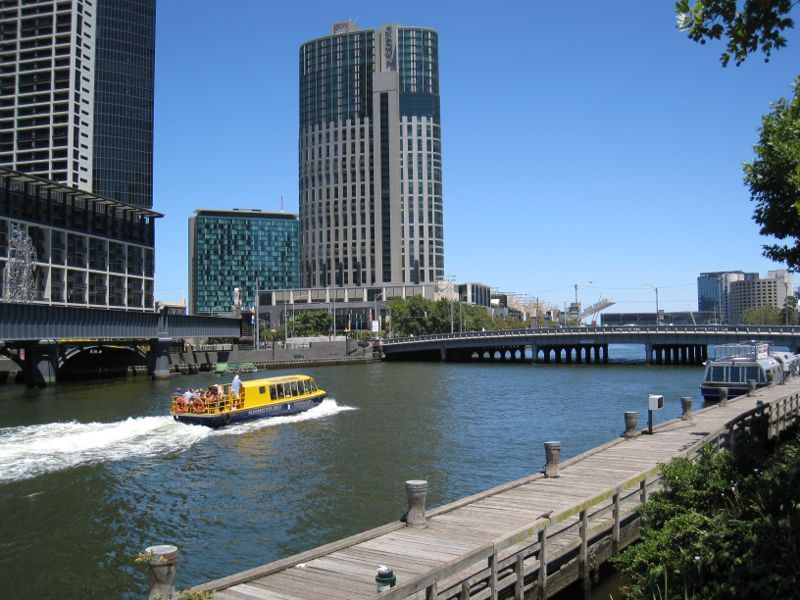
Yarra River at Enterprize Park - View east along Yarra River towards Enterprize Wharf, Queens Bridge and city skyline
Yarra River at Enterprize Park - Enterprize Park
Yarra River at Enterprize Park - View from Enterprize Wharf towards Crown Towers
Yarra River at Enterprize Park - View from Enterprize Wharf towards Yarra River and Eureka Tower
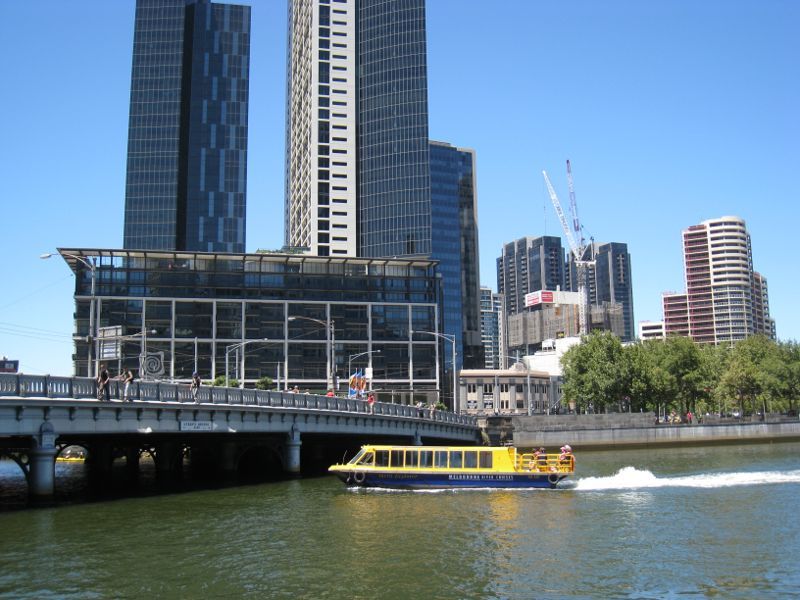
Yarra River at Enterprize Park - View from Enterprize Wharf towards Queens Bridge
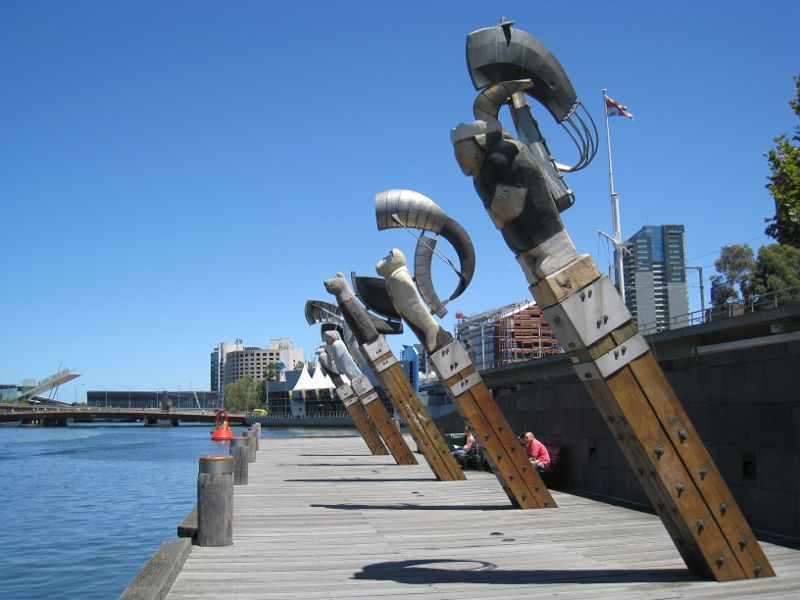
Yarra River at Enterprize Park - Westerly view along Enterprize Wharf
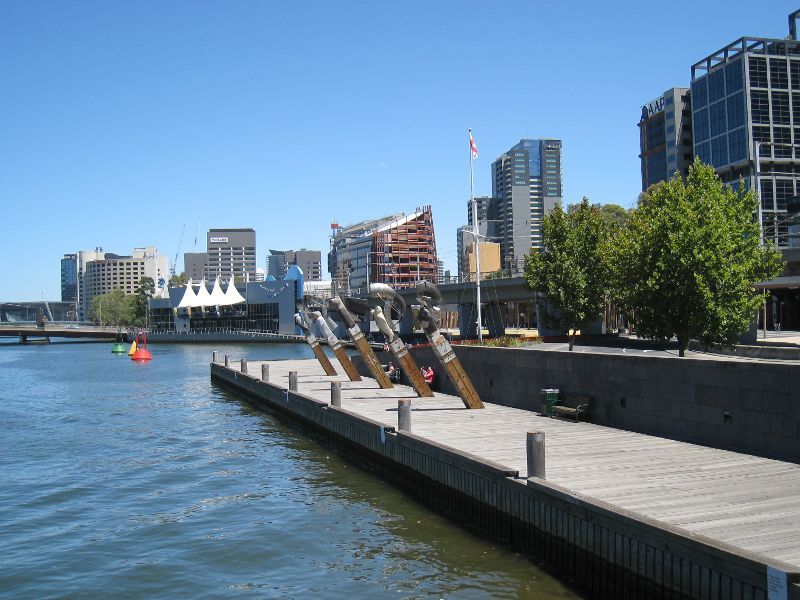
Yarra River at Enterprize Park - View west along Yarra River at Enterprize Wharf
Yarra River at Banana Alley Wharf - View across Yarra River towards Banana Alley Wharf
Yarra River at Banana Alley Wharf - North-easterly view across Yarra River at Sandridge Bridge
Yarra River at Banana Alley Wharf - View from Banana Alley Wharf towards Queens Bridge and Crown Towers
Yarra River at Banana Alley Wharf - View from Banana Alley towards Yarra River and Sandridge Bridge
Yarra River at Banana Alley Wharf - Easterly view along Banana Alley Wharf towards Sandridge Bridge
Yarra River at Banana Alley Wharf - View west along Banana Alley
Yarra River at Flinders Walk - View across Yarra River towards Sandridge Bridge and Southbank Promenade
Yarra River at Flinders Walk - View across Yarra River towards Evan Walker Bridge and Southbank Promenade
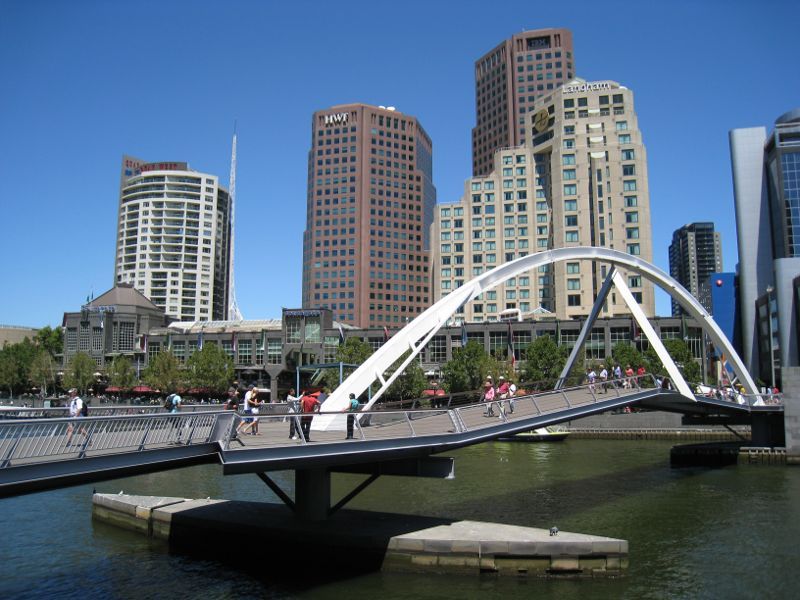
Yarra River at Flinders Walk - View across Yarra River at Evan Walker Bridge towards Southgate
Yarra River at Flinders Walk - View across Yarra River at Evan Walker Bridge
Yarra River at Flinders Walk - View from Evan Walker Bridge towards Southgate
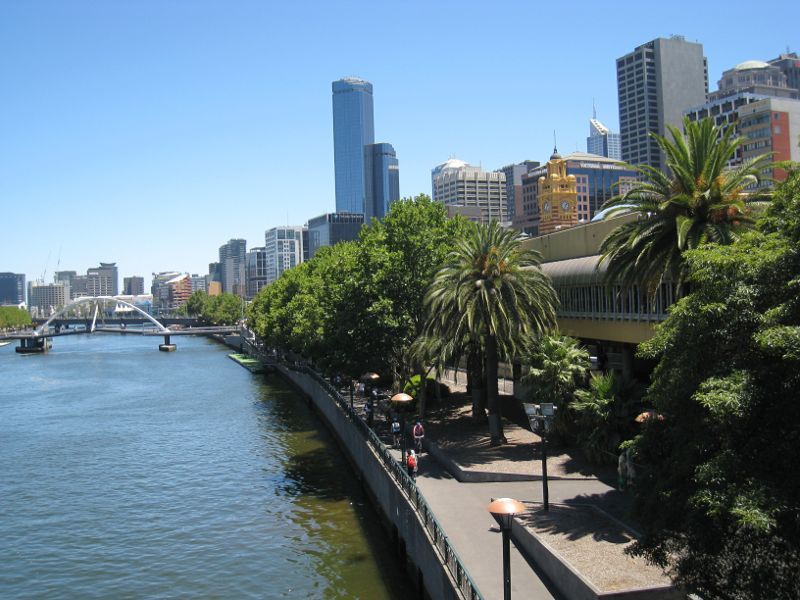
Yarra River at Flinders Walk - View across Yarra River from Flinders Walk towards Southgate and Eureka Tower
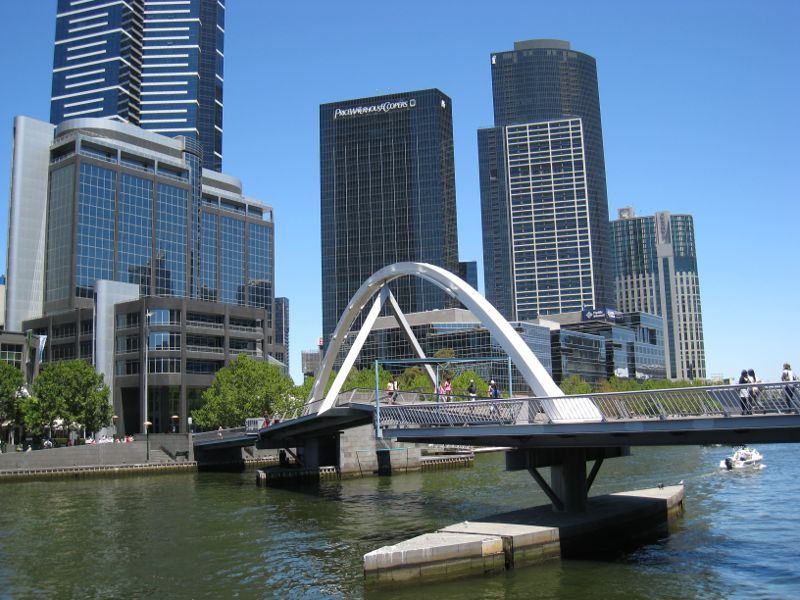
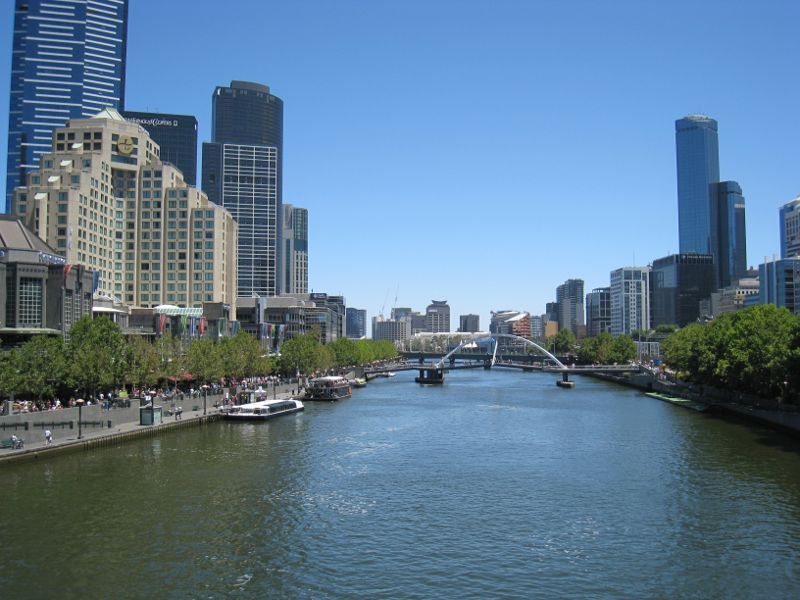
Yarra River at Flinders Walk - View west along Yarra River towards Evan Walker Bridge
Yarra River at Flinders Walk - View west along Flinders Walk and Yarra River towards Evan Walker Bridge
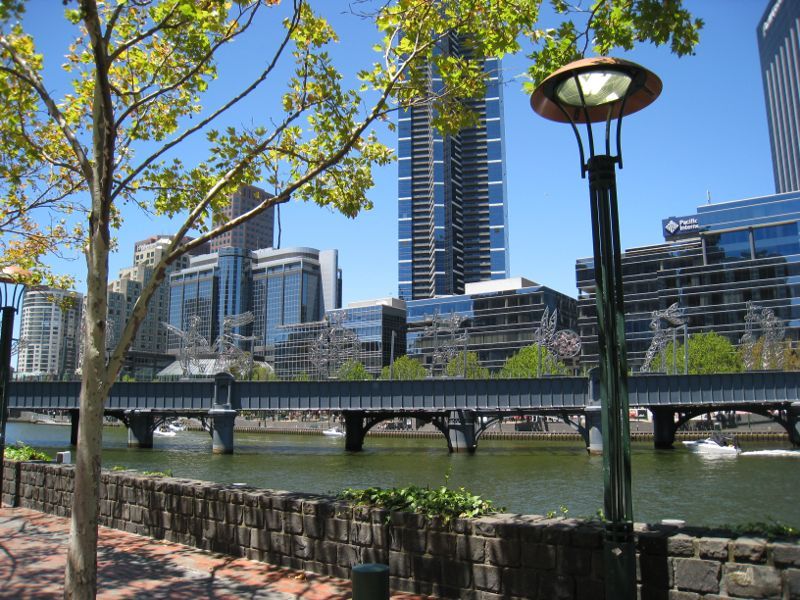
Yarra River at Flinders Walk - View from across Yarra River towards Evan Walker Bridge and Rialto Towers
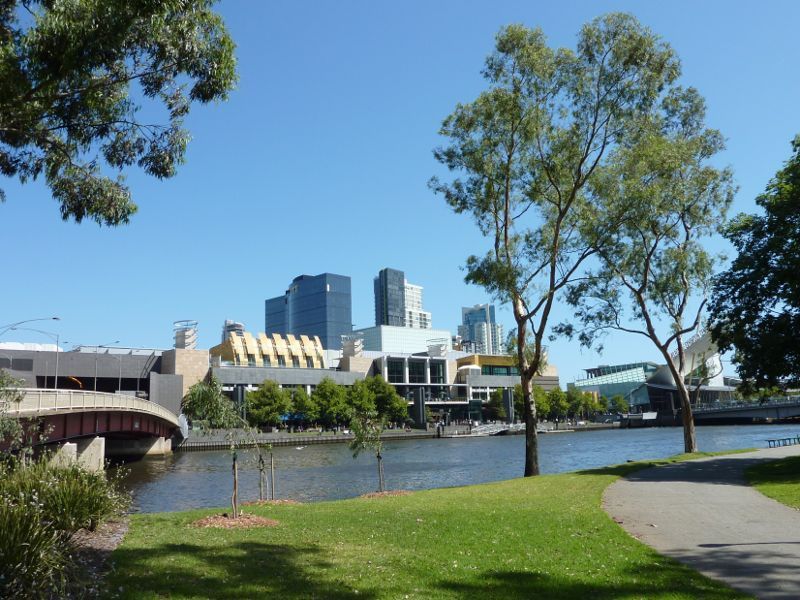
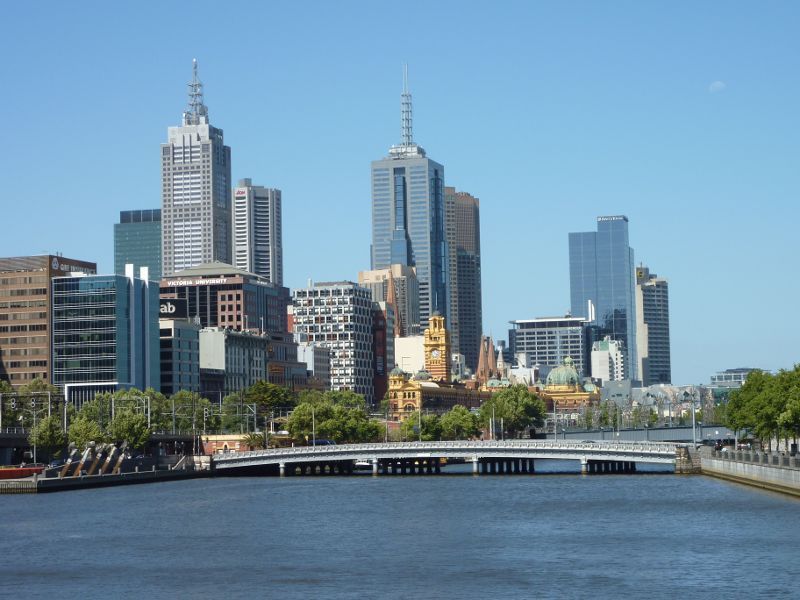
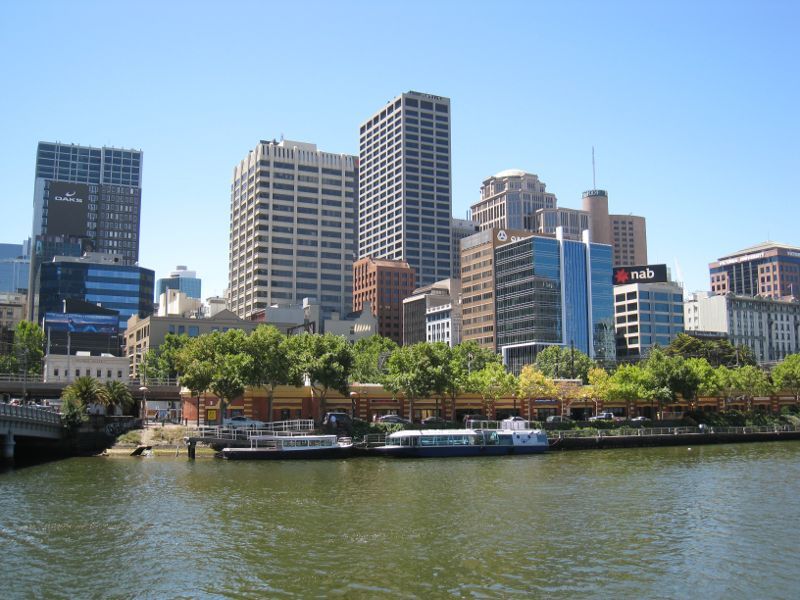
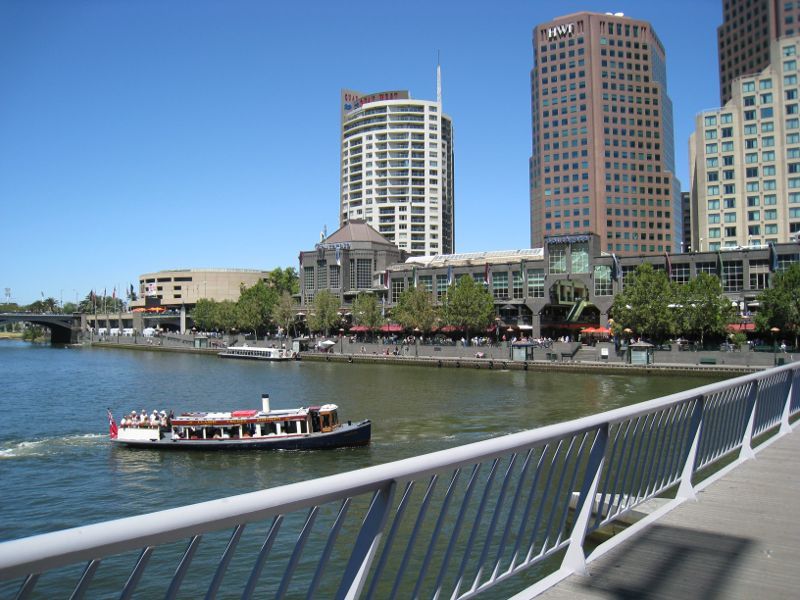
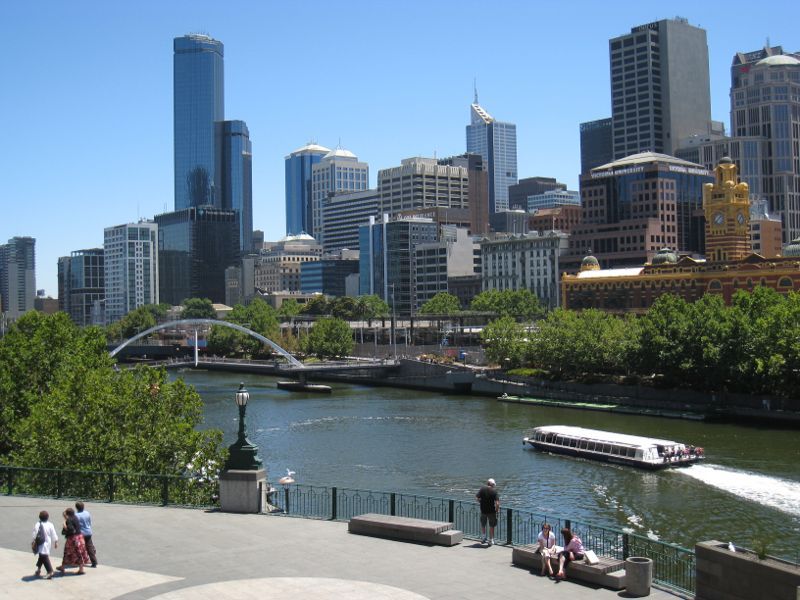
Yarra River at Flinders Walk - View from Southbank Promenade across Yarra River towards Flinders Street Station and city skyline
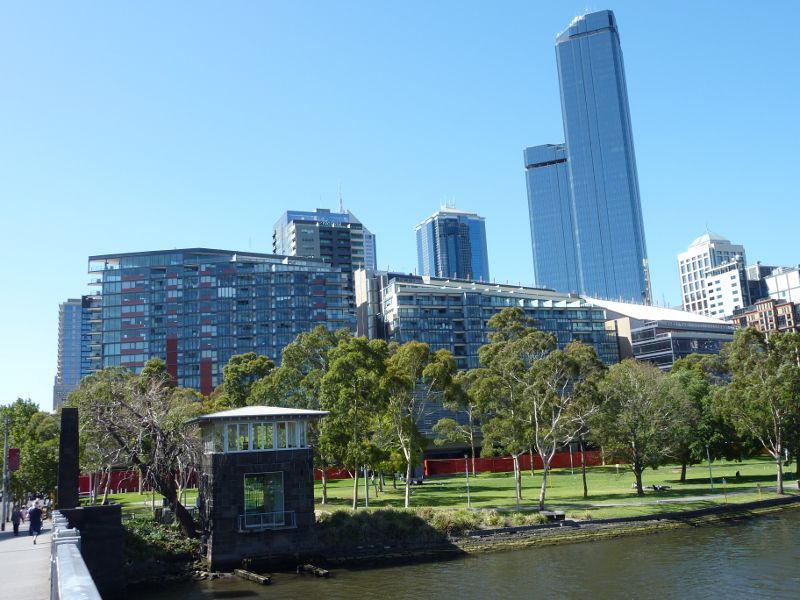
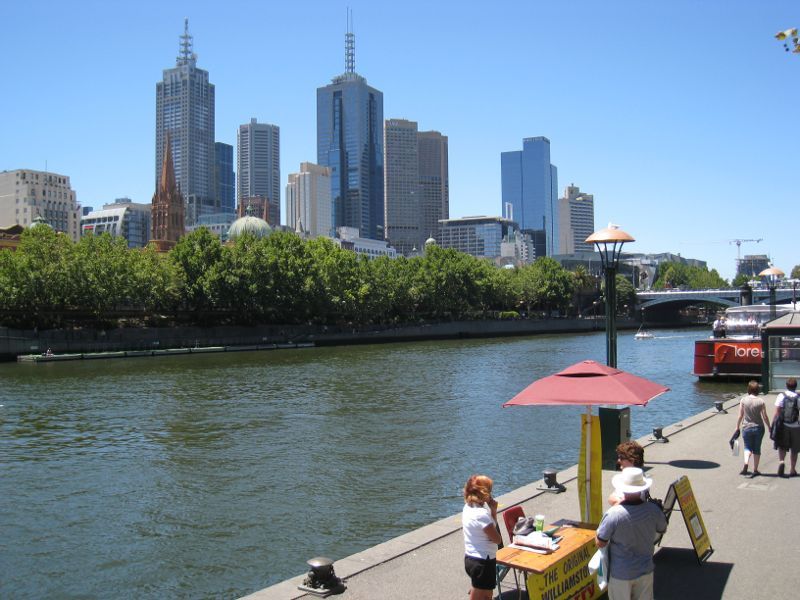
Yarra River at Flinders Walk - View from Southbank Promenade across Yarra River towards city skyline
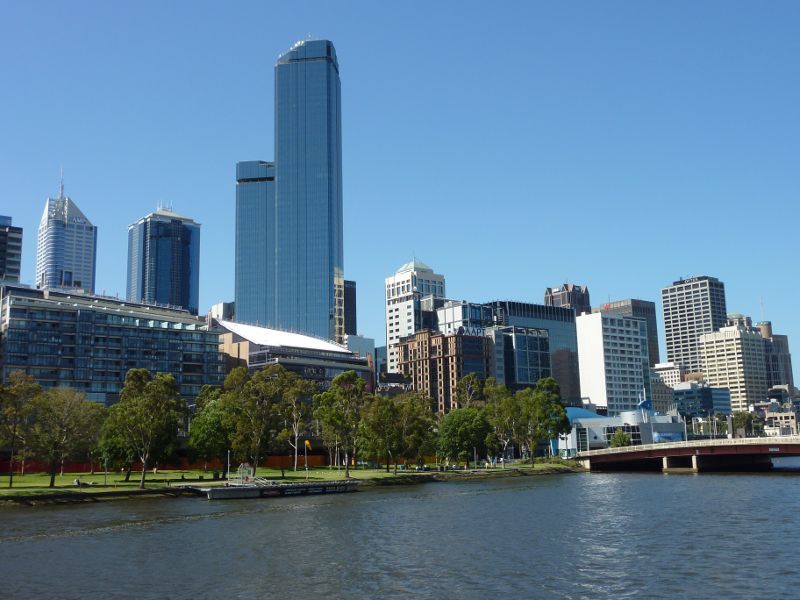
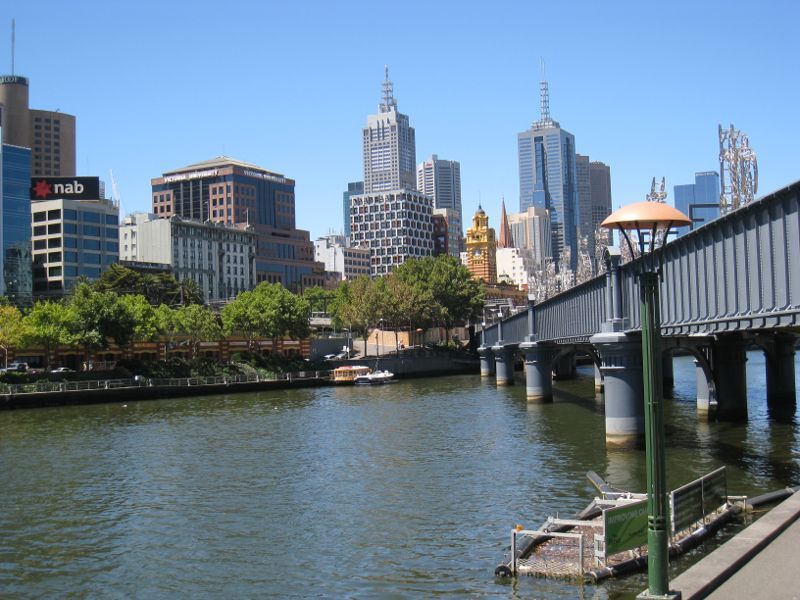
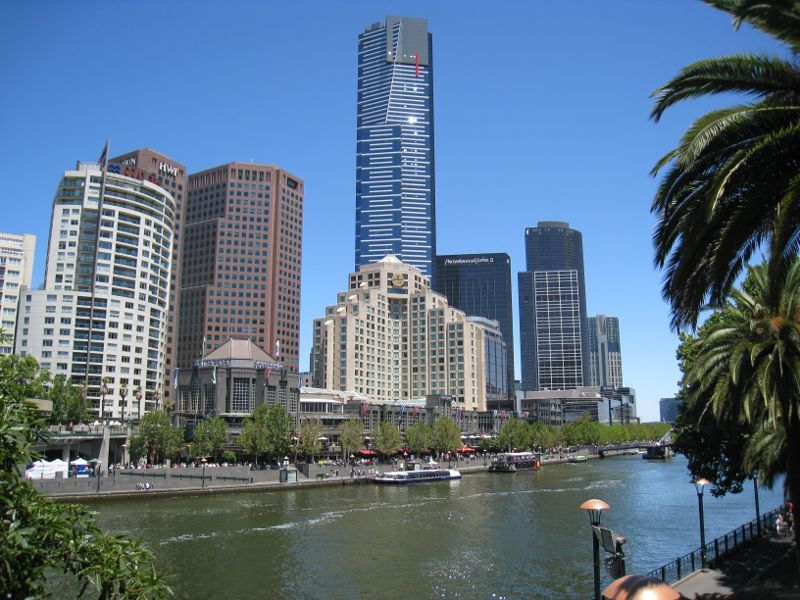
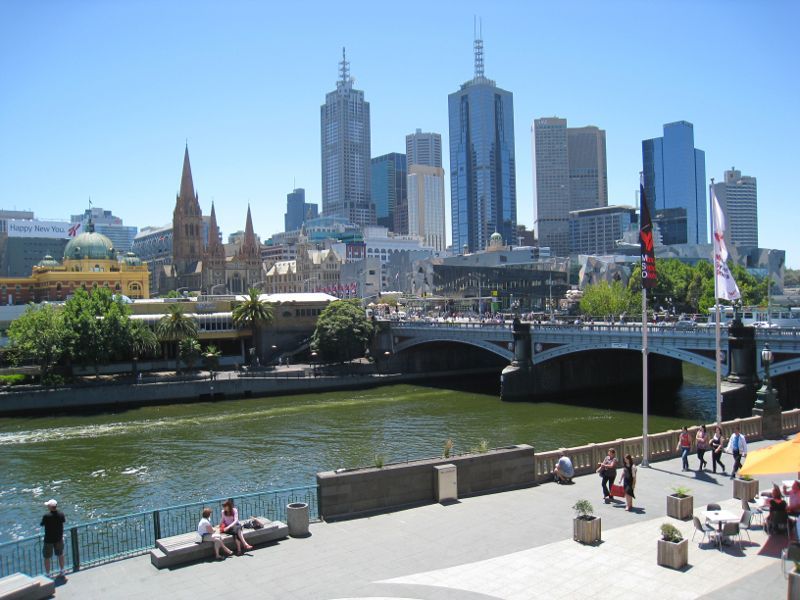
Yarra River at Flinders Walk - Northerly view across Yarra River towards Princes Bridge and city skyline
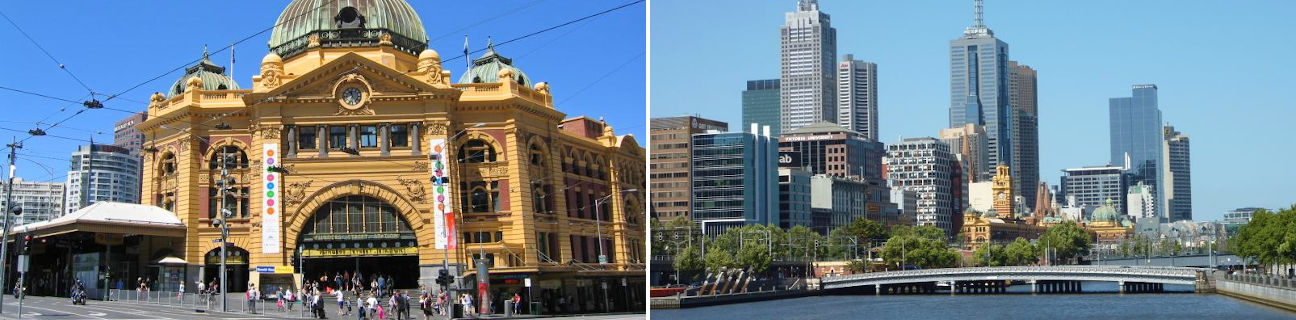
Flinders Street Station, corner Flinders Street and Swanston Street - Steps at main entrance
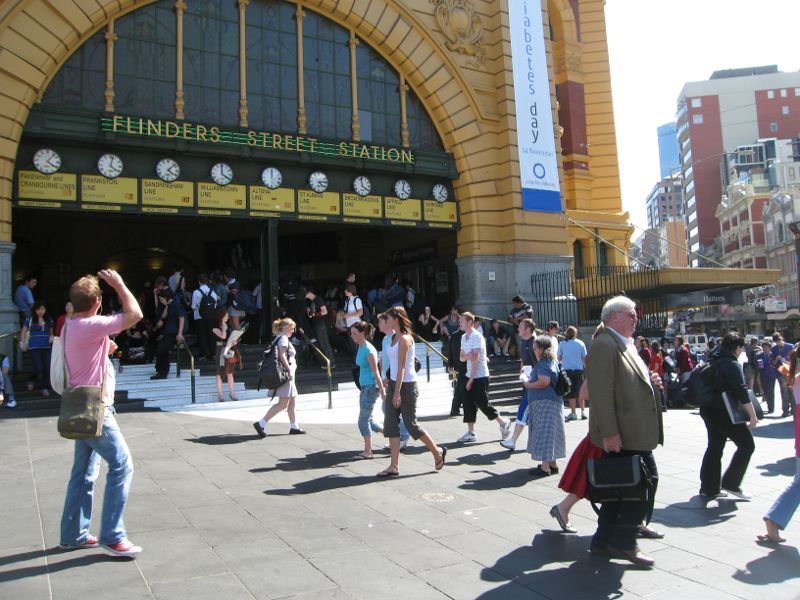
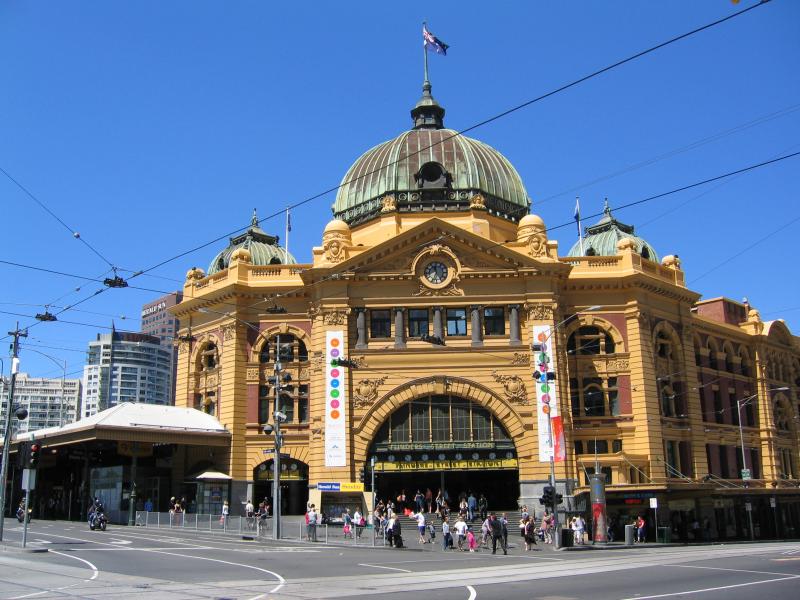
Flinders Street Station, corner Flinders Street and Swanston Street - Main entrance
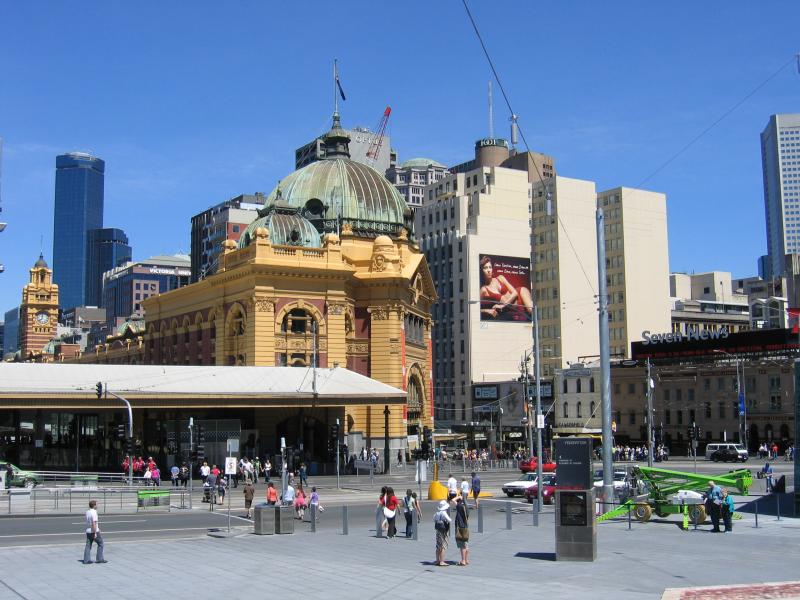
Flinders Street Station, corner Flinders Street and Swanston Street - View west across Swanston St towards station
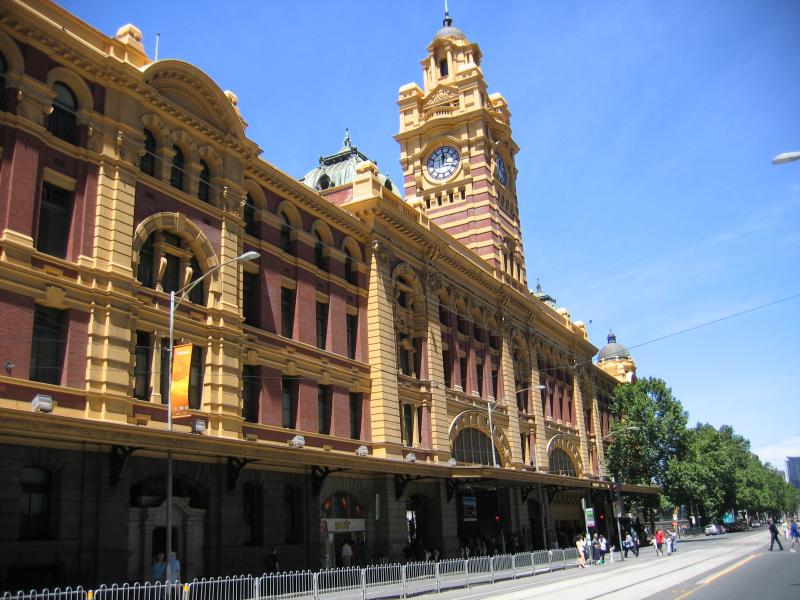
Flinders Street Station, corner Flinders Street and Swanston Street - View west along Flinders St towards Swanston St
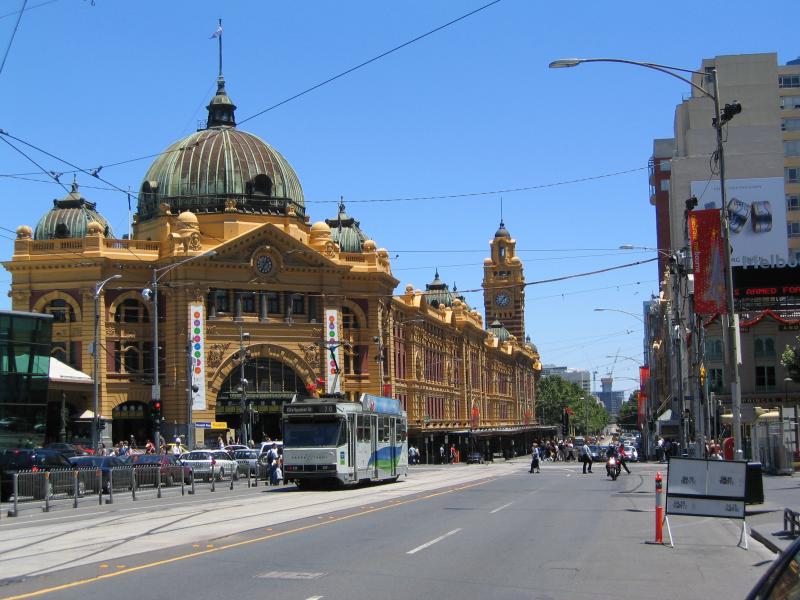
Flinders Street Station, corner Flinders Street and Swanston Street - View west along Flinders St towards Elizabeth St
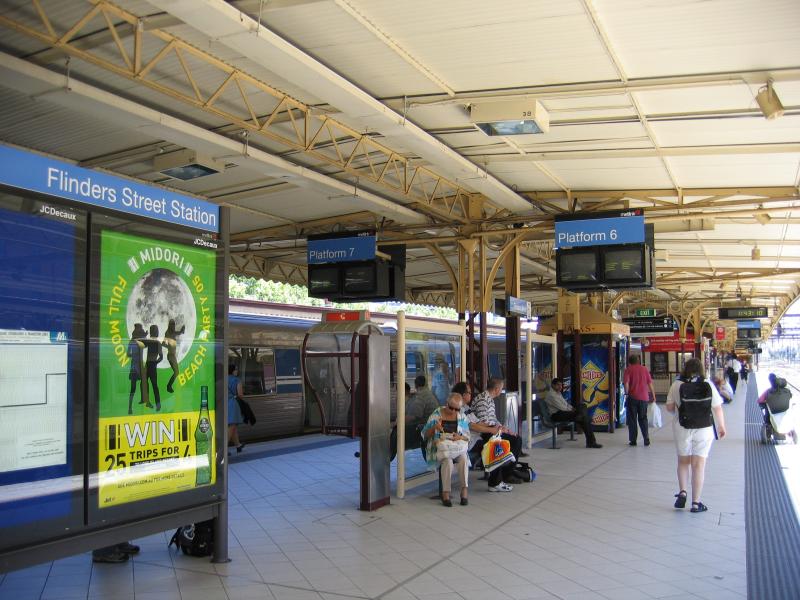
Flinders Street Station, corner Flinders Street and Swanston Street - Platforms 6 and 7
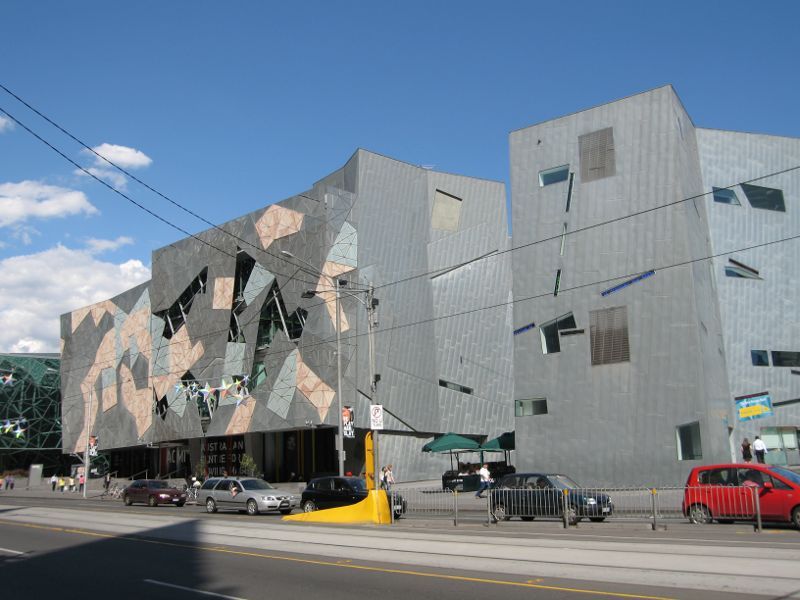
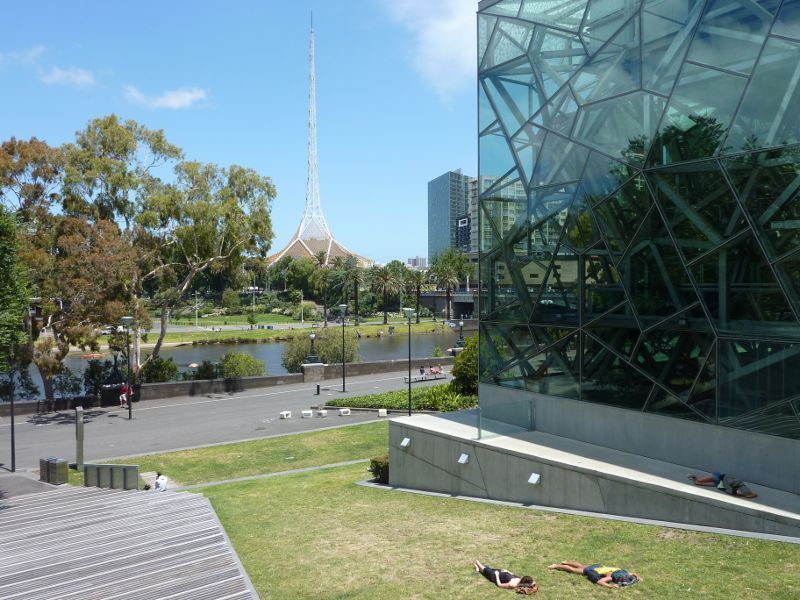
Federation Square - Ian Potter Centre, National Gallery of Victoria
Federation Square - View from Flinders St towards Atrium and beer garden
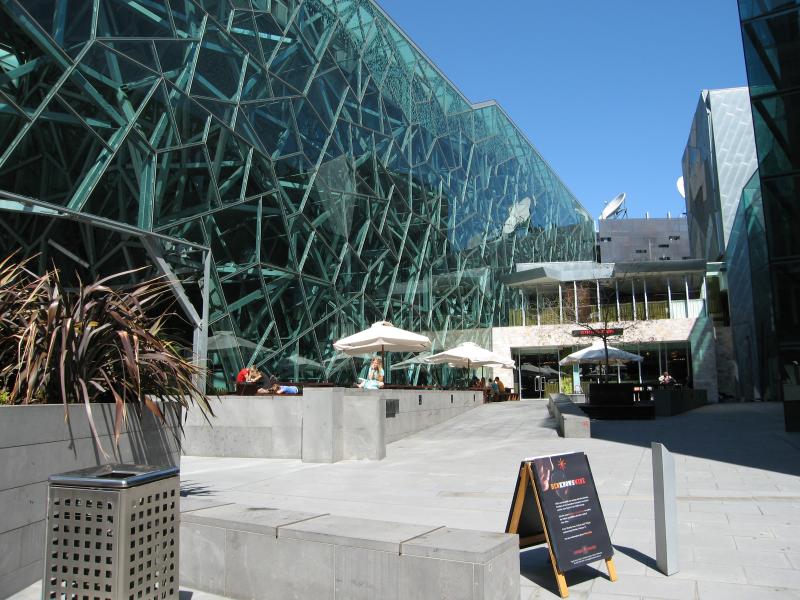
Federation Square - View west along Flinders St at entrance to Australian Centre for the Moving Image
Federation Square - View across Flinders St towards East Shard and Australian Centre for the Moving Image
Federation Square - View north at East Shard towards St Pauls Cathedral
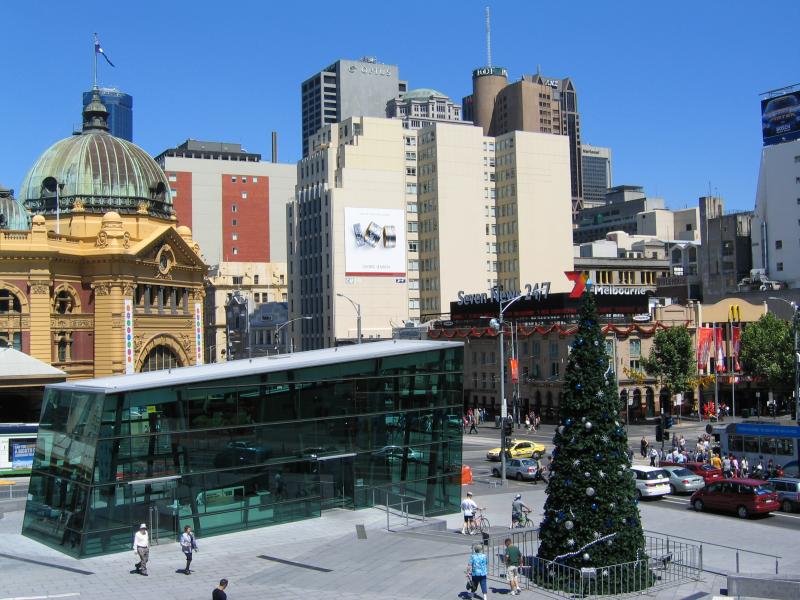
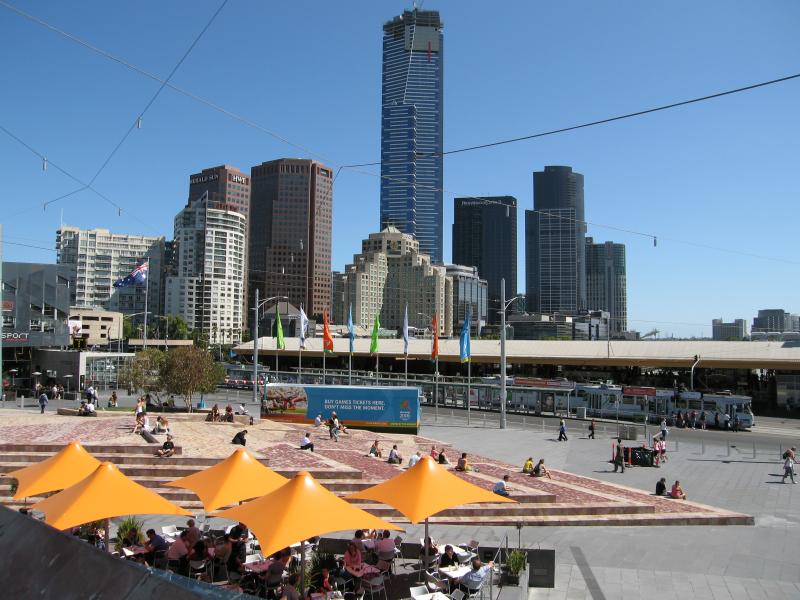
Federation Square - View west across Federation Square towards Melbourne Visitor Centre and Flinders Street Station
Federation Square - View south-west across The Square towards Flinders Street Station and Eureka Tower
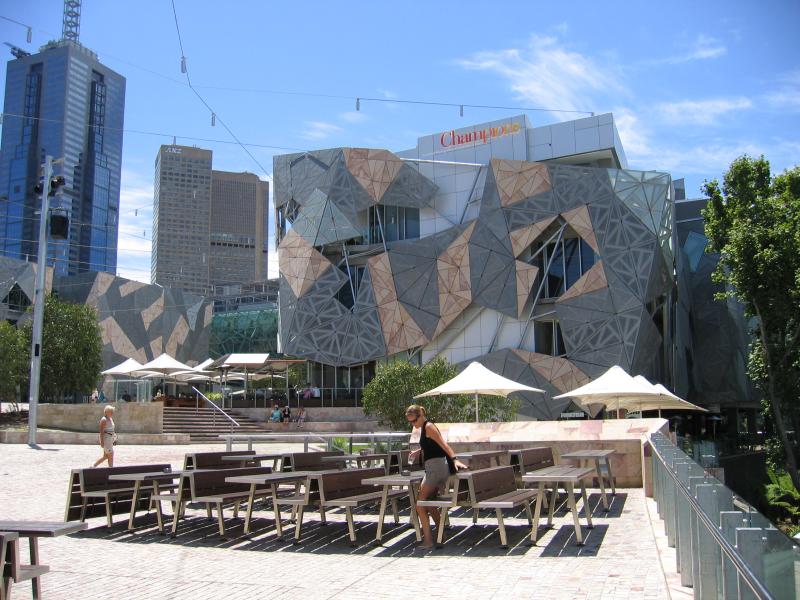
Federation Square - View from Transport Hotel towards Yarra Building
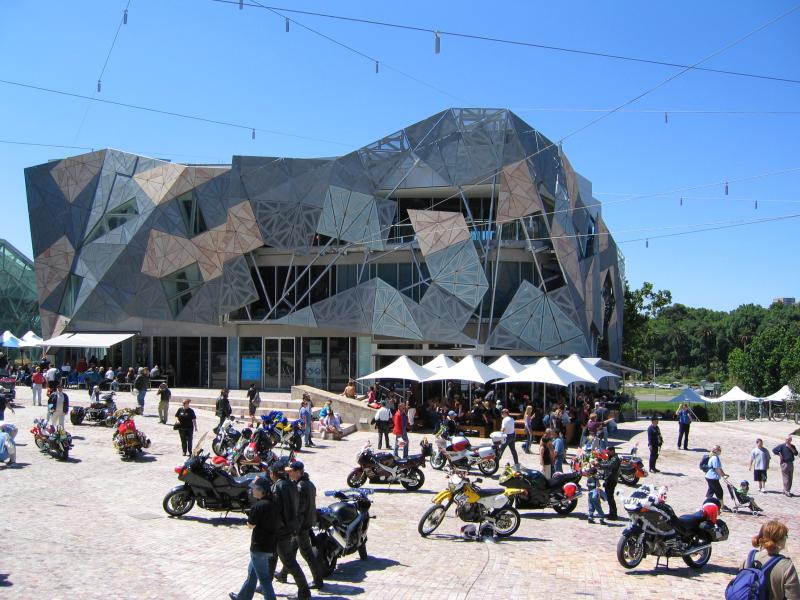
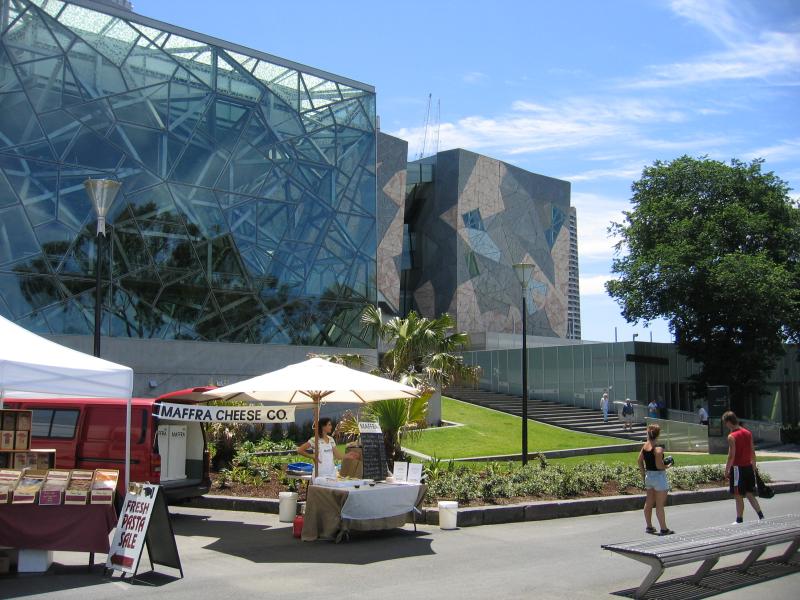
Federation Square - The Square and Yarra Building
Federation Square - View across The Square at Yarra Building towards Arts Centre
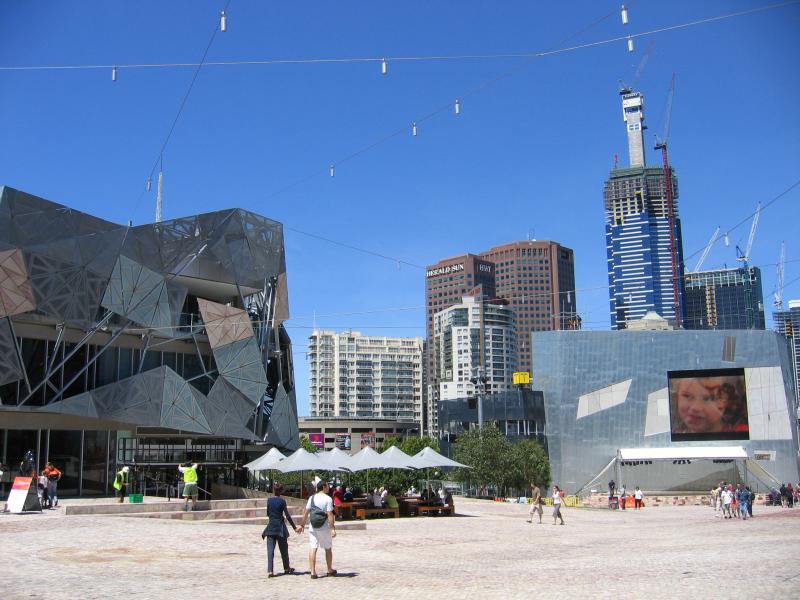
Federation Square - View across The Square towards Yarra Building, video screen and Transport Hotel
Federation Square - View from stairs and lawn at The Edge towards Yarra River and Arts Centre
Federation Square - River Terrace at The Edge
Federation Square - View from River Terrace towards Eureka Tower and Southbank
Federation Square - View across Federation Wharf towards Yarra River, Princes Bridge and Arts Centre
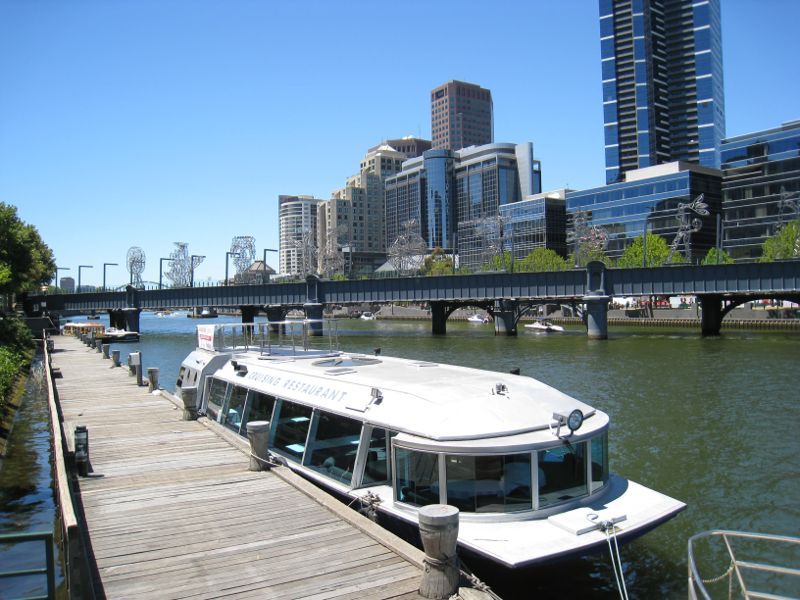
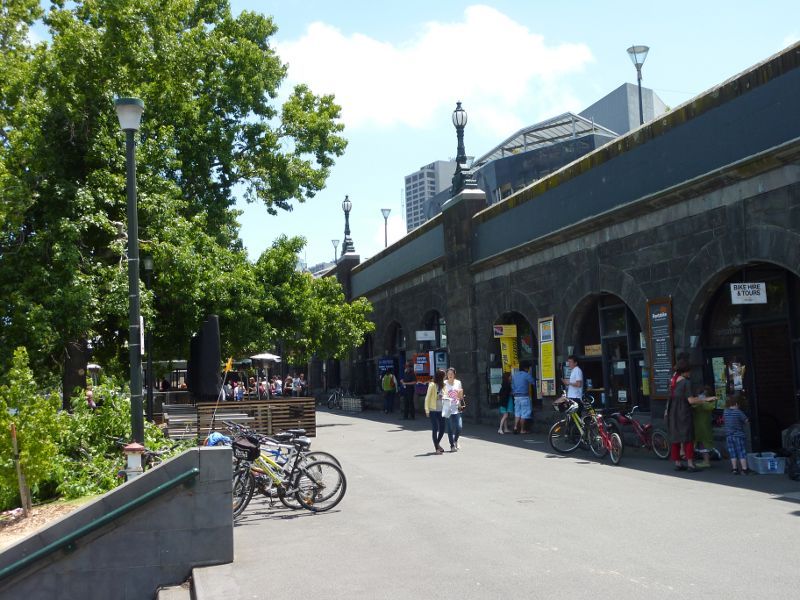
Federation Square - Bicycle hire and cruise offices, Federation Wharf
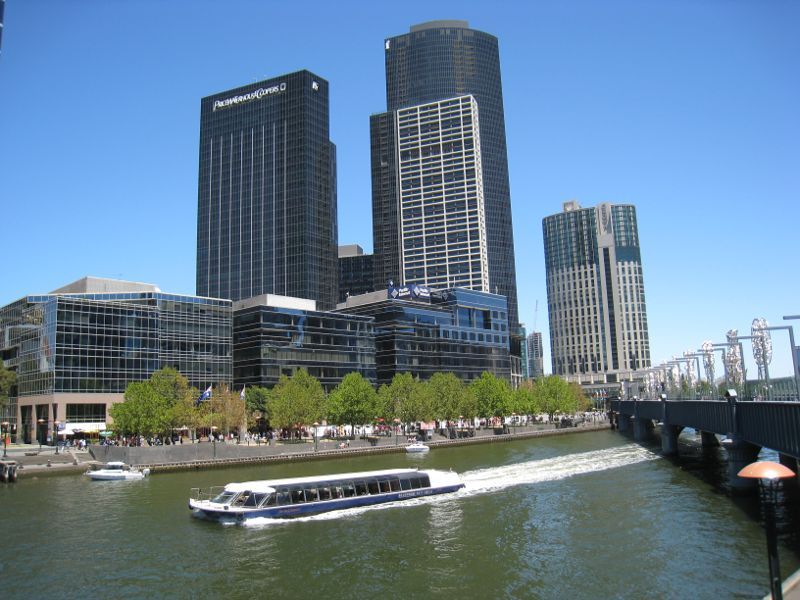
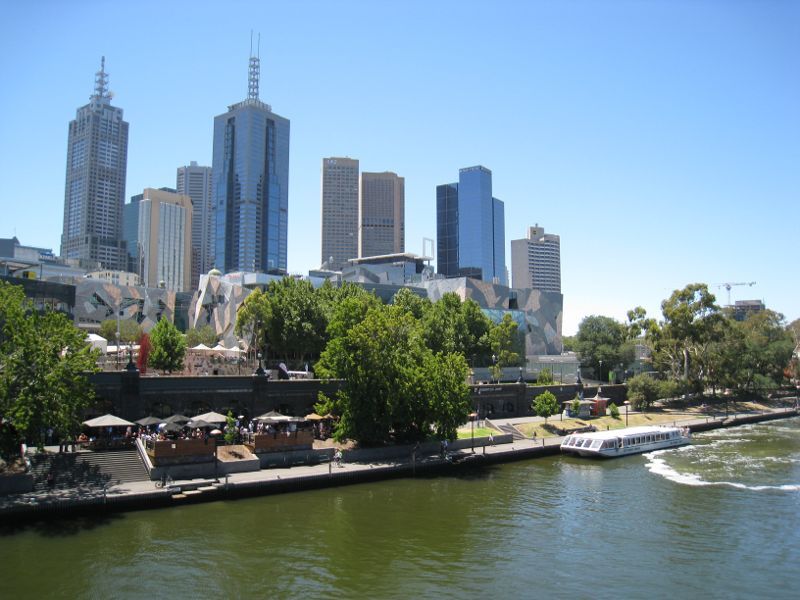
Federation Square - Northerly view across Yarra River towards Federation Wharf and city skyline
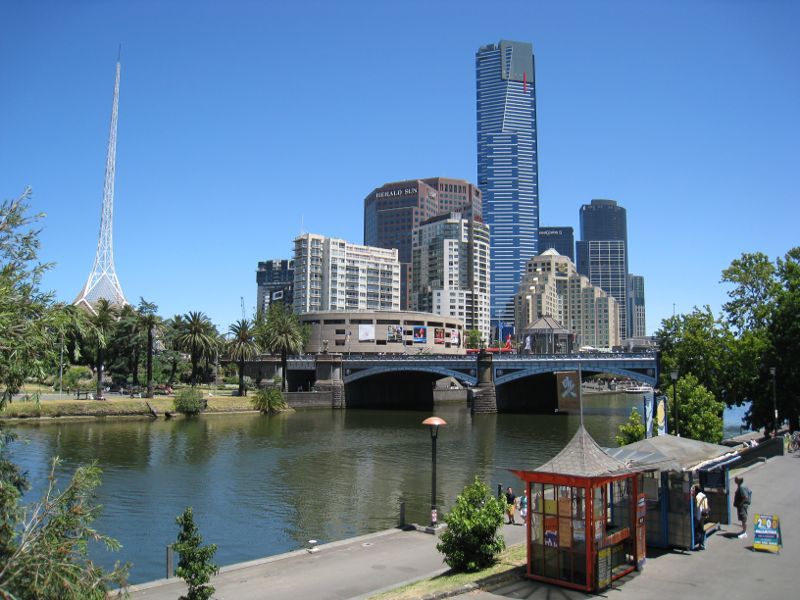
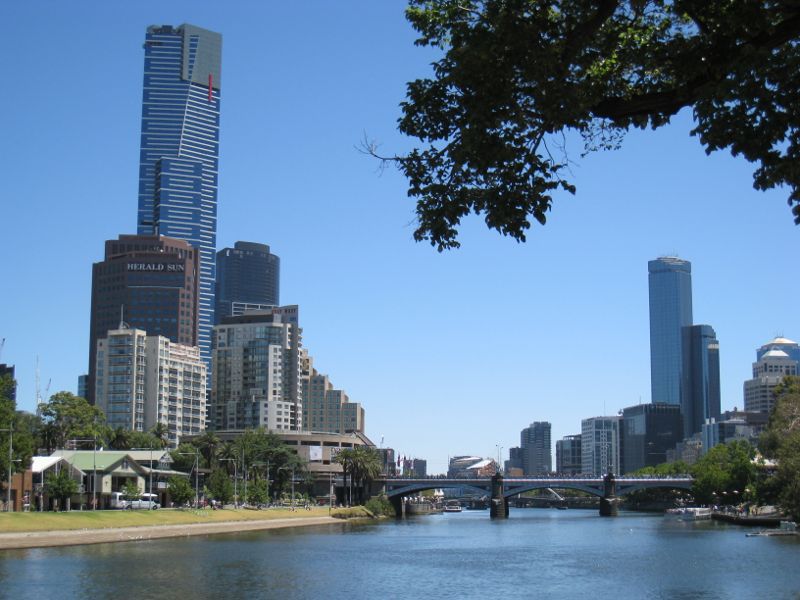
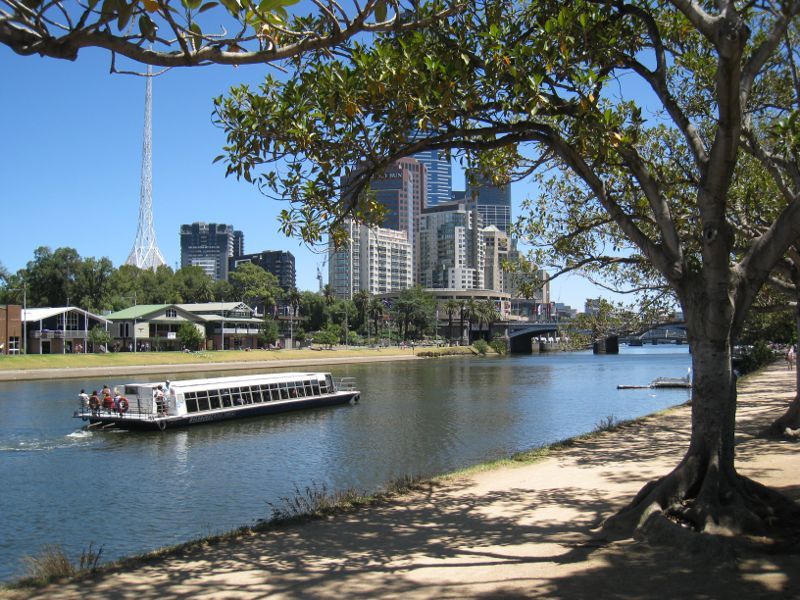
Birrarung Marr and Yarra River - Westerly view along Yarra River towards Princes Bridge, Eureka Tower and Rialto Towers
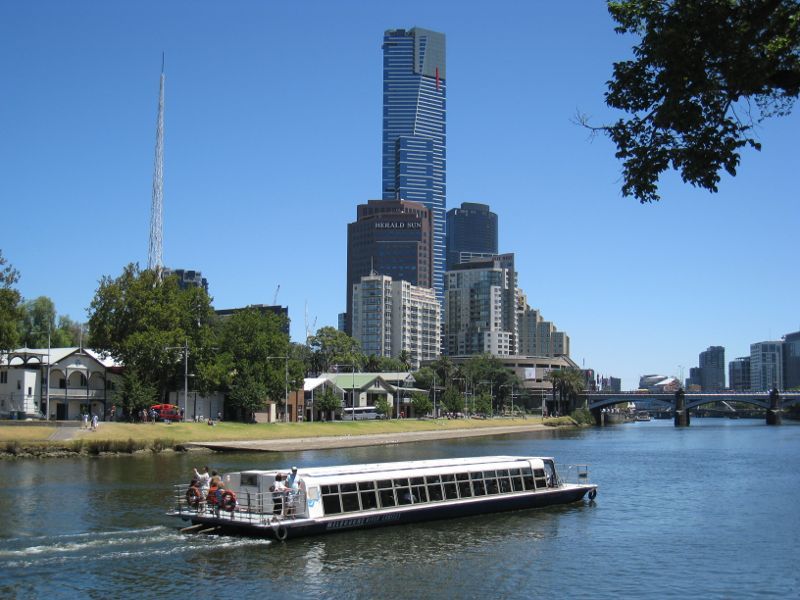
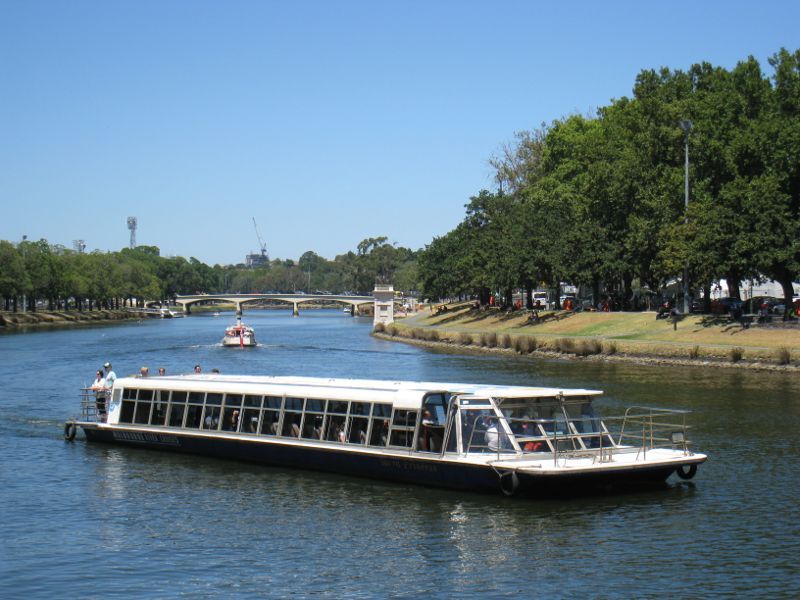
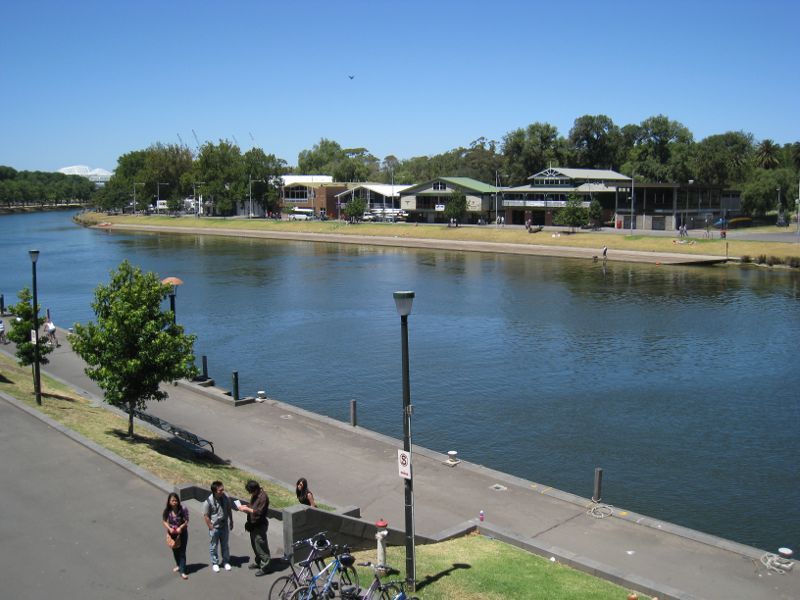
Birrarung Marr and Yarra River - View across Yarra River towards boat sheds and Eureka Tower
Birrarung Marr and Yarra River - View across Yarra River towards boat sheds
Birrarung Marr and Yarra River - Sea wall viewing area overlooking Yarra River
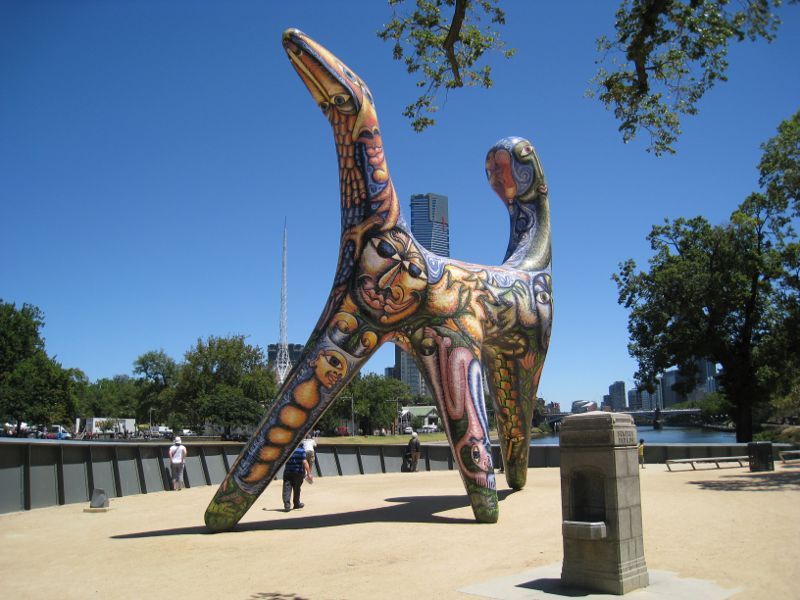
Birrarung Marr and Yarra River - Angel sculpture, sea wall viewing area
Birrarung Marr and Yarra River - View south-east along Yarra River towards Swan Street Bridge
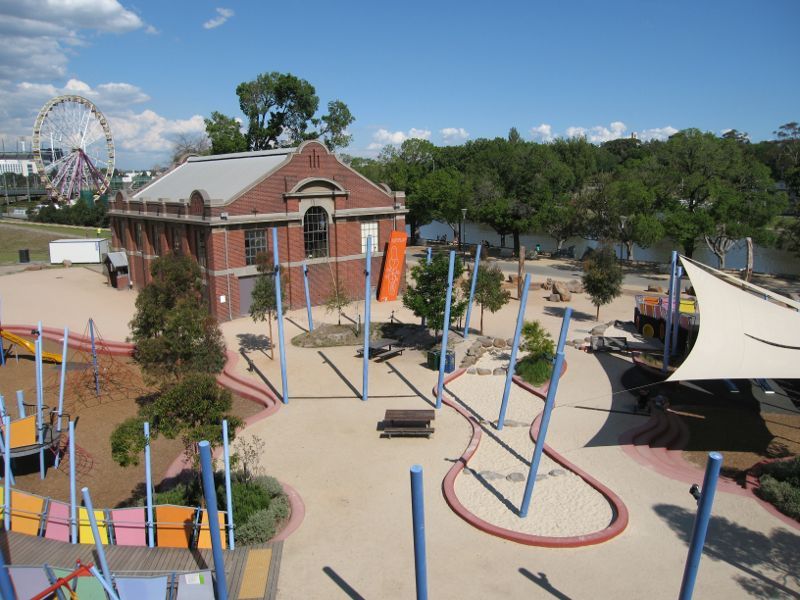
Birrarung Marr and Yarra River - ArtPlay Childrens Cultural Centre
Birrarung Marr and Yarra River - View east towards Southbank buildings
Birrarung Marr and Yarra River - View west across Lower Terrace
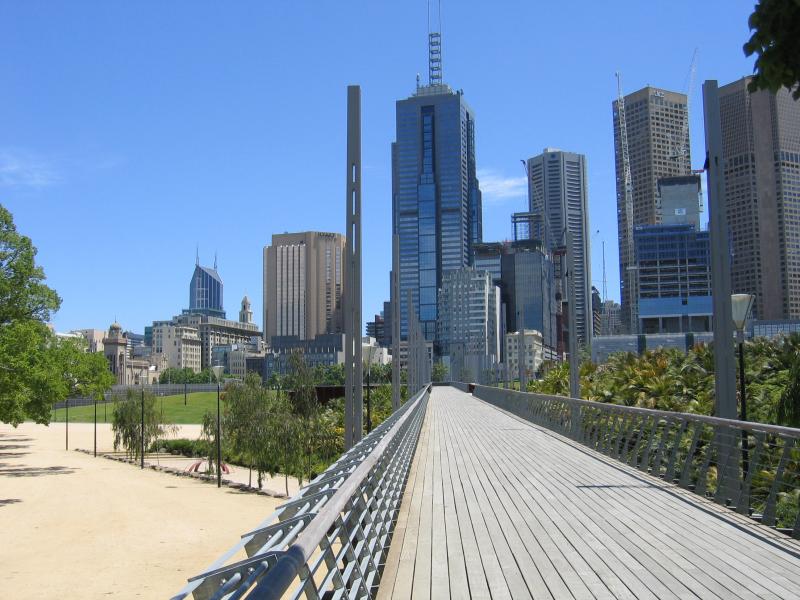
Birrarung Marr and Yarra River - View south-east along footbridge towards Speakers Corner
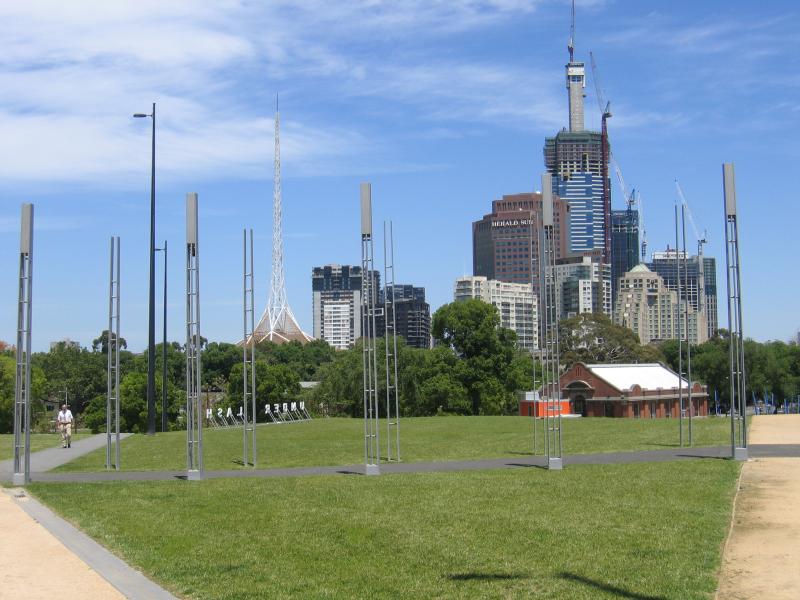
Birrarung Marr and Yarra River - View north-west along footbridge towards Upper Terrace
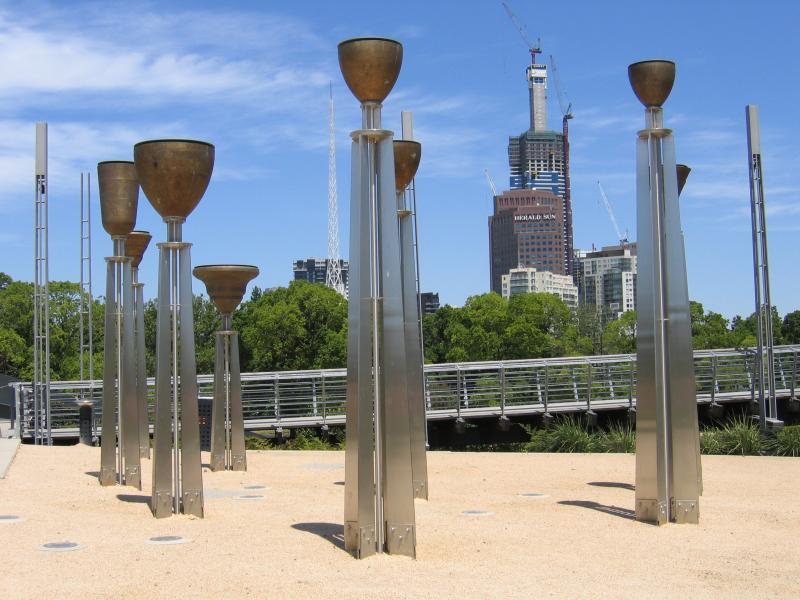
Birrarung Marr and Yarra River - Federation Bells
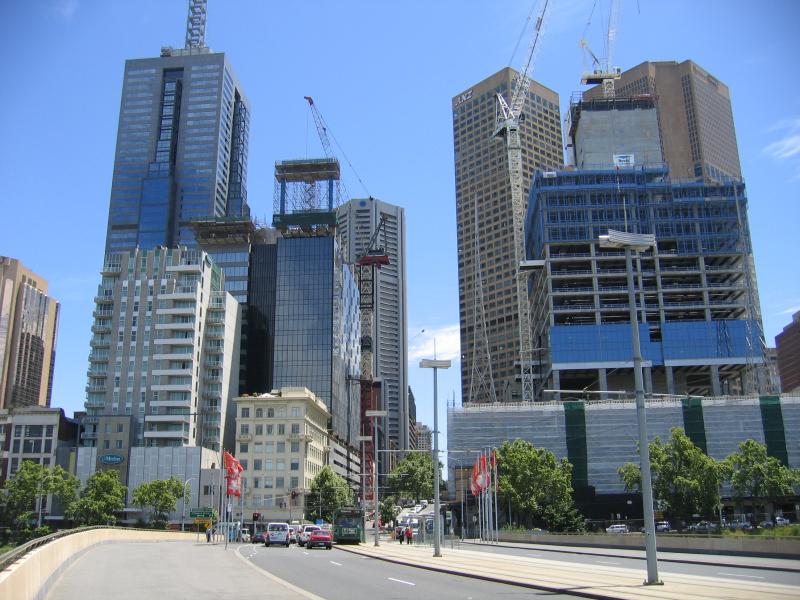
Batman Avenue - View north along Batman Av towards Flinders St
Batman Avenue - View north-west along Batman Av from William Barak Bridge
Batman Avenue - View west along William Barak Bridge across Batman Av and towards Birrarung Marr
Batman Avenue - View south-west across William Barak Bridge towards Birrarung Marr with Arts Centre in background
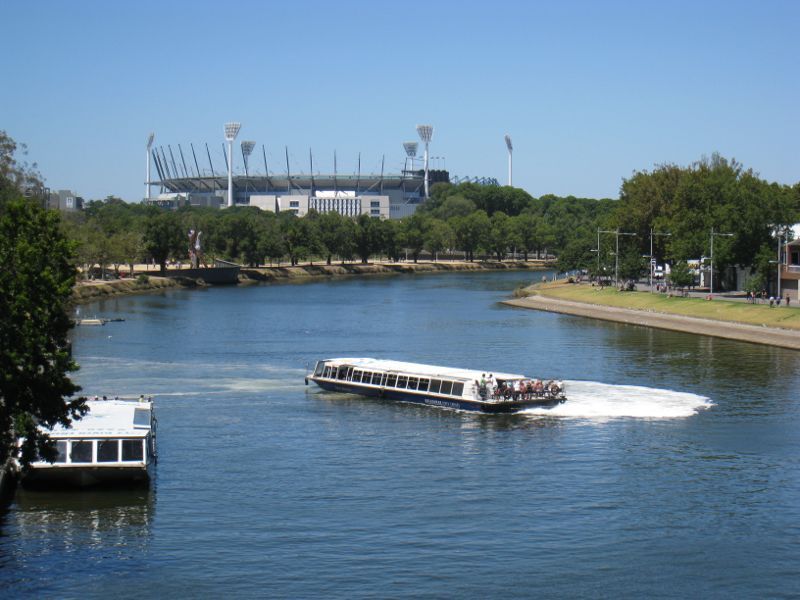
Batman Avenue - View south-east along Batman Av towards William Barak bridge with MCG in background
Batman Avenue - View north-east along Batman Av north of Swan Street Bridge
Yarra River around Swan Street Bridge - View north-west along Yarra River from Swan St Bridge
Yarra River around Swan Street Bridge - View west across Yarra River at Swan St Bridge
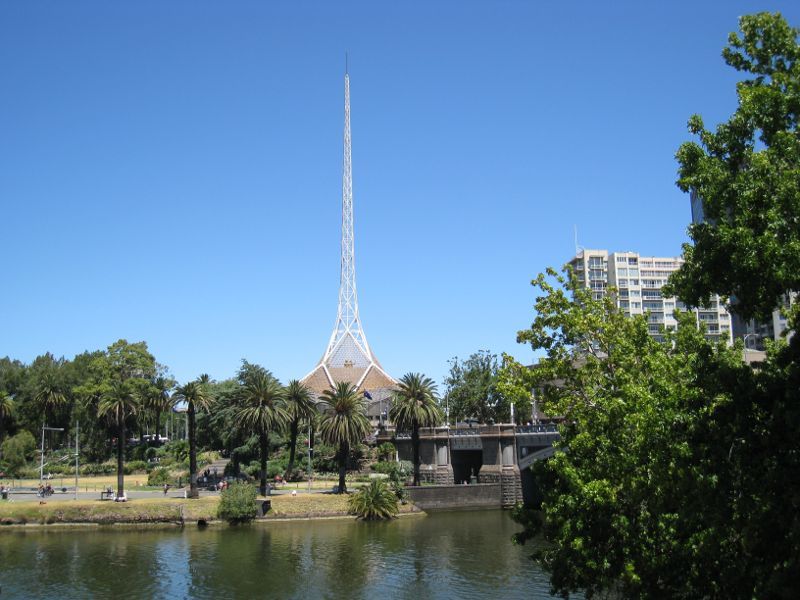
Alexandra Gardens and Yarra River - Arts Centre spire and Alexandra Gardens fronting Yarra River at Princes Bridge
Alexandra Gardens and Yarra River - View across Yarra River towards boat sheds
Alexandra Gardens and Yarra River - Easterly view along Yarra River at boat sheds
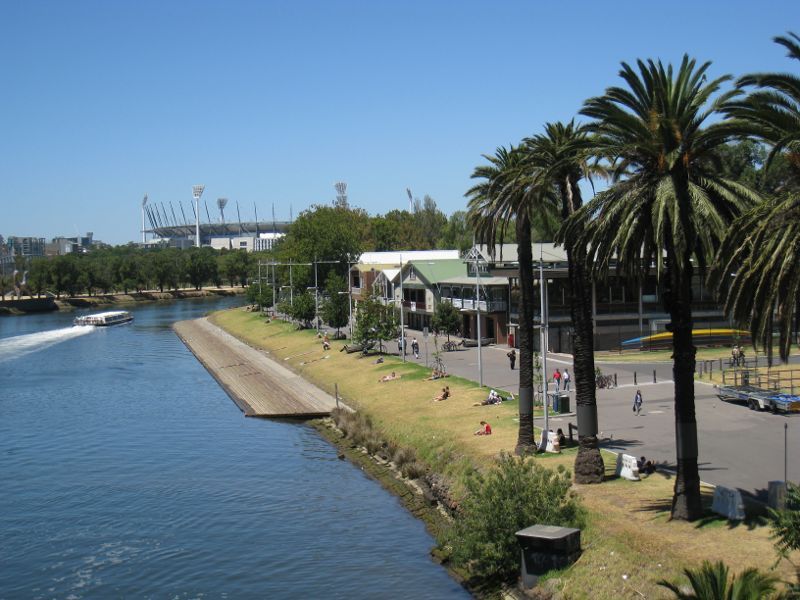
Alexandra Gardens and Yarra River - View east along Yarra River towards MCG
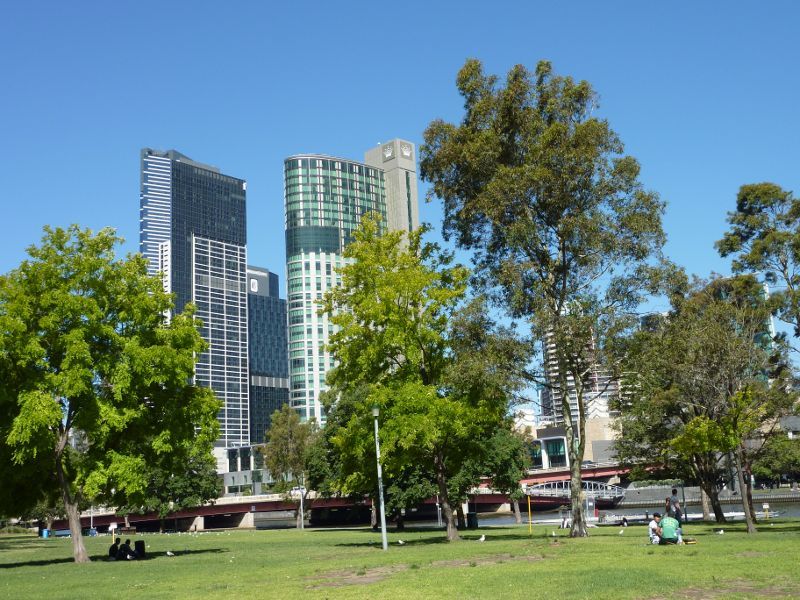
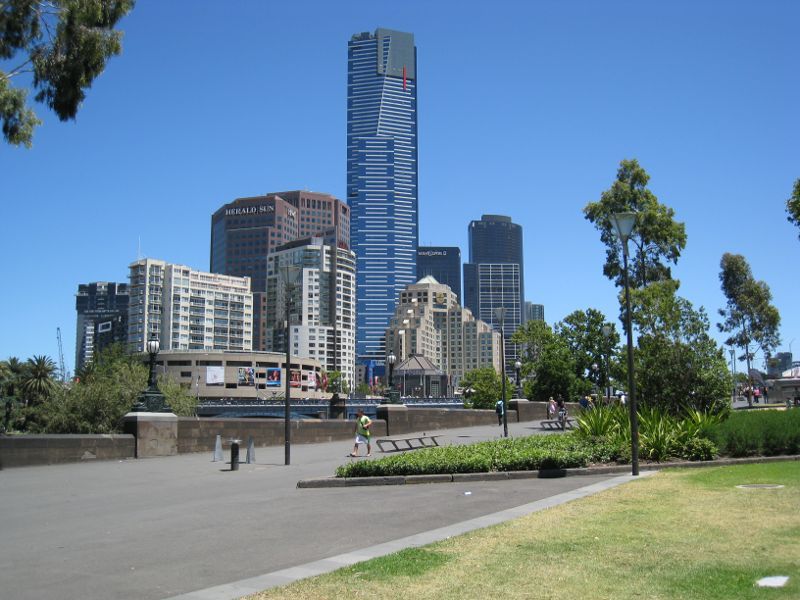
Alexandra Gardens and Yarra River - View north across Yarra River towards Federation Square and city skyline
Alexandra Gardens and Yarra River - View through gardens
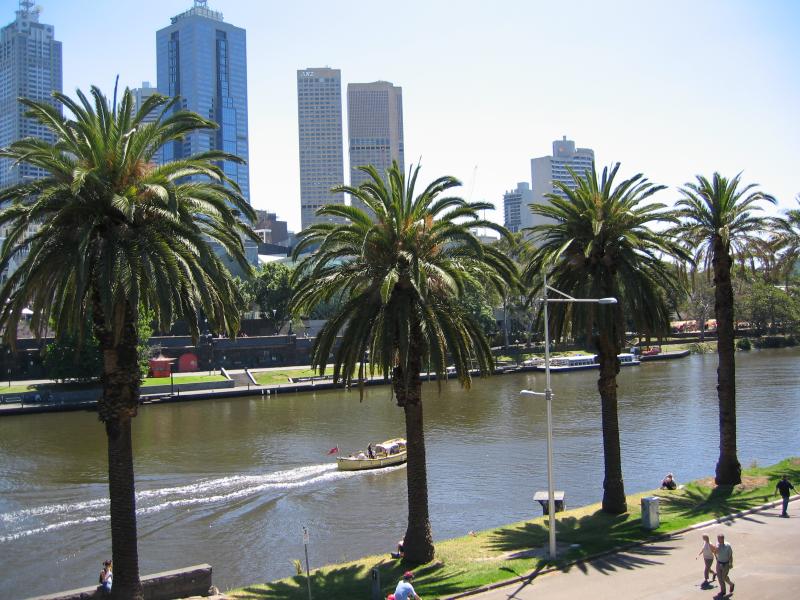
Alexandra Gardens and Yarra River - View north through gardens towards city skyline
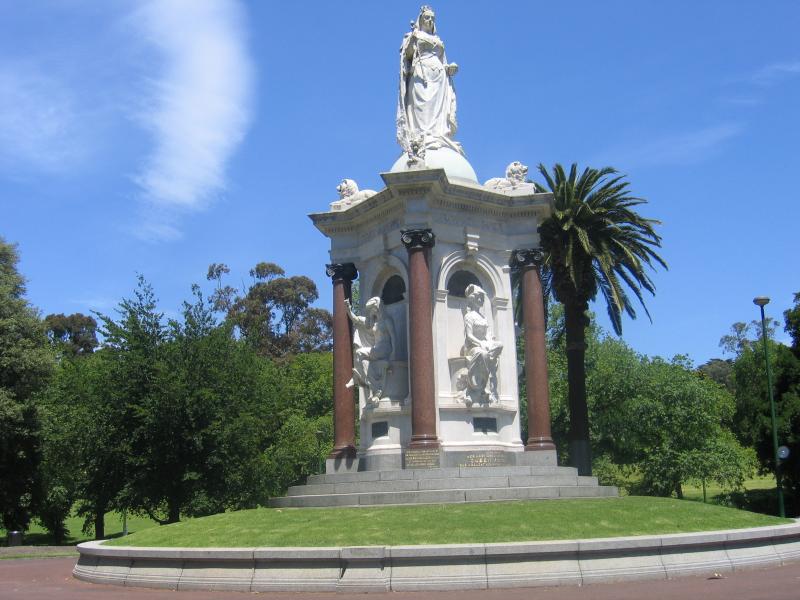
Queen Victoria Gardens, St Kilda Road at Linlithgow Avenue - Queen Victoria monument
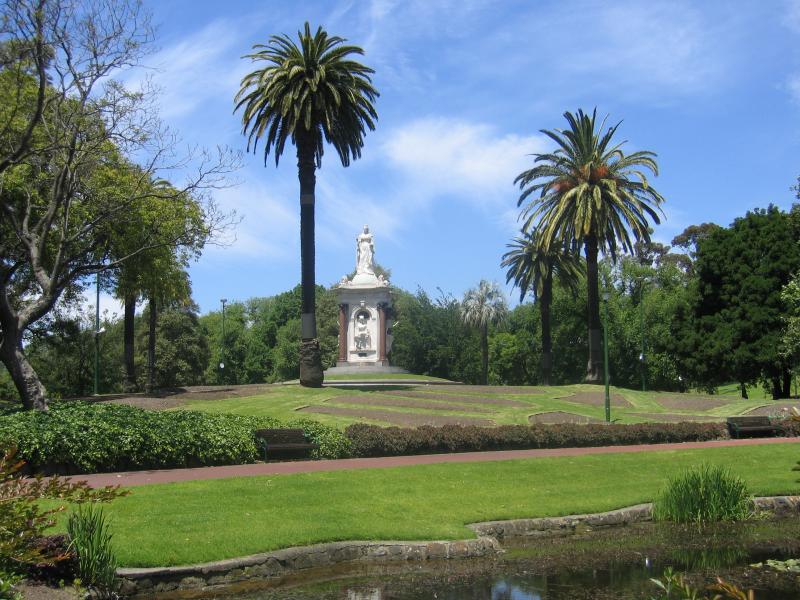
Queen Victoria Gardens, St Kilda Road at Linlithgow Avenue - View of Queen Victoria monument from lake
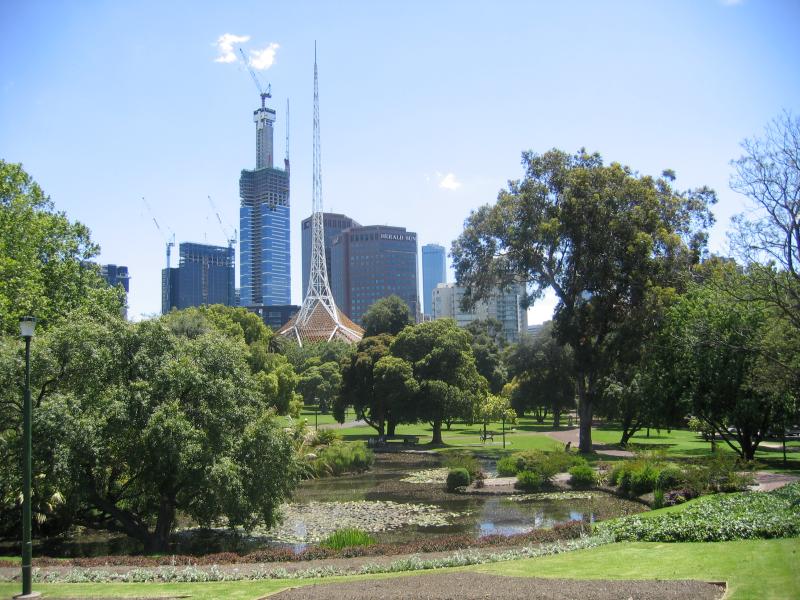
Queen Victoria Gardens, St Kilda Road at Linlithgow Avenue - View of lake with Arts Centre and city skyline in background
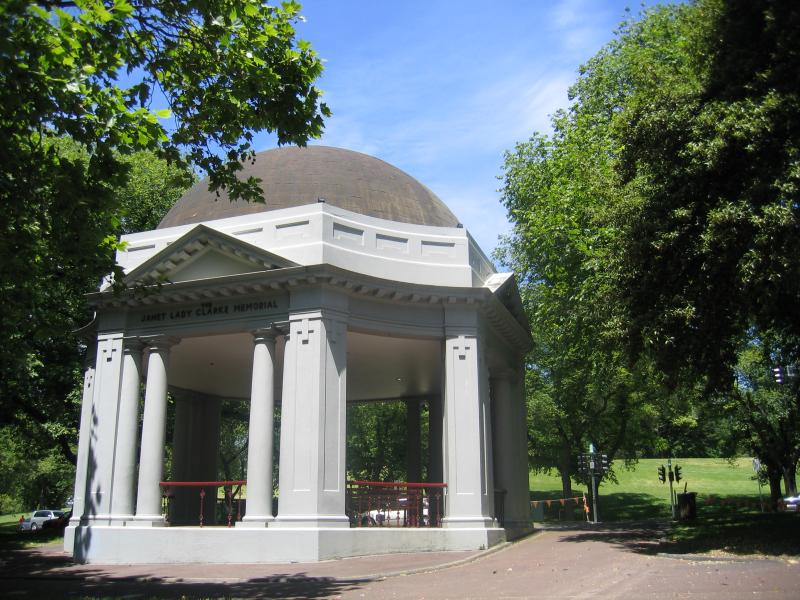
Queen Victoria Gardens, St Kilda Road at Linlithgow Avenue - Lady Janet Clarke memorial rotunda
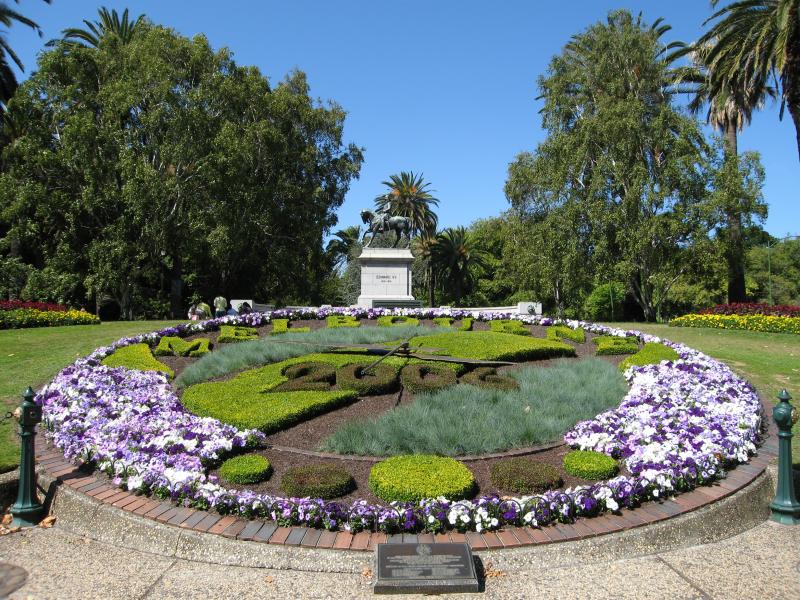
Queen Victoria Gardens, St Kilda Road at Linlithgow Avenue - Floral clock in front of King Edward VII monument
Kings Domain - King George V monument
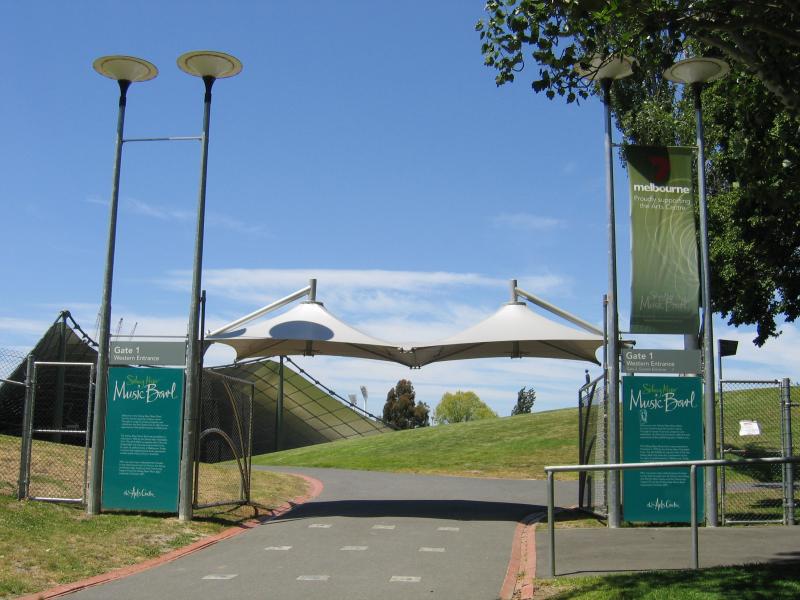
Kings Domain - Gate 1 (western) entrance to Sidney Myer Music Bowl
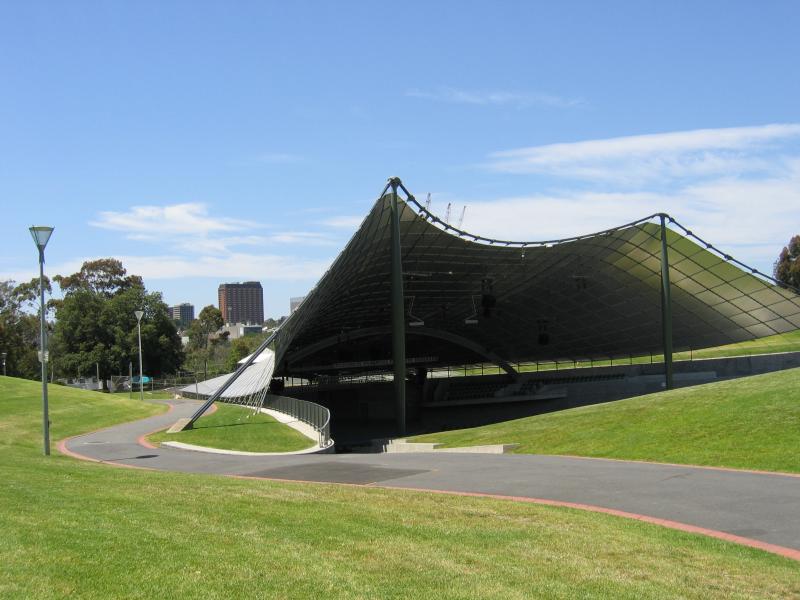
Kings Domain - Sidney Myer Music Bowl
Kings Domain - Marquis of Linlithgow monument
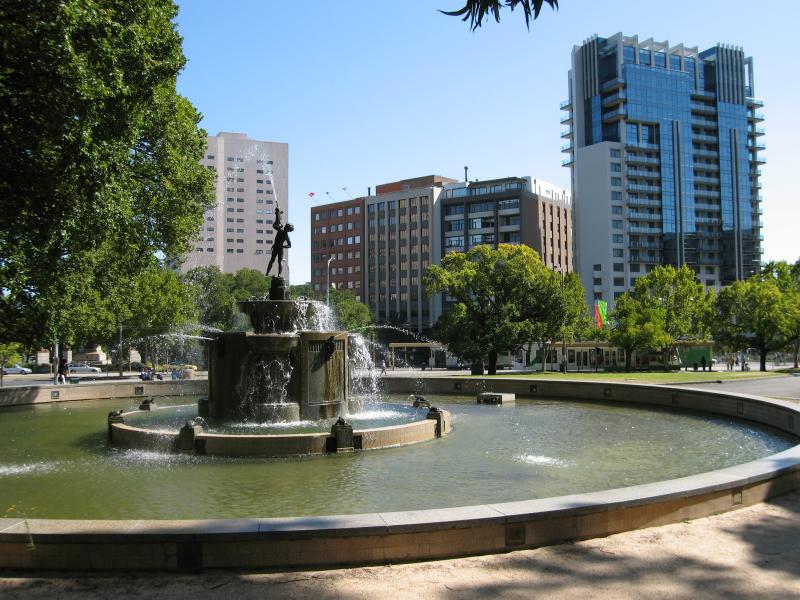
Kings Domain - MacRoberton Fountain near corner of St Kilda Rd and Domain Rd
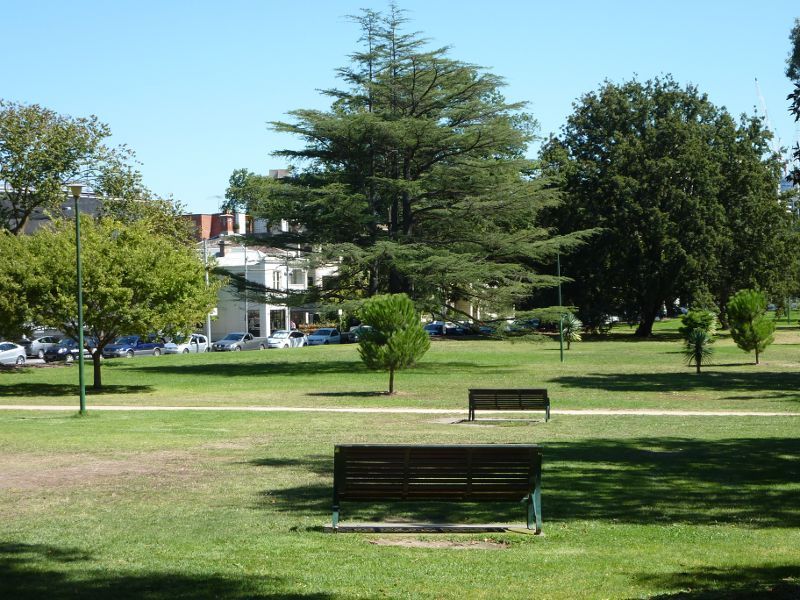
Kings Domain - Westerly view through Kings Domain, Domain Rd west of Birdwood Av
Kings Domain - View south-east along Birdwood Av at Tan Track towards Domain Rd
Kings Domain - Marble seat in Rotary Park of Remembrance, Birdwood Av at Domain Rd
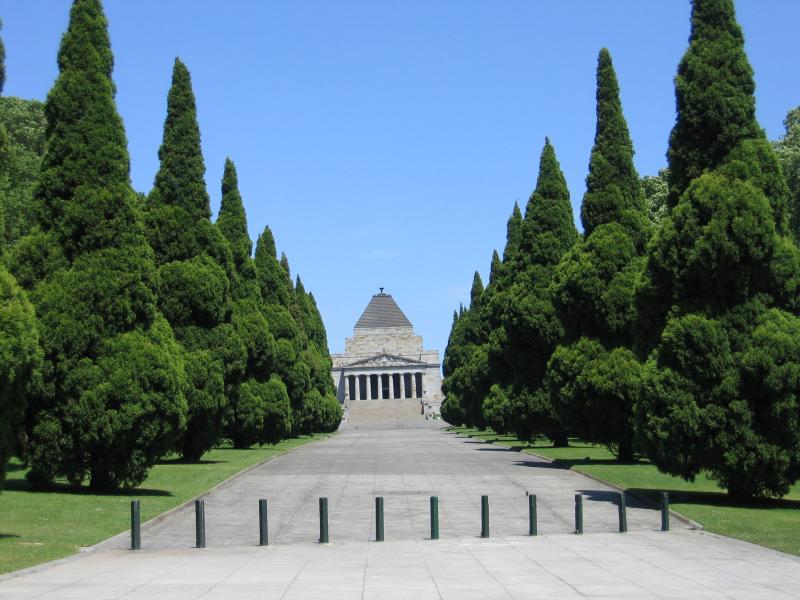
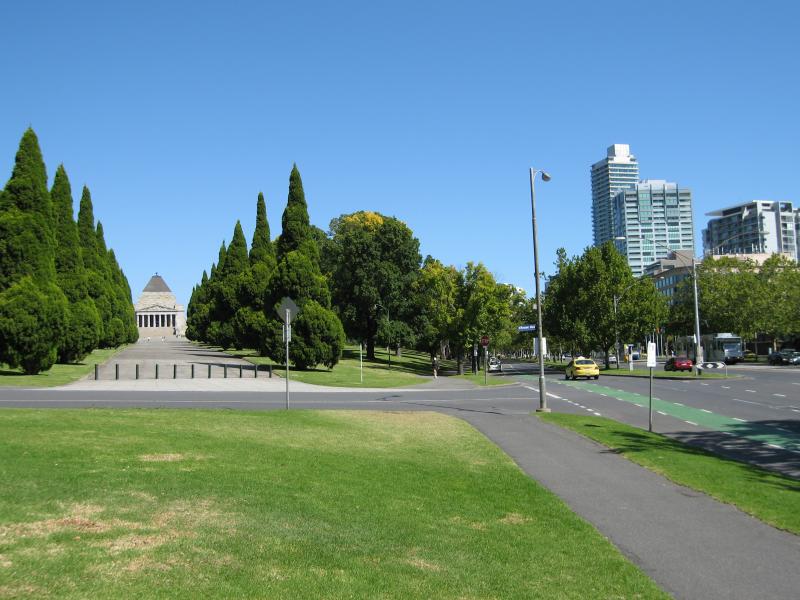
Shrine of Remembrance, St Kilda Road - Walkway to Shrine of Remembrance at Anzac Avenue
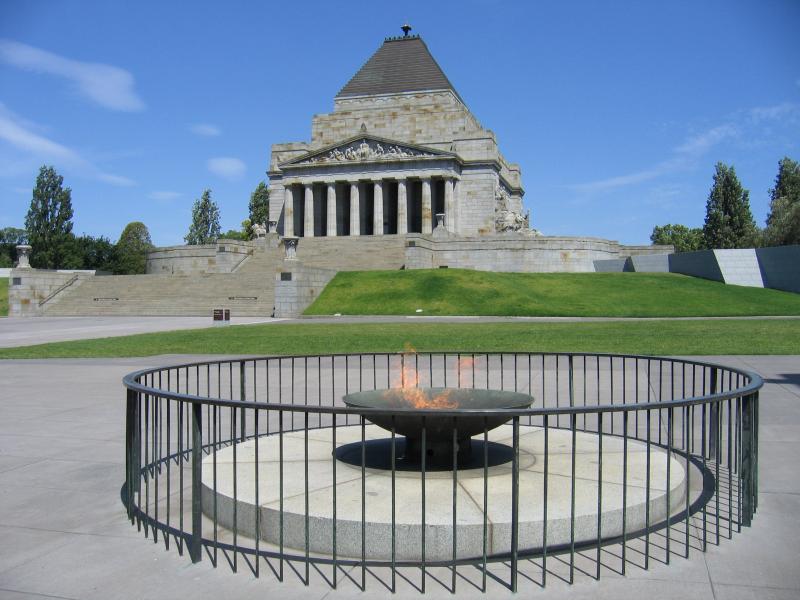
Shrine of Remembrance, St Kilda Road - Eternal Flame and Shrine
Shrine of Remembrance, St Kilda Road - Entrance to Visitors Centre under Shrine
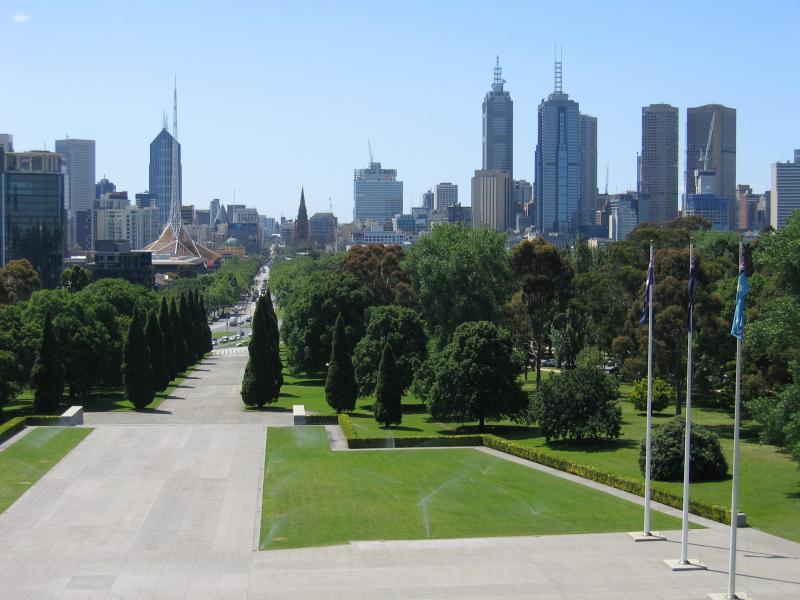
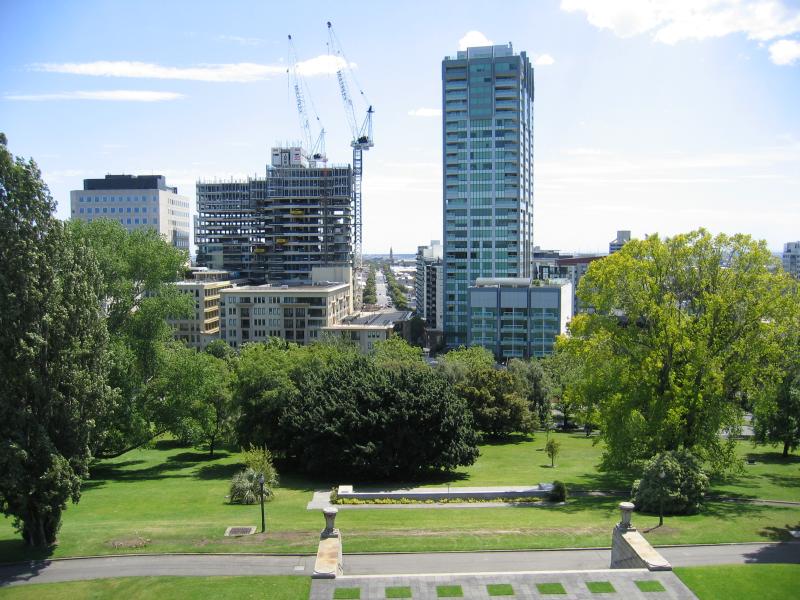
Shrine of Remembrance, St Kilda Road - View from Shrine balcony north towards St Kilda Rd and city skyline
Shrine of Remembrance, St Kilda Road - View from Shrine balcony north towards St Kilda Rd and city skyline
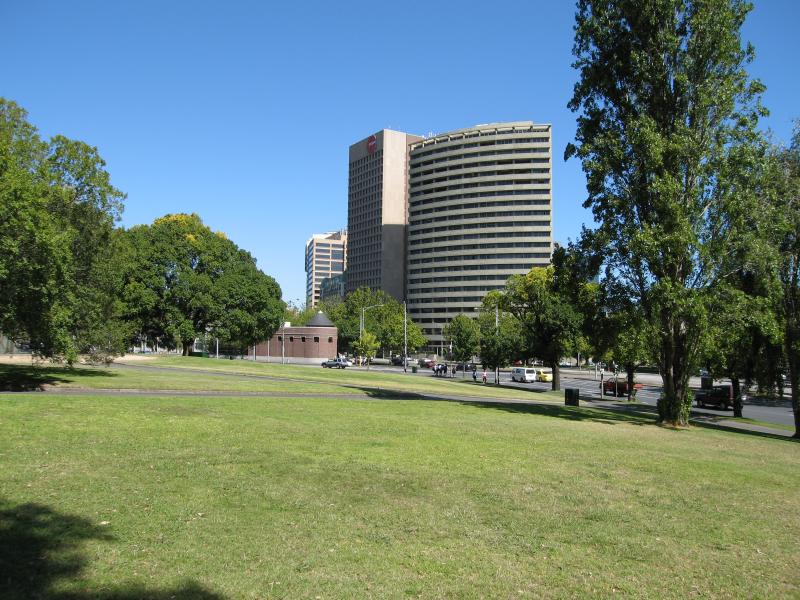
Shrine of Remembrance, St Kilda Road - View from Shrine balcony west towards South Melbourne
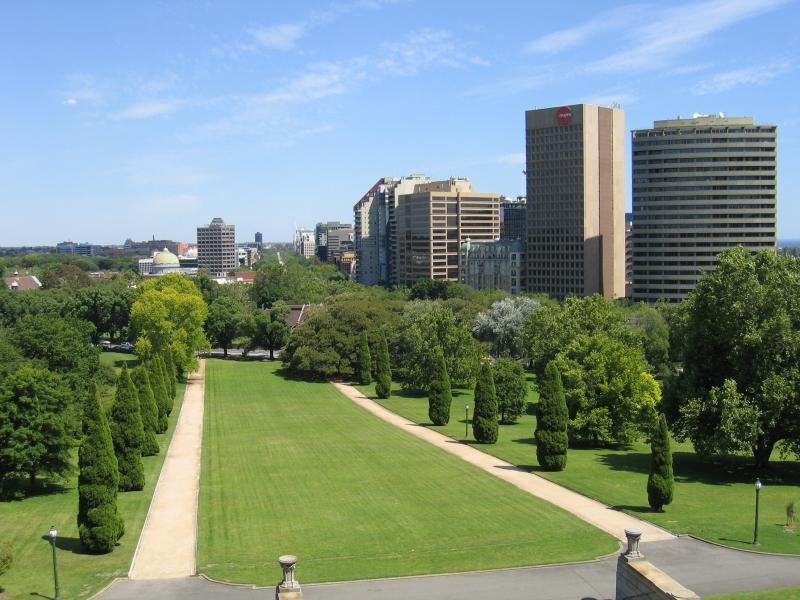
Shrine of Remembrance, St Kilda Road - View from Shrine balcony south towards St Kilda Rd and South Yarra
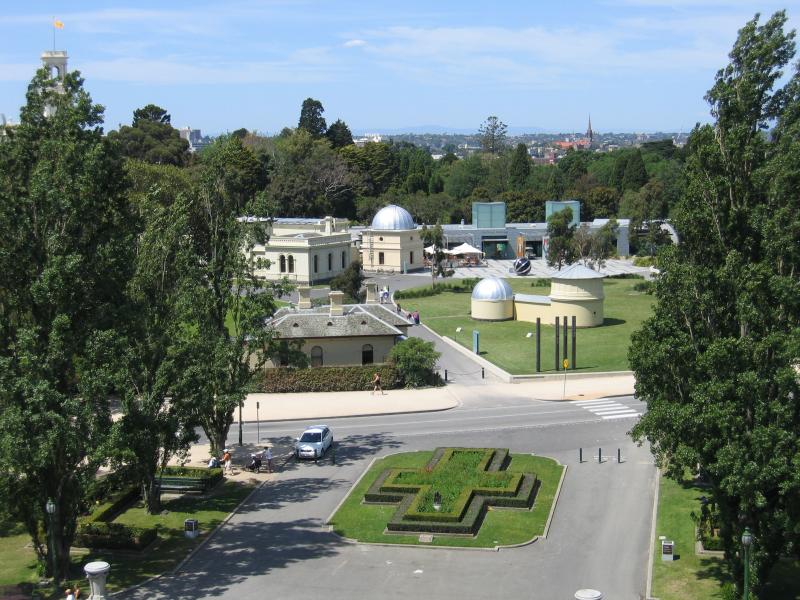
Shrine of Remembrance, St Kilda Road - View from Shrine balcony east towards Botanic Gardens Visitor Centre
Royal Botanic Gardens - View of Botanic Gardens Visitor Centre from Birdwood Av
Royal Botanic Gardens - Botanic Gardens Visitor Centre and Observatory Cafe
Royal Botanic Gardens - Observatory House
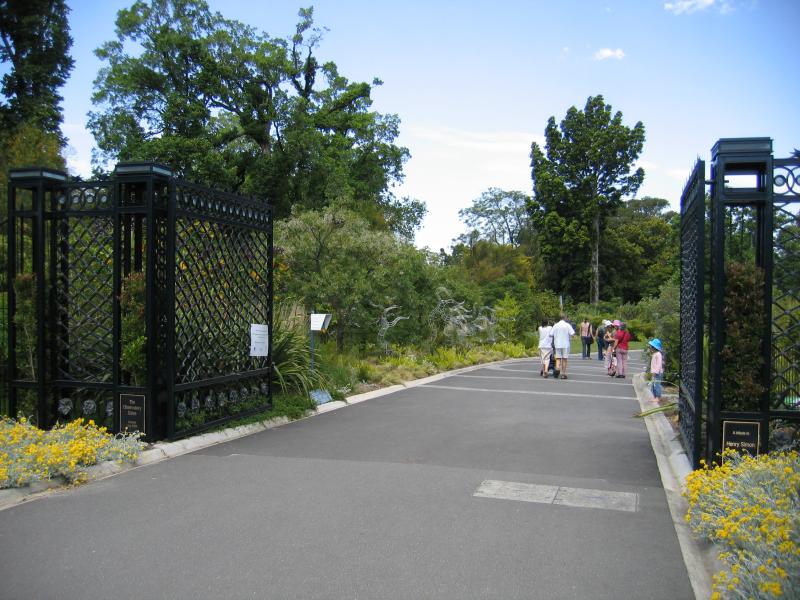
Royal Botanic Gardens - The Observatory Gates
Royal Botanic Gardens - Childrens Garden
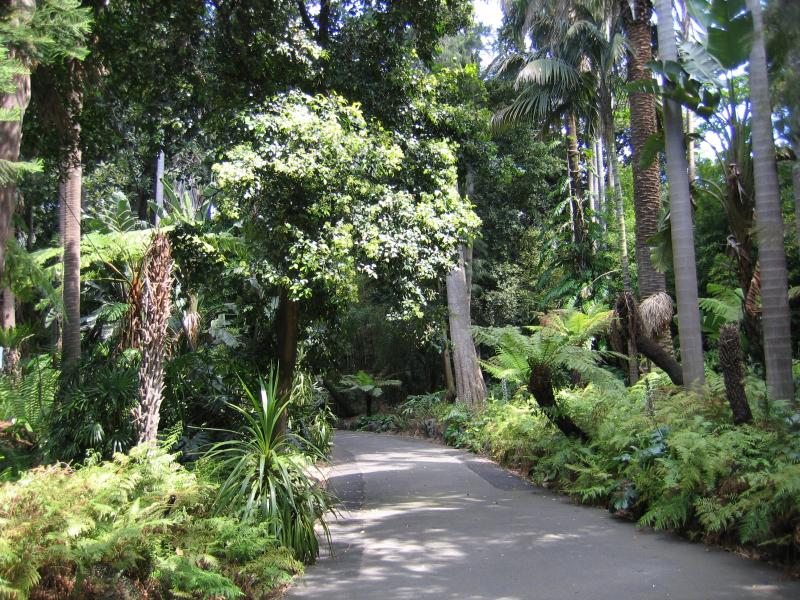
Royal Botanic Gardens - Path through rain forest
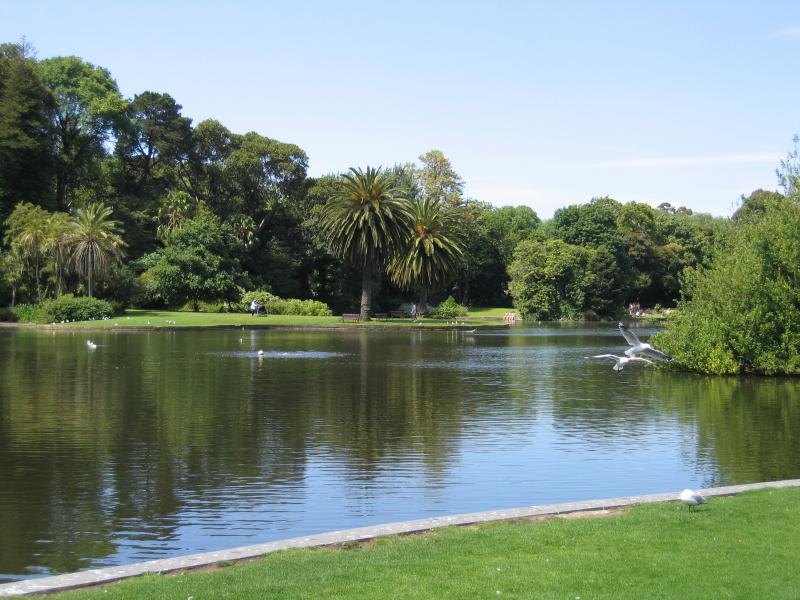
Royal Botanic Gardens - Ornamental Lake
Royal Botanic Gardens - Ornamental Lake
Royal Botanic Gardens - Boardwalk at the Gardens Shop and Ornamental Lake
Royal Botanic Gardens - Canna bed rain garden
Royal Botanic Gardens - Gardens around Nymphaea Lily Lake
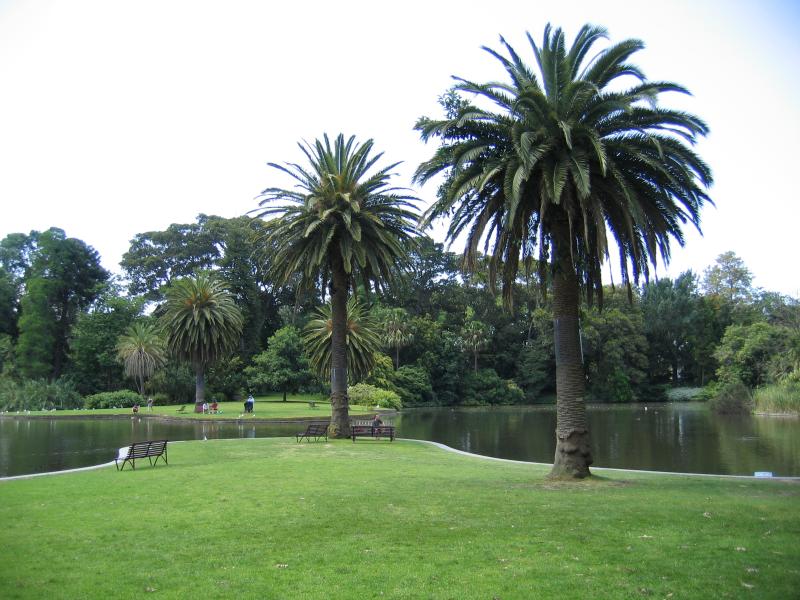
Royal Botanic Gardens - View towards Nymphaea Lily Lake
Royal Botanic Gardens - Lawns at western side of Nymphaea Lily Lake
Royal Botanic Gardens - Path along southern side of Nymphaea Lily Lake
Royal Botanic Gardens - Path near eastern side of Nymphaea Lily Lake
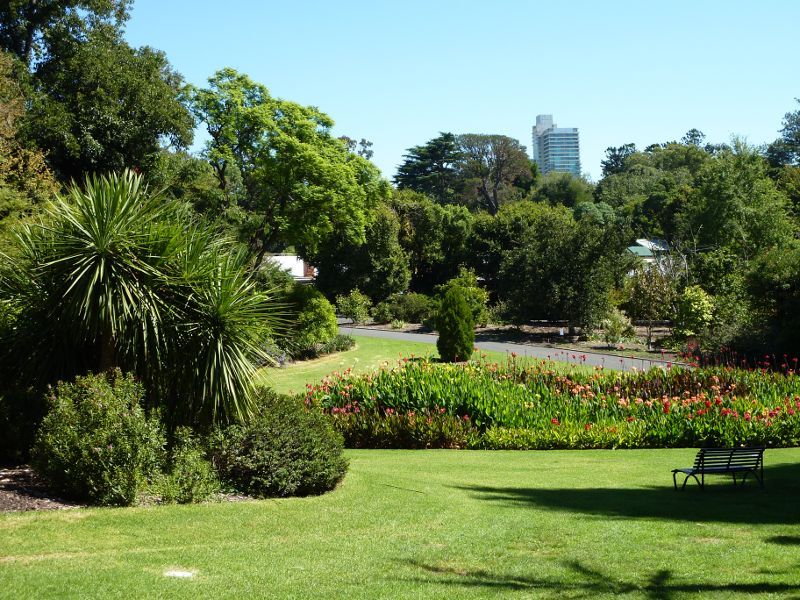
Royal Botanic Gardens - View towards Guilfoyle Lawn
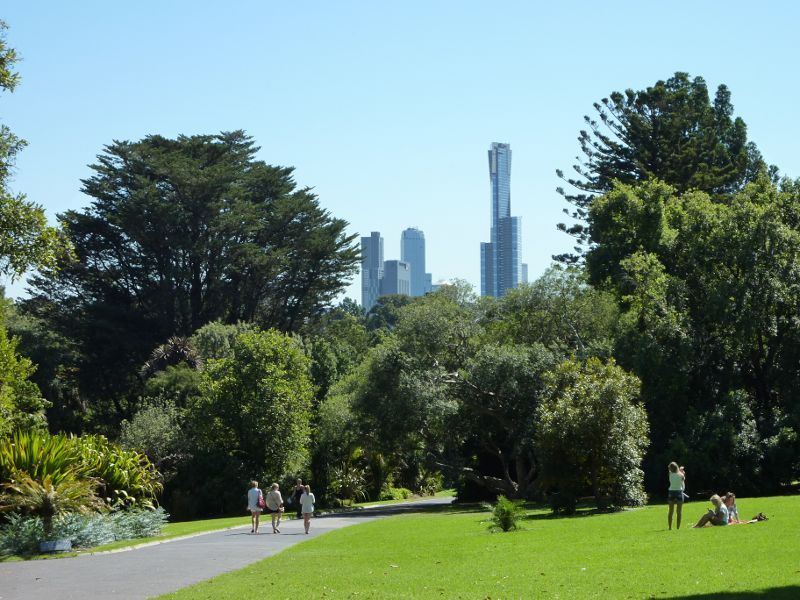
Royal Botanic Gardens - Guilfoyle Lawn with Eureka Tower in background
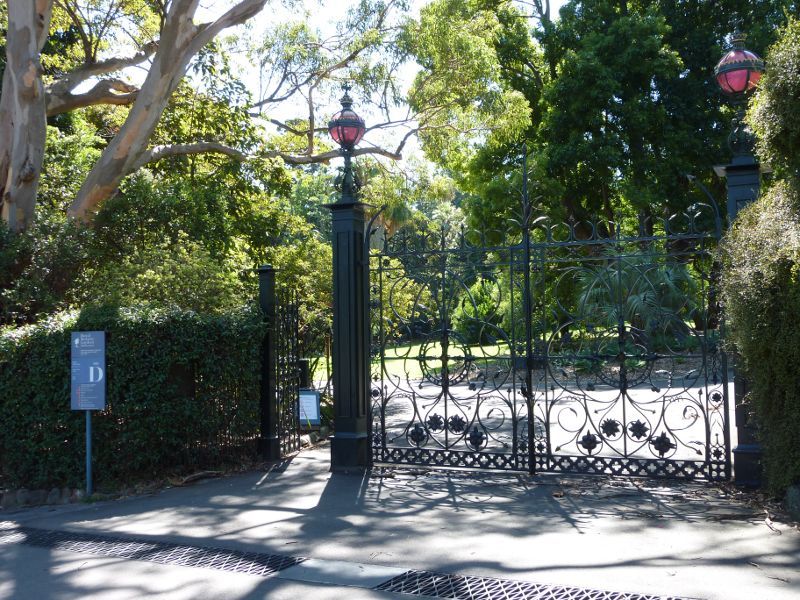
Royal Botanic Gardens - Entrance gate 'D', east end of Birdwood Av
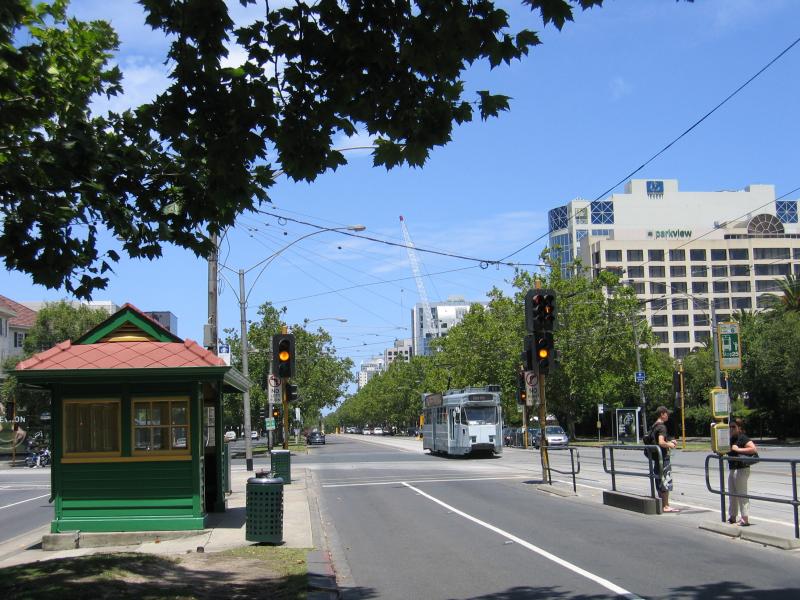
St Kilda Road - View south along St Kilda Rd towards Anzac Av
St Kilda Road - View south-east along St Kilda Rd towards Domain Rd
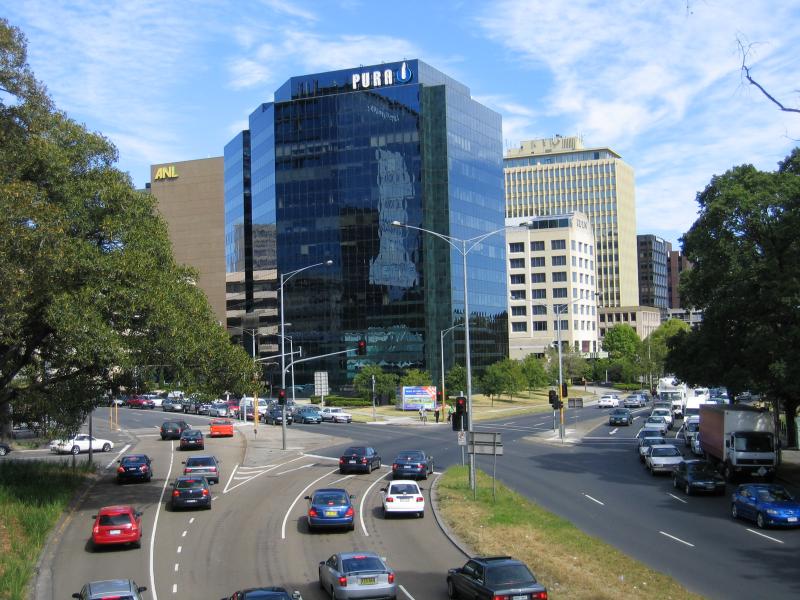
St Kilda Road - View north along St Kilda Rd at Bowen Crescent
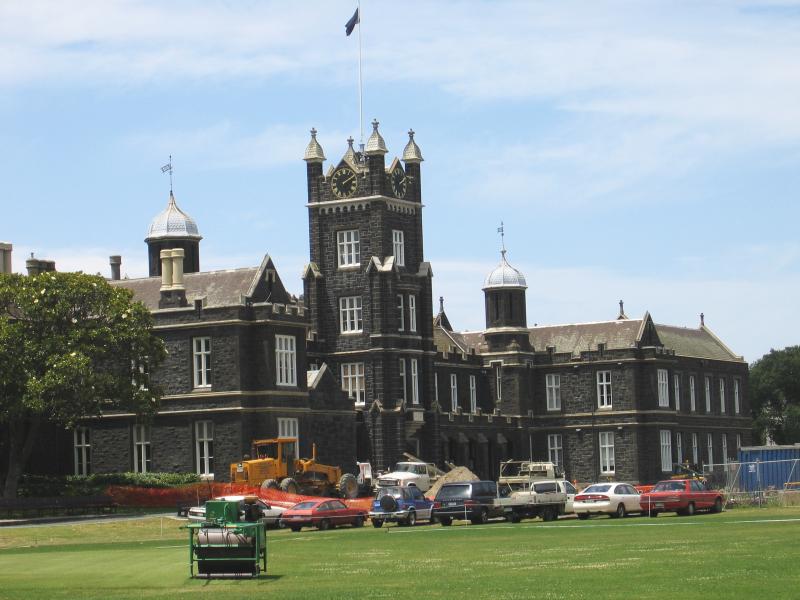
St Kilda Road - Melbourne Grammar School
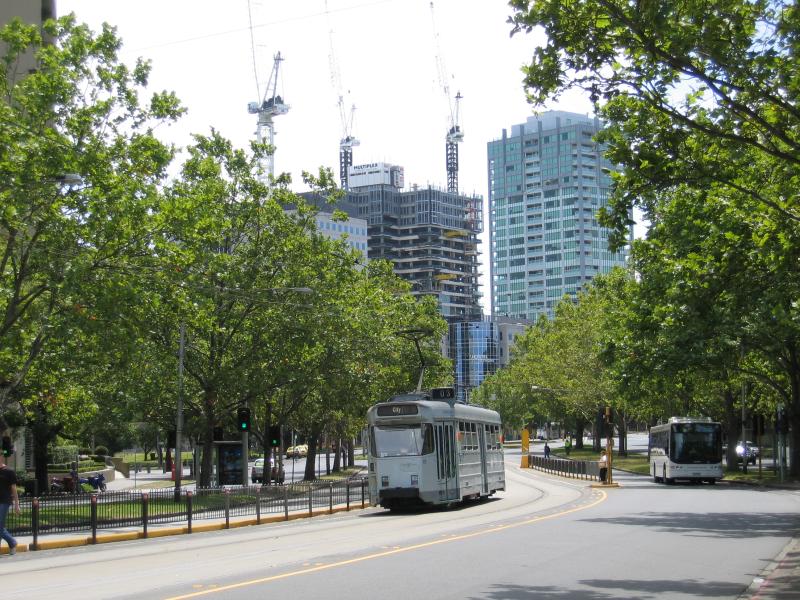
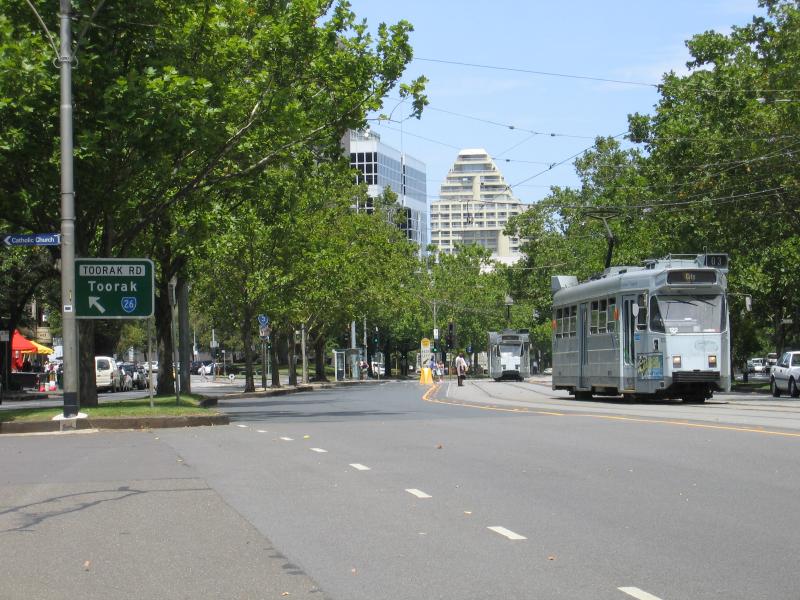
St Kilda Road - View south along St Kilda Rd towards Toorak Rd
St Kilda Road - View south along St Kilda Rod towards Toorak Rd
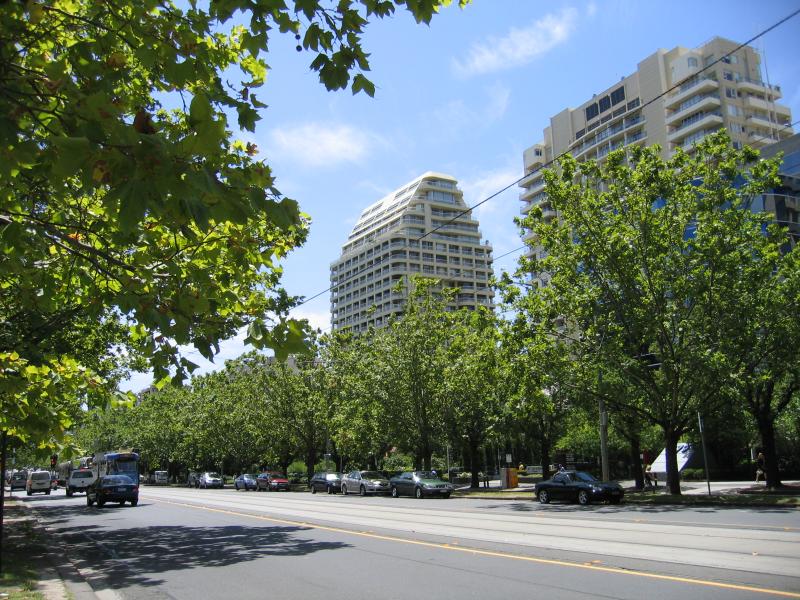
St Kilda Road - View north along St Kilda Rd between Louise St and Armadale Rd
St Kilda Road - View south along St Kilda Rd towards Commercial Rd
Kings Way - View south-east along Kings Way towards Queens Rd
Kings Way - View north-west along Kings Way towards Albert Rd
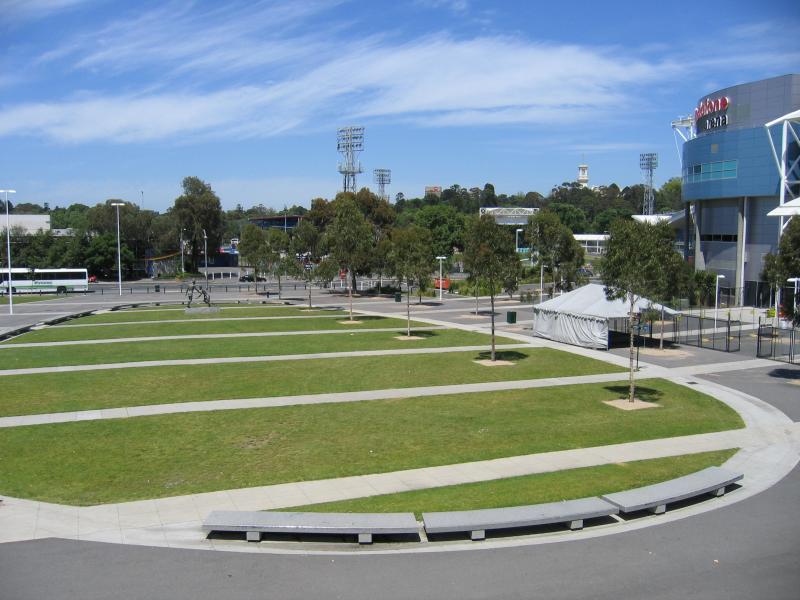
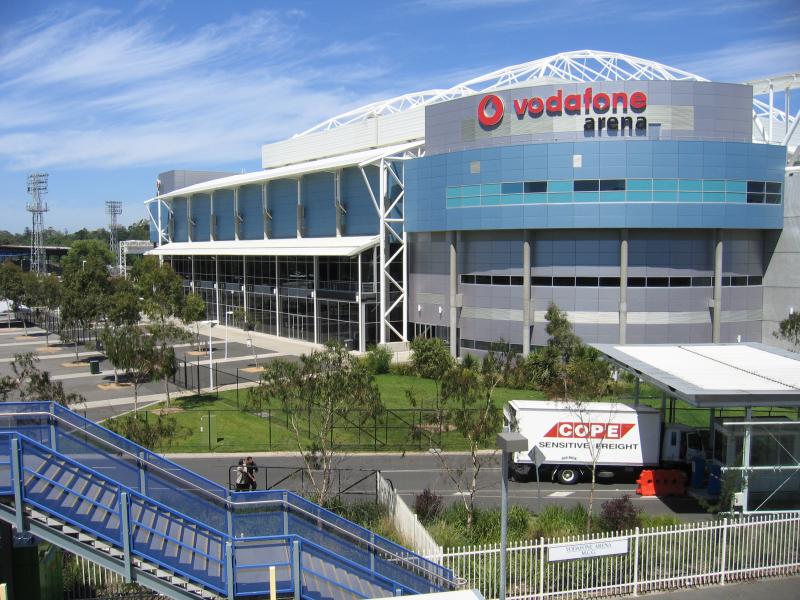
Melbourne Park sporting venues, north side of Olympic Boulevard - View south along pedestrian plaza towards Olympic Bvd at Hisense Arena
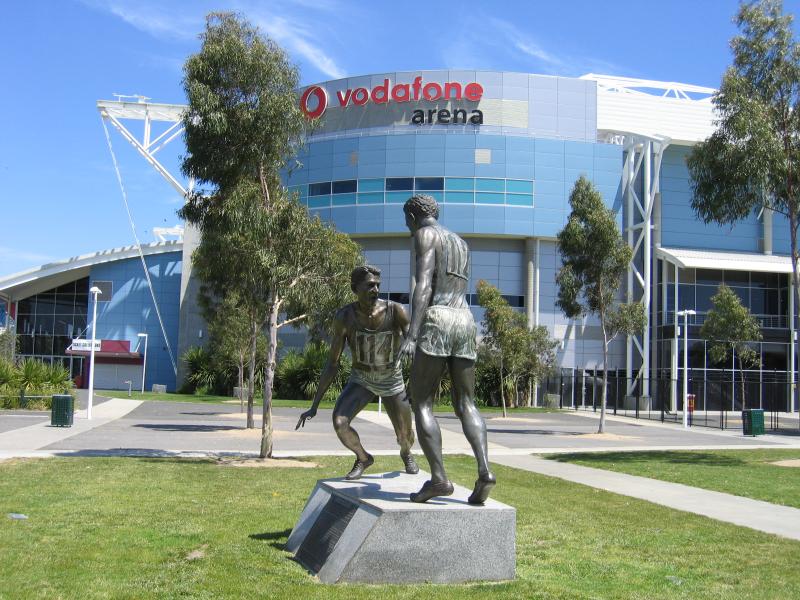
Melbourne Park sporting venues, north side of Olympic Boulevard - Sportsmanship monument, Hisense Arena
Melbourne Park sporting venues, north side of Olympic Boulevard - View of Hisense Arena from footbridge to MCG
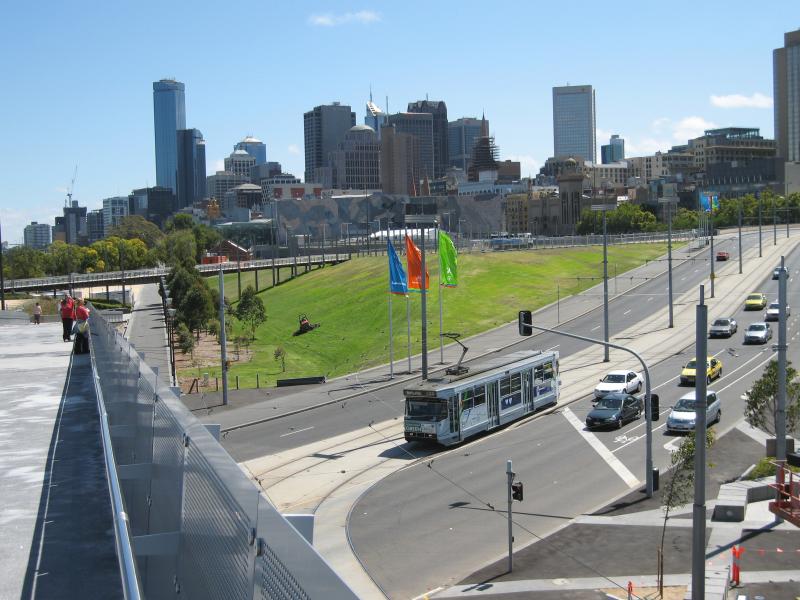
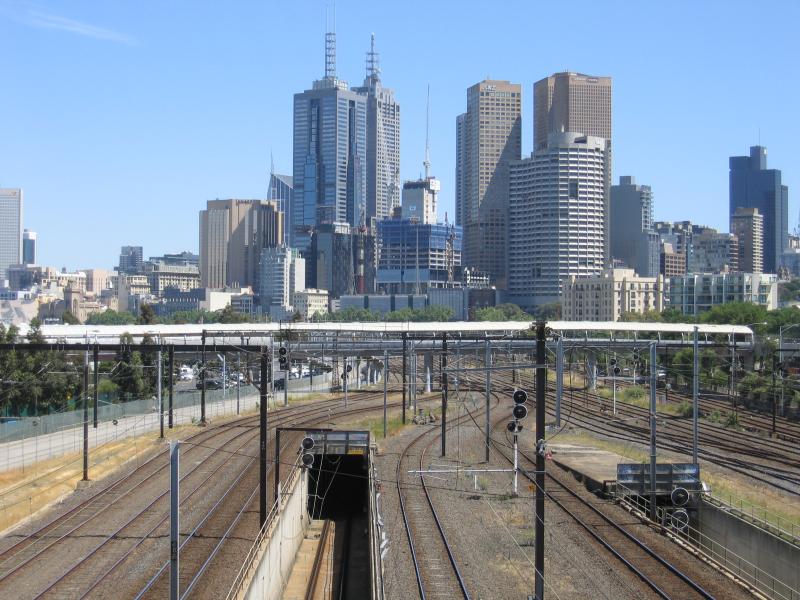
Melbourne Park sporting venues, north side of Olympic Boulevard - View west along railway lines towards city skyline from footbridge to MCG
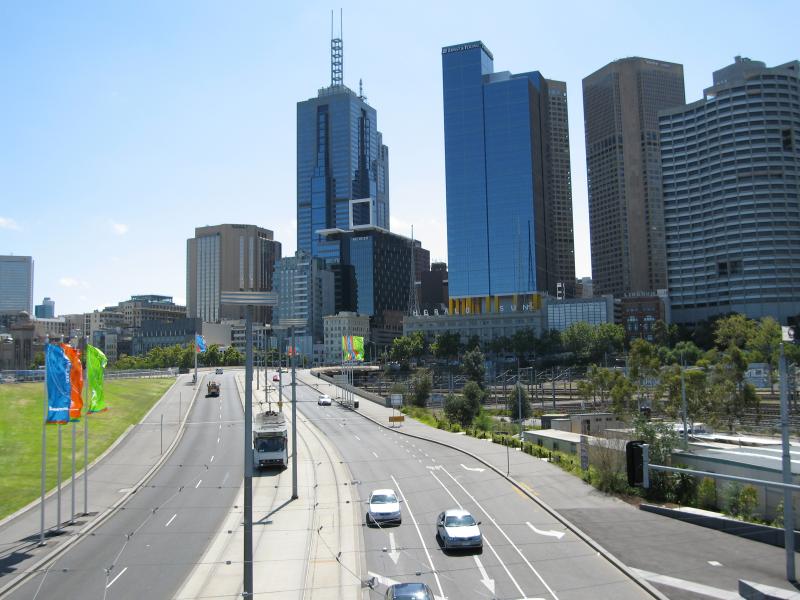
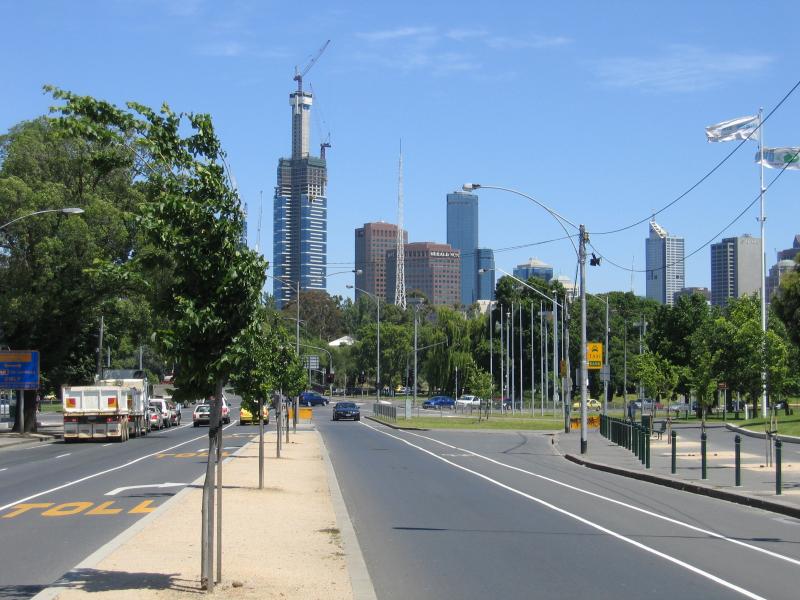
Melbourne Park sporting venues, north side of Olympic Boulevard - View west along Olympic Bvd towards Batman Av
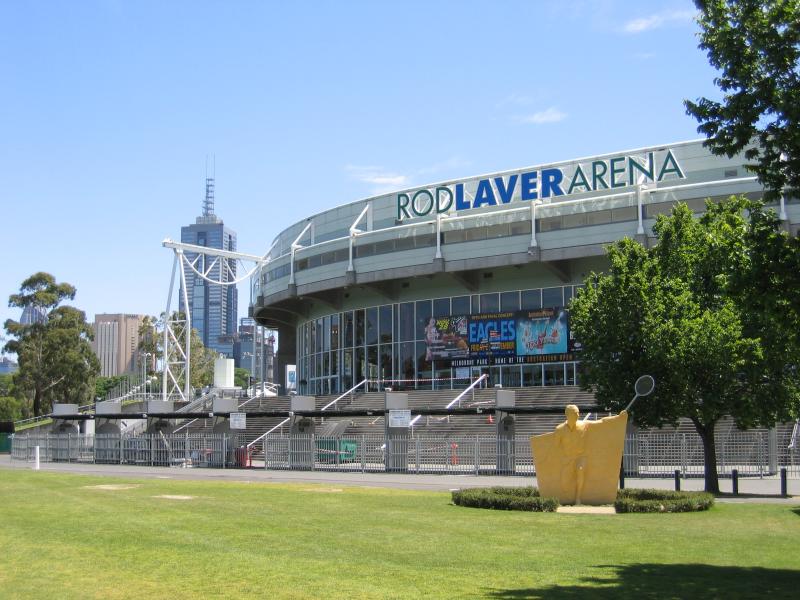
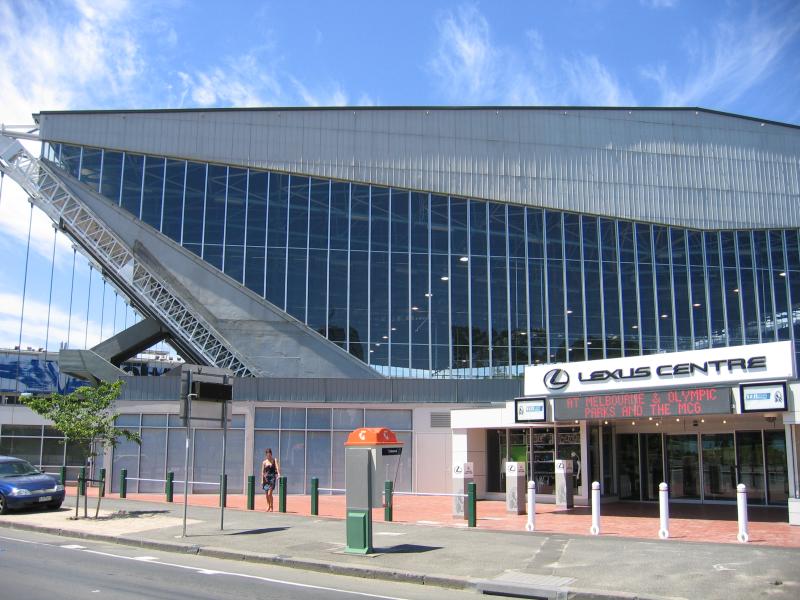
Melbourne Park sporting venues, north side of Olympic Boulevard - Rod Laver Arena, corner Olympic Bvd and Batman Av
Olympic Park sporting venues, south side of Olympic Boulevard - Westpac Centre, corner Olympic Bvd and Batman Av
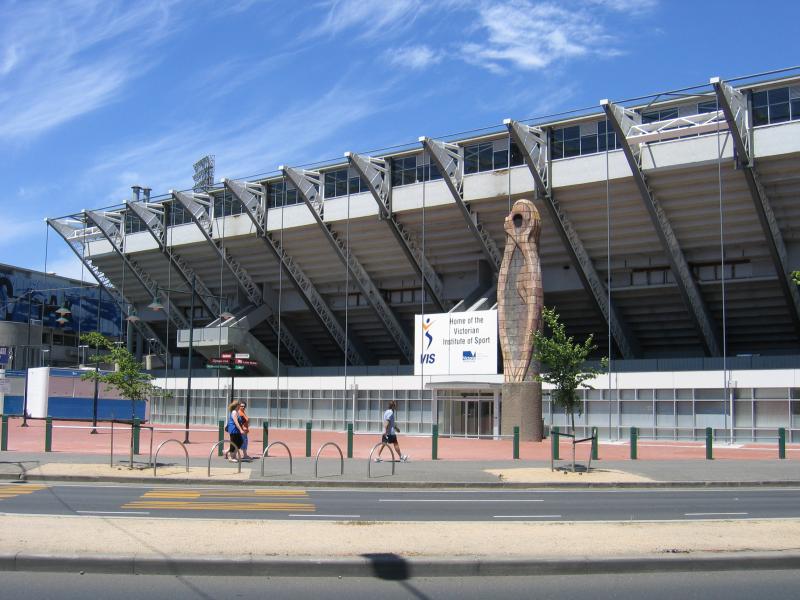
Olympic Park sporting venues, south side of Olympic Boulevard - Victorian Institute of Sport at Westpac Centre, Olympic Bvd
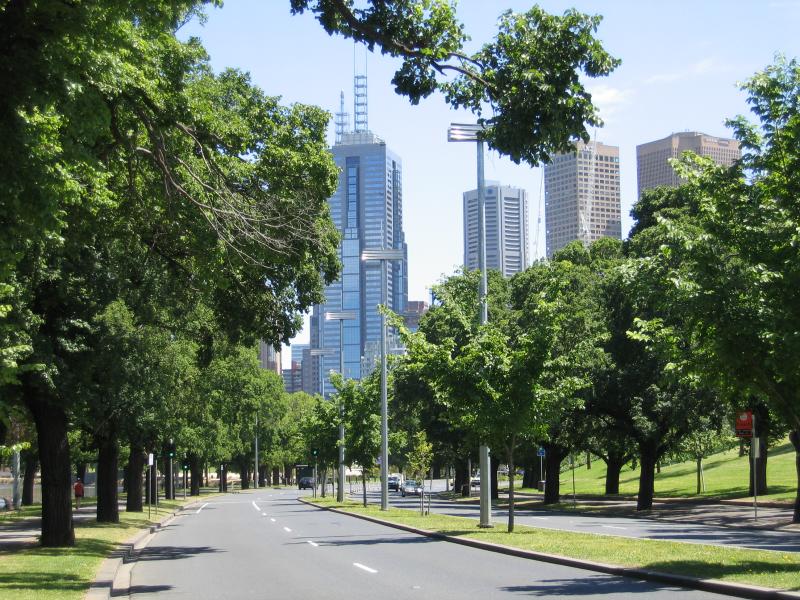
Olympic Park sporting venues, south side of Olympic Boulevard - View west through Gosch's Paddock
Yarra River along Olympic Park - View west along Yarra River towards Botanic Gardens and Government House
Yarra River along Olympic Park - View east along Yarra River towards Morell Bridge
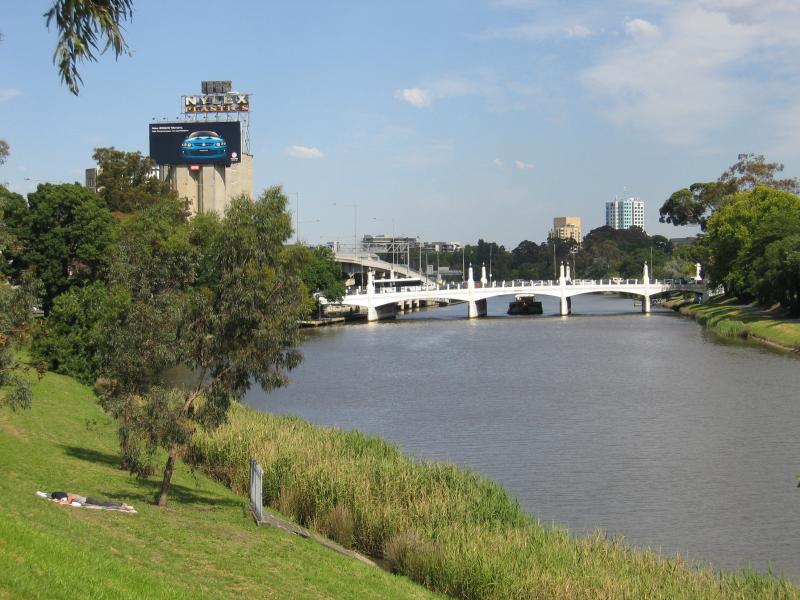
Yarra River along Olympic Park - View west along Yarra River from Morell Bridge
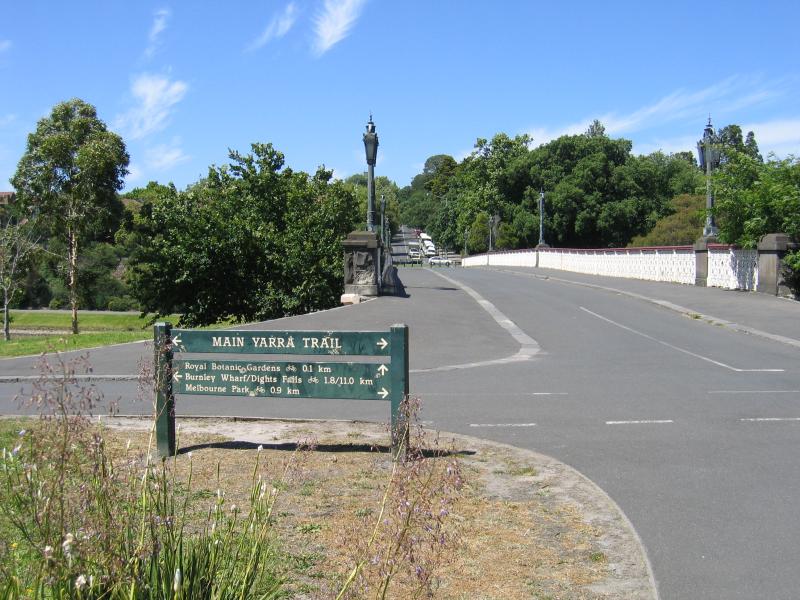
Yarra River along Olympic Park - View south along Morell bridge
Yarra River along Olympic Park - View south-east along Yarra River towards Hoddle Bridge
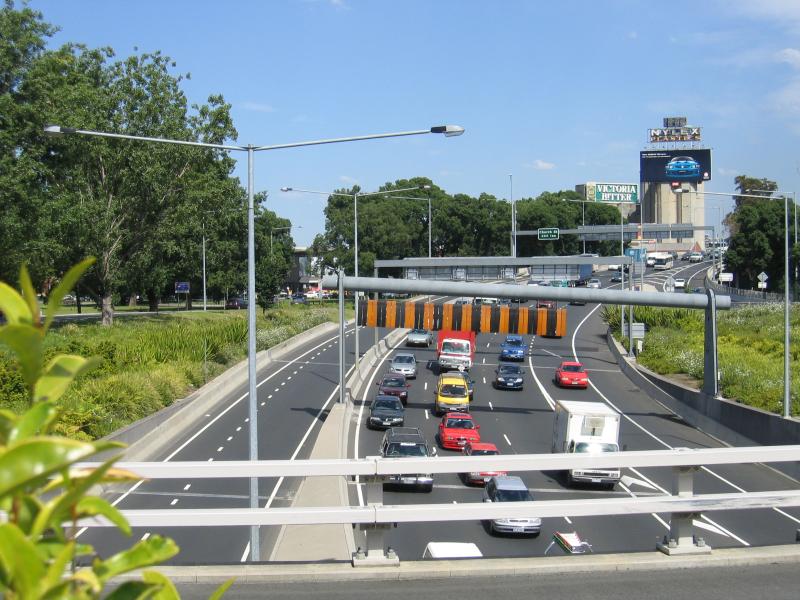
Monash Freeway (CityLink) at Olympic Park - View west along Monash Fwy from Boulton Pde overpass towards Domain Tunnel entrance
Monash Freeway (CityLink) at Olympic Park - View east along Monash Fwy from Boulton Parade overpass
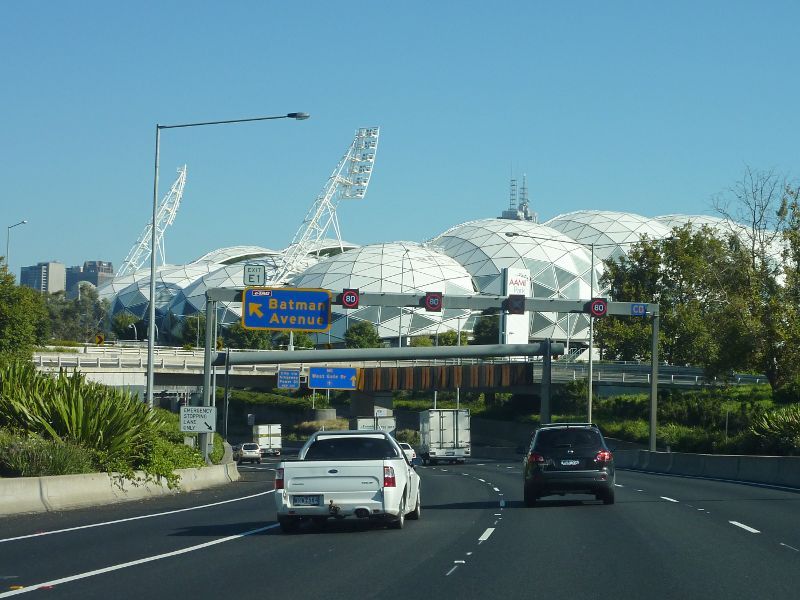
Monash Freeway (CityLink) at Olympic Park - View west along Monash Fwy towards Batman Av exit and AAMI Park