Bendigo - photos
Bendigo
Stay
See and do
Food and drink
Shopping
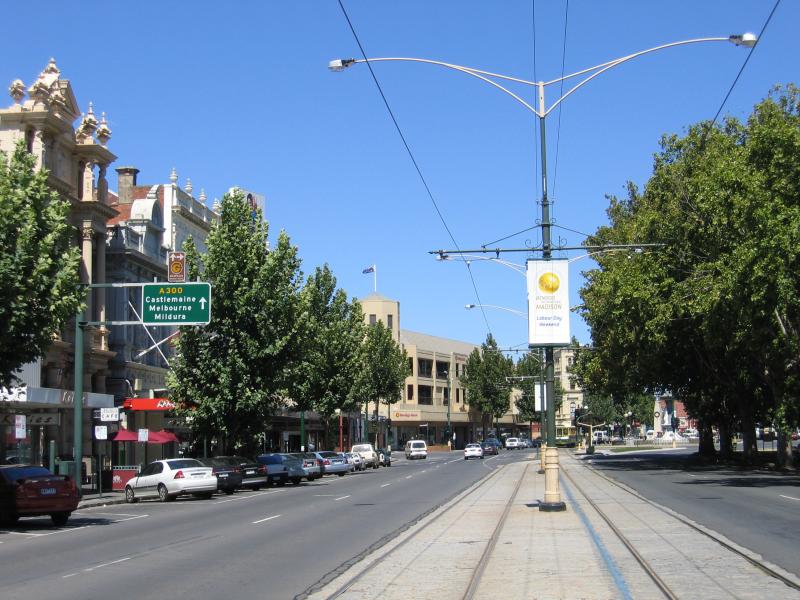
Getting around
Visitor information
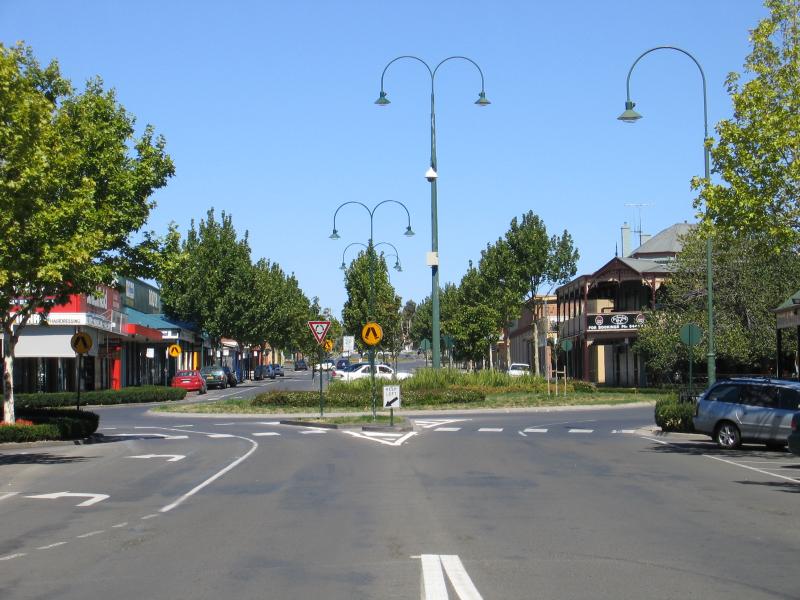
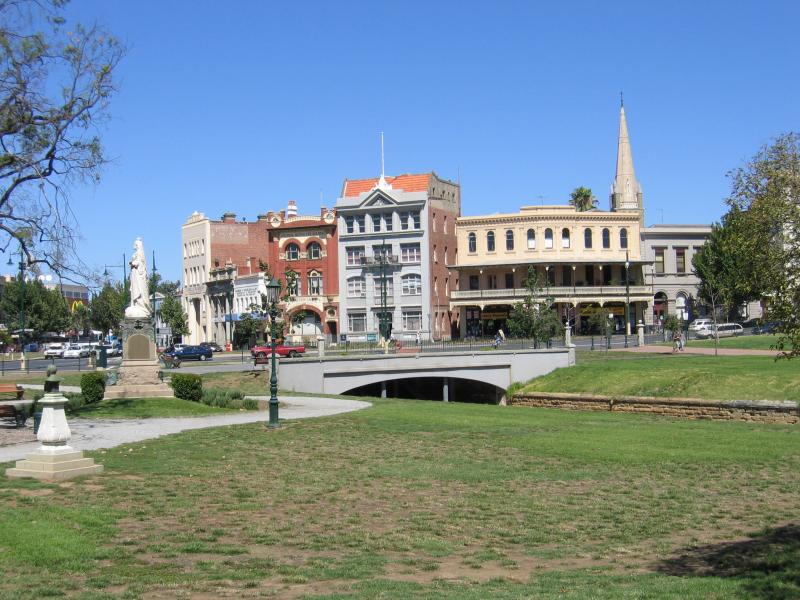
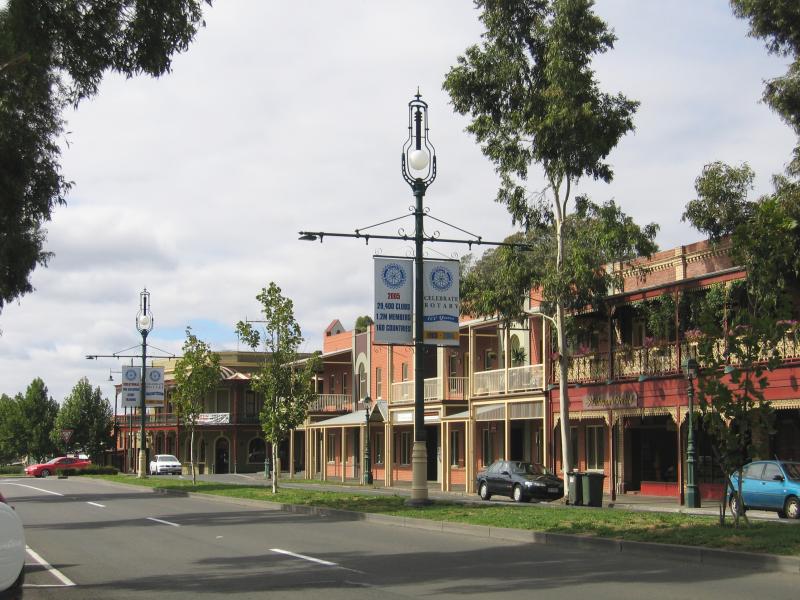
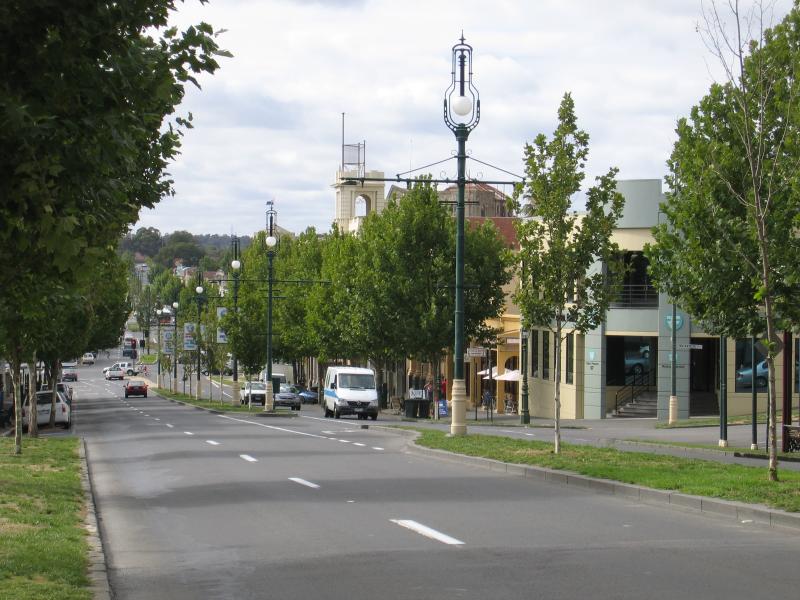
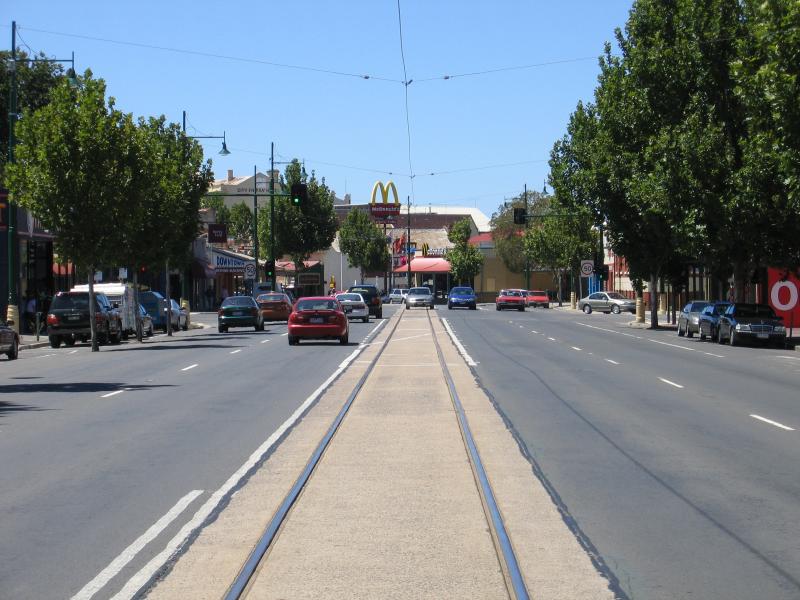
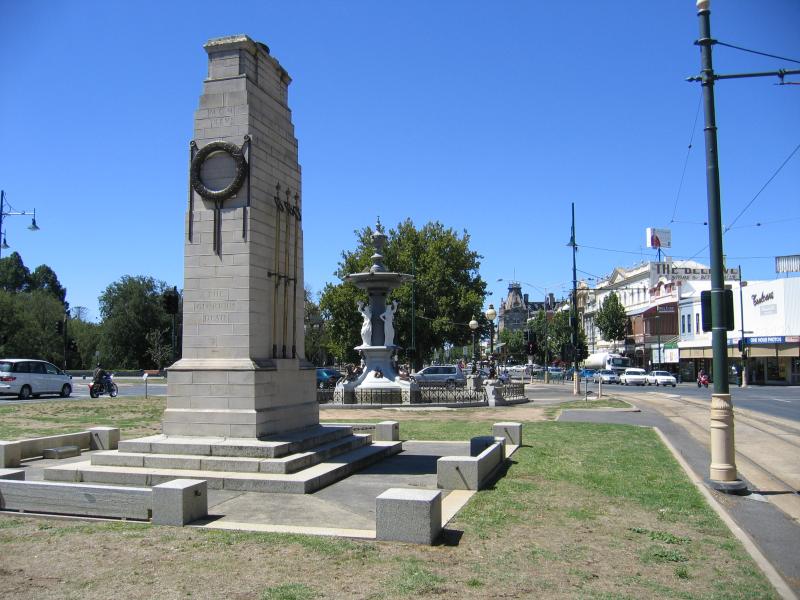 Pall Mall and attractions - View north-east along Pall Mall towards war memorial, Alexandra Fountain and Mitchell St
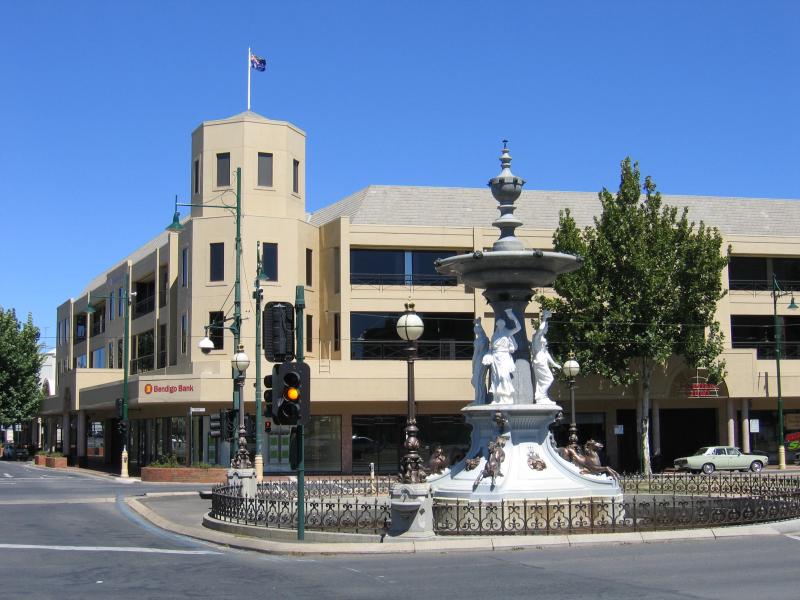
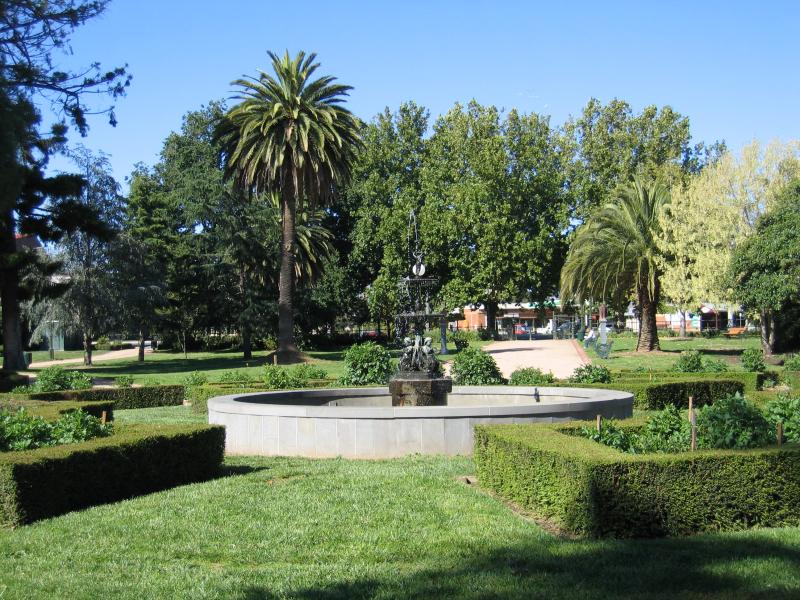
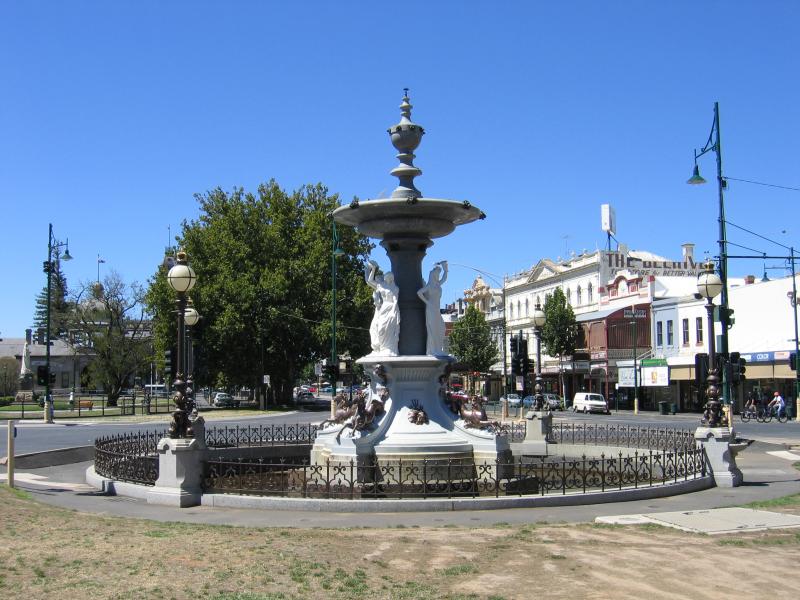 Pall Mall and attractions - Alexandra Fountain, Pall Mall at Mitchell St
 Pall Mall and attractions - View south-east along View St and Mitchell St at Pall Mall
 Pall Mall and attractions - Alexandra Fountain, Pall Mall at Mitchell St
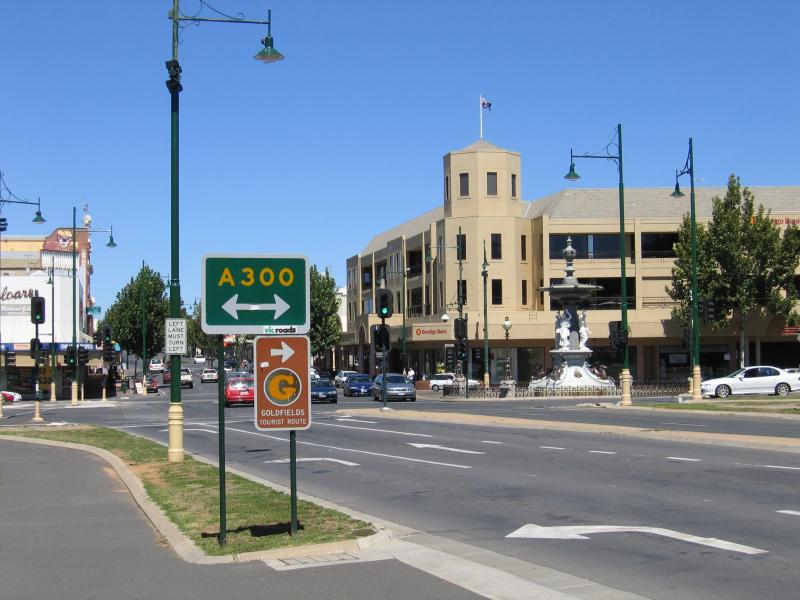
 Pall Mall and attractions - Corner of View St and Pall Mall
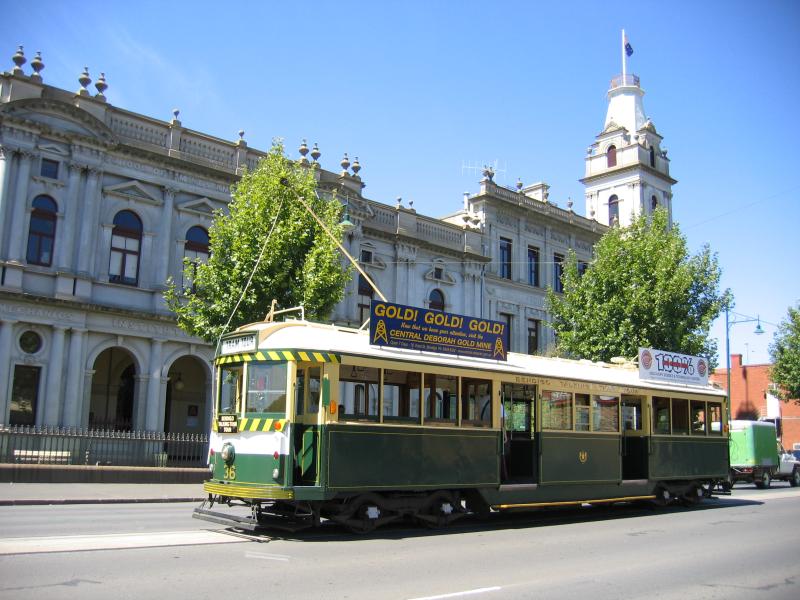
 Pall Mall and attractions - Vintage Talking Tram Tour stop, Pall Mall at Mitchell St
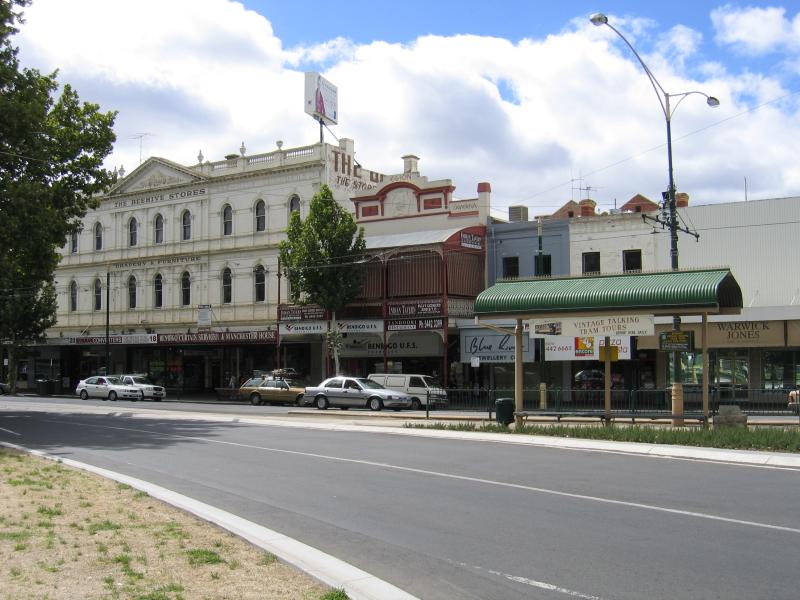
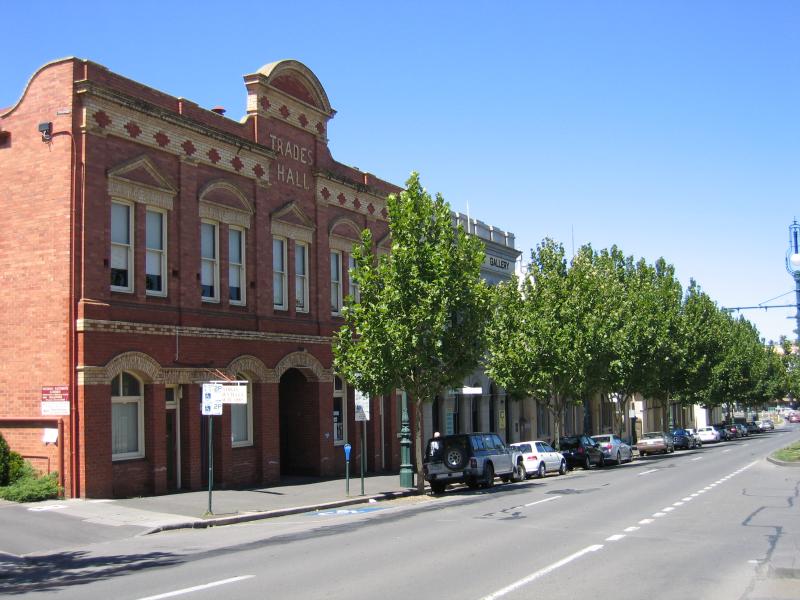
 Pall Mall and attractions - Beehive Stores building, Pall Mall between Williamson St and Mitchell St
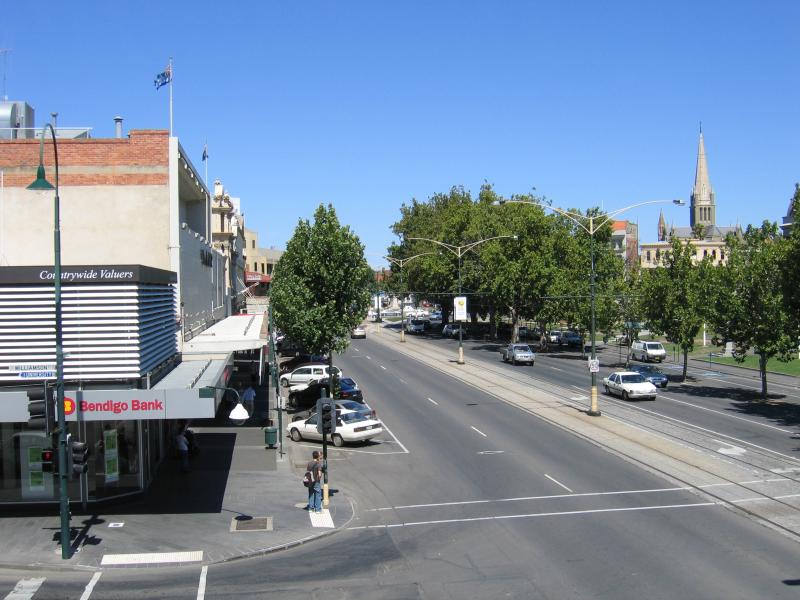
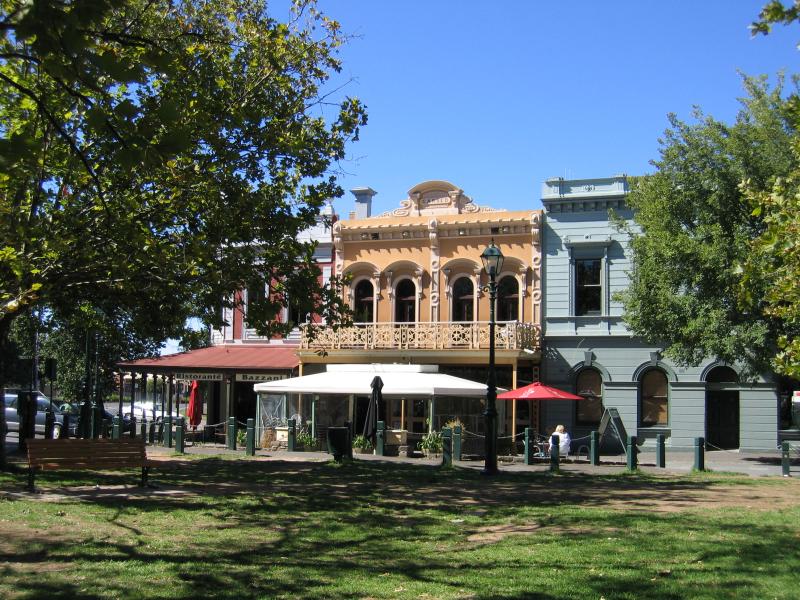
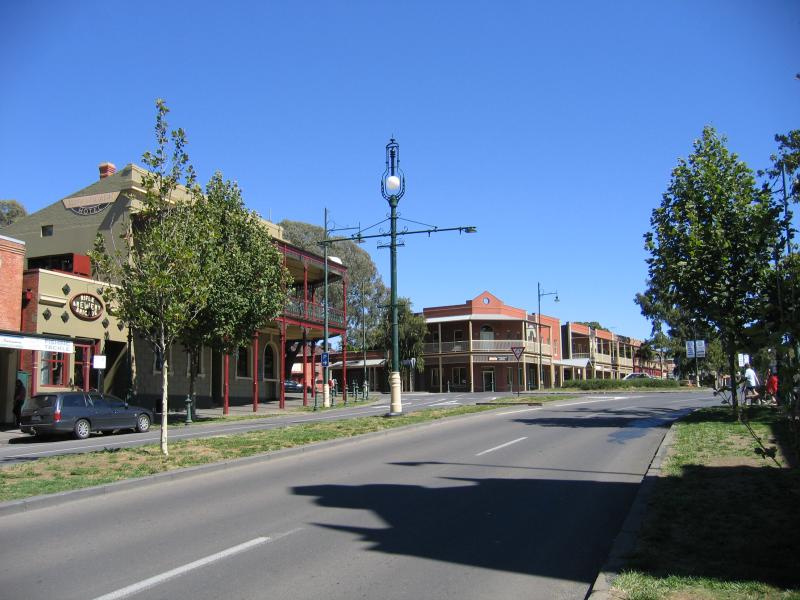
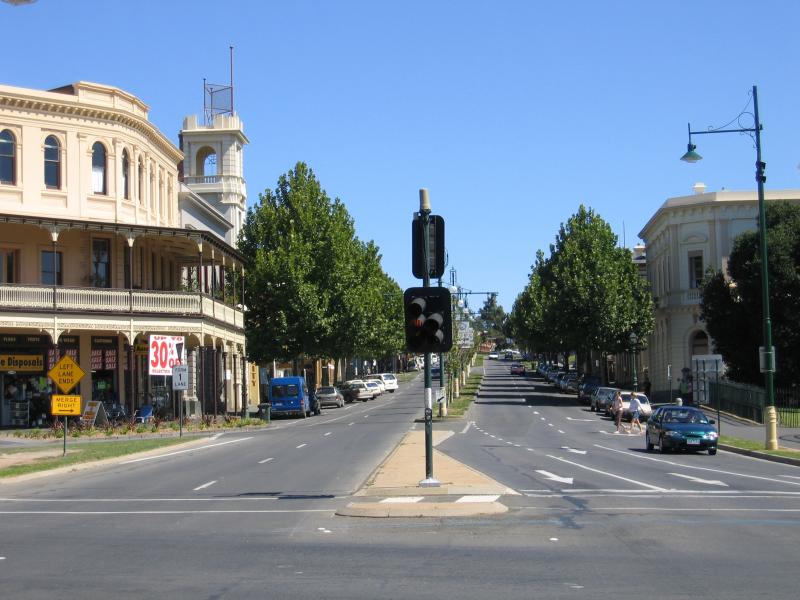
 Pall Mall and attractions - View south-west along Pall Mall towards Mitchell St
 Pall Mall and attractions - R.S.L. Military Museum
 Pall Mall and attractions - View south-west along Pall Mall at Williamson St towards R.S.L. Military Museum
 Pall Mall and attractions - View south-west along Pall Mall at Williamson St from upper level of Shamrock Hotel
 Pall Mall and attractions - View north-east along Pall Mall at Williamson St
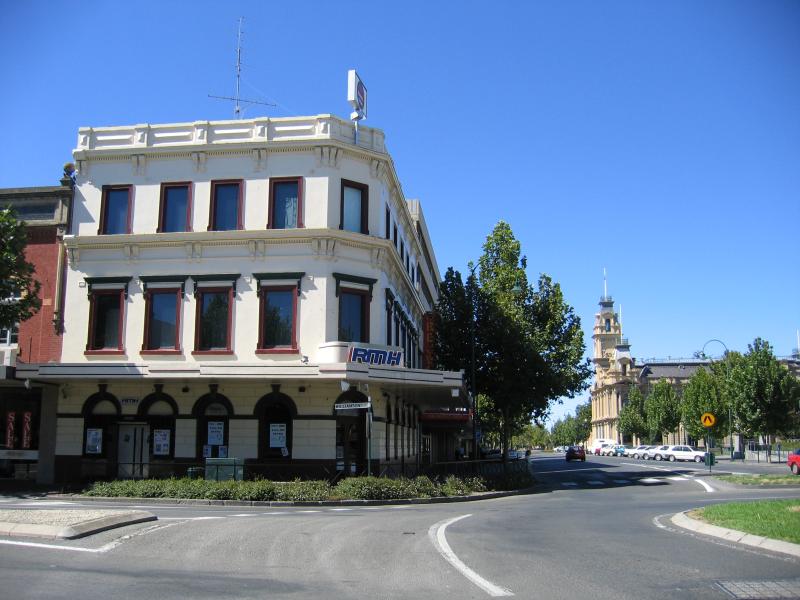
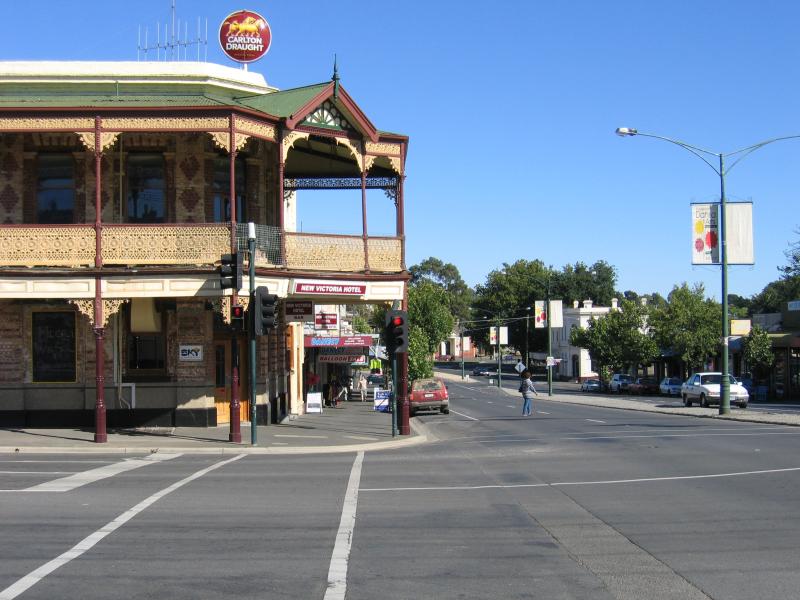
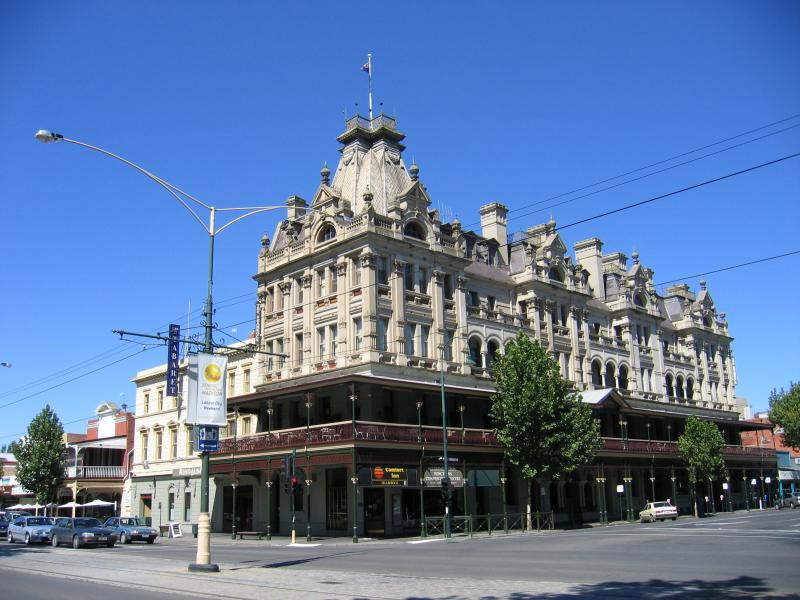 Pall Mall and attractions - Shamrock Hotel, corner Pall Mall and Williamson St
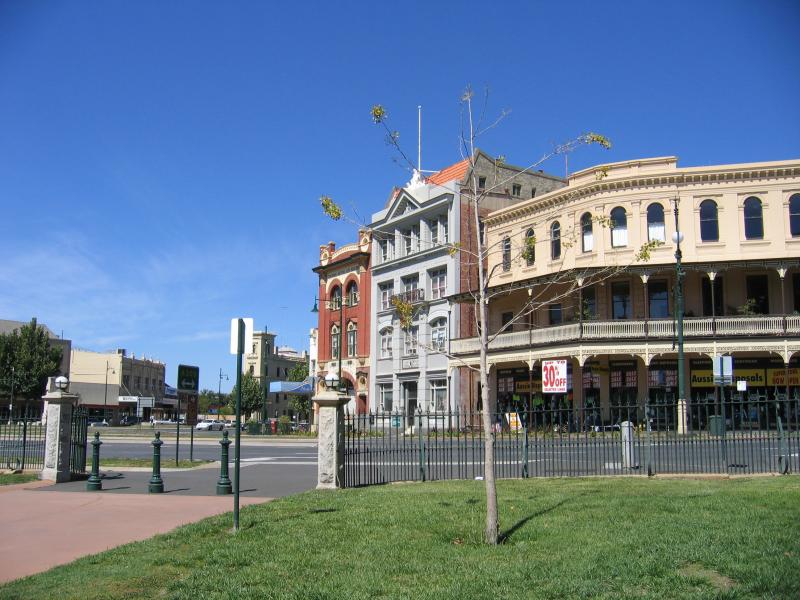
 Pall Mall and attractions - View south-east along Williamston St towards Pall Mall, Visitor Information Centre and Shamrock Hotel
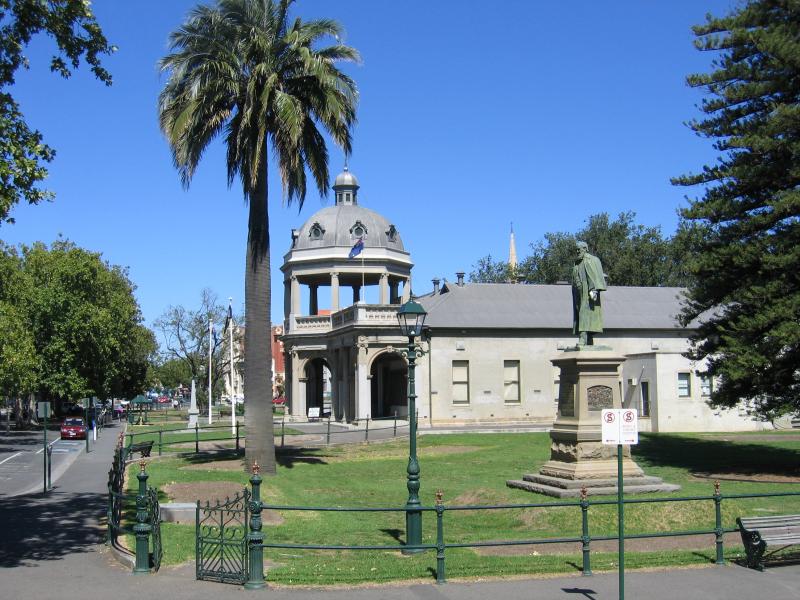
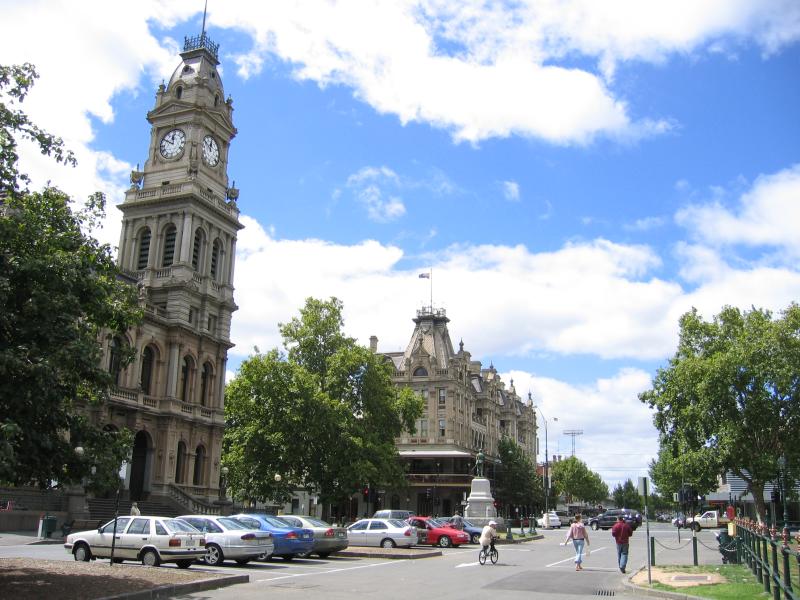
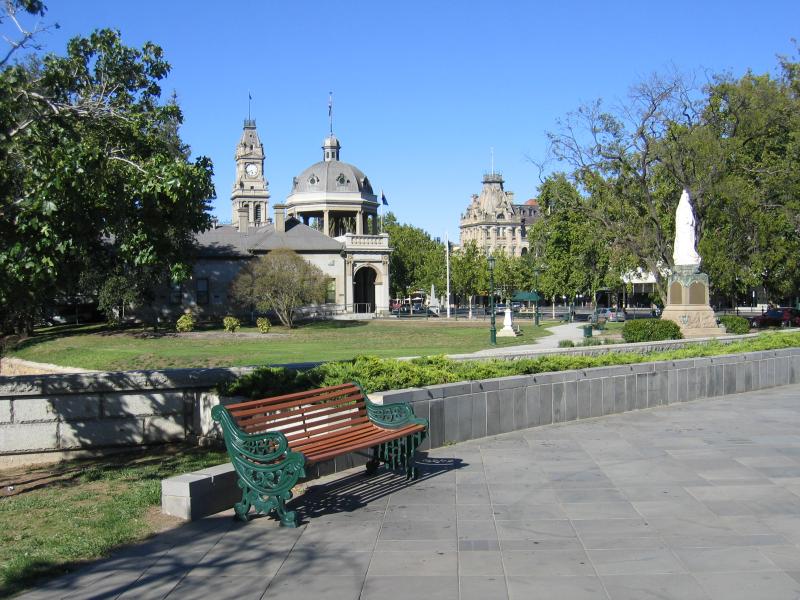
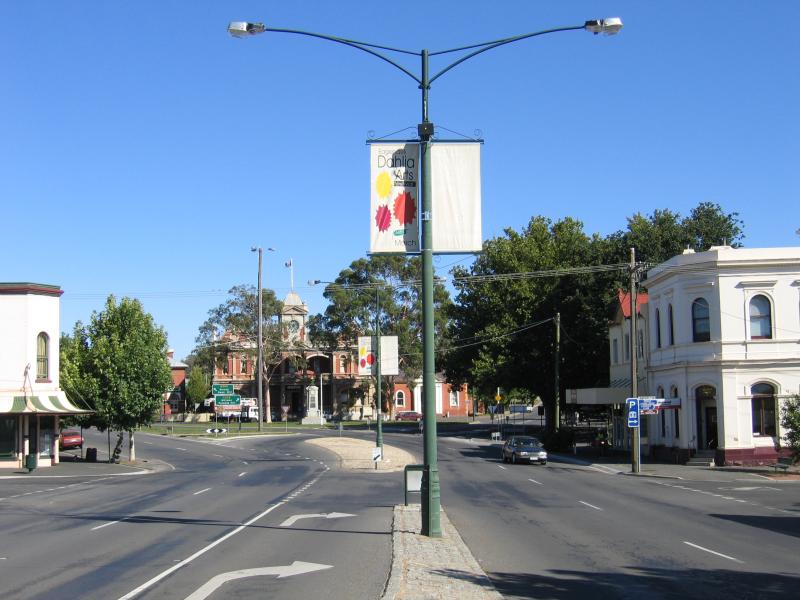
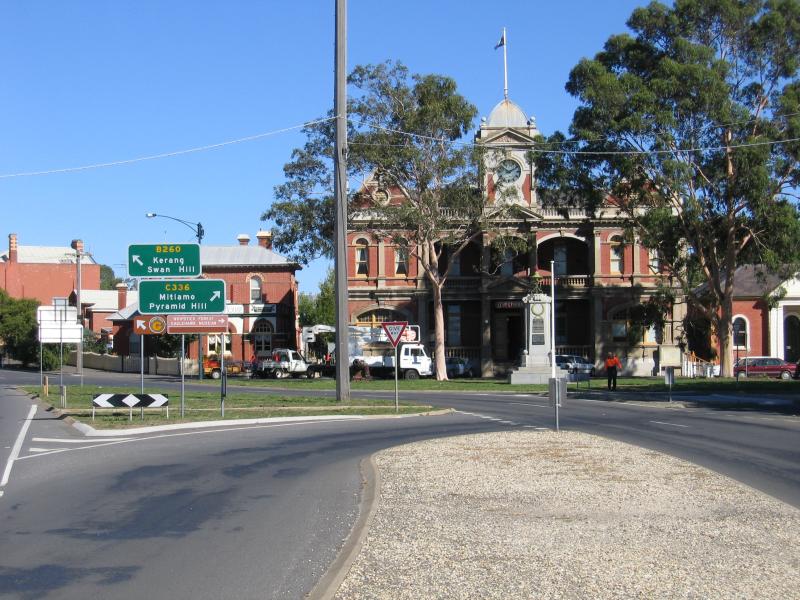
 Pall Mall and attractions - View north-east along Pall Mall towards Williamston St and Visitor Information Centre
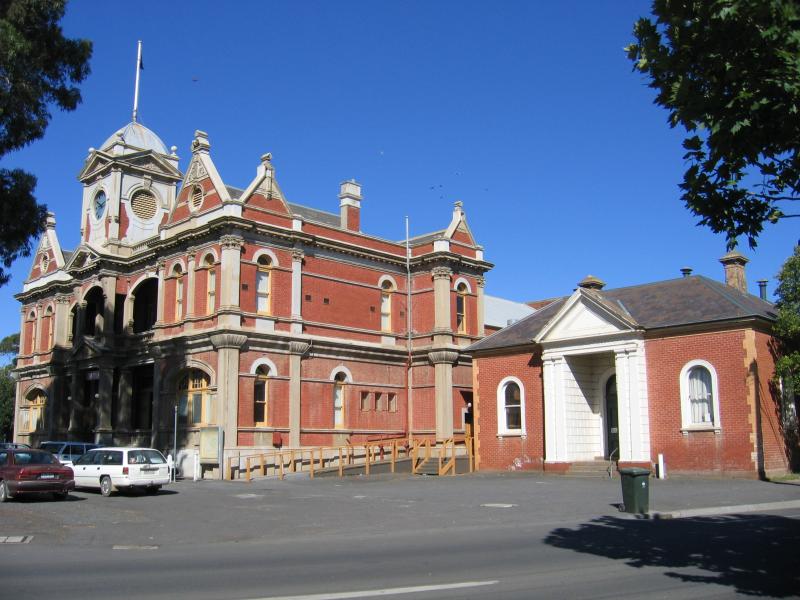
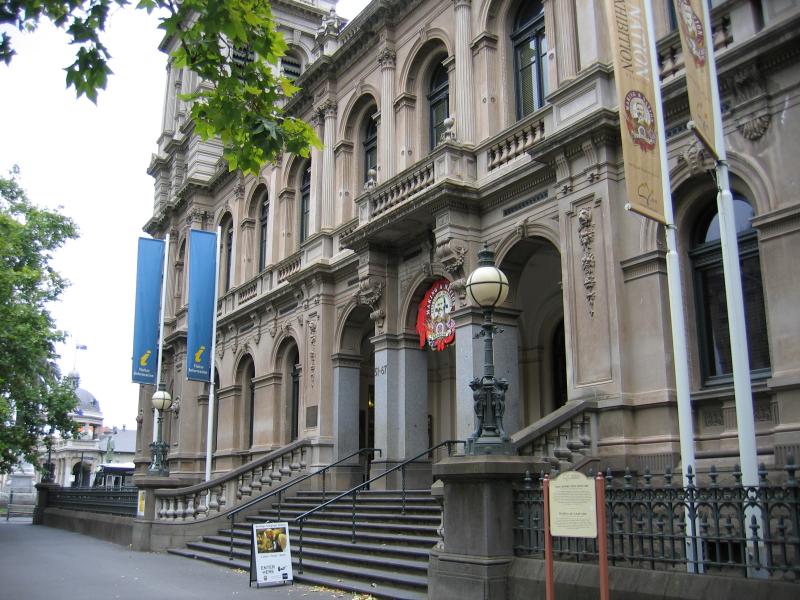 Pall Mall and attractions - Entrance to Visitor Information Centre
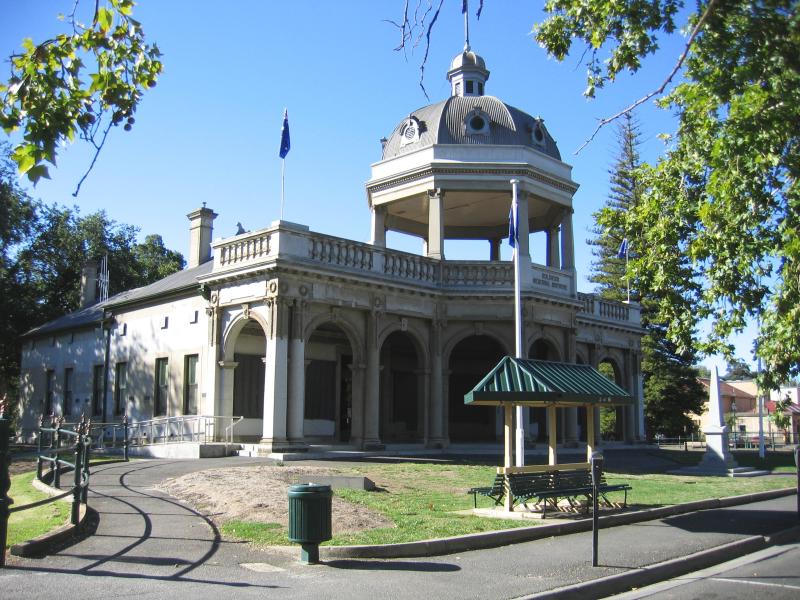
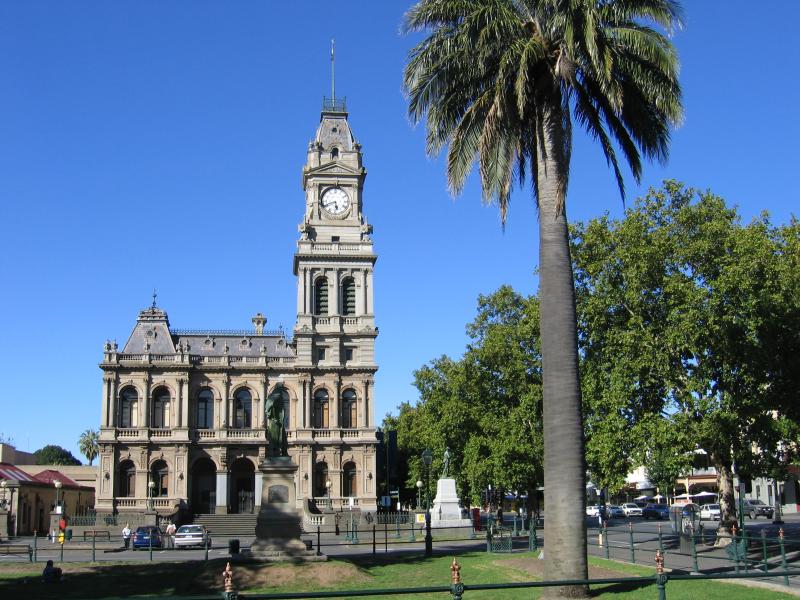
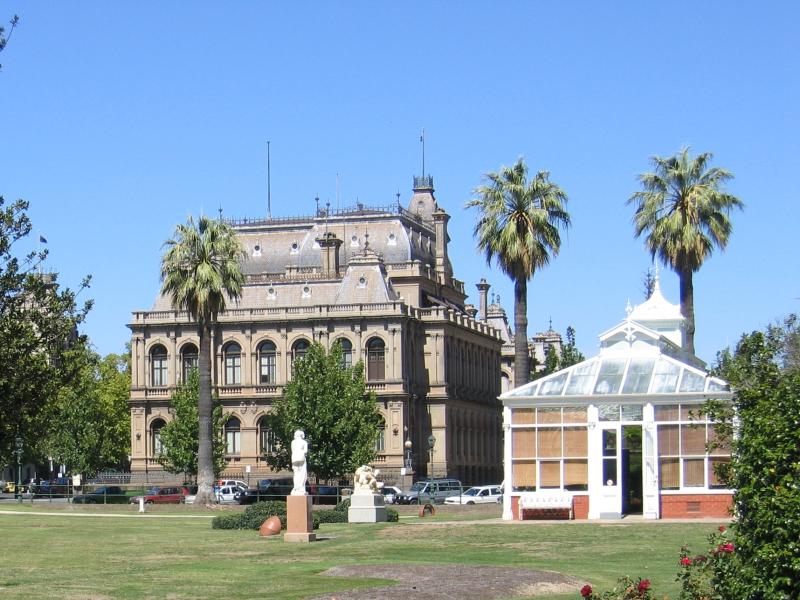
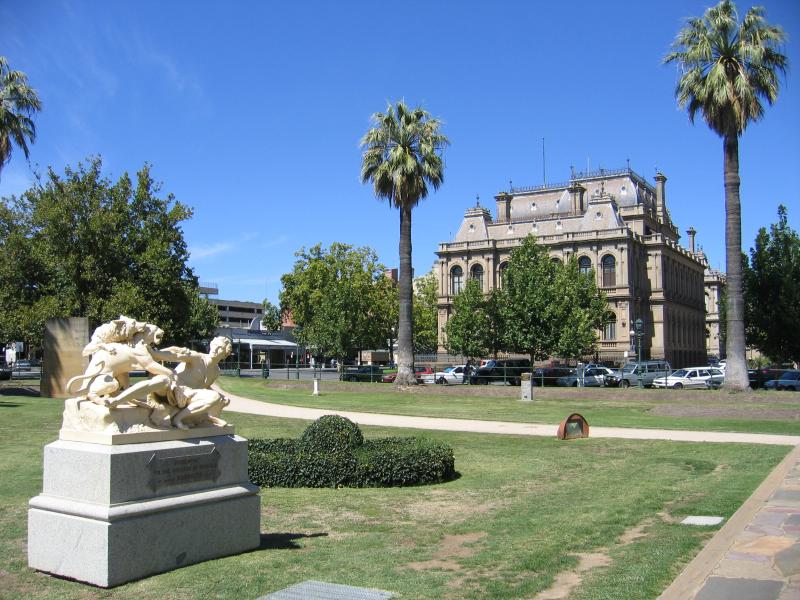
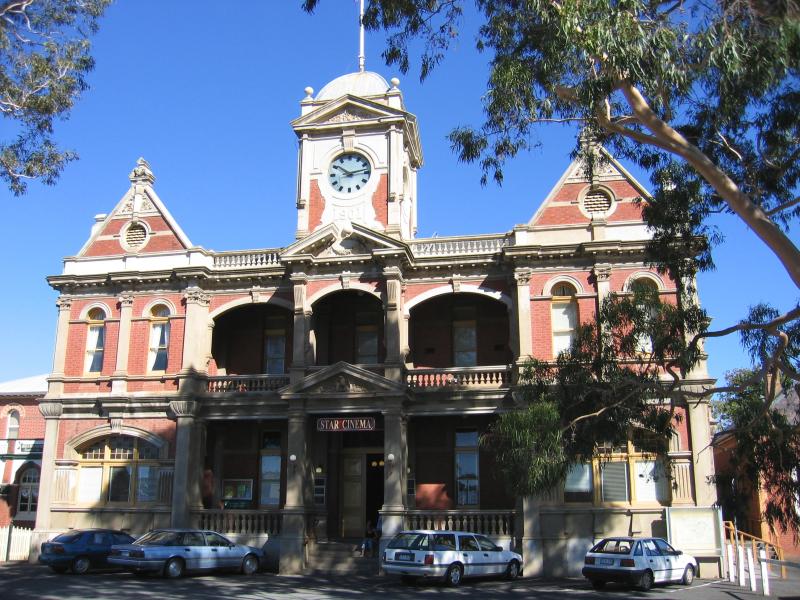
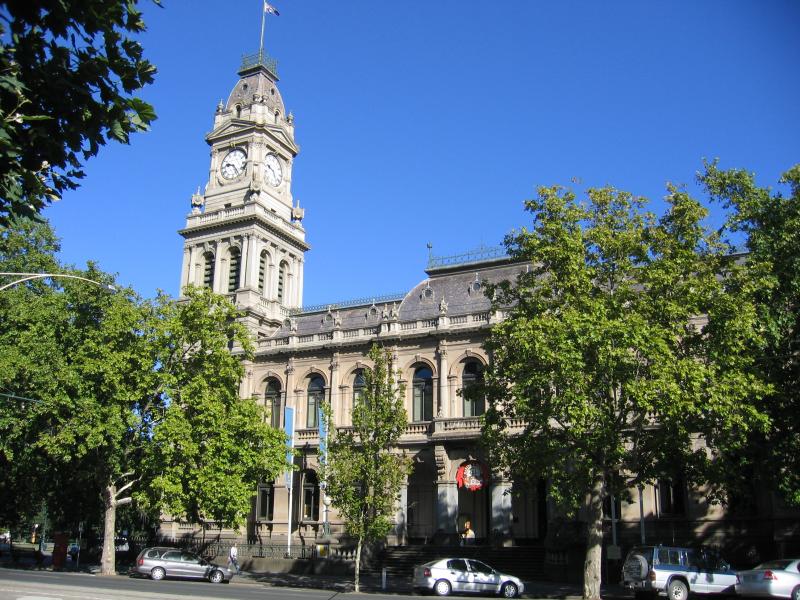 Pall Mall and attractions - Visitor Information Centre, corner Pall Mall and Williamston St
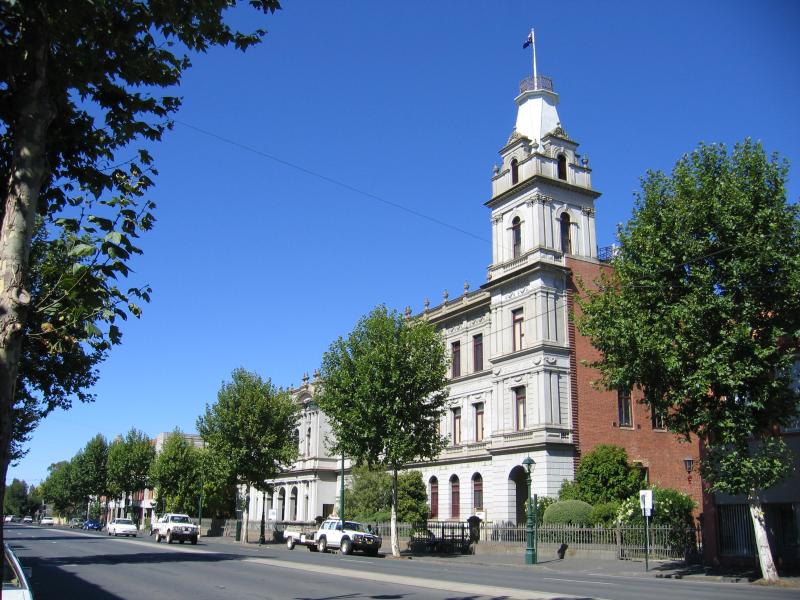
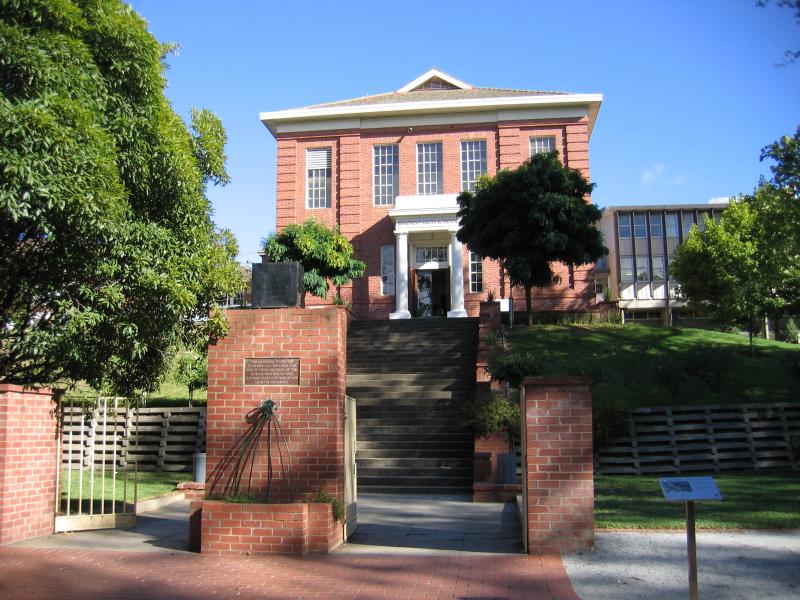
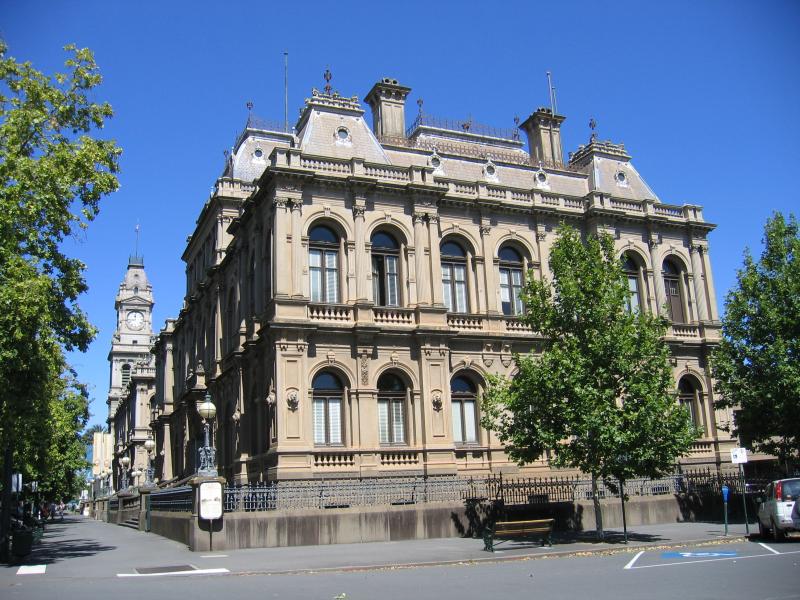 Pall Mall and attractions - Bendigo Law Courts, view south-west along Pall Mall at Bull St
 Pall Mall and attractions - View north-east along Pall Mall towards Bull St
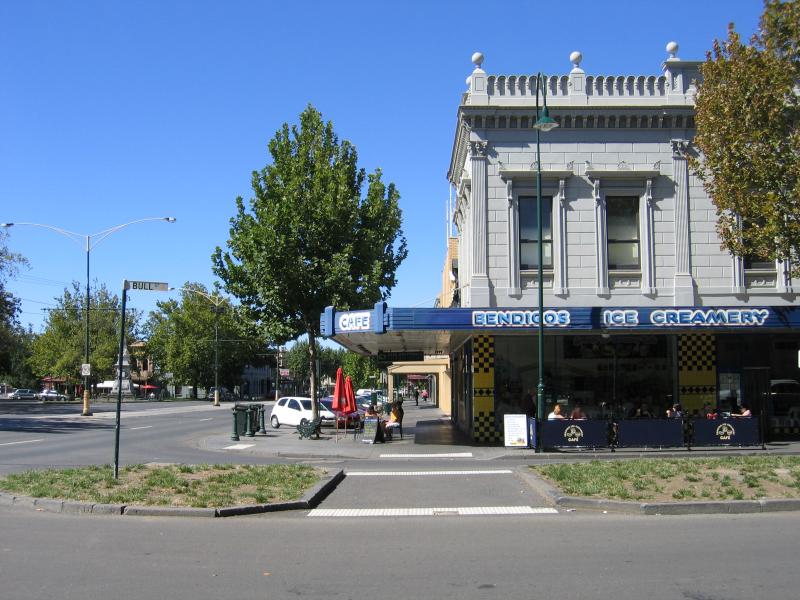 Pall Mall and attractions - Bendigo's Ice Creamery, corner Pall Mall and Bull St
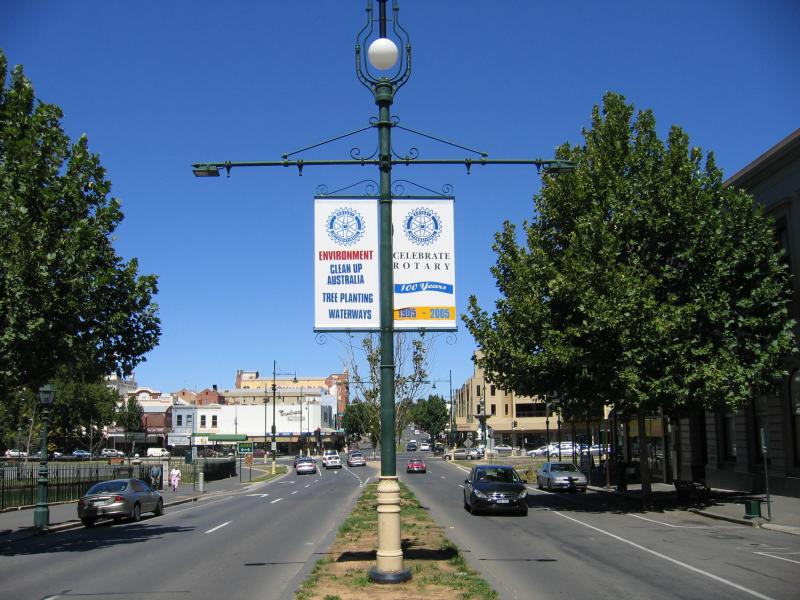
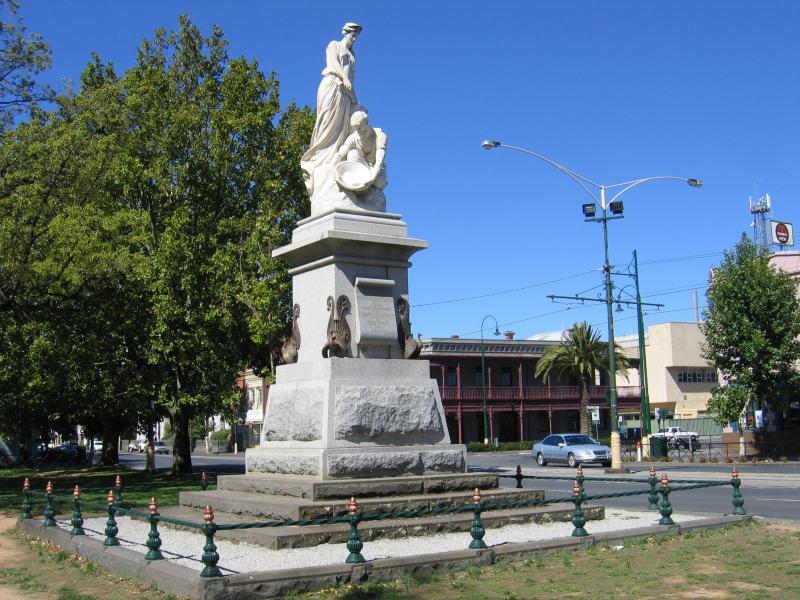 Pall Mall and attractions - Statue, view north-east along Pall Mall towards Mundy St
 Pall Mall and attractions - Restaurants, corner Bridge St and Pall Mall
 Pall Mall and attractions - Sundance Saloon, corner Pall Mall and Mundy St
 Pall Mall and attractions - BRiT (Tafe college), Pall Mall between Mundy St and Chapel St
 Pall Mall and attractions - Talking Tram tour, Pall Mall at BRiT (Tafe college)
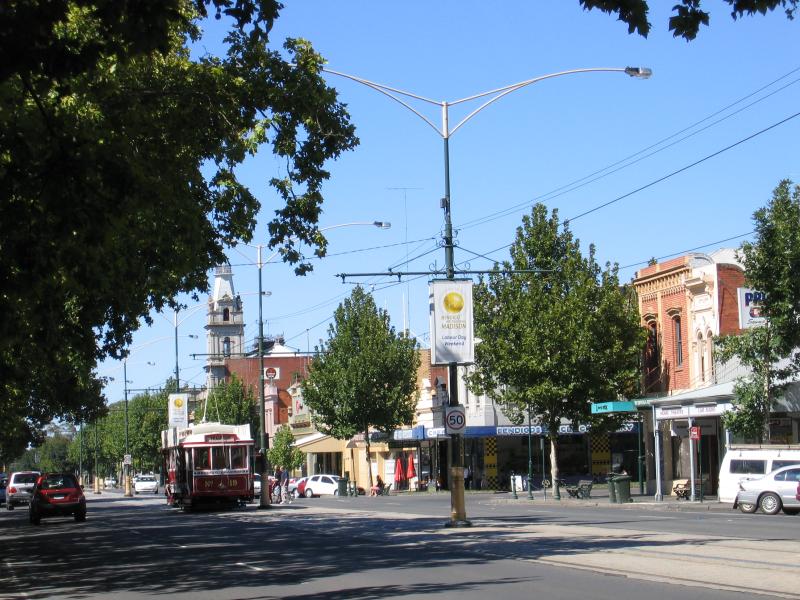
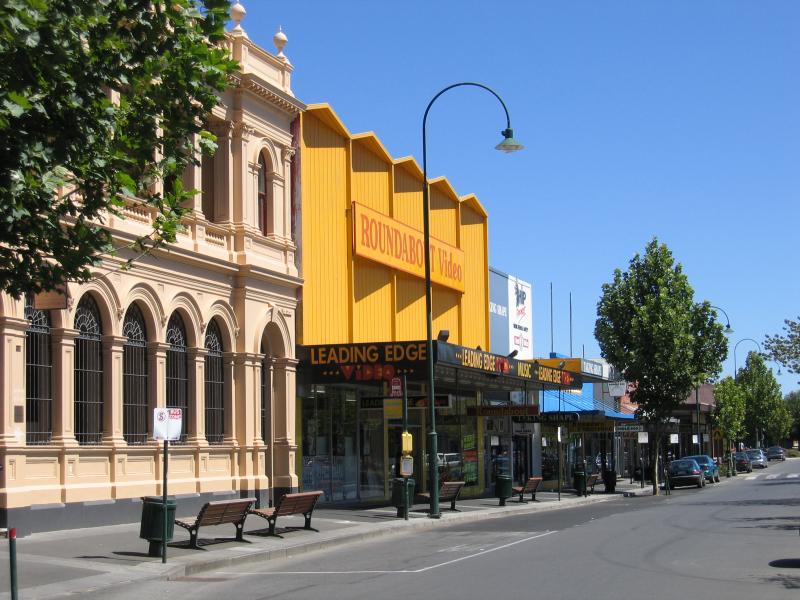
 Pall Mall and attractions - View north-east along Pall Mall towards Chapel St
 Williamson Street area - View south-east along Williamson St towards Queen St and Lyttleton Terrace
 Williamson Street area - View south-west along Queen St at Williamson St
 Hargreaves Mall and Hargreaves Street - South-west Hargreaves St between Mitchell St and Edward St
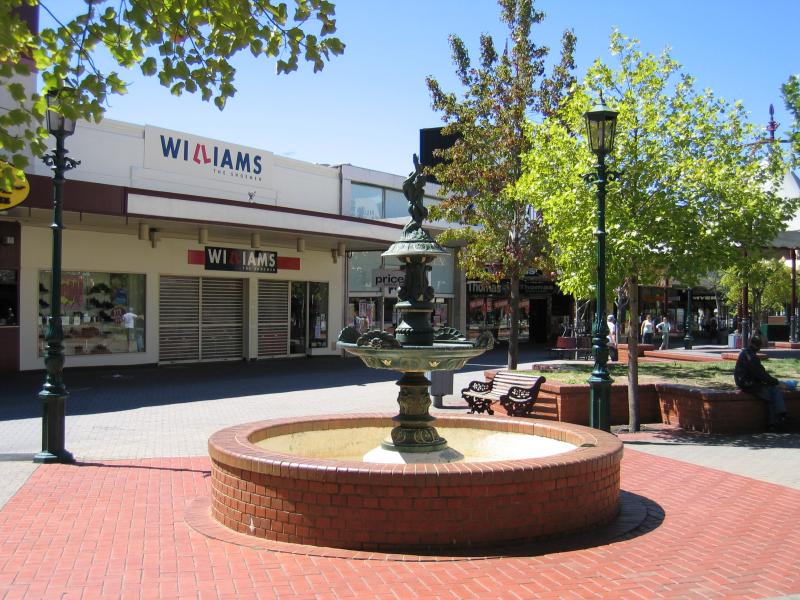 Hargreaves Mall and Hargreaves Street - Fountain in Mall
 Hargreaves Mall and Hargreaves Street - Mall
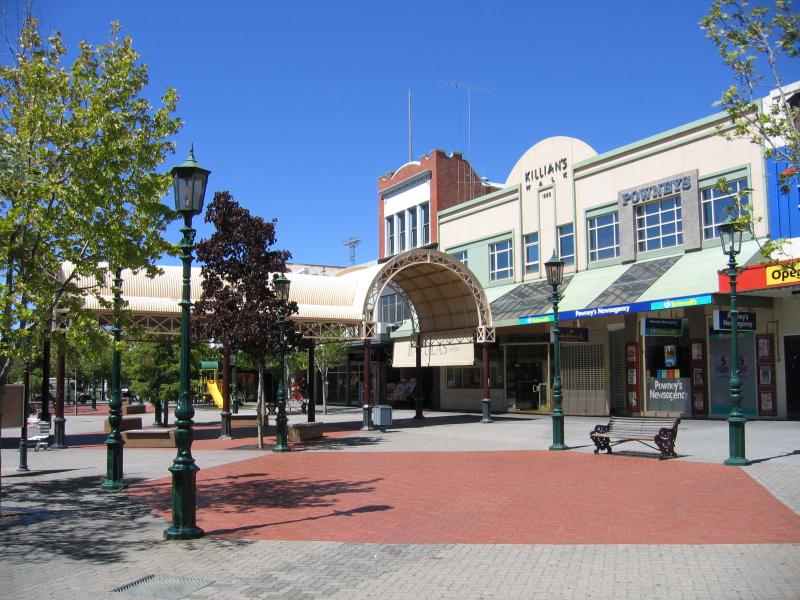 Hargreaves Mall and Hargreaves Street - Mall
 Hargreaves Mall and Hargreaves Street - View north-east through Mall towards Williamson St
 Hargreaves Mall and Hargreaves Street - View south-east along Williamson St at Hargreaves Mall
 Hargreaves Mall and Hargreaves Street - View north-east along Hargreaves St at Williamson St
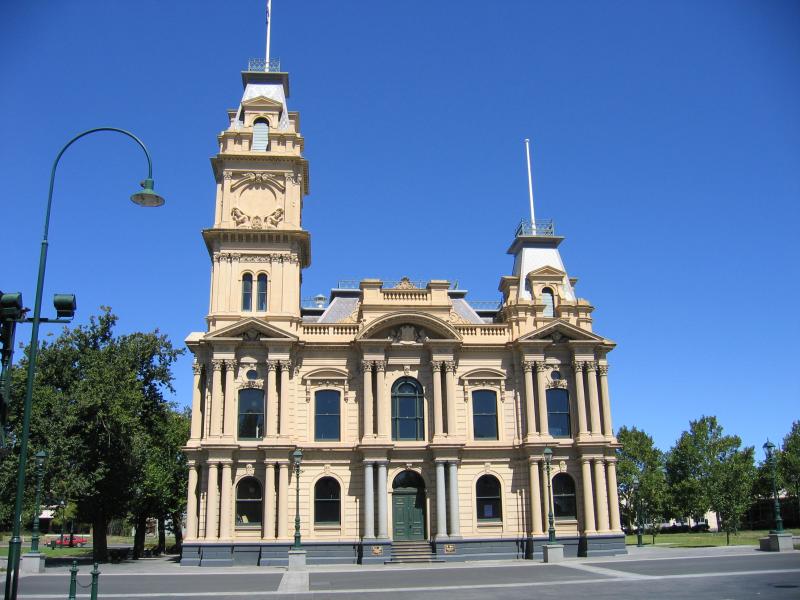
 Hargreaves Mall and Hargreaves Street - Bendigo Town Hall, Hargreaves St at Bull St
 Hargreaves Mall and Hargreaves Street - View south-east along Bull St towards Bendigo Town Hall on Hargreaves St
 Hargreaves Mall and Hargreaves Street - State Offices, view north-east along Hargraves St towards Mundy St
 Hargreaves Mall and Hargreaves Street - BRiT (Tafe college), corner Mundy St and Hargraves St
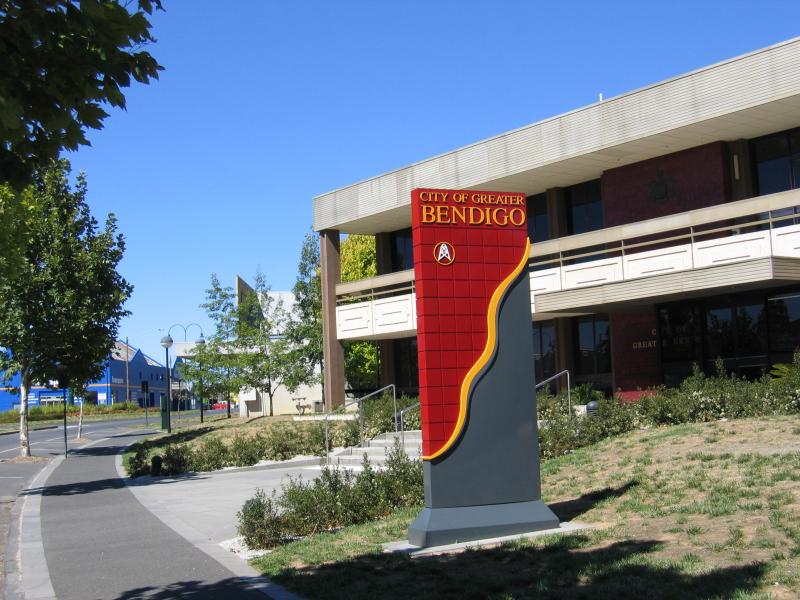 Lyttleton Terrace - City of Greater Bendigo council offices, Lyttleton Terrace between Mundy St and St Andrews Av
 Lyttleton Terrace - View of back of Town Hall from Lyttleton Terrace at St Andrews Av
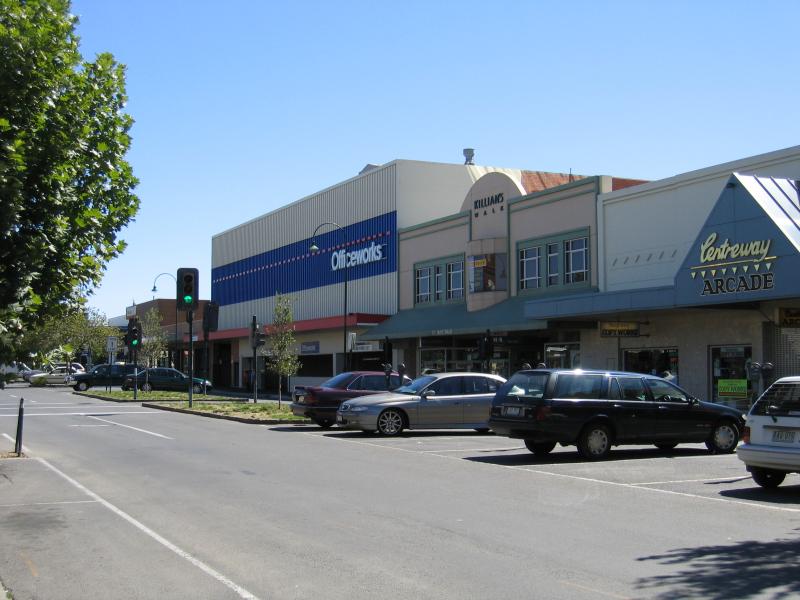
 Mitchell Street - View south-east along Mitchell St towards Hargreaves St
 Mitchell Street - View south-east along Mitchell St towards Queen St
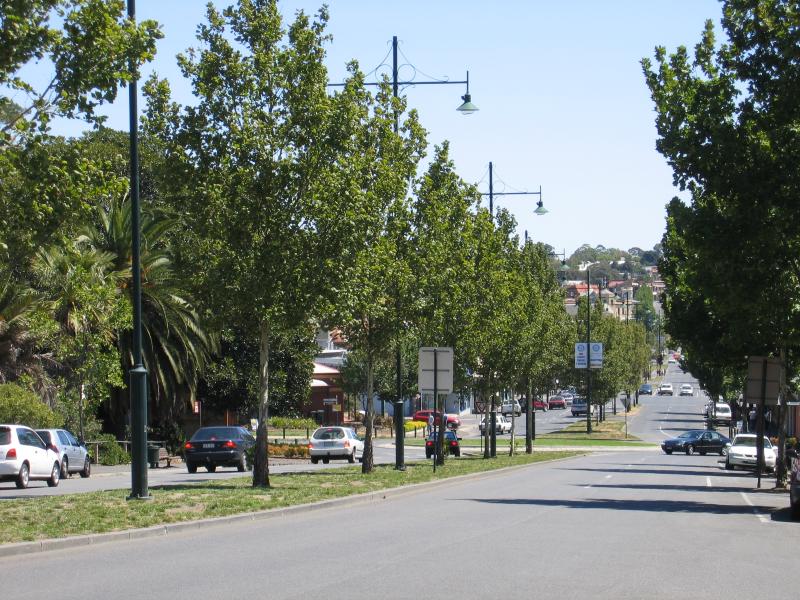
 Mitchell Street - View north-west along Mitchell St at Railway Pl
 Mitchell Street - View north-west along Mitchell St towards Railway Pl
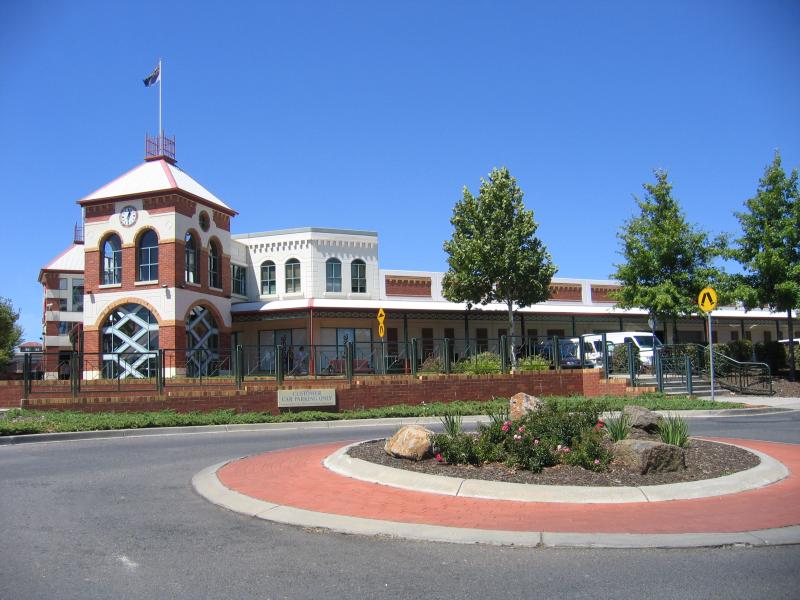
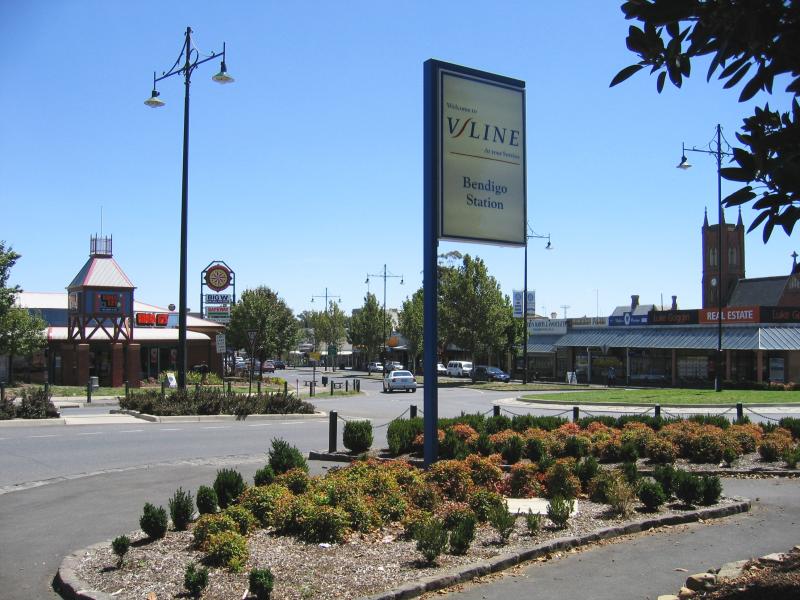 Railway station and Bendigo Marketplace, Railway Place - Entrance to Bendigo railway station, Railway Pl at Mitchell St
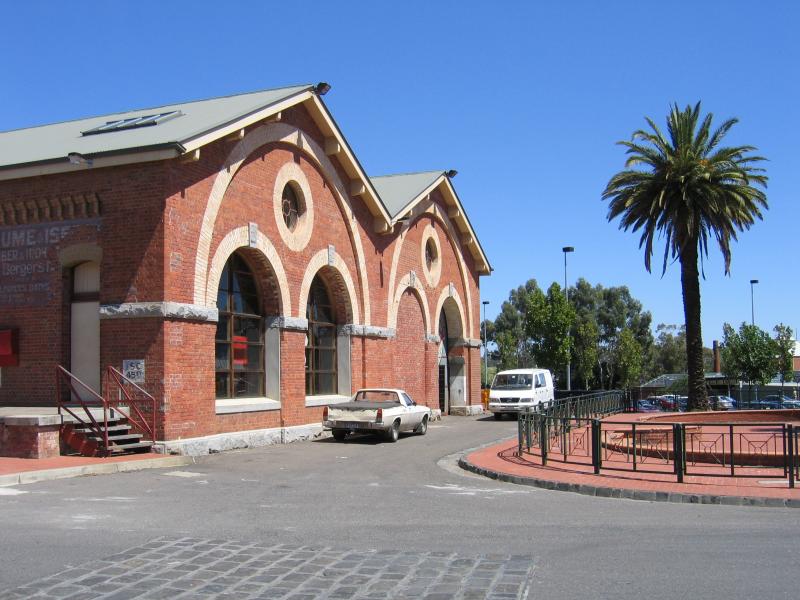
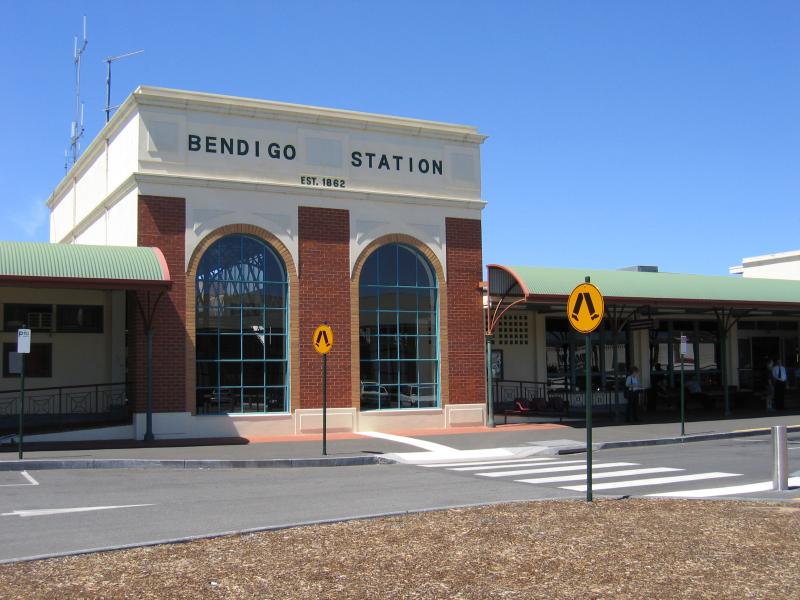 Railway station and Bendigo Marketplace, Railway Place - Bendigo railway station
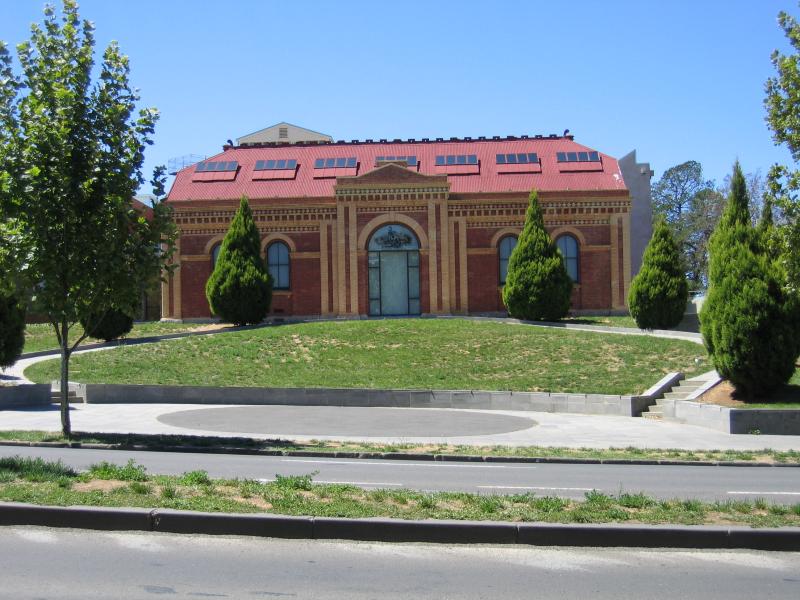
 Railway station and Bendigo Marketplace, Railway Place - Science and Discovery Centre, Railway Pl
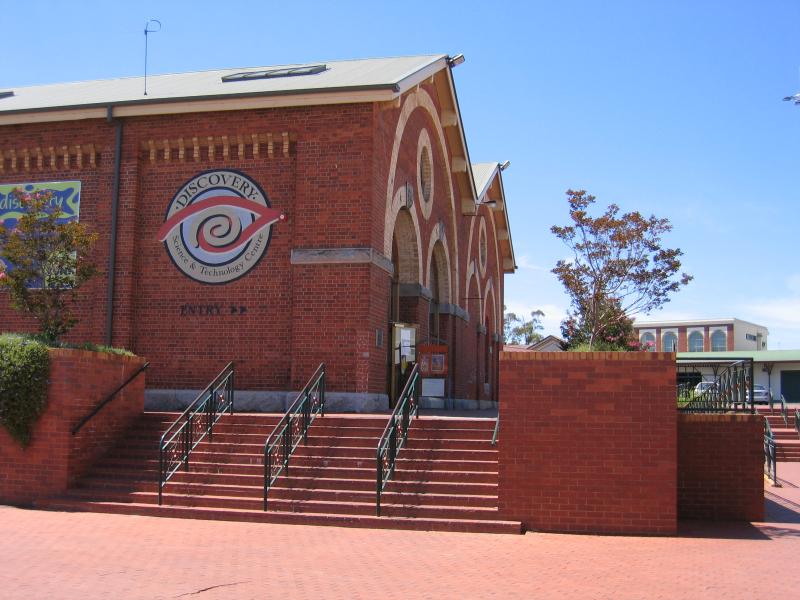 Railway station and Bendigo Marketplace, Railway Place - Science and Discovery Centre, Railway Pl
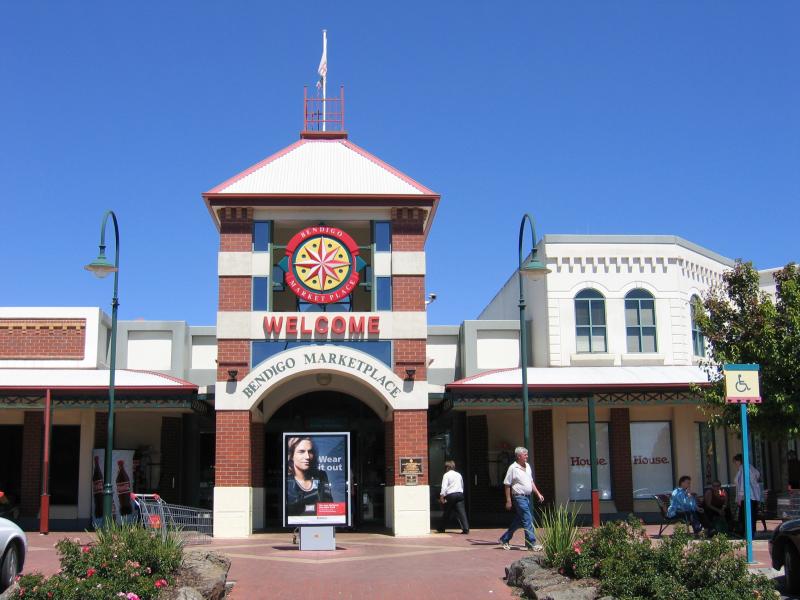 Railway station and Bendigo Marketplace, Railway Place - Bendigo Marketplace shopping centre
 Railway station and Bendigo Marketplace, Railway Place - View of Bendigo Marketplace shopping centre from Edward St
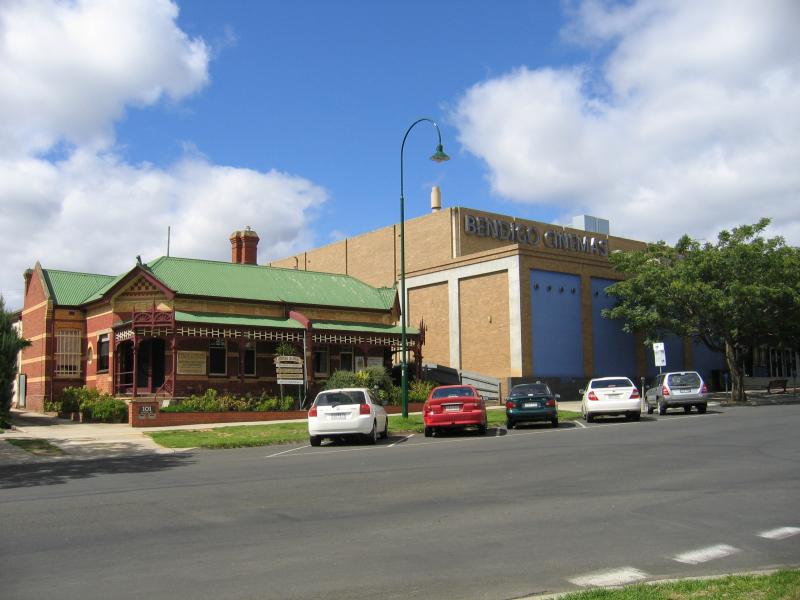 Queen Street area - Bendigo Cinemas, Queen St opposite Short St
 Queen Street area - View north-west along Short St towards Hargreaves St and Sacred Heart Cathedral
 Chinese Golden Dragon Museum and gardens - Museum main entrance, Bridge St
 Chinese Golden Dragon Museum and gardens - View south-west along Bridge St at museum
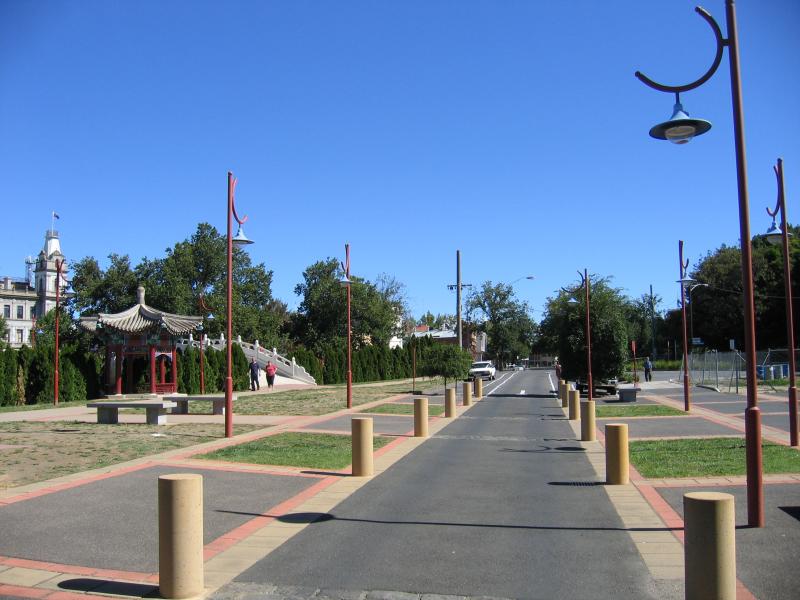
 Chinese Golden Dragon Museum and gardens - View along pathway between Pall Mall and museum
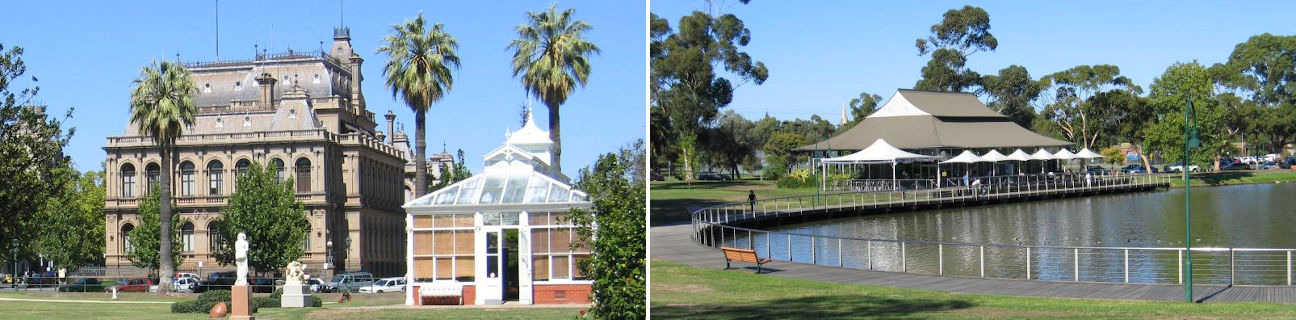
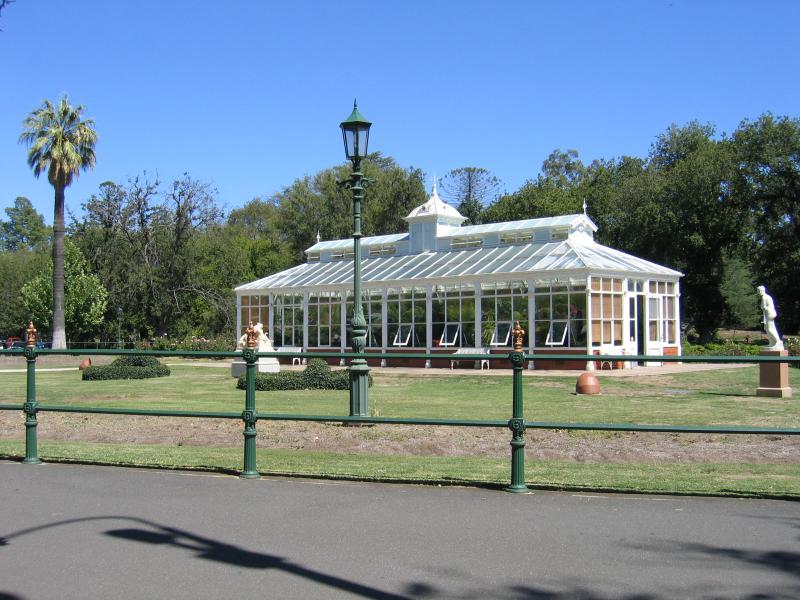 Conservatory Gardens, Pall Mall - Conservatory
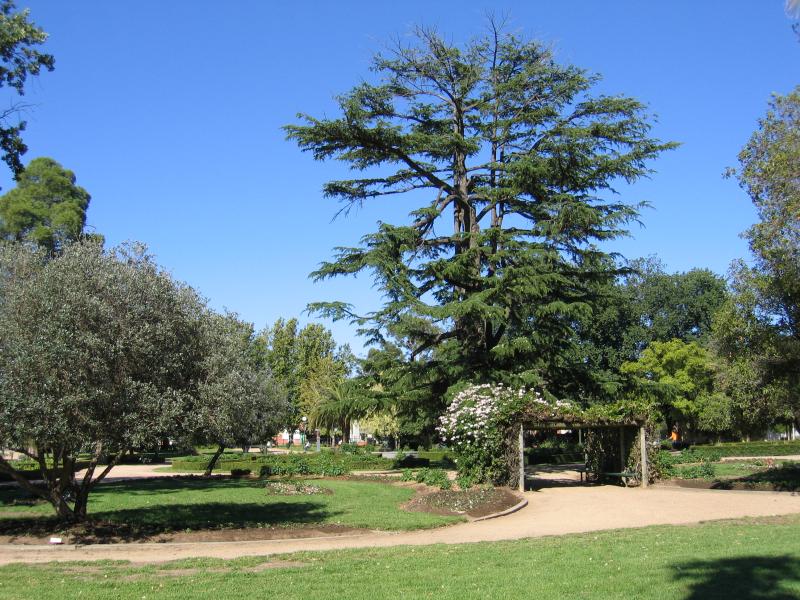
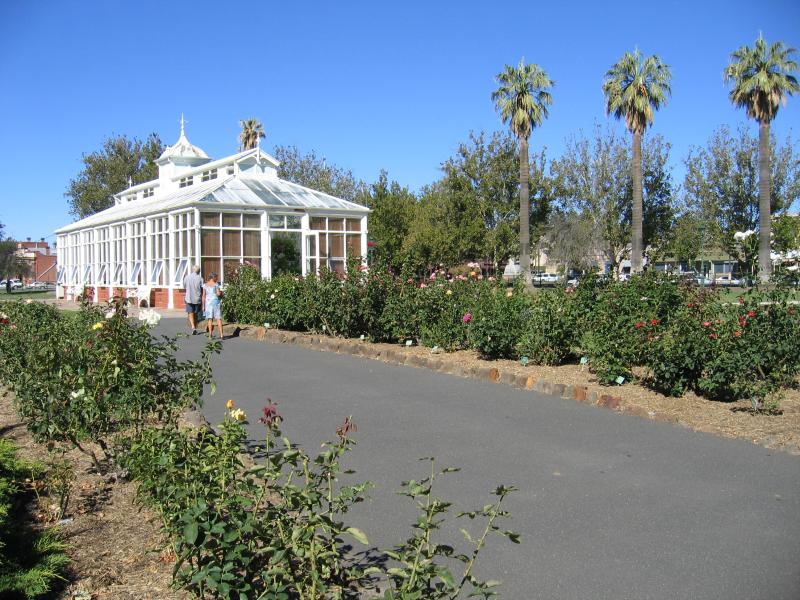 Conservatory Gardens, Pall Mall - Rose gardens at conservatory
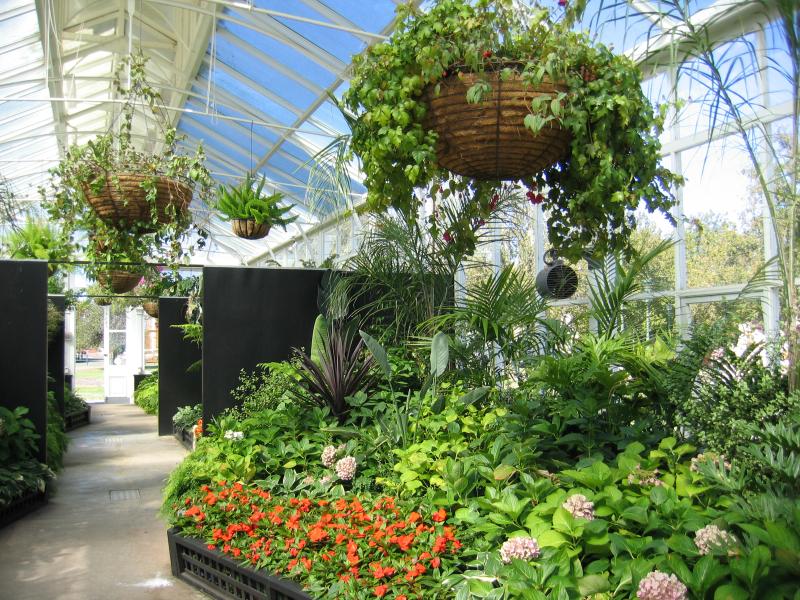 Conservatory Gardens, Pall Mall - Inside conservatory
 Conservatory Gardens, Pall Mall - View south-west through gardens towards Bull St and Bendigo Law Courts
 Conservatory Gardens, Pall Mall - Gardens with Bendigo Law Courts in background
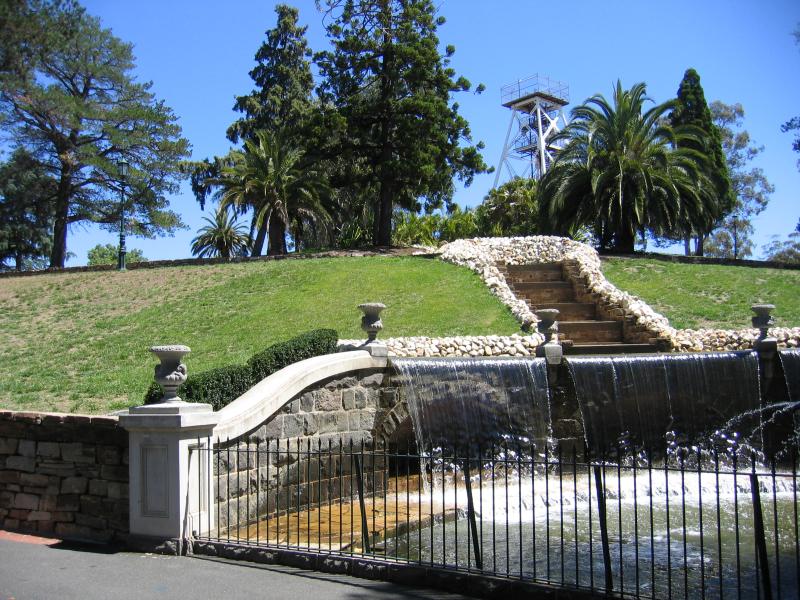
 Rosalind Park - View towards Poppet Head lookout from the Cascades
 Rosalind Park - Cascades near Poppet Head lookout with Visitor Information Centre clock tower in background
 Rosalind Park - Fountain, with view to Poppet Head
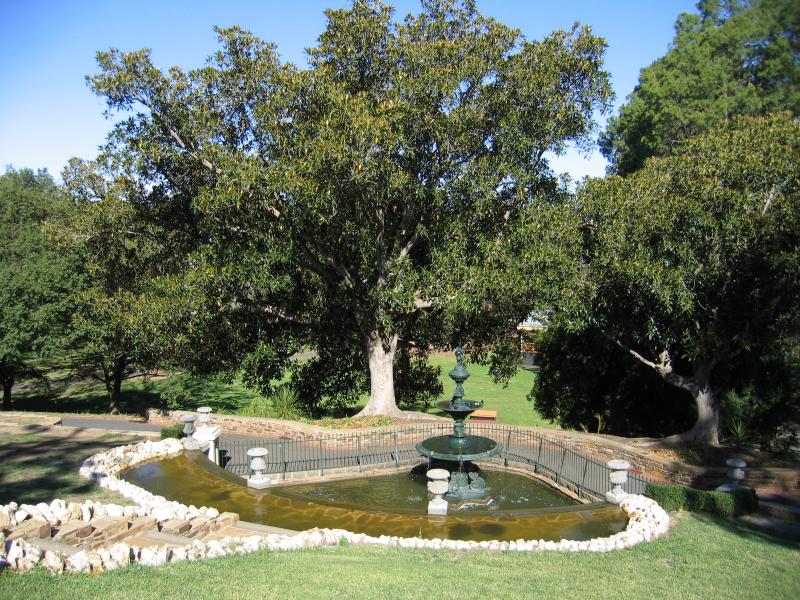
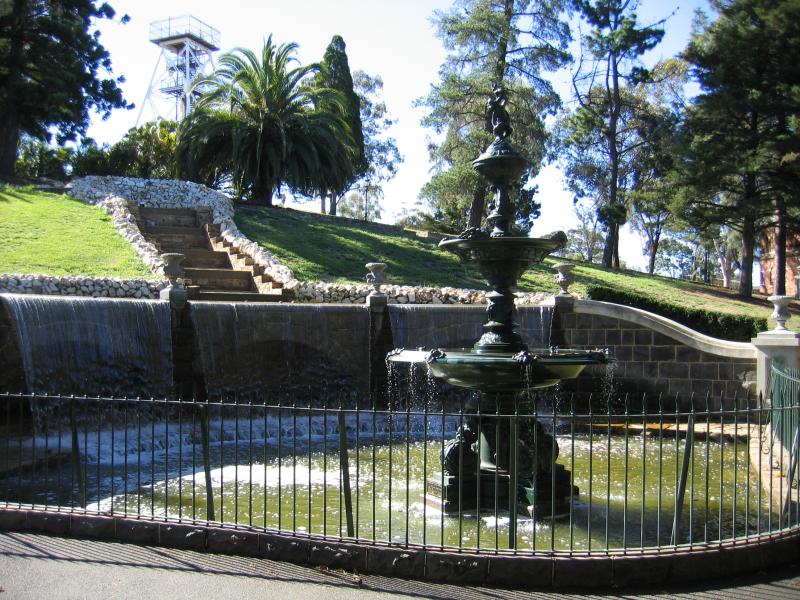 Rosalind Park - Fountain
 Rosalind Park - View of fountain from Cascades
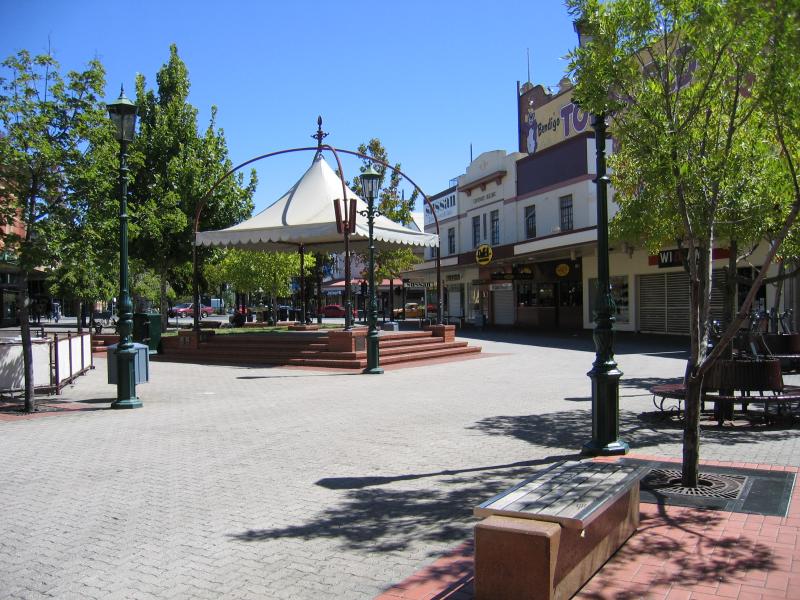
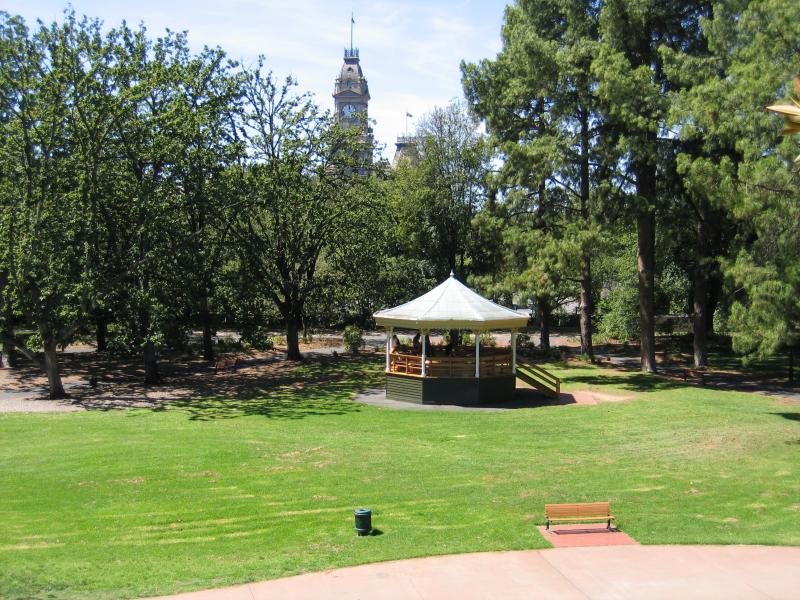 Rosalind Park - Rotunda
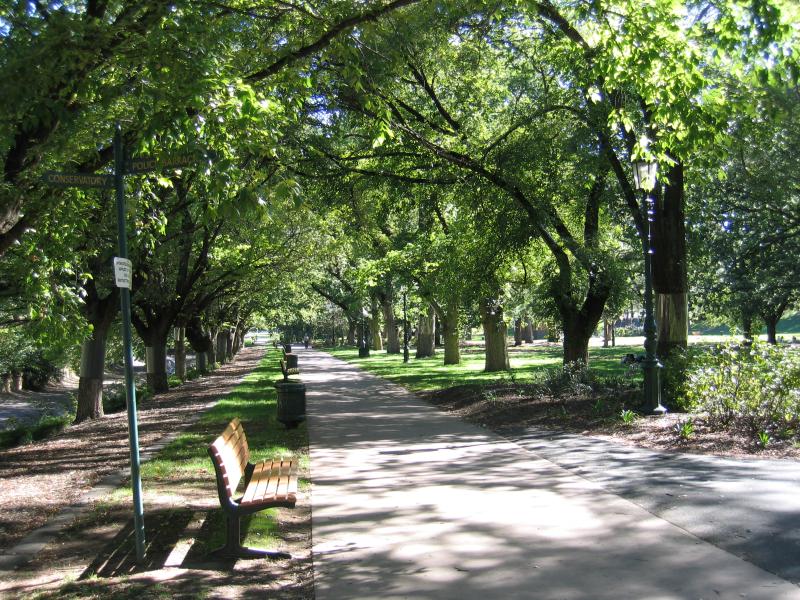 Rosalind Park - Shady pathway
 Rosalind Park - View towards Camp Hill primary school
 Rosalind Park - View towards Bendigo senior secondary college
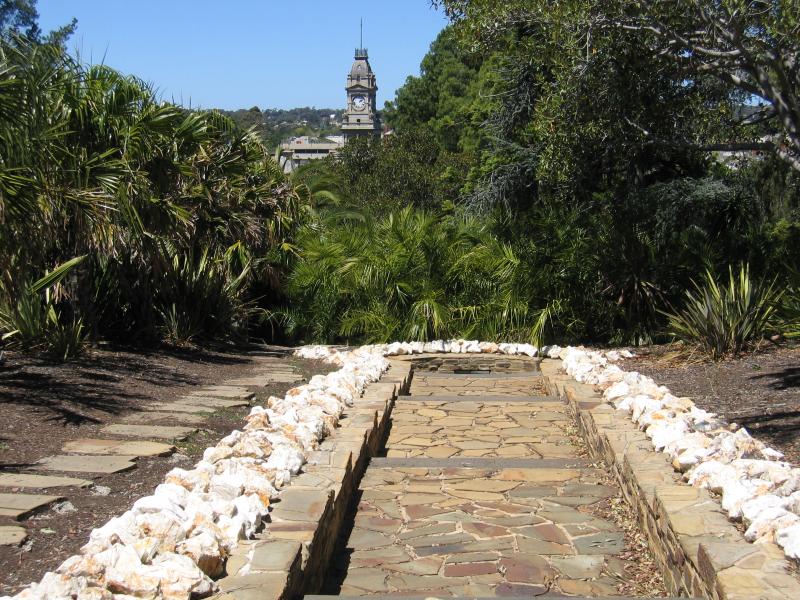
 Rosalind Park - View through Rosalind Park towards Bendigo Creek and View St at Pall Mall
 Rosalind Park - Path near corner of View St and Pall Mall
 Rosalind Park - View through Rosalind park near corner of Pall Mall and View St towards R.S.L.
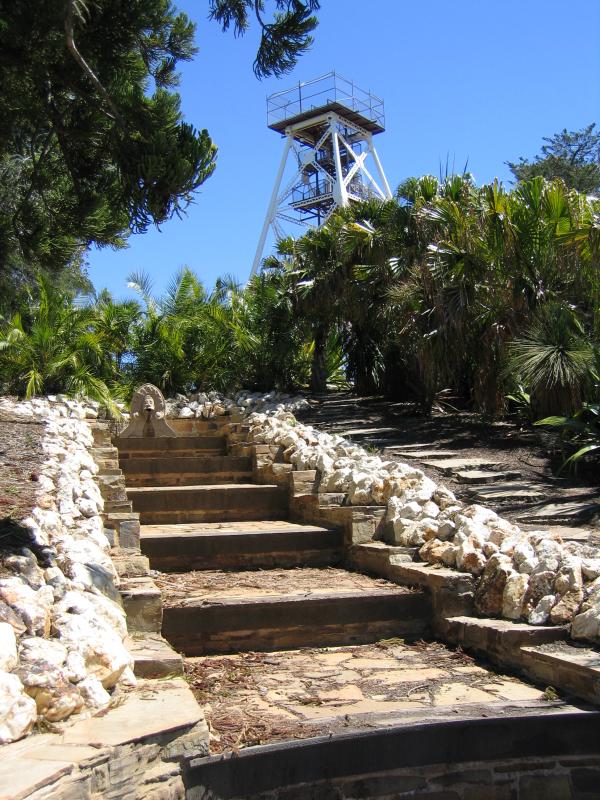
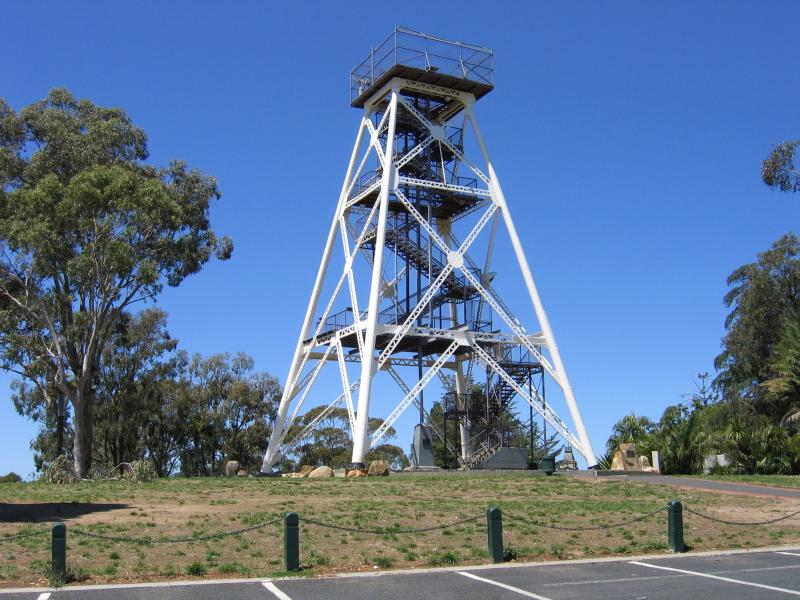 Poppet Head lookout, Rosalind Park - Lookout tower
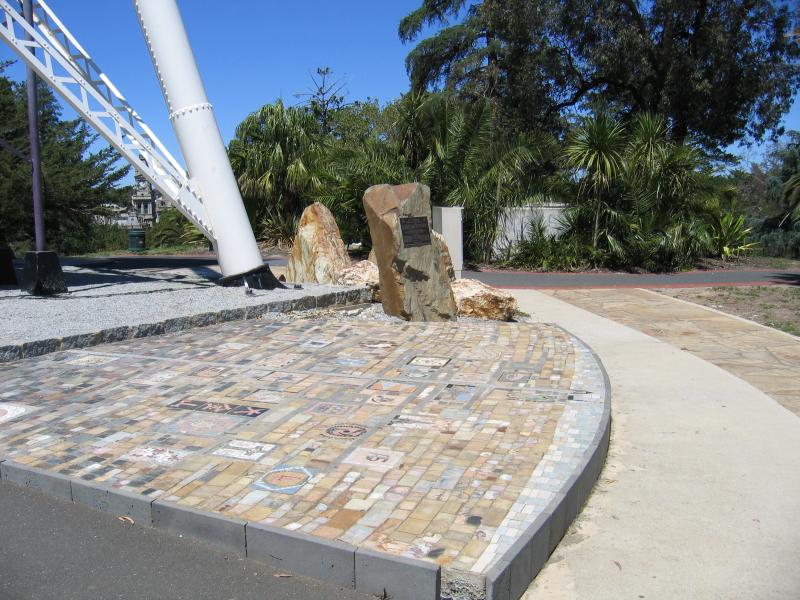 Poppet Head lookout, Rosalind Park - Mosaic at base of lookout tower
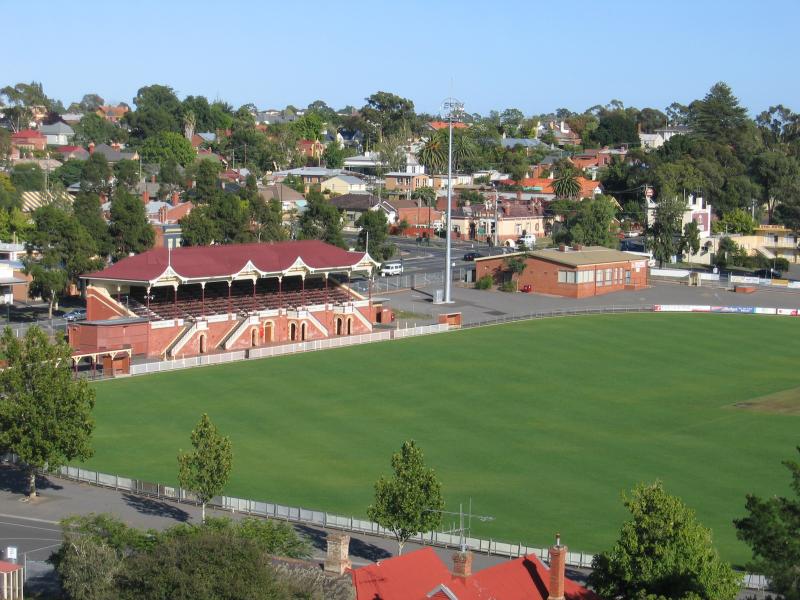 Poppet Head lookout, Rosalind Park - View north-west across Queen Elizabeth Oval
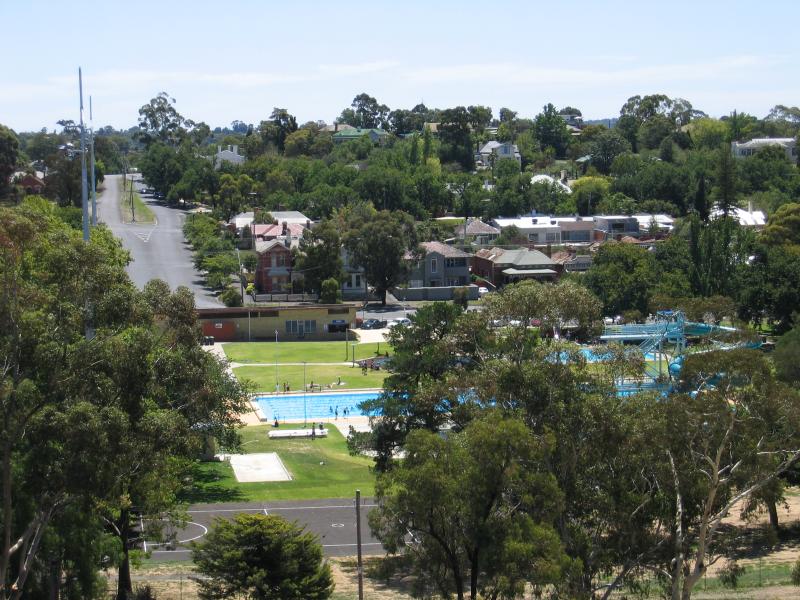 Poppet Head lookout, Rosalind Park - View north towards pool
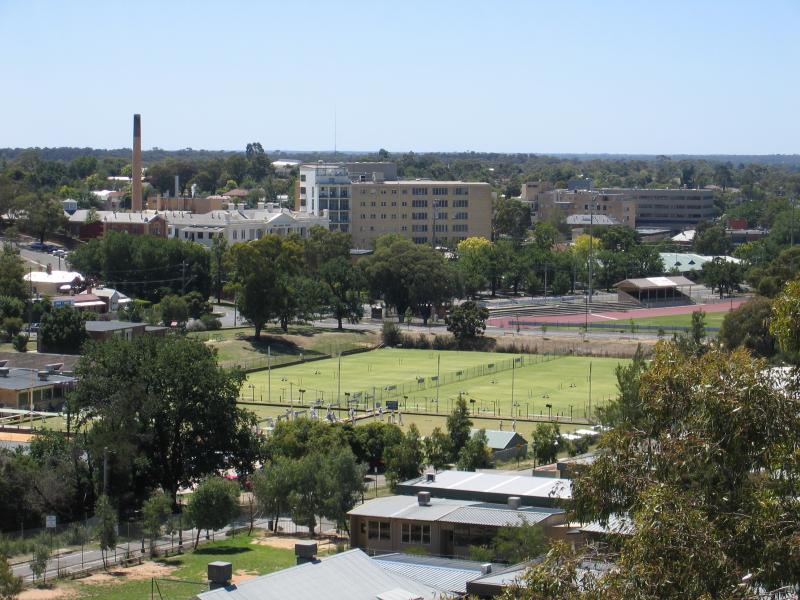 Poppet Head lookout, Rosalind Park - View north-east towards tennis courts and Tom Flood Sports Centre
 Poppet Head lookout, Rosalind Park - View west towards View St
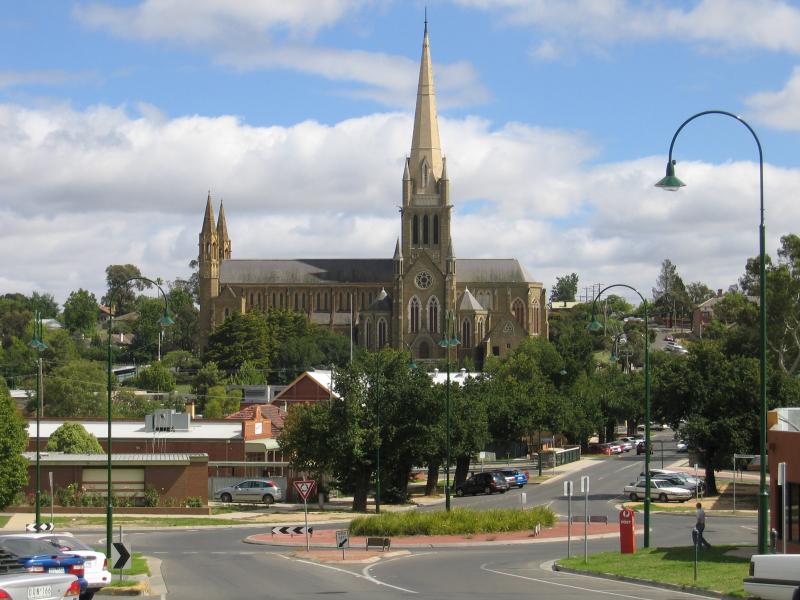
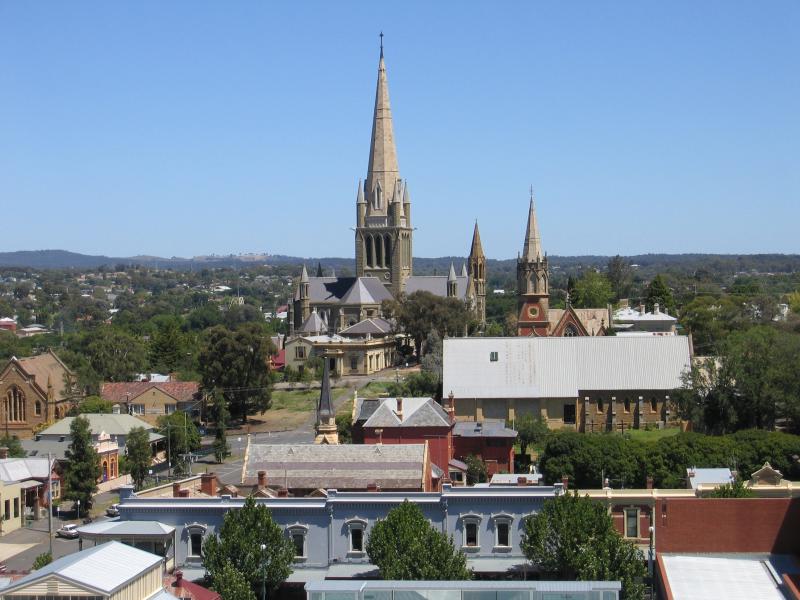 Poppet Head lookout, Rosalind Park - View south-west towards Sacred Heart Cathedral
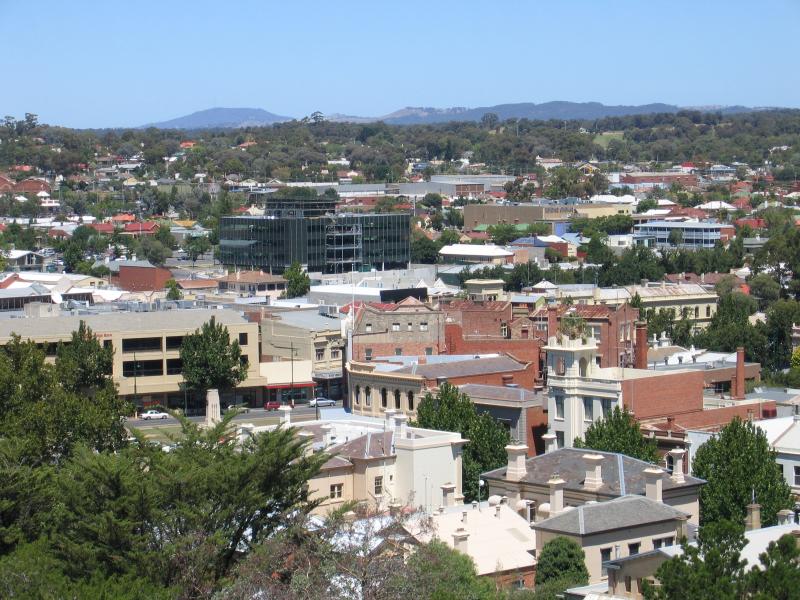
 Poppet Head lookout, Rosalind Park - View south-west towards art gallery and Sacred Heart Cathedral
 Poppet Head lookout, Rosalind Park - View south towards High St at View St
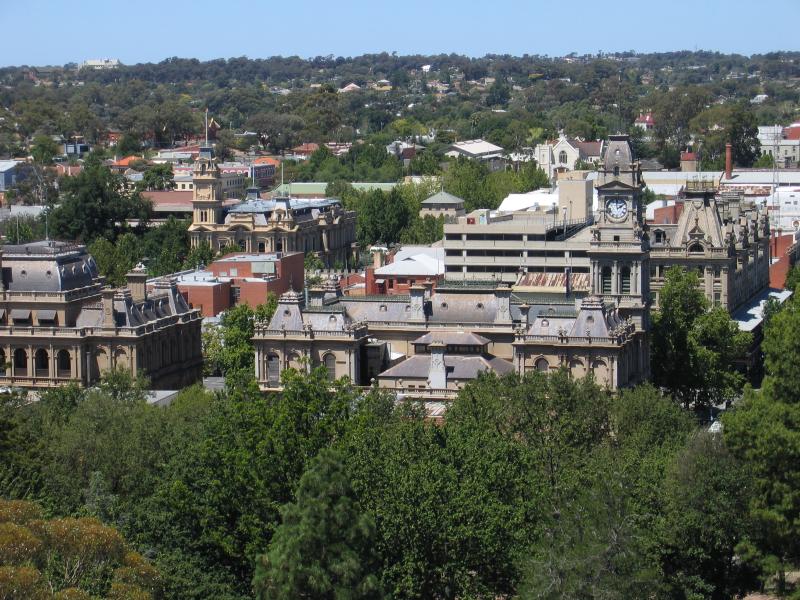
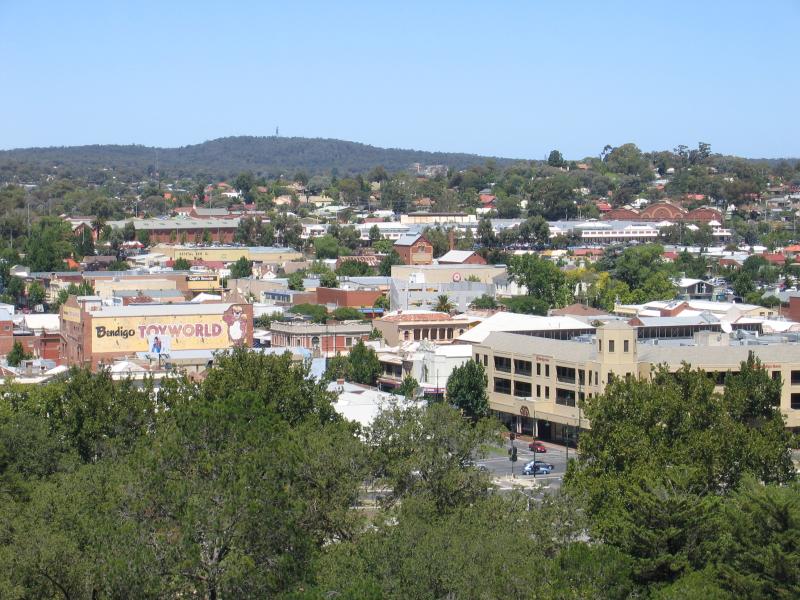 Poppet Head lookout, Rosalind Park - View south towards Mitchell St at Pall Mall
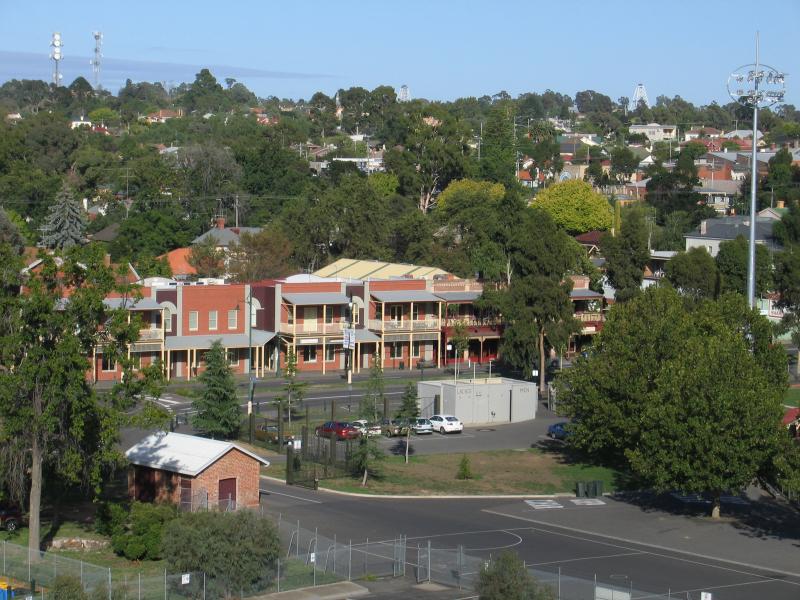
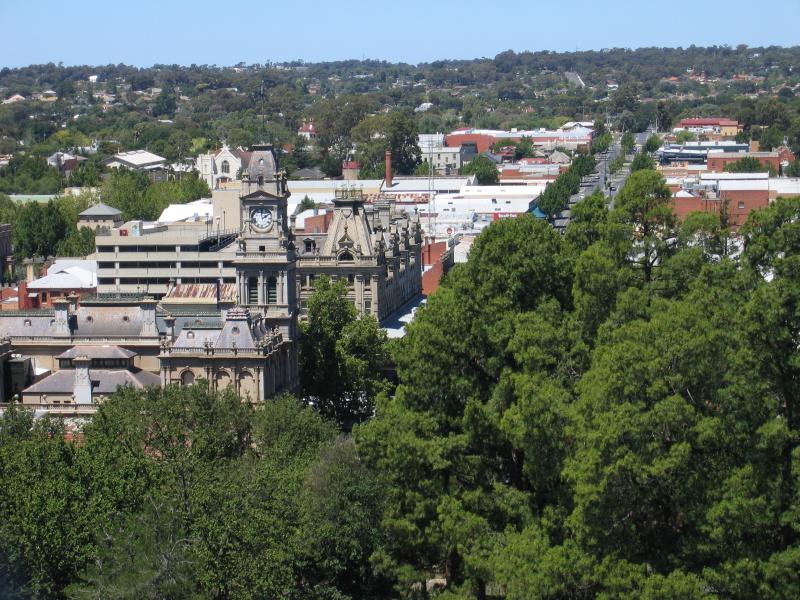 Poppet Head lookout, Rosalind Park - View south-east towards Visitor Information Centre, Shamrock Hotel and along Williamston St
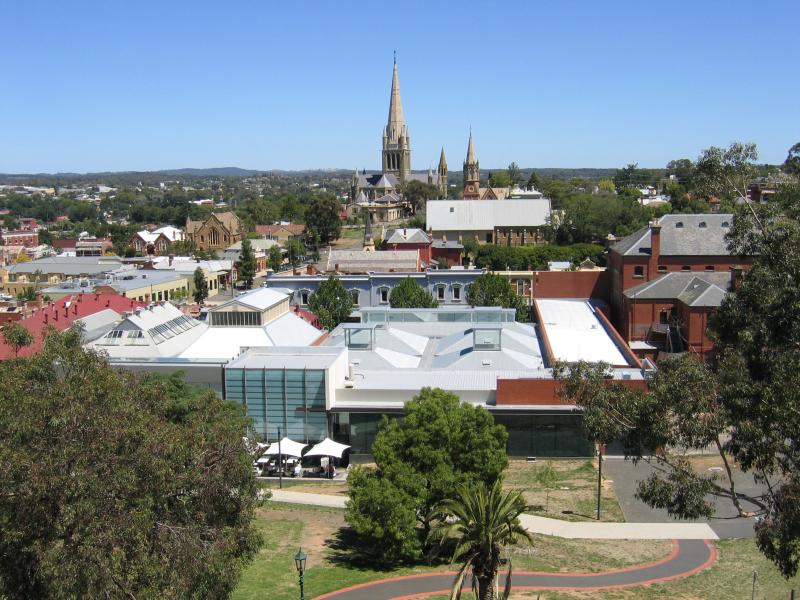
 Poppet Head lookout, Rosalind Park - View south-east across Visitor Information Centre, Bendigo Law Courts and town hall
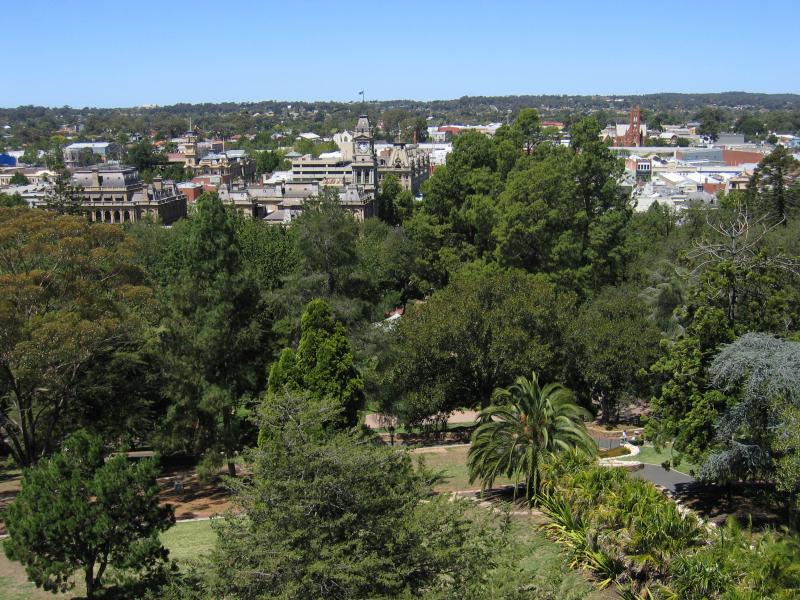 Poppet Head lookout, Rosalind Park - View south-east through Rosalind Park towards Visitor Information Centre
 Recreational precinct around Park Road and Barnard Street - Queen Elizabeth Oval, corner View St and Barnard St
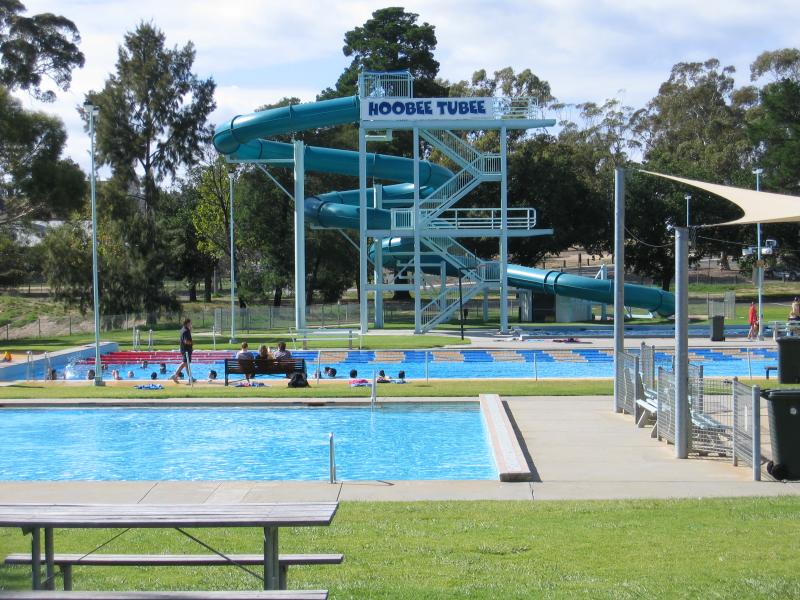 Recreational precinct around Park Road and Barnard Street - Pool, viewed from Barnard St
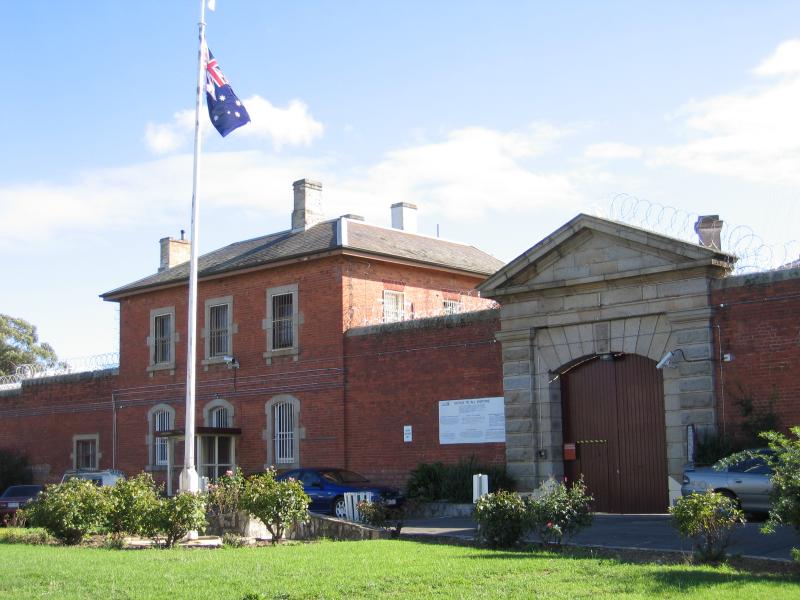 Recreational precinct around Park Road and Barnard Street - Bendigo Prison, Gaol Rd
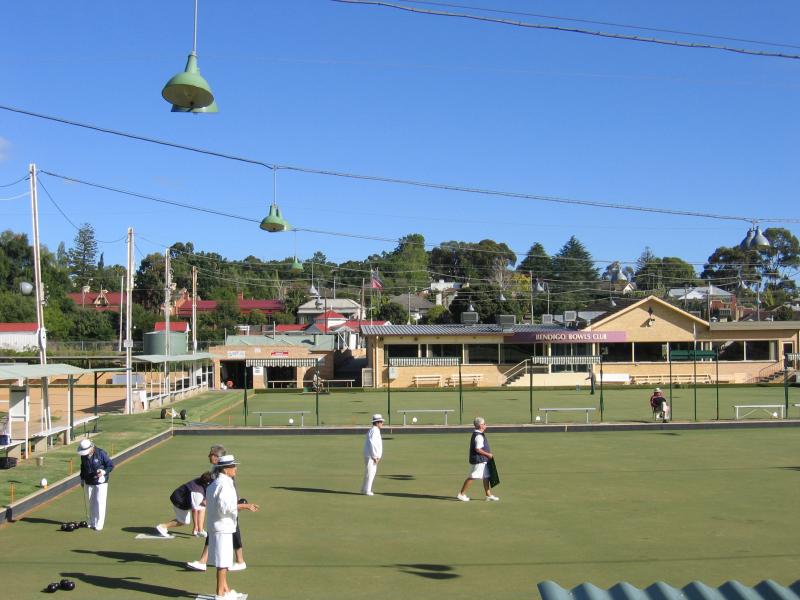 Recreational precinct around Park Road and Barnard Street - Bendigo Bowls Club, viewed from Gaol Rd
 Recreational precinct around Park Road and Barnard Street - View across tennis courts from Barnard St
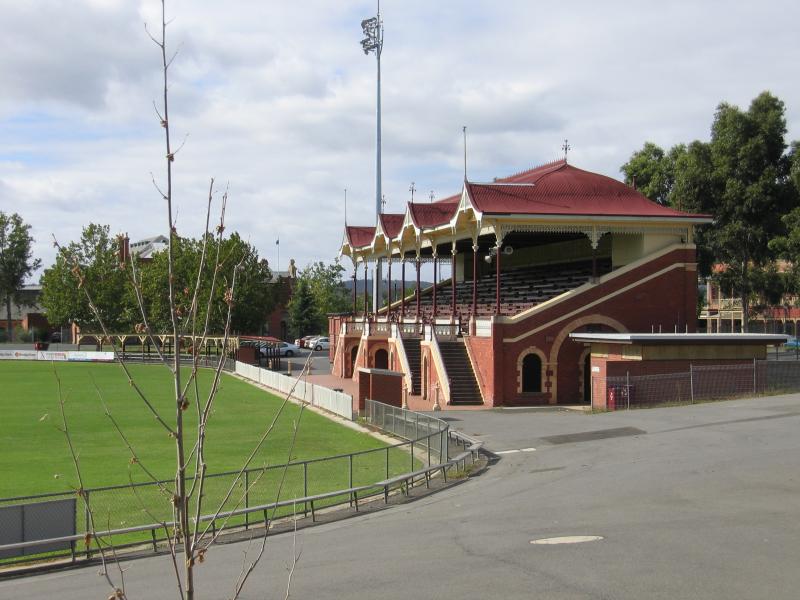
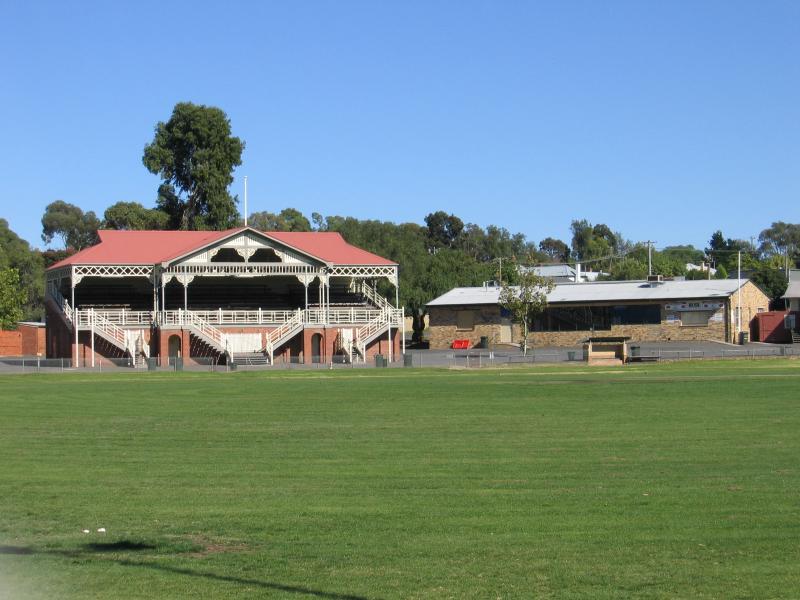
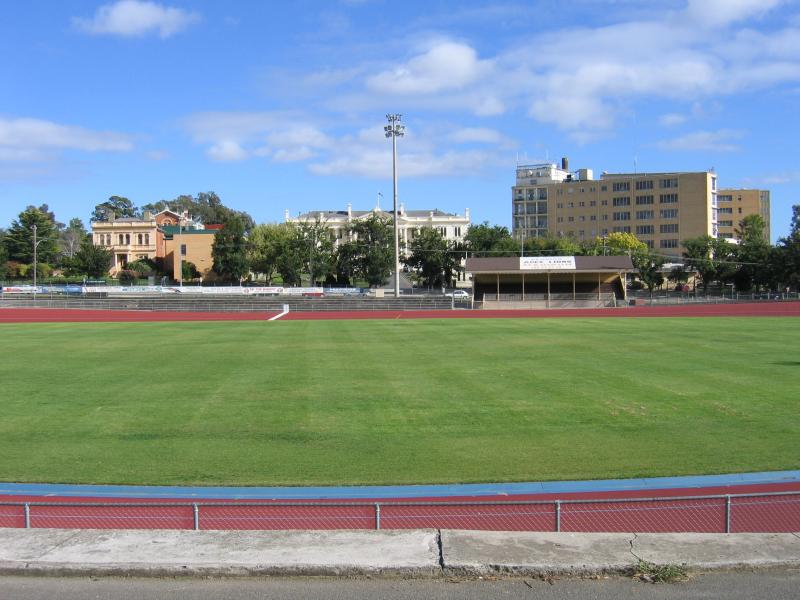 Recreational precinct around Park Road and Barnard Street - Tom Flood Sports Centre oval
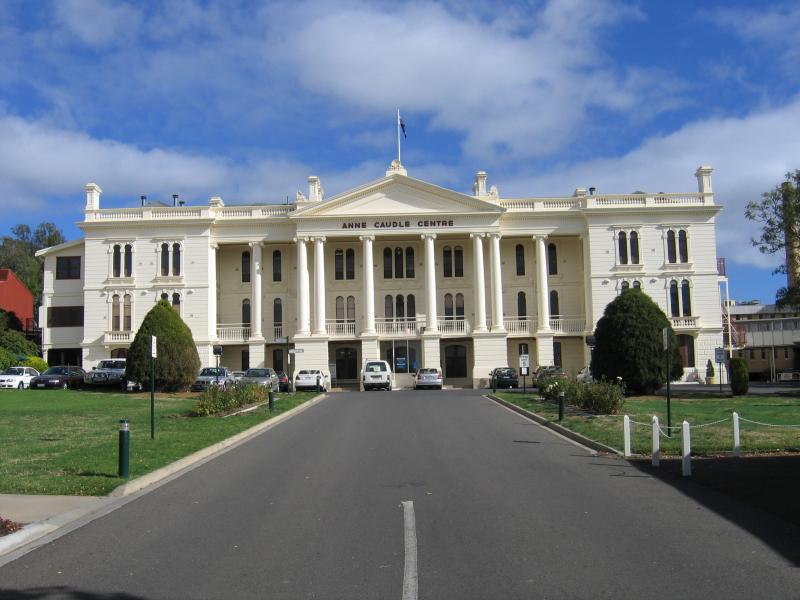 Recreational precinct around Park Road and Barnard Street - Anne Caudle Centre, Barnard St
 View Street - View south-east along View St towards Rowan St
 View Street - View north-west along View St towards Rowan St
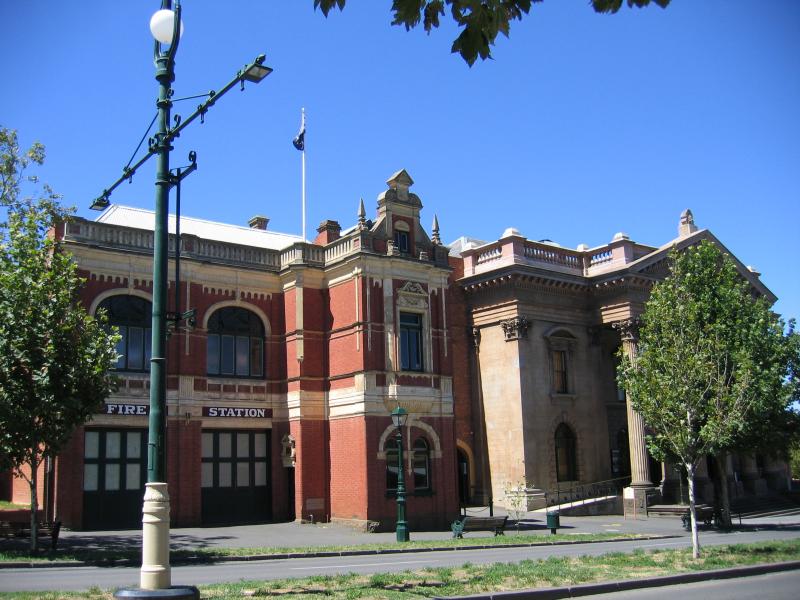 View Street - Fire station and Art Centre
 View Street - Art Centre and Bendigo Art Gallery
 View Street - Bendigo Art Gallery
 View Street - View south-east along View St towards MacKenzie St
 View Street - Trades Hall and Penfolds Fine Art Gallery, View St at MacKenzie St
 View Street - View south-east along View St towards Pall Mall and Mitchell St
 View Street - View north-west along View St at Pall Mall
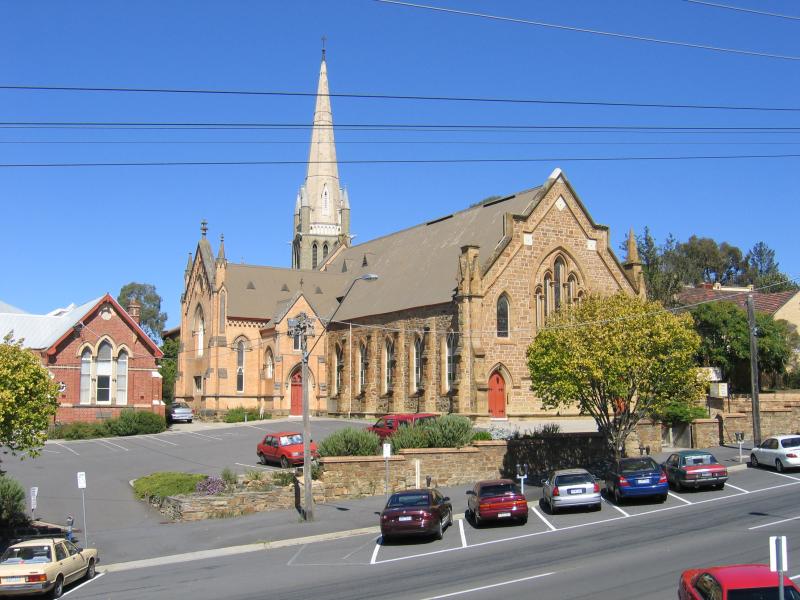 Forest Street - Uniting Church between MacKenzie St and High St
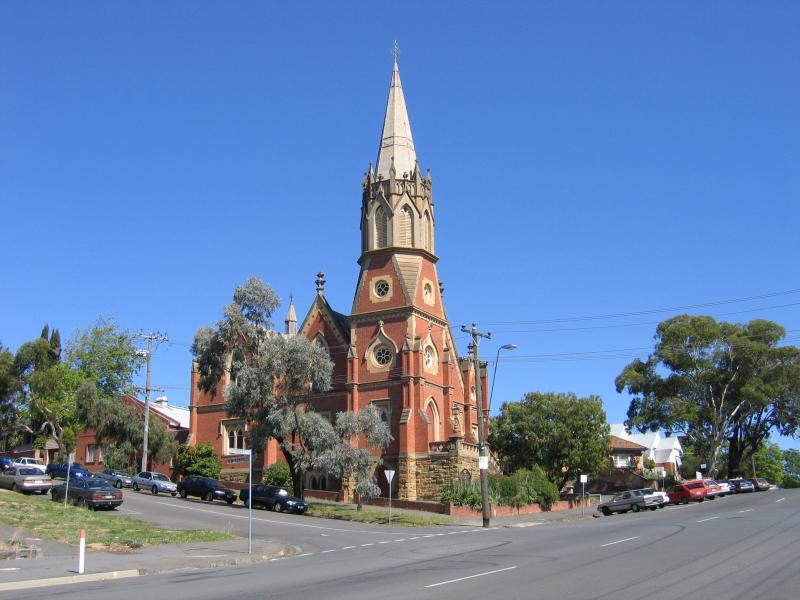 Forest Street - St Johns Presbyterian Church, corner Forest St and Mackenzie St
 High Street - View south-west along High St at Violet St
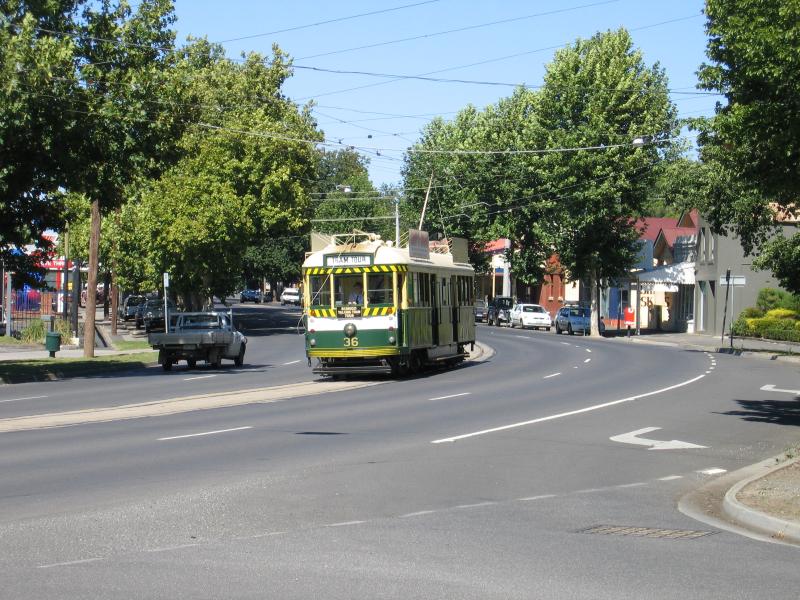 High Street - Tram, view south-west along High St at Wattle St
 High Street - View north-east along High St towards Short St
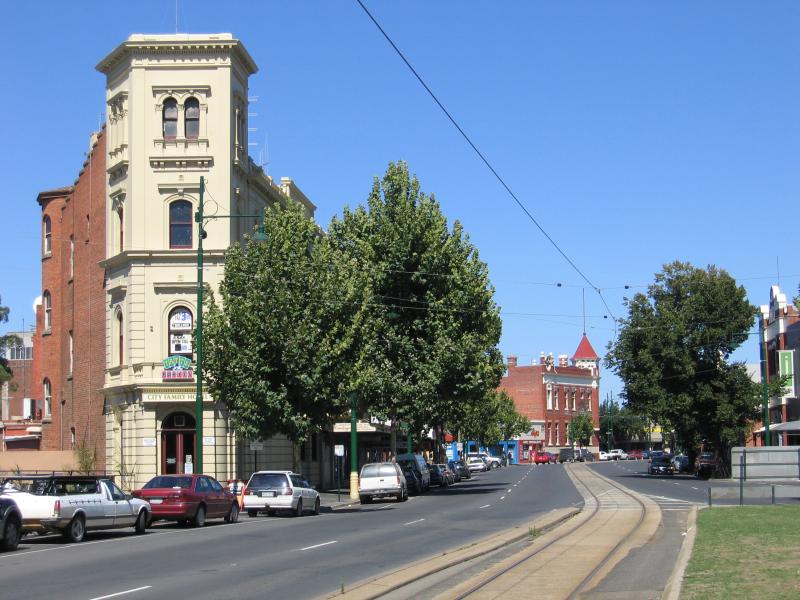 High Street - City Family Hotel, view south-west along High St towards Forest St
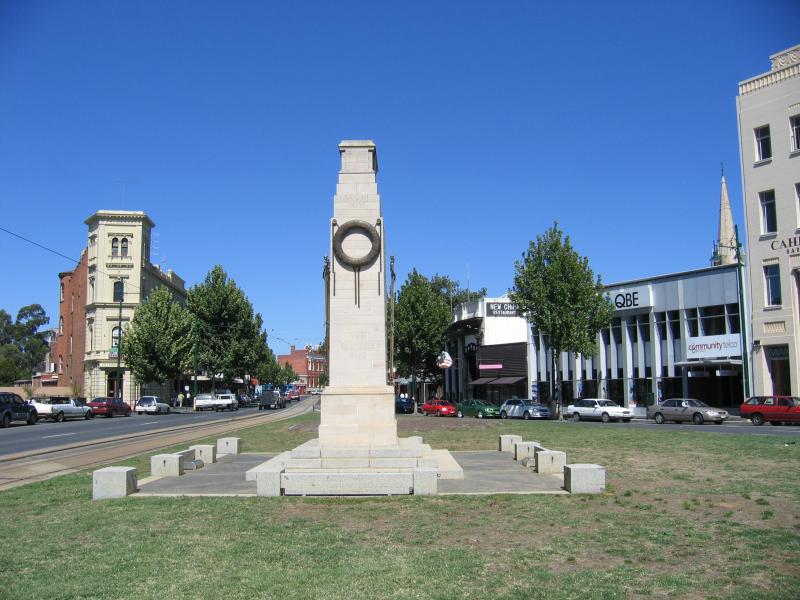 High Street - War memorial, view south-west along High St between View St and Forest St
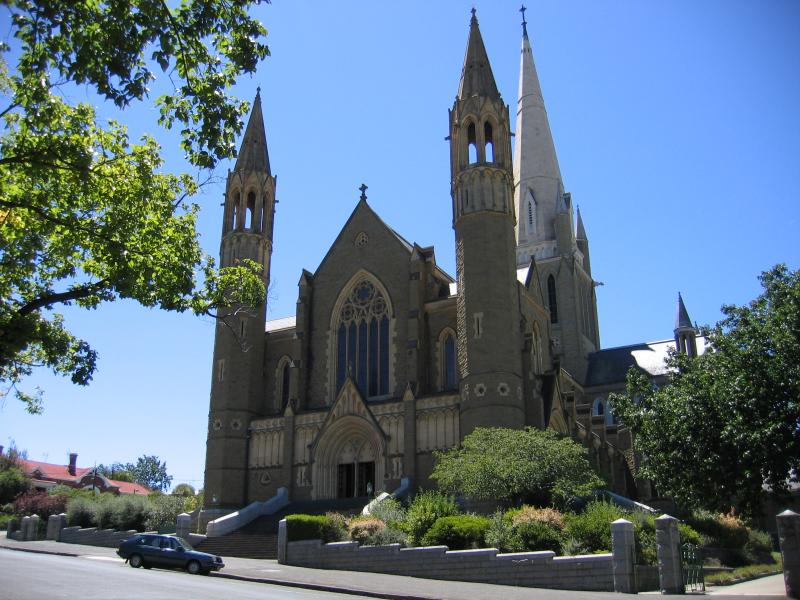 Sacred Heart Cathedral, High Street - View of cathedral from Wattle St
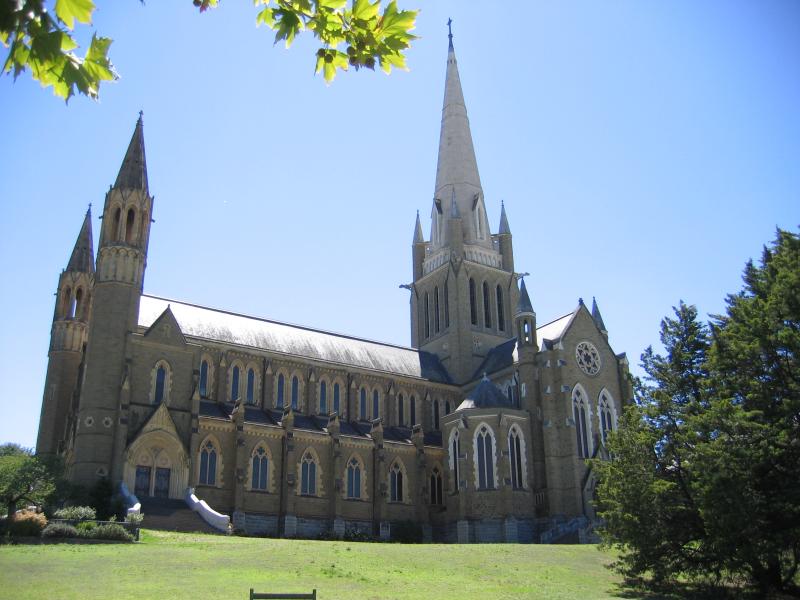 Sacred Heart Cathedral, High Street - View of cathedral from High St
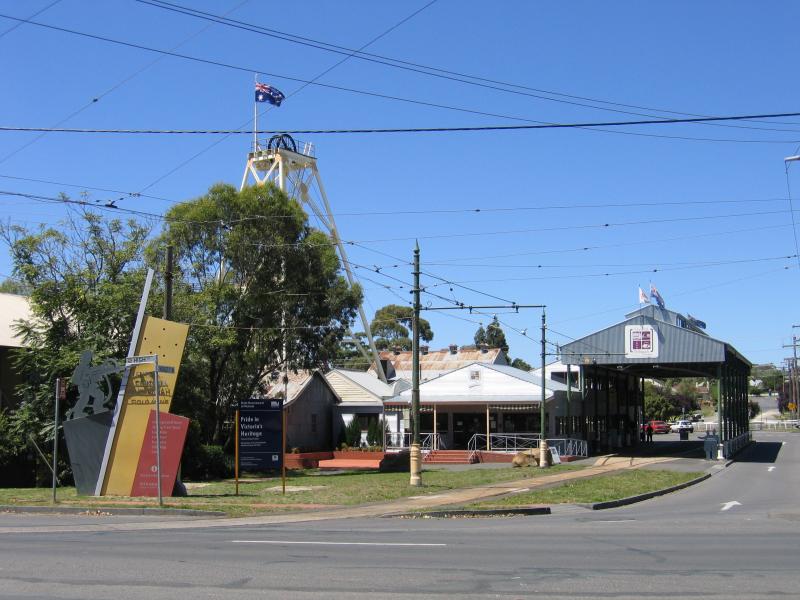 Central Deborah Gold Mine, High Street - Entrance to Central Deborah, High St at Violet St
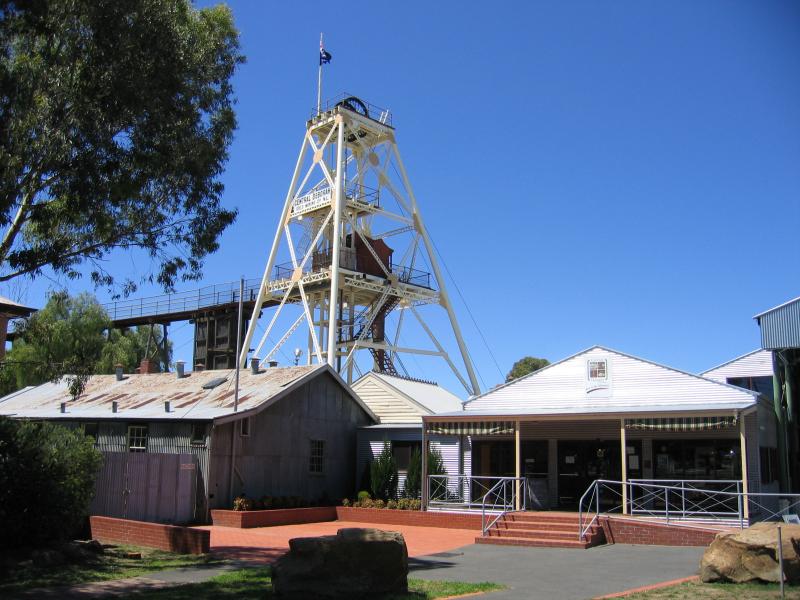 Central Deborah Gold Mine, High Street - Gold mine complex
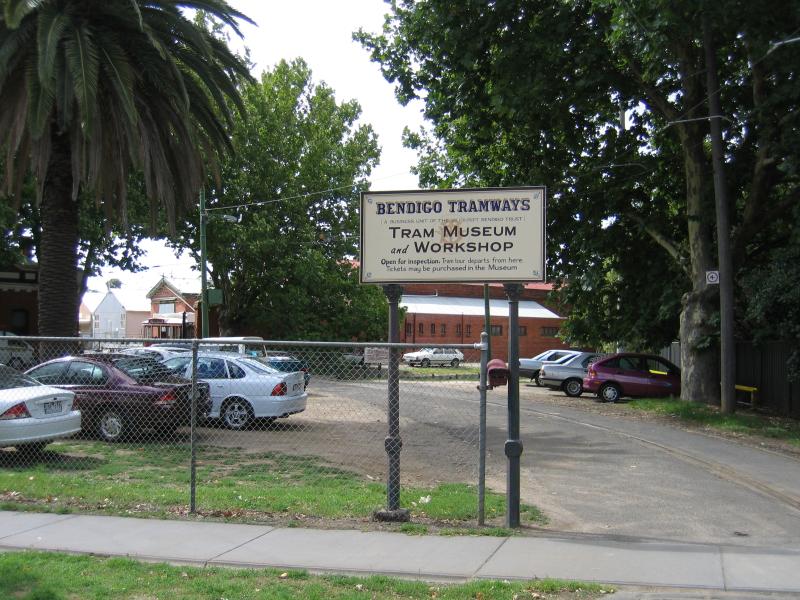 Tram Museum and Workshop, Hargreaves Street - Entrance to tram museum
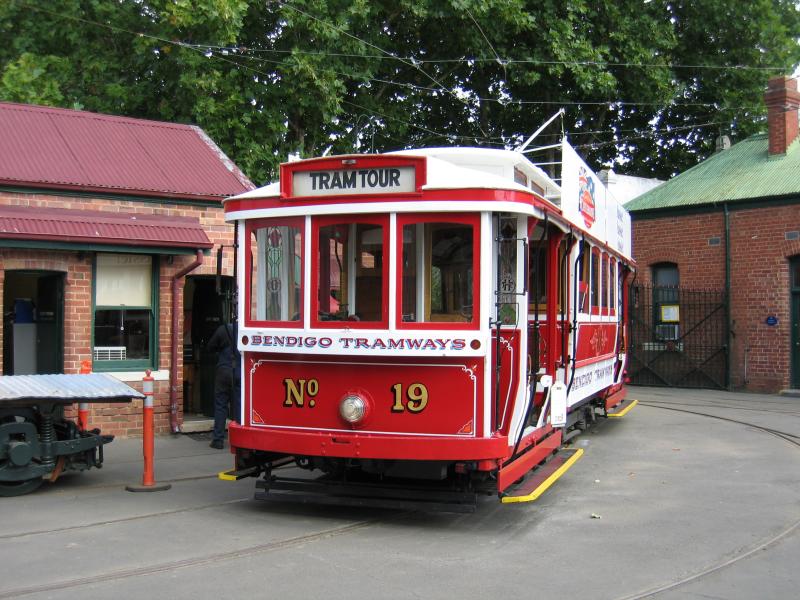 Tram Museum and Workshop, Hargreaves Street - One of the trams on tour
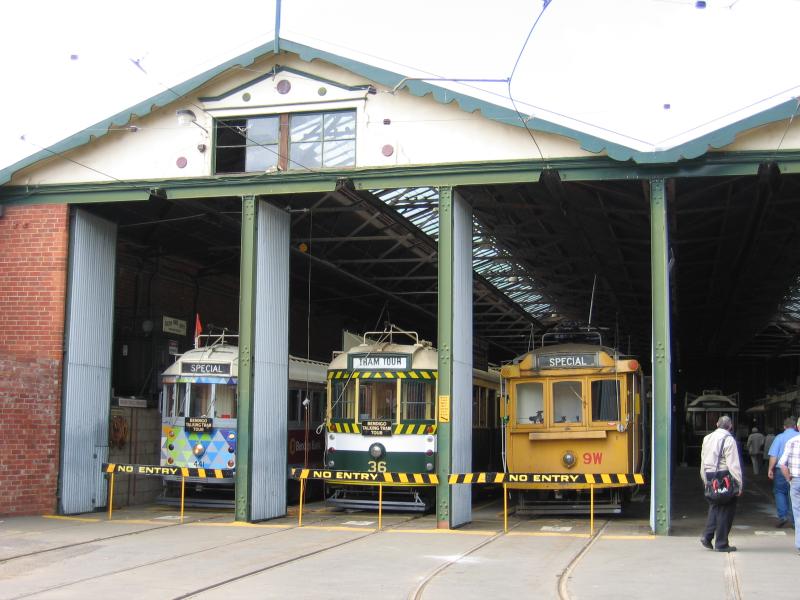 Tram Museum and Workshop, Hargreaves Street - Workshop
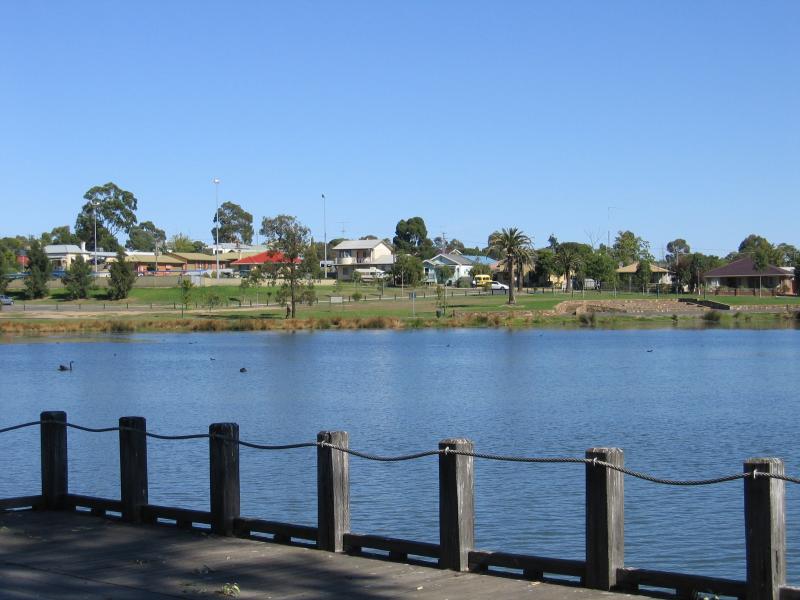
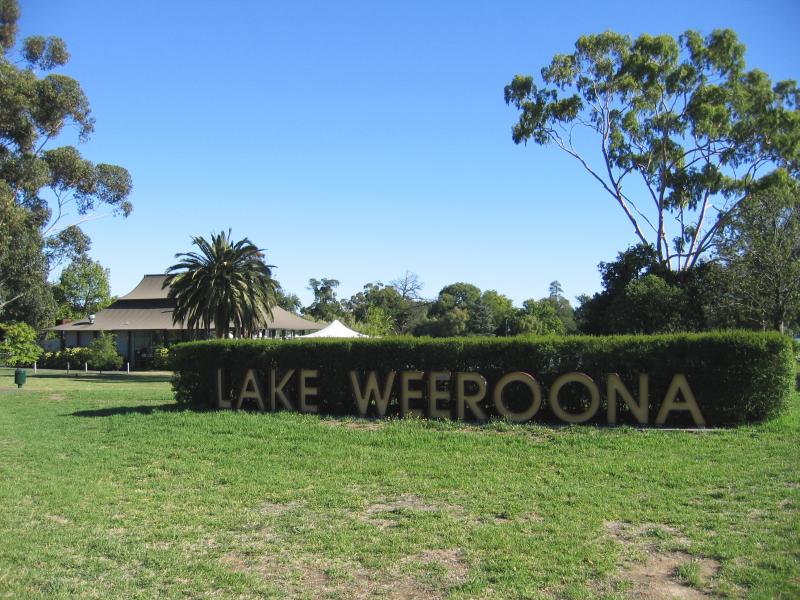 Lake Weeroona - Lake Weeroona sign, corner Napier St and Nolan St
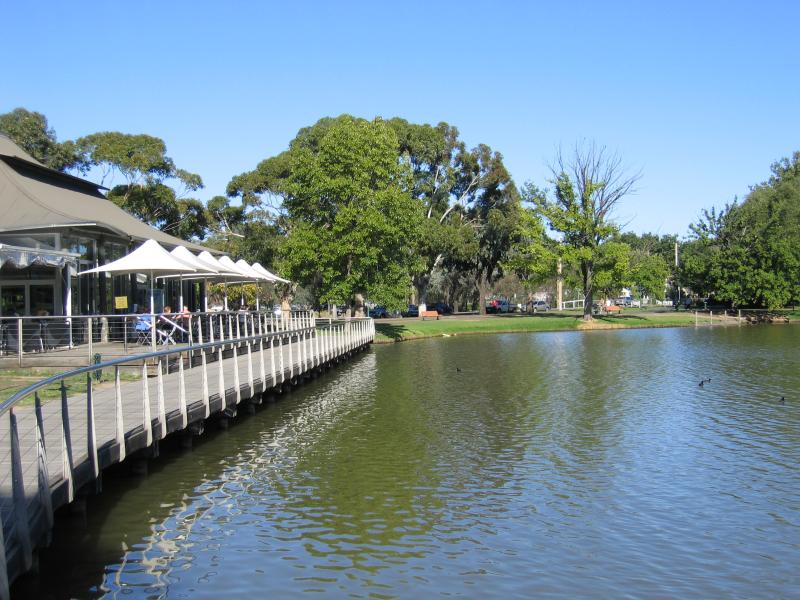
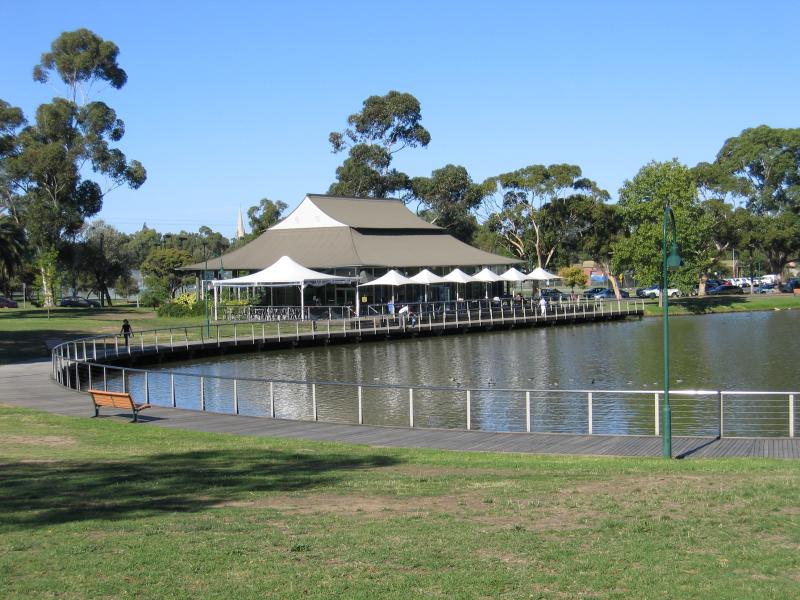 Lake Weeroona - Boardwalk Cafe, near Nolan St
 Lake Weeroona - Boardwalk Cafe
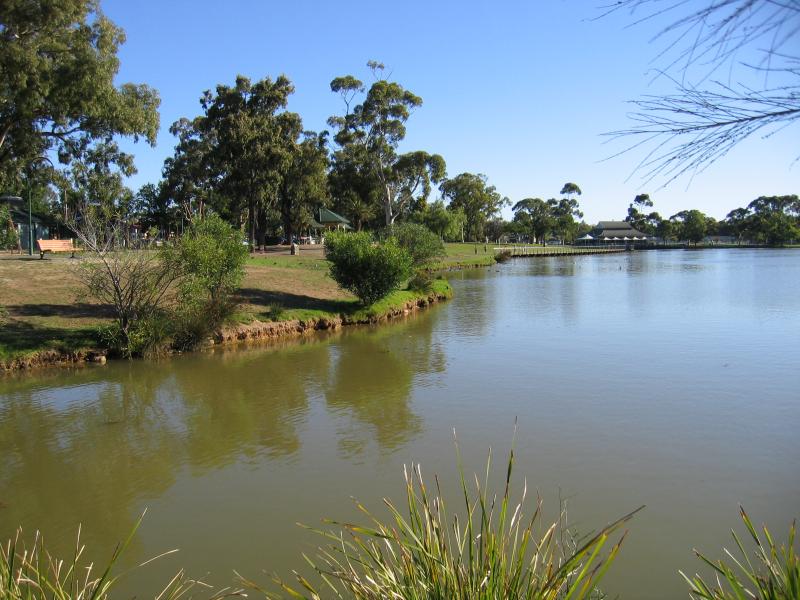
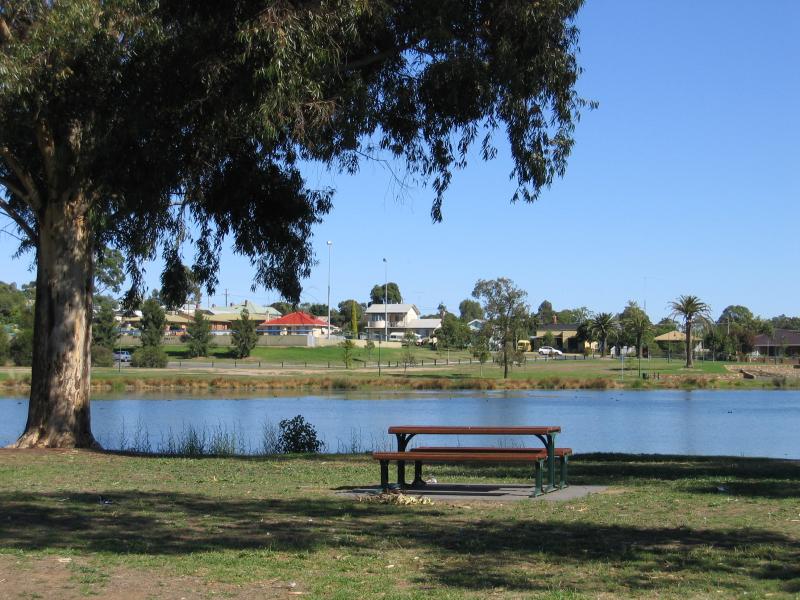
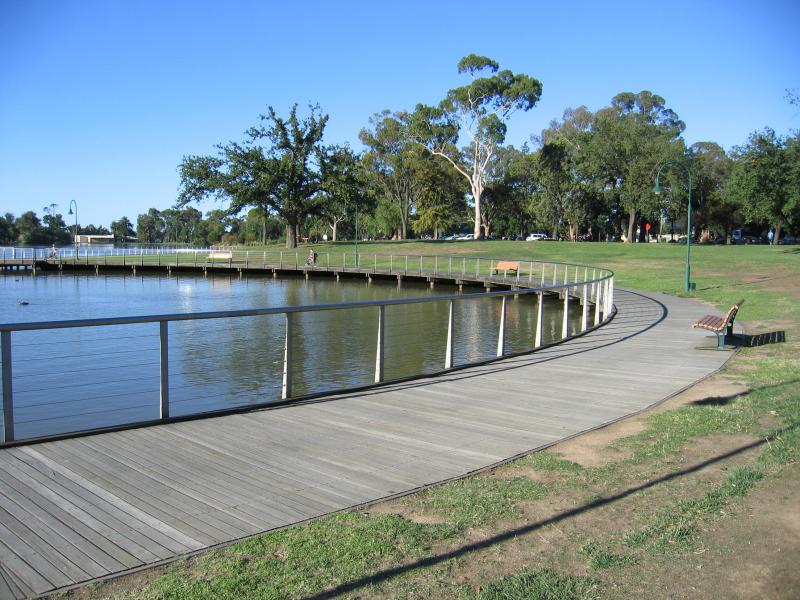 Lake Weeroona - View along lake near Boardwalk Cafe
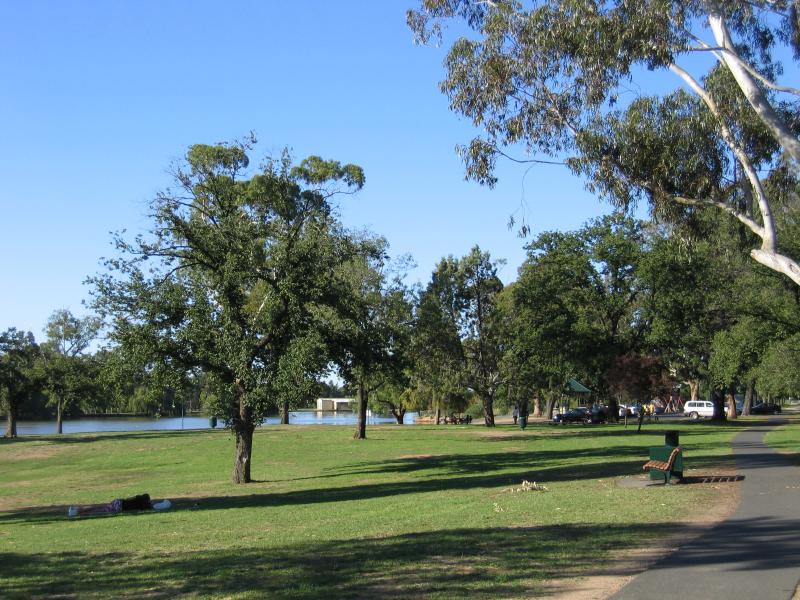 Lake Weeroona - View through parkland beside lake along Napier St
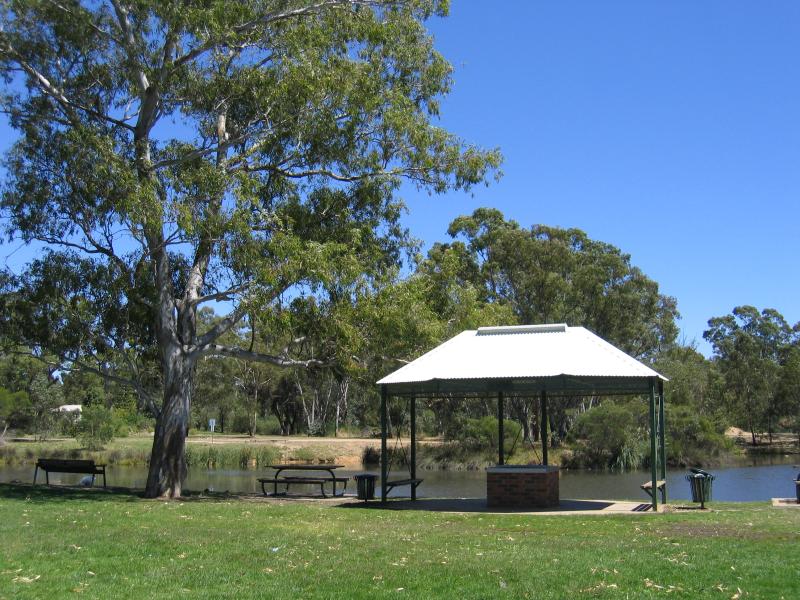
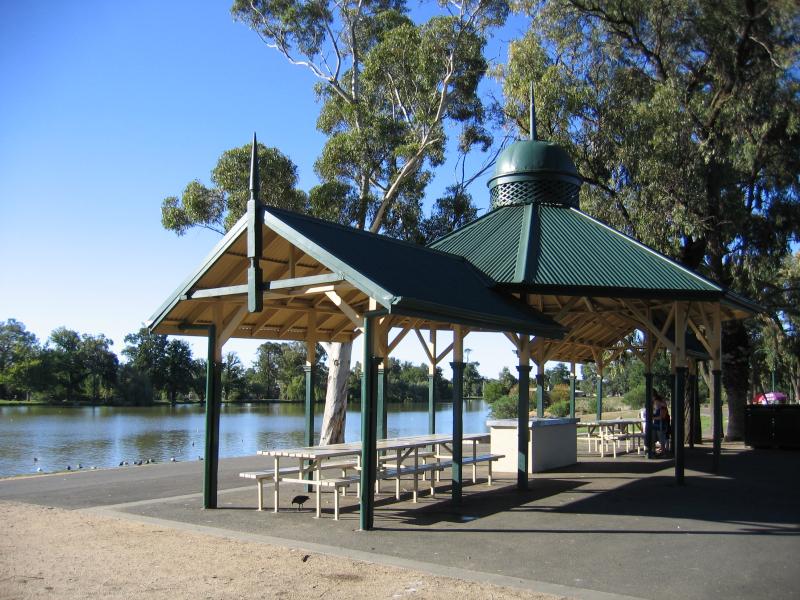 Lake Weeroona - BBQ and picnic shelter, along Napier St
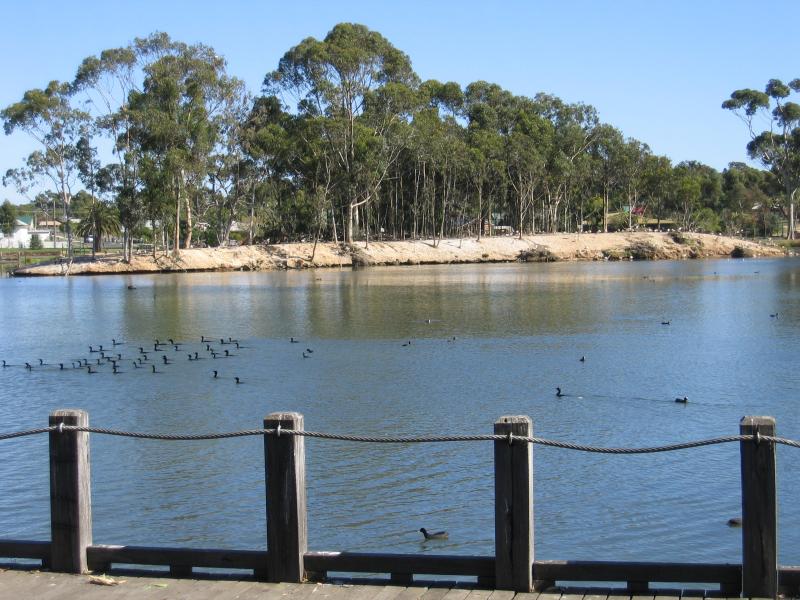
 Lake Weeroona - View south-west along lake near railway line
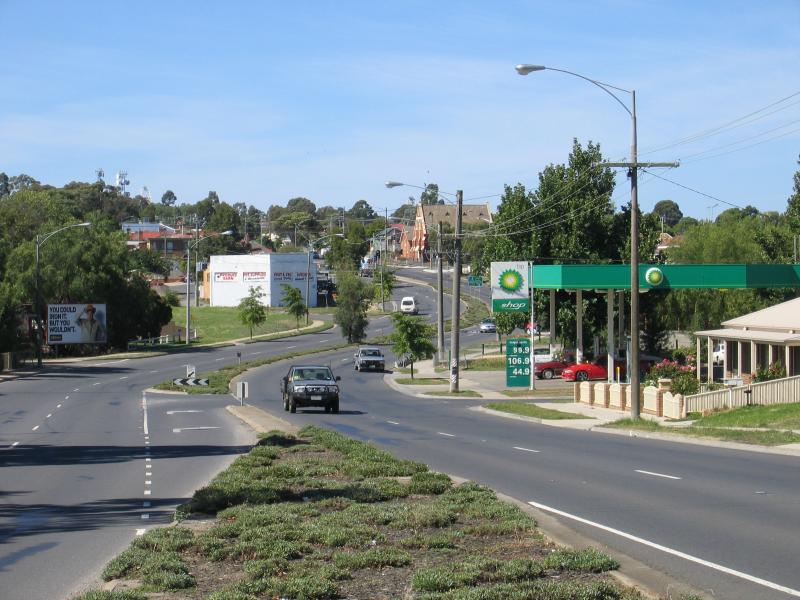
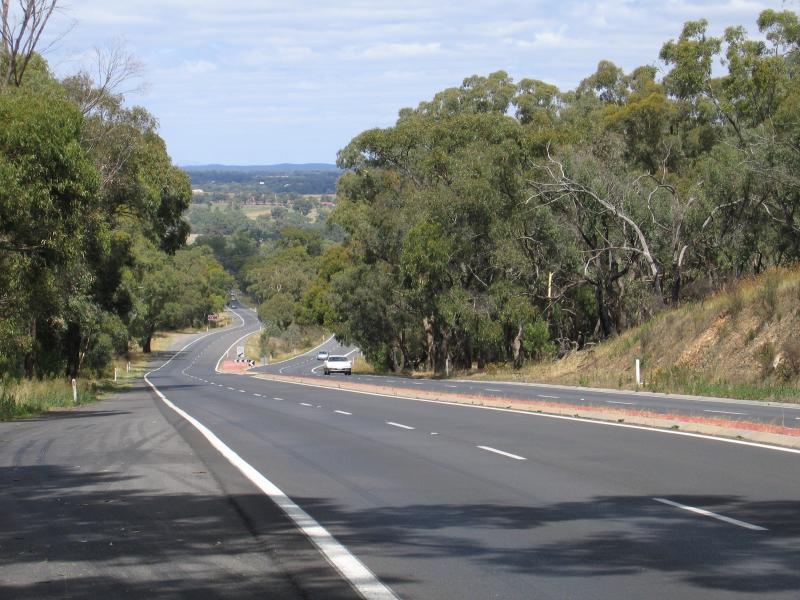 Bendigo suburb of Kangaroo Flat - View south along Calder Highway, around Big Hill
 Bendigo suburb of Kangaroo Flat - View north along Calder Highway, south of Phillis St
 Bendigo suburb of Kangaroo Flat - View south along Calder Highway towards Lauren Ct
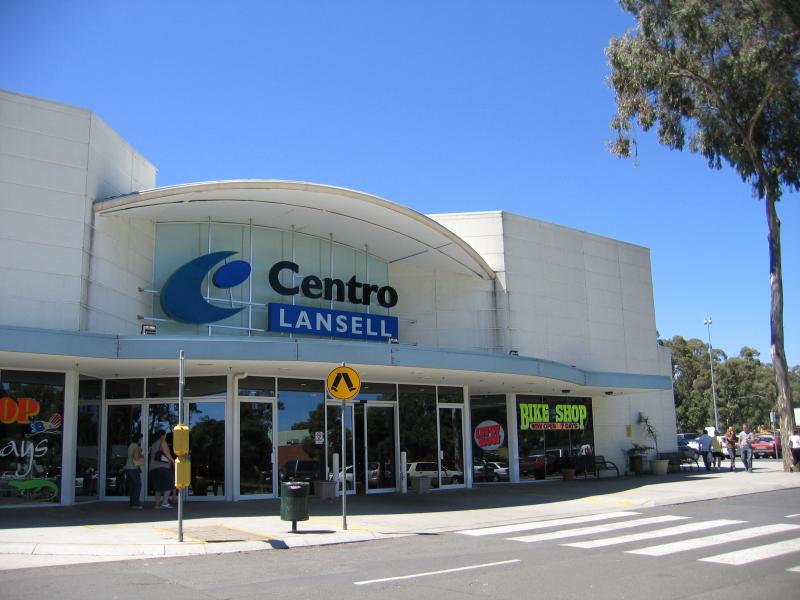 Bendigo suburb of Kangaroo Flat - Centro Lansell Shopping Centre, Calder Highway
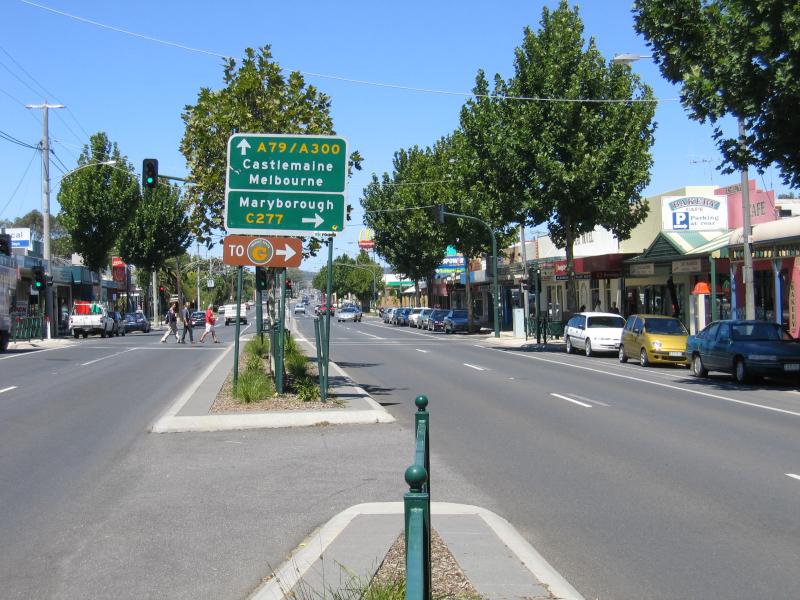 Bendigo suburb of Kangaroo Flat - View south along High St between Station St and Camp St
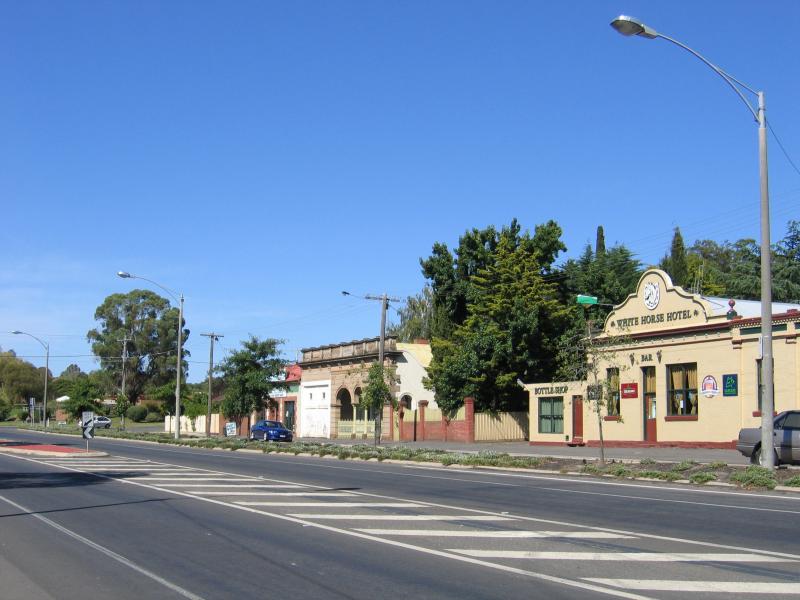
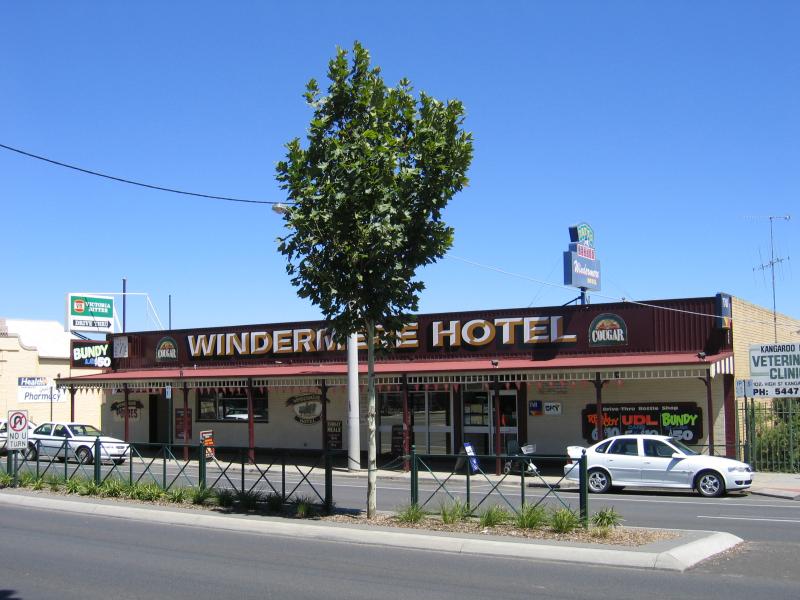 Bendigo suburb of Kangaroo Flat - Windermere Hotel, High St
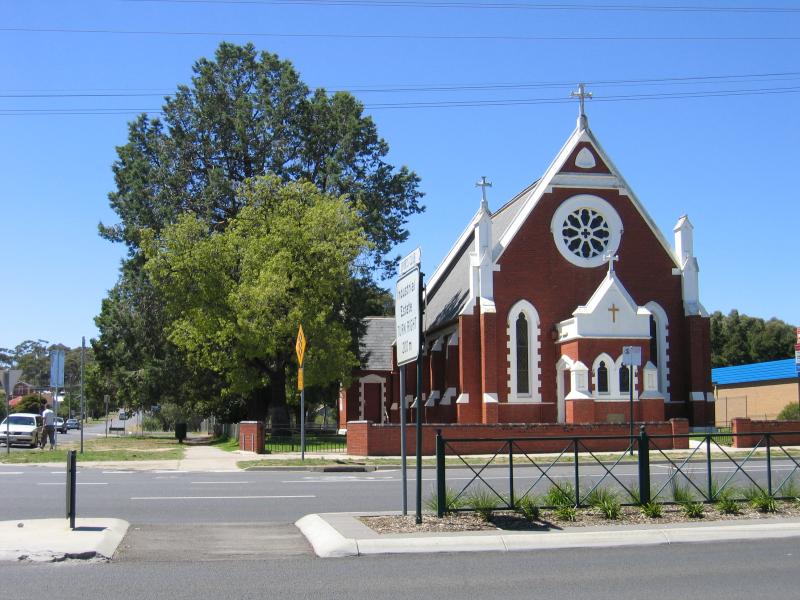 Bendigo suburb of Kangaroo Flat - Catholic Church, corner High St and Station St
 Bendigo suburb of Kangaroo Flat - Rotary Gateway Park, High St
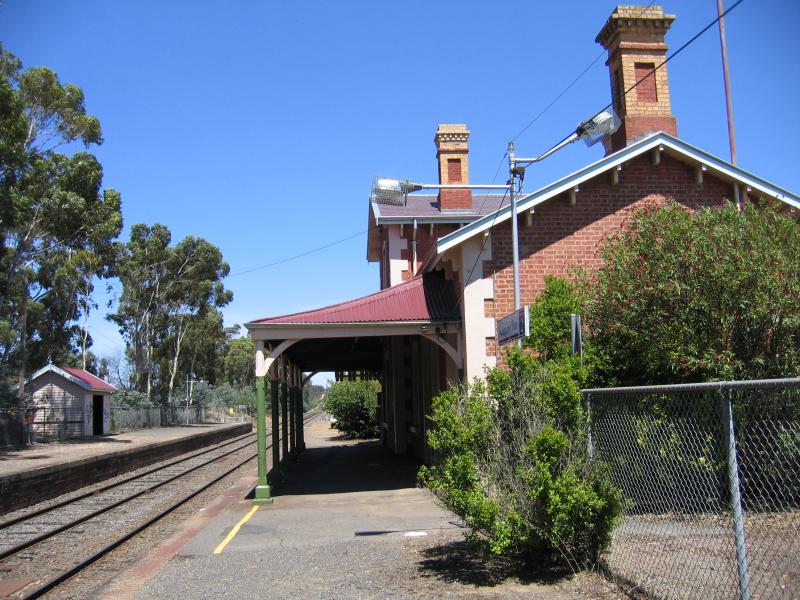 Bendigo suburb of Kangaroo Flat - Kangaroo Flat railway station
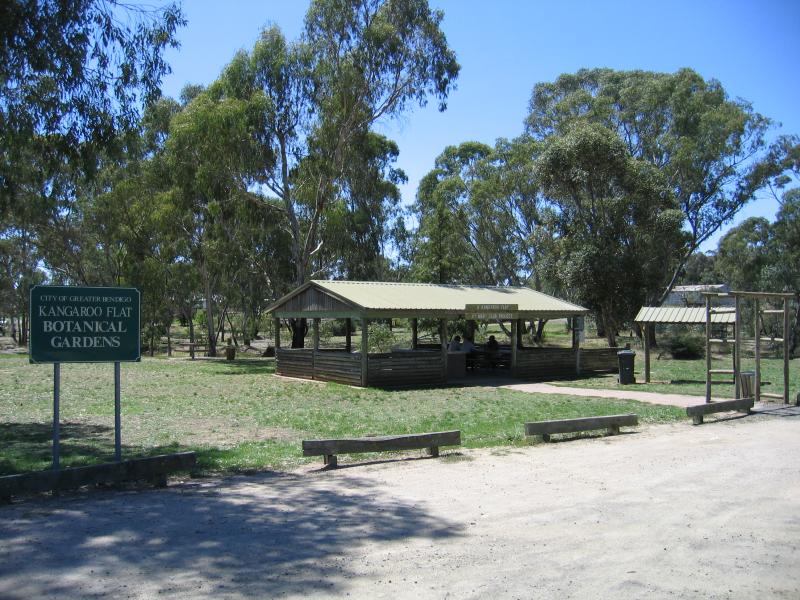 Bendigo suburb of Kangaroo Flat - Botanical Gardens, end of Camp St
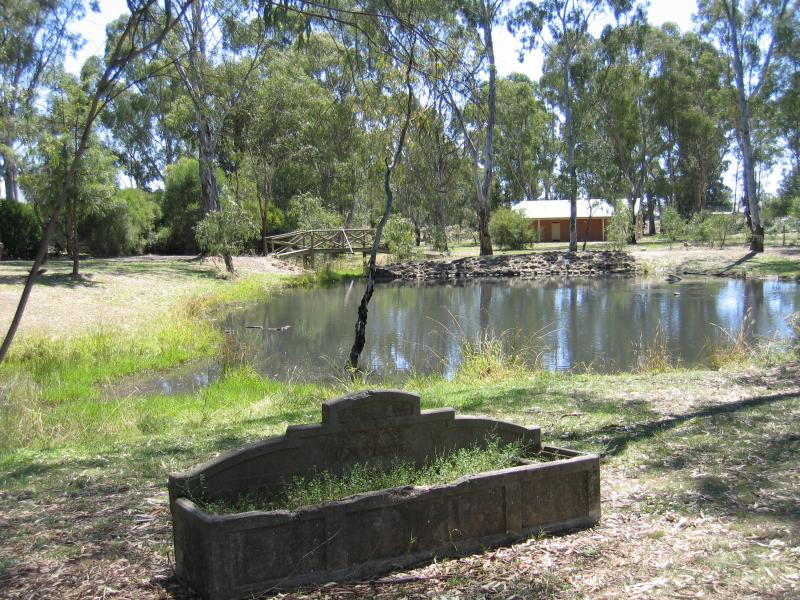 Bendigo suburb of Kangaroo Flat - Lake at Botanical Gardens
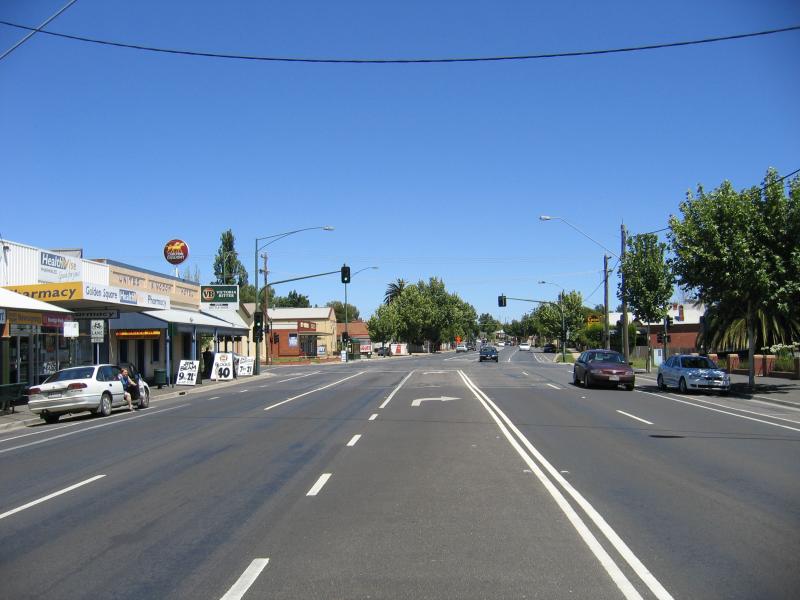 Bendigo suburb of Golden Square - View south-west along High St towards Laurel St
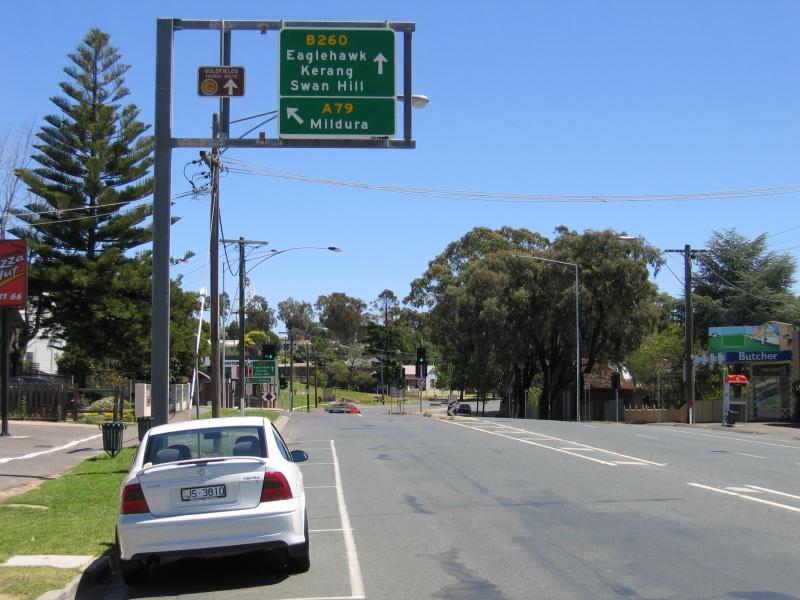 Bendigo suburb of Ironbark - View west along Eaglehawk Rd towards Marong Rd
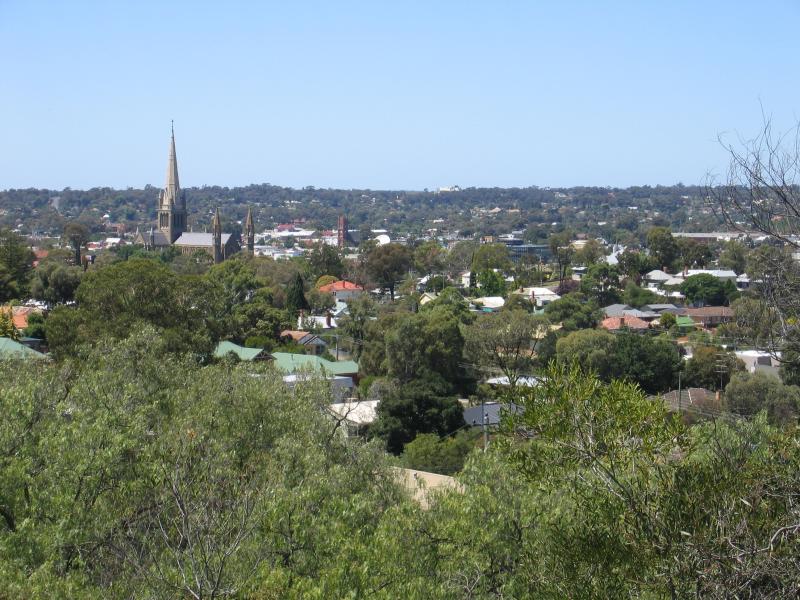 Bendigo suburb of Ironbark - View south-east from lookout, Pethard Pl
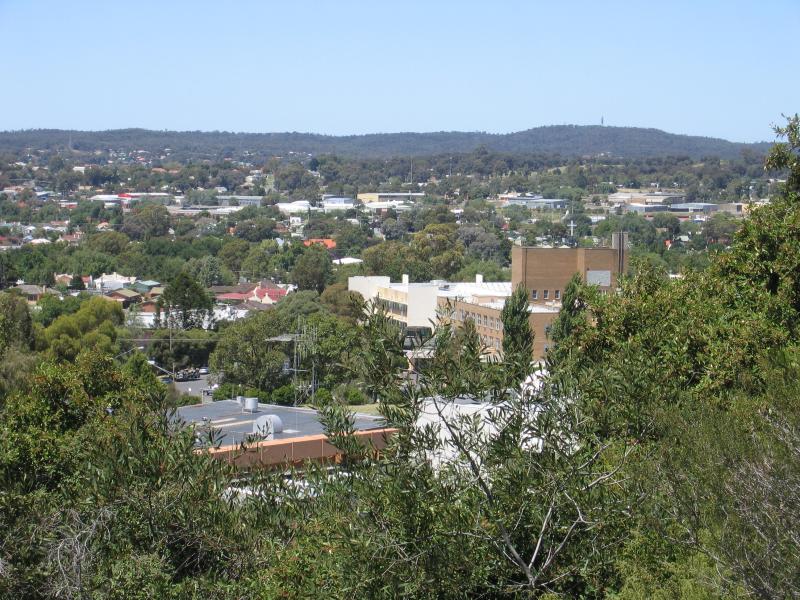 Bendigo suburb of Ironbark - View south from lookout, Pethard Pl
 Bendigo suburb of Long Gully - View south along Eaglehawk Rd from Jackson St
 Bendigo suburb of California Gully - View south along Eaglehawk Rd towards Speedy St
 Bendigo suburb of Eaglehawk - View north-west along High St towards Church St
 Bendigo suburb of Eaglehawk - View Victoria Hotel, corner High St and Victoria St
 Bendigo suburb of Eaglehawk - View north-west along High St towards Napier St
 Bendigo suburb of Eaglehawk - View north-west along High St towards junction of Peg Leg Rd and Sailors Gully Rd with town hall in background
 Bendigo suburb of Eaglehawk - Town Hall, corner of Peg Leg Rd and Sailors Gully Rd
 Bendigo suburb of Eaglehawk - Town Hall, viewed from Sailors Gully Rd
 Bendigo suburb of Eaglehawk - Ten Oval, Canterbury Park
 Bendigo suburb of Eaglehawk - Neangar Gardens, near High St
 Bendigo suburb of Eaglehawk - Neangar Gardens, near High St
 Bendigo suburb of Eaglehawk - Lake Neangar
 Bendigo suburb of Eaglehawk - Lake Neangar
 Bendigo suburb of Eaglehawk - Lake Neangar
 Bendigo suburb of White Hills - Shops, south-west along Midland Highway towards Plumridge St
 Bendigo suburb of White Hills - Entrance to White Hills Botanical Gardens, Midland Highway between Napoleon Cr and Scott St
 Bendigo suburb of White Hills - White Hills Botanical Gardens
 Bendigo Pottery Complex, Epsom - Car park
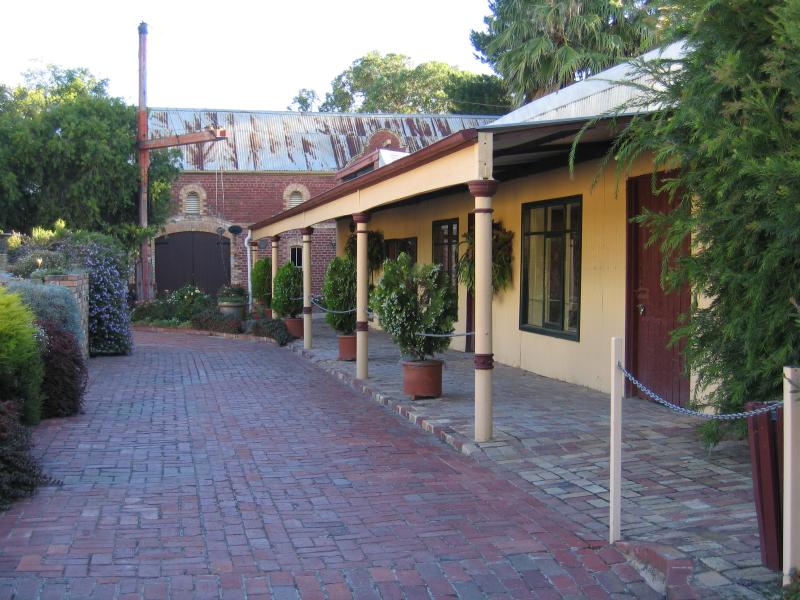 Bendigo Pottery Complex, Epsom - Around pottery complex
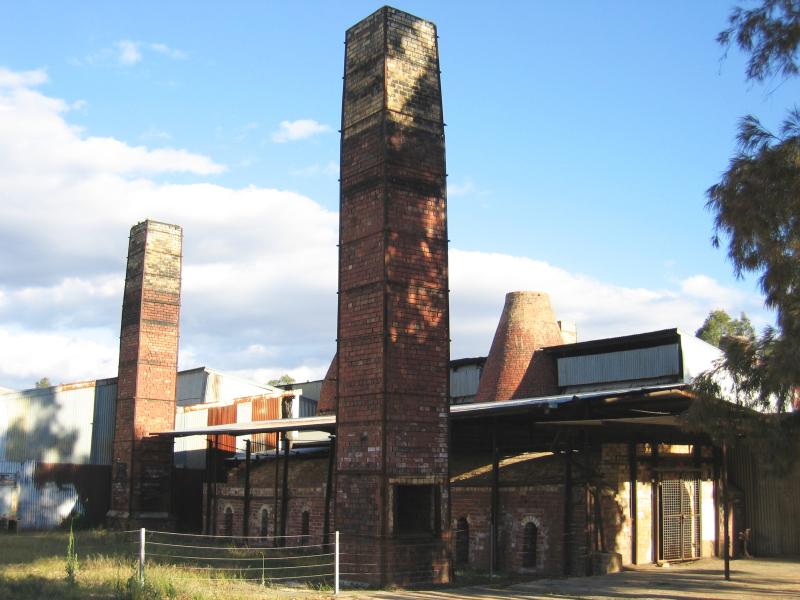 Bendigo Pottery Complex, Epsom - Kilns and chimneys
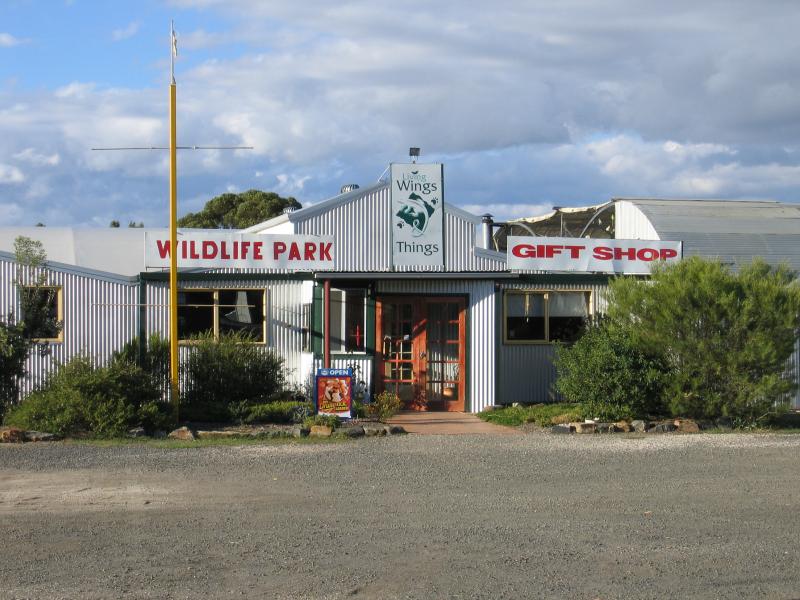 Bendigo Pottery Complex, Epsom - Living Wings and Things Wildlife Park
 Latrobe University, Flora Hill - Oval
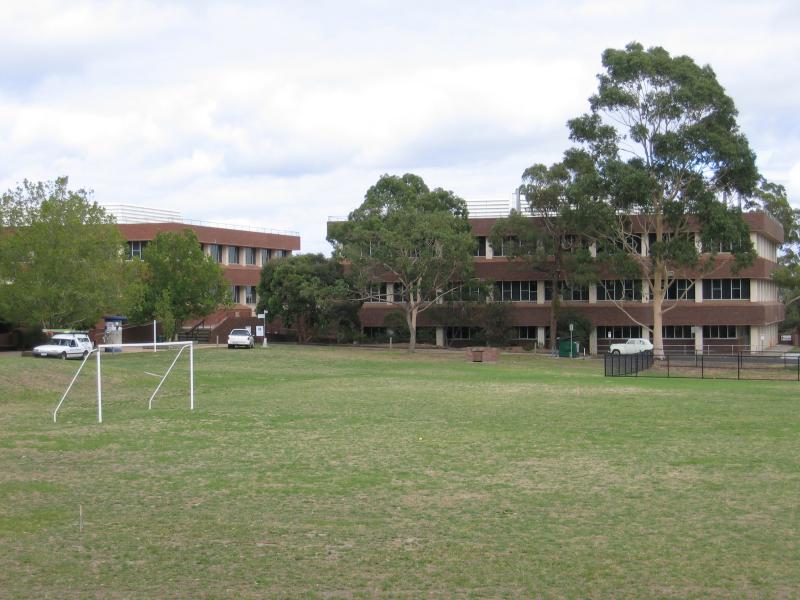
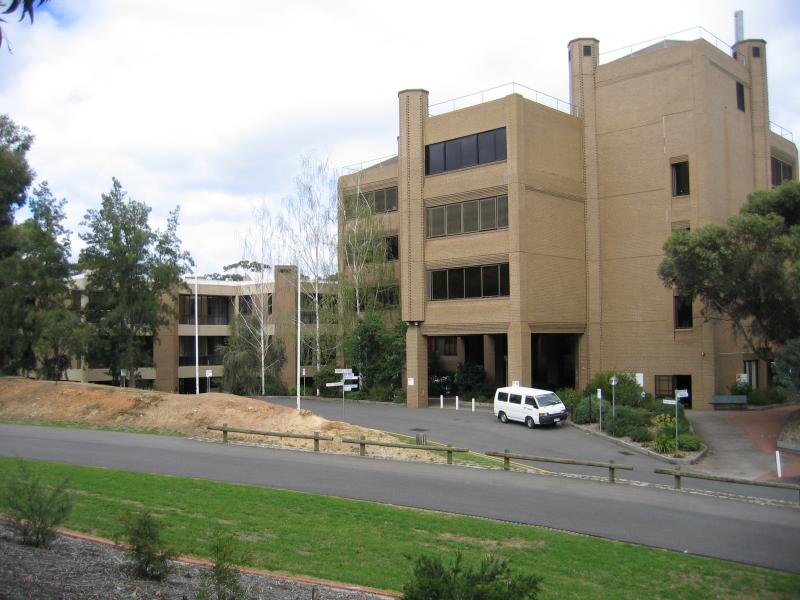 Latrobe University, Flora Hill - Arts building
 Latrobe University, Flora Hill - Waterfall at library
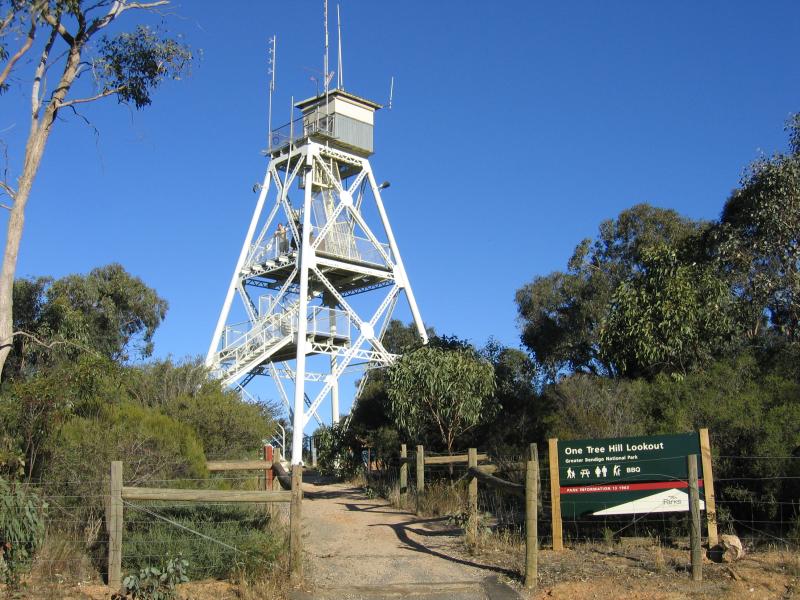 One Tree Hill lookout, One Tree Hill Road - Lookout tower
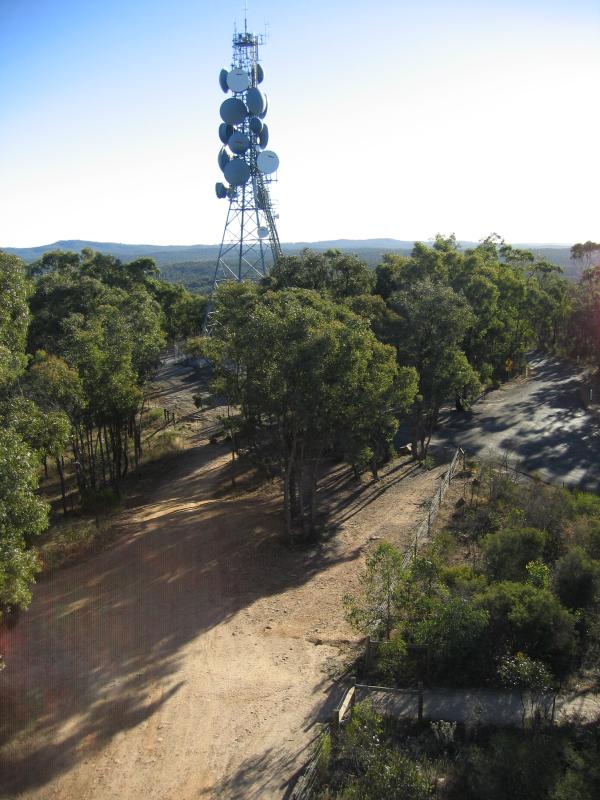 One Tree Hill lookout, One Tree Hill Road - View from lookout down to One Tree Hill Rd and communications tower
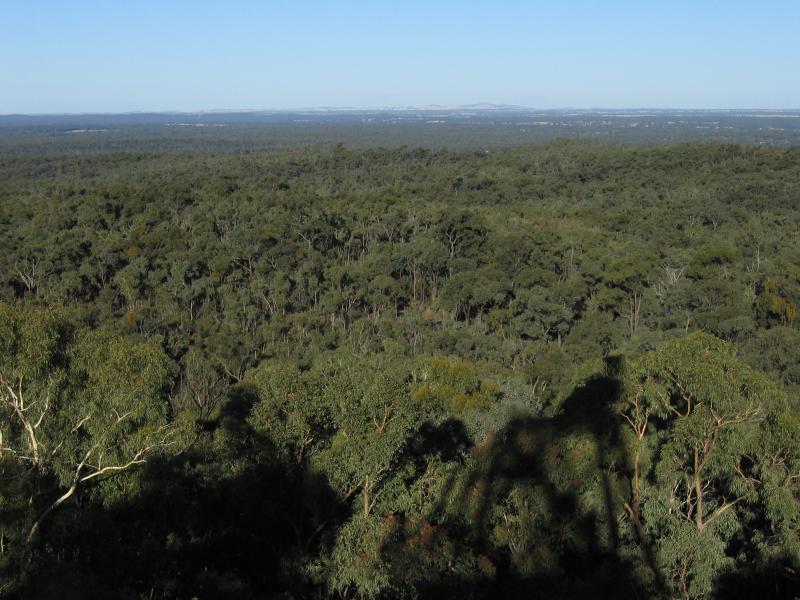 One Tree Hill lookout, One Tree Hill Road - View across One Tree Hill Regional Park