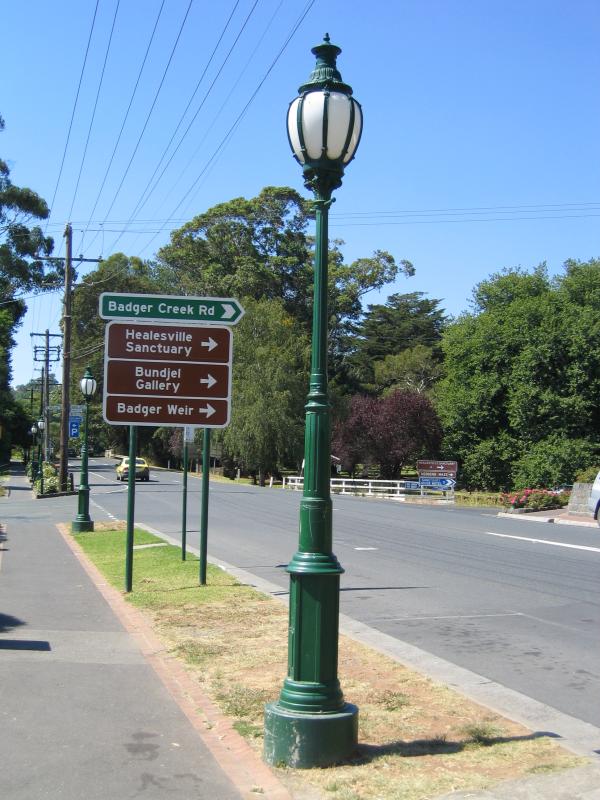
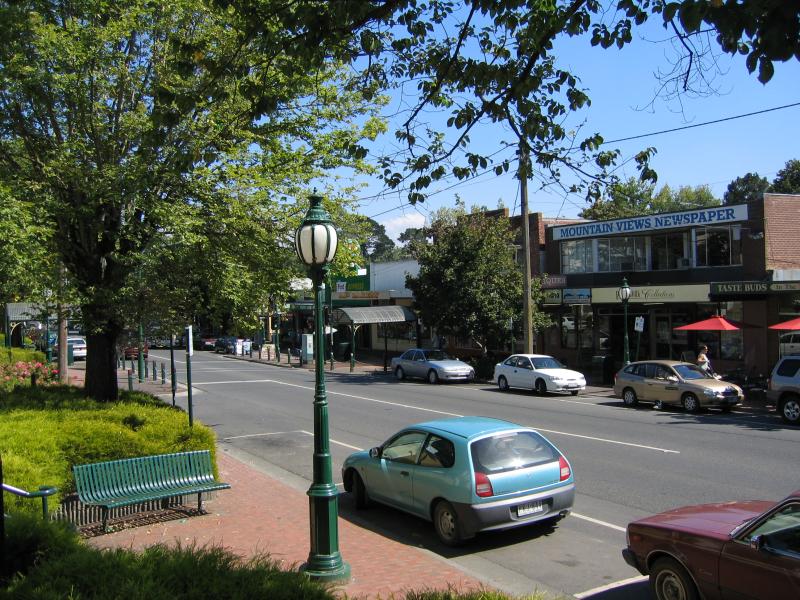
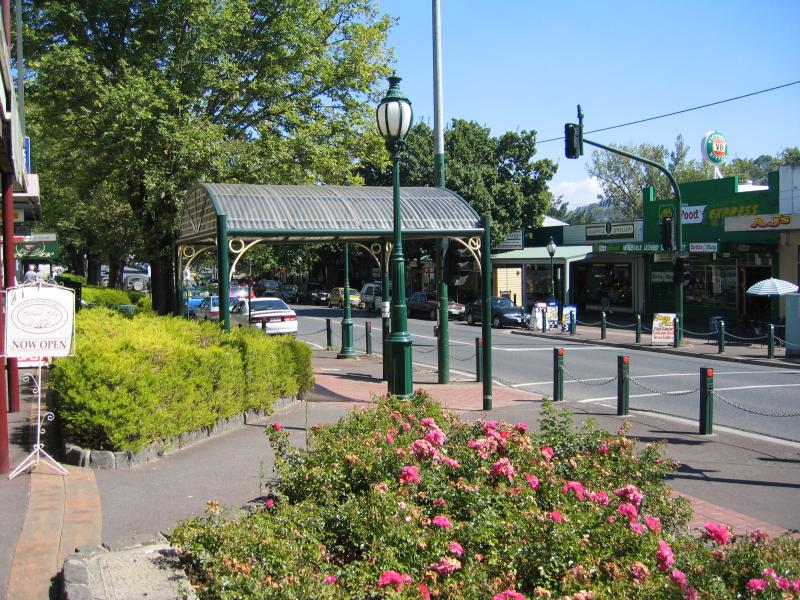
Shops and commercial centre, Nicholson Street west of Badger Creek Road - Old-fashioned street light, view east along Nicholson St towards Badger Creek Rd
Shops and commercial centre, Nicholson Street west of Badger Creek Road - Ice Creamery, view south across Nicholson St at Badger Creek Rd
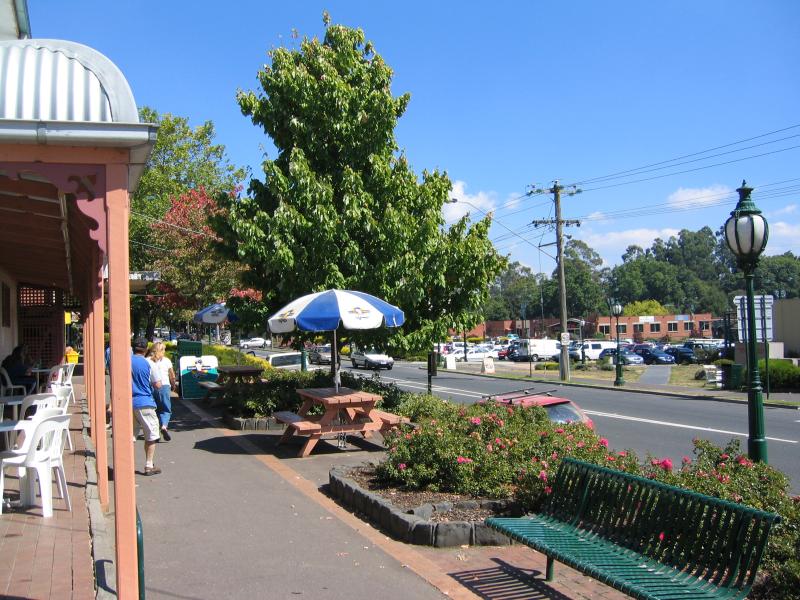
Shops and commercial centre, Nicholson Street west of Badger Creek Road - View west along Nicholson St at Ice Creamery
Shops and commercial centre, Nicholson Street west of Badger Creek Road - View south across Nicholson St opposite Healesville Walk Shopping Centre
Shops and commercial centre, Nicholson Street west of Badger Creek Road - View south across Nicholson St towards Healesville Walk Shopping Centre
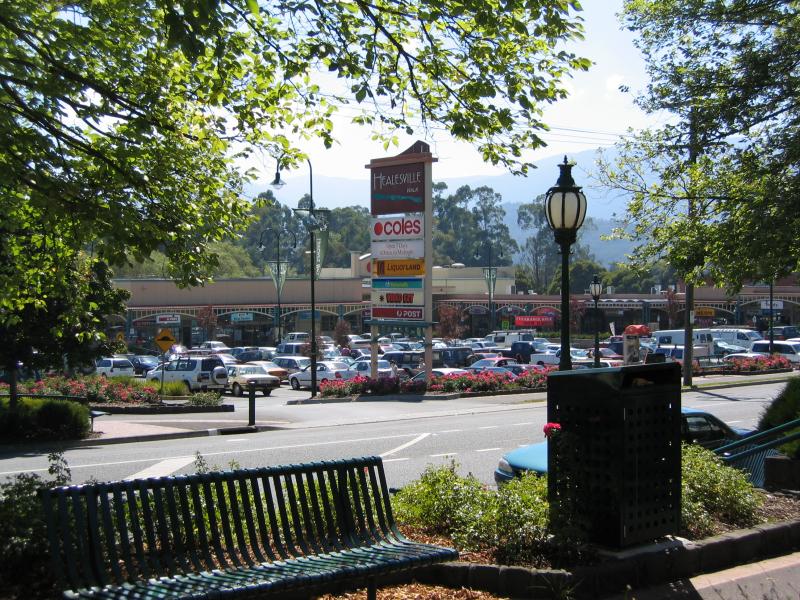
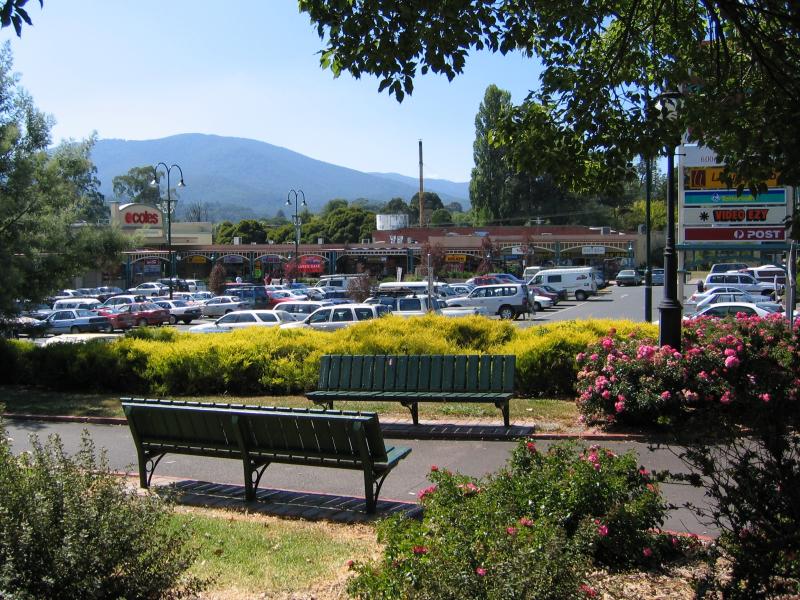
Shops and commercial centre, Nicholson Street west of Badger Creek Road - View through car park towards shops at Healesville Walk Shopping Centre
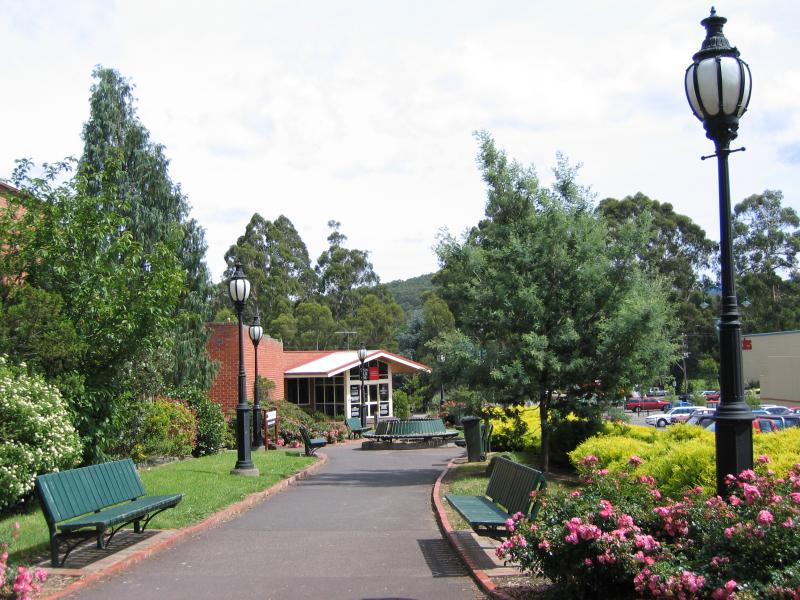
Shops and commercial centre, Nicholson Street west of Badger Creek Road - Walkway to Swinburne Tafe
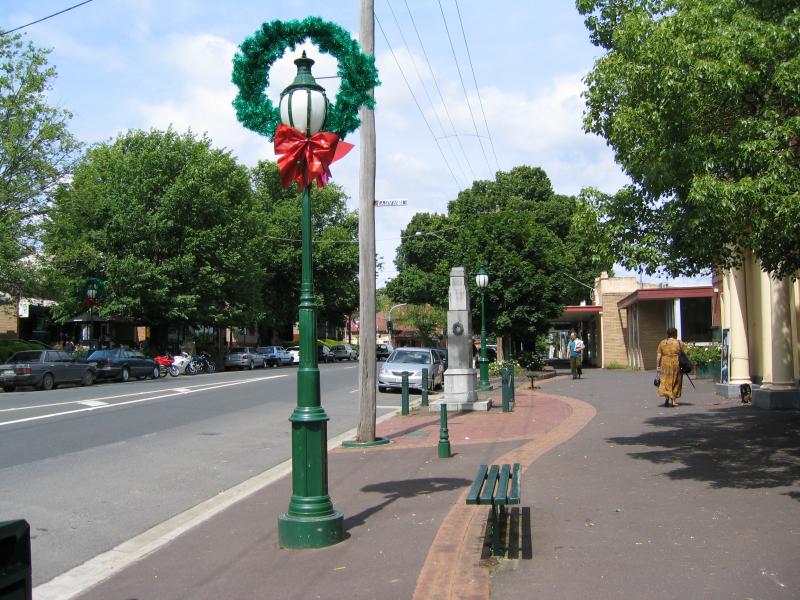
Shops and commercial centre, Nicholson Street west of Badger Creek Road - Christmas decorations, view west along Nicholson St at community centre
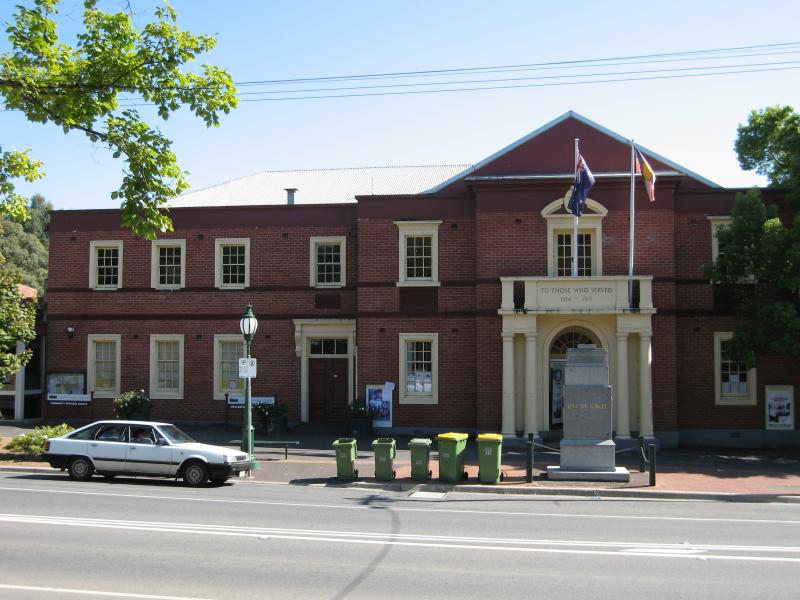
Shops and commercial centre, Nicholson Street west of Badger Creek Road - Community centre
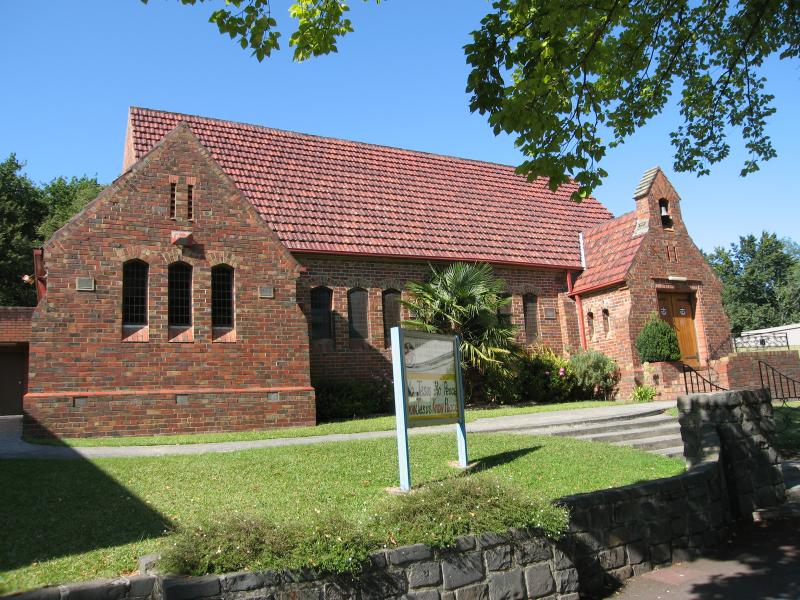
Shops and commercial centre, Nicholson Street west of Badger Creek Road - Uniting Church
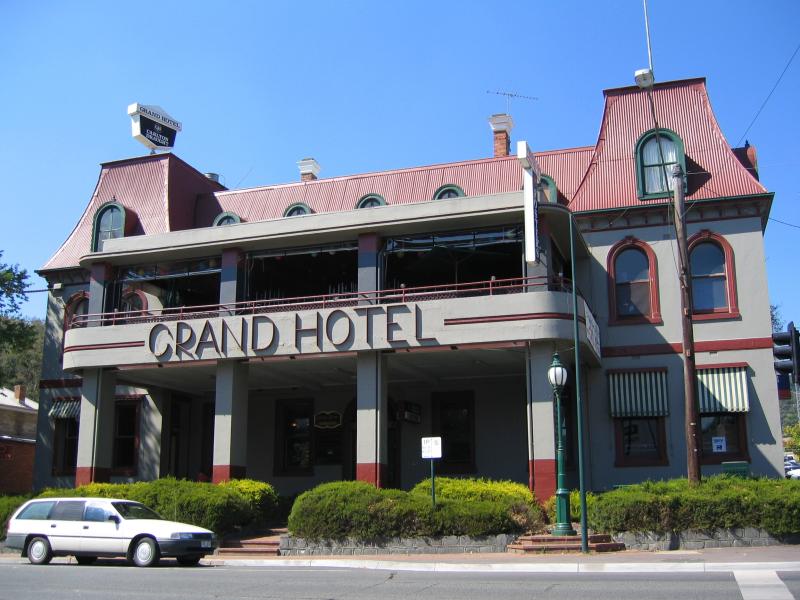
Shops and commercial centre, Nicholson Street west of Badger Creek Road - Grand Hotel, corner Nicholson St and Green St
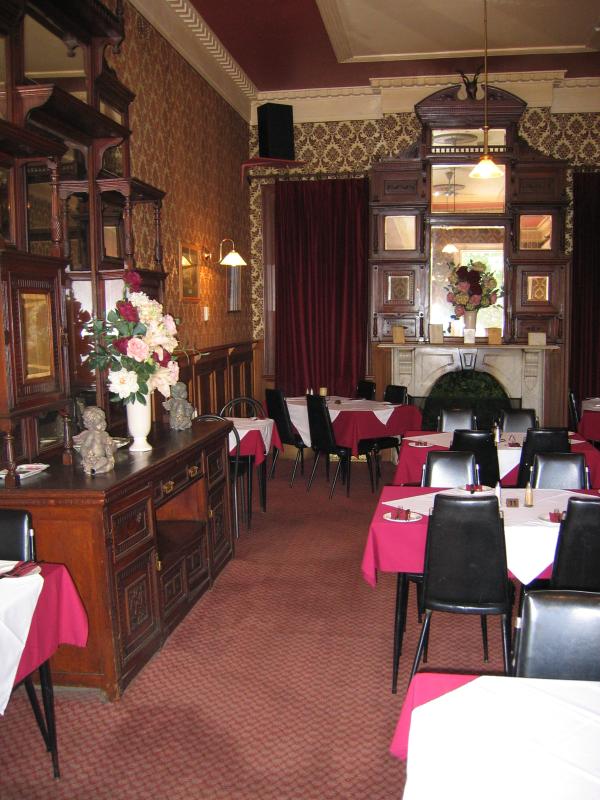
Shops and commercial centre, Nicholson Street west of Badger Creek Road - Bistro dining room, Grand Hotel
Shops and commercial centre, Nicholson Street west of Badger Creek Road - View west along Nicholson St from Grand Hotel balcony
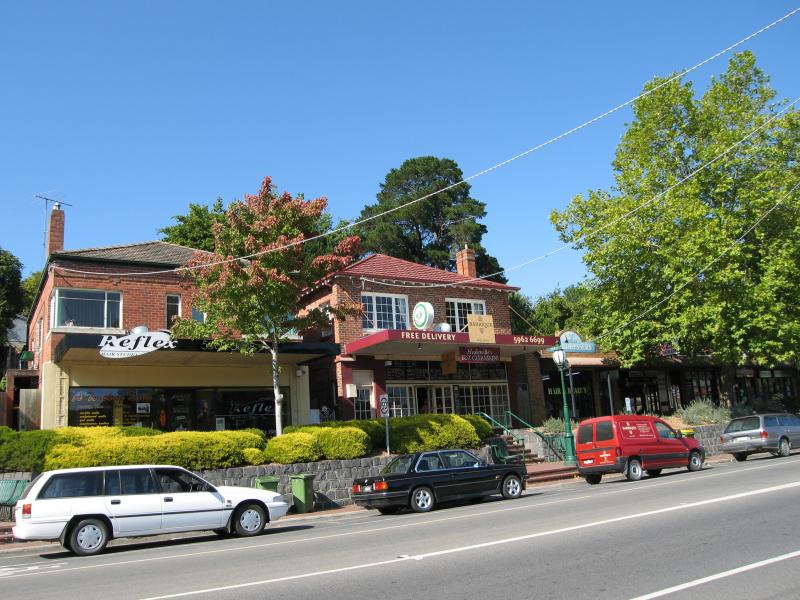
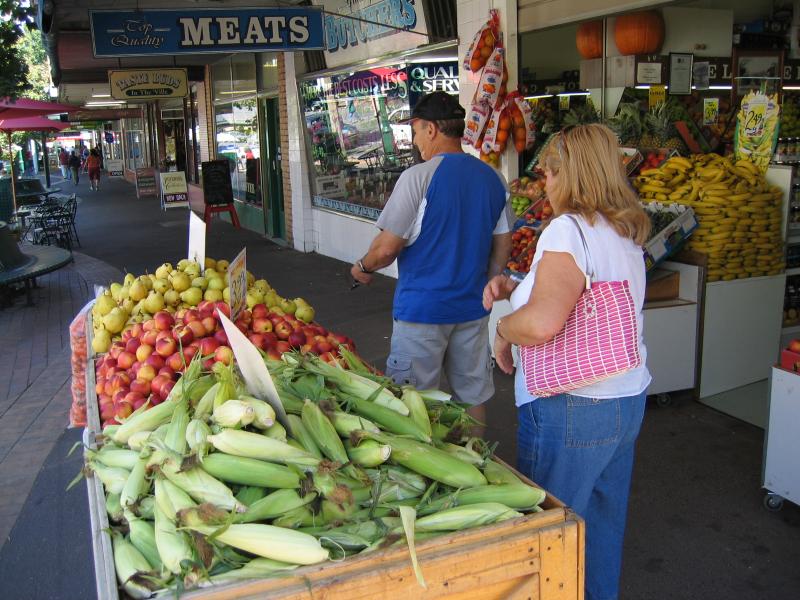
Shops and commercial centre, Nicholson Street west of Badger Creek Road - Fruit shop, view west along Nicholson St, west of Green St
Shops and commercial centre, Nicholson Street west of Badger Creek Road - View west along Nicholson St towards pedestrian crossing
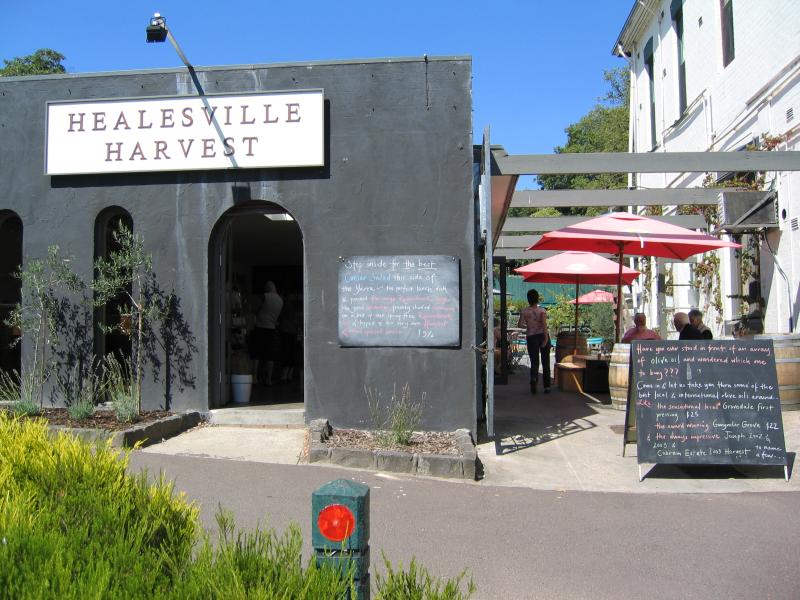
Shops and commercial centre, Nicholson Street west of Badger Creek Road - Healesville Harvest next to Healesville Hotel
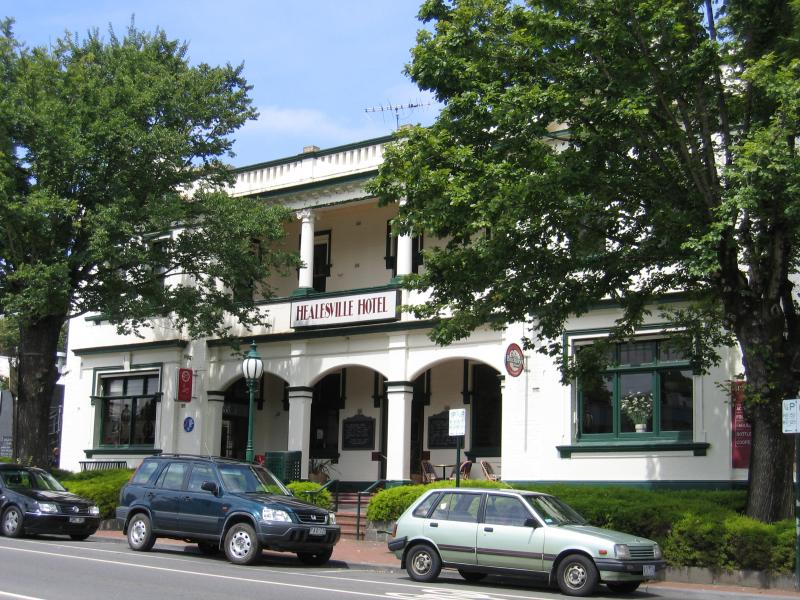
Shops and commercial centre, Nicholson Street west of Badger Creek Road - Healesville Hotel
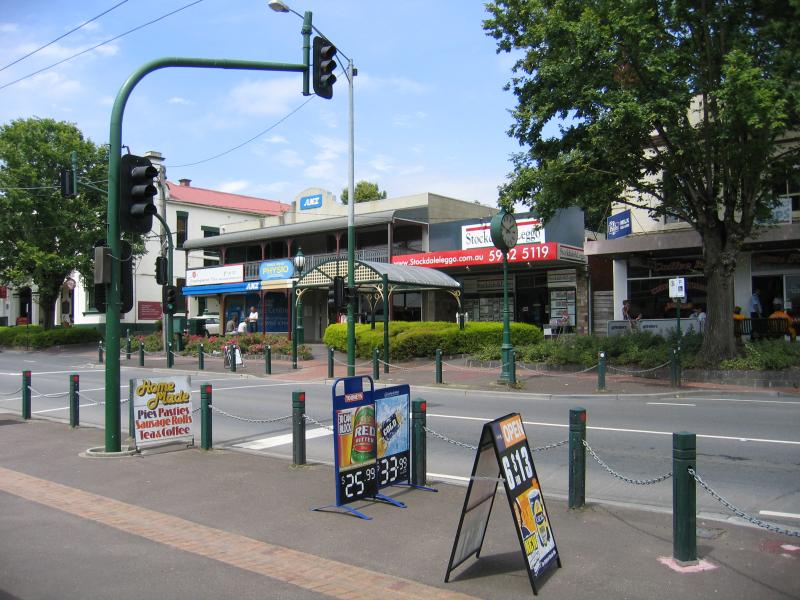
Shops and commercial centre, Nicholson Street west of Badger Creek Road - View west along Nicholson St at pedestrian crossing
Shops and commercial centre, Nicholson Street west of Badger Creek Road - View east along Nicholson St at pedestrian crossing
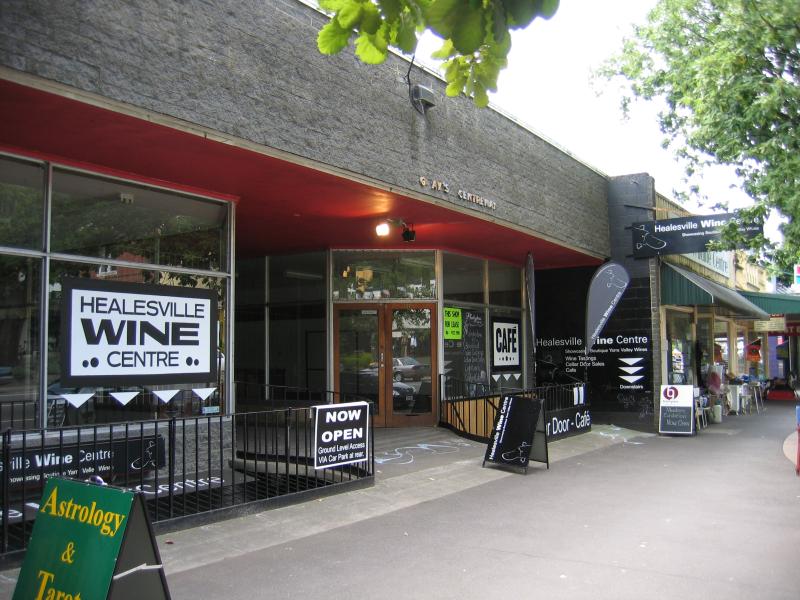
Shops and commercial centre, Nicholson Street west of Badger Creek Road - Healesville Wine Centre, Nicholson St near Church St
Shops and commercial centre, Maroondah Highway east of Badger Creek Road - View east along path beside Maroondah Hwy towards bridge over Grace Burn
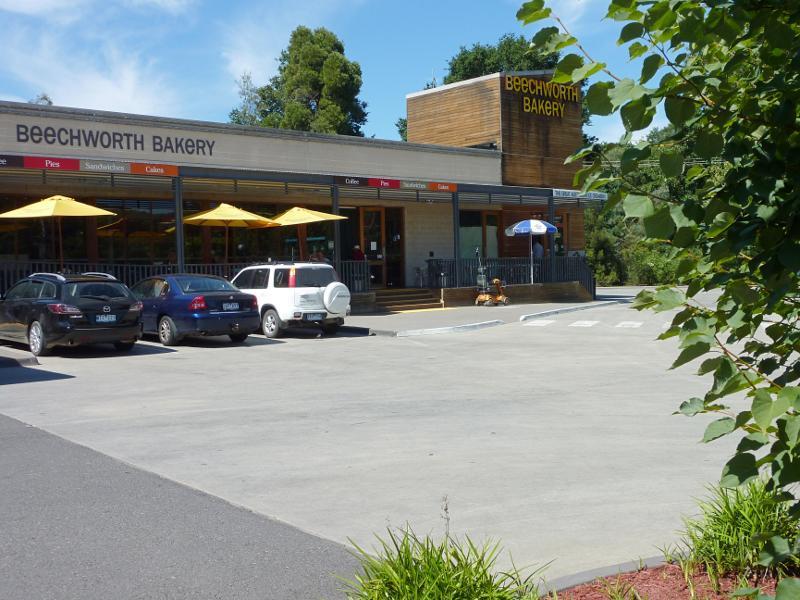
Shops and commercial centre, Maroondah Highway east of Badger Creek Road - Beechworth Bakery, south side of Maroondah Hwy
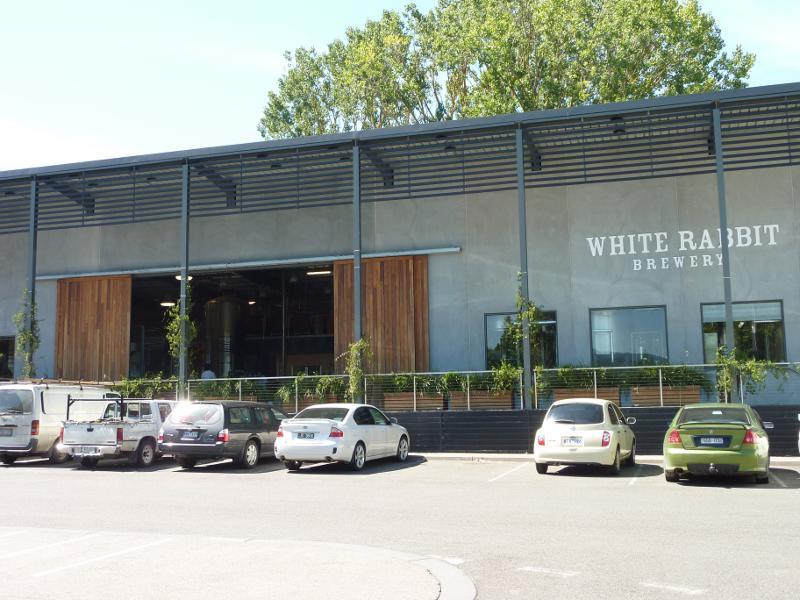
Shops and commercial centre, Maroondah Highway east of Badger Creek Road - White Rabbit Brewery, south side of Maroondah Hwy
Shops and commercial centre, Maroondah Highway east of Badger Creek Road - Innocent Bystander, view west along Maroondah Hwy
Shops and commercial centre, Maroondah Highway east of Badger Creek Road - Food outlets, view east along Maroondah Hwy
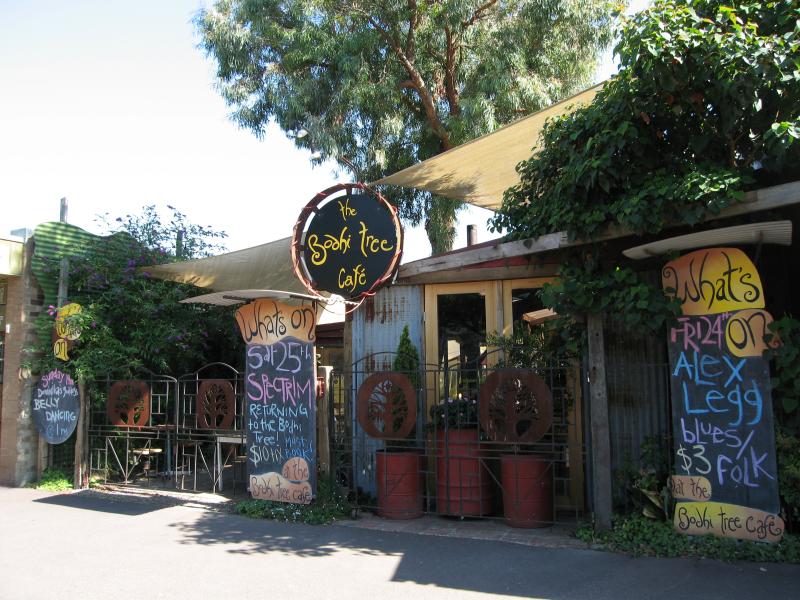
Shops and commercial centre, Maroondah Highway east of Badger Creek Road - Bodhi Tree Cafe
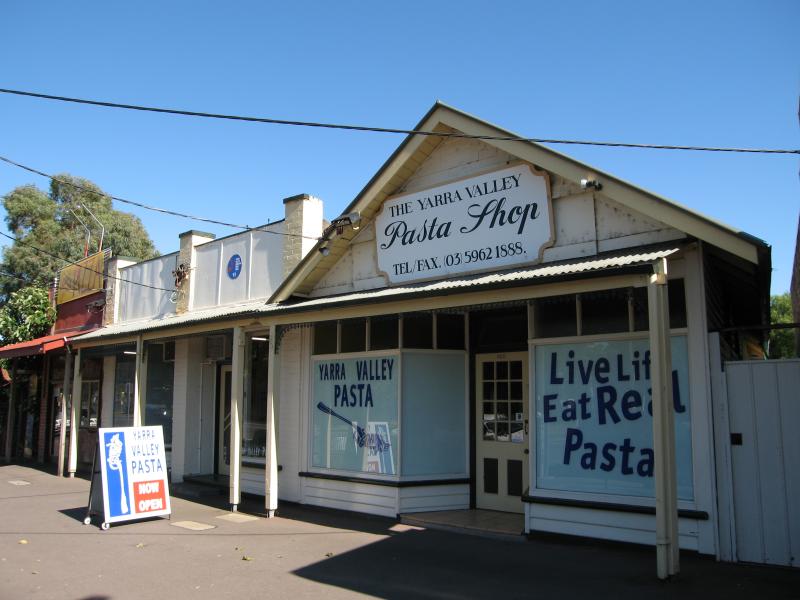
Shops and commercial centre, Maroondah Highway east of Badger Creek Road - Yarra Valley Pasta Shop
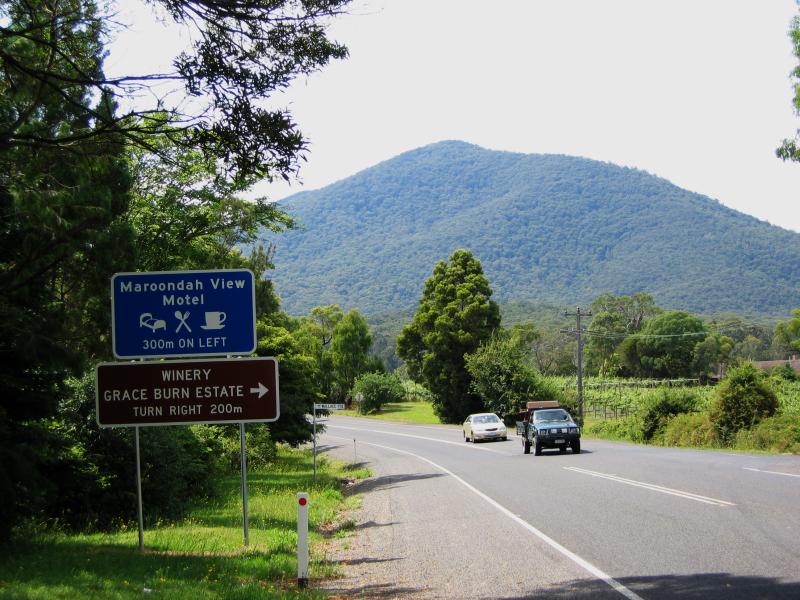
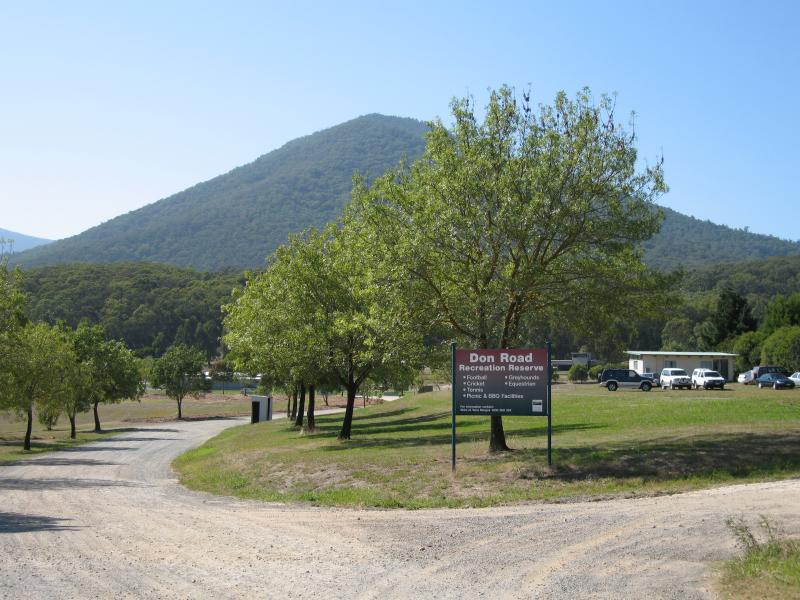
Shops and commercial centre, Maroondah Highway east of Badger Creek Road - View north along Don Rd towards Maroondah Hwy
Shops and commercial centre, Maroondah Highway east of Badger Creek Road - View west along Maroondah Hwy at St Leonards Rd
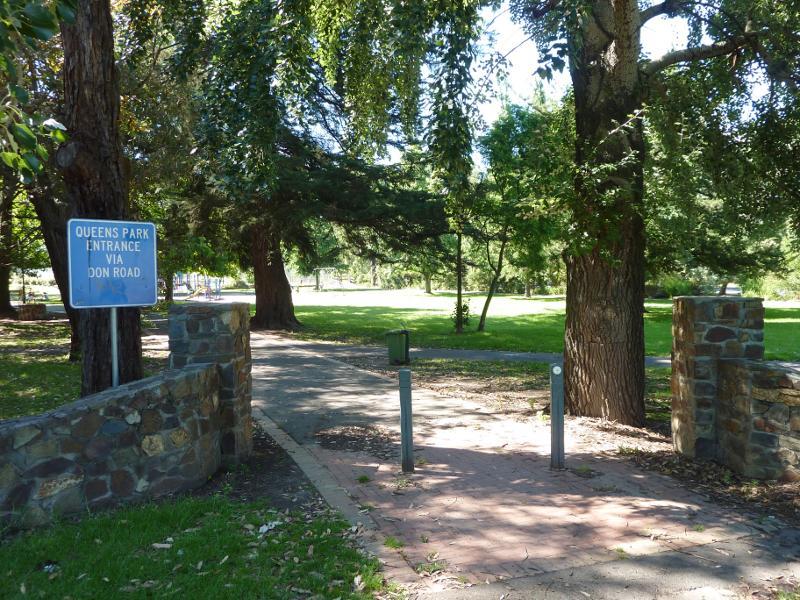
Queens Park - Pedestrian entrance on Nicholson St
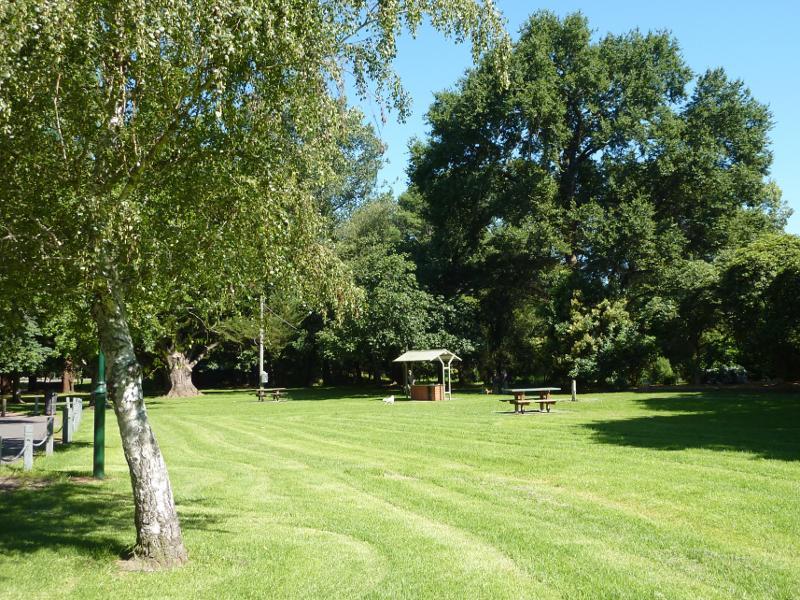
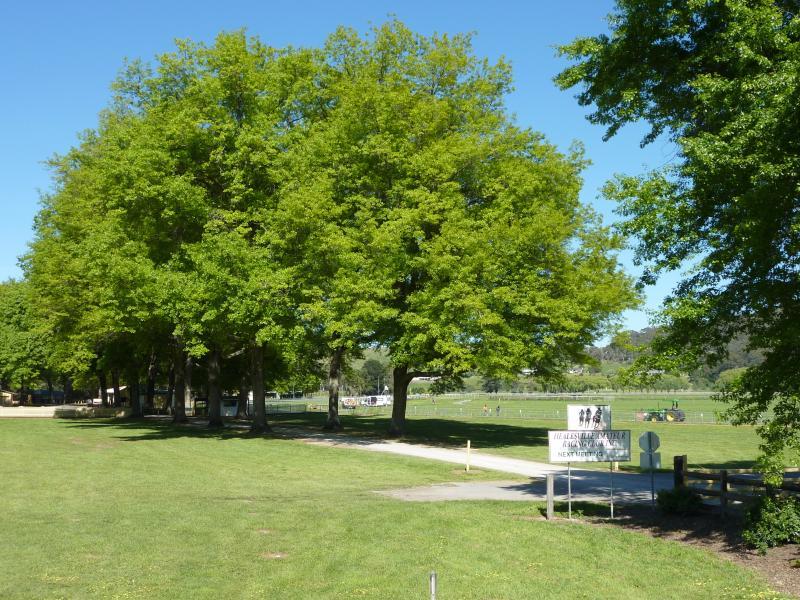
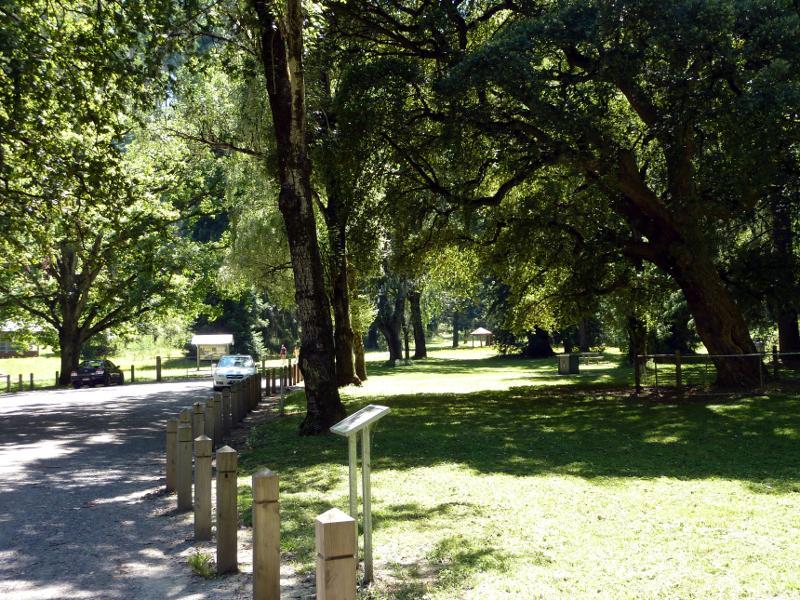
Queens Park - Lawns and picnic area
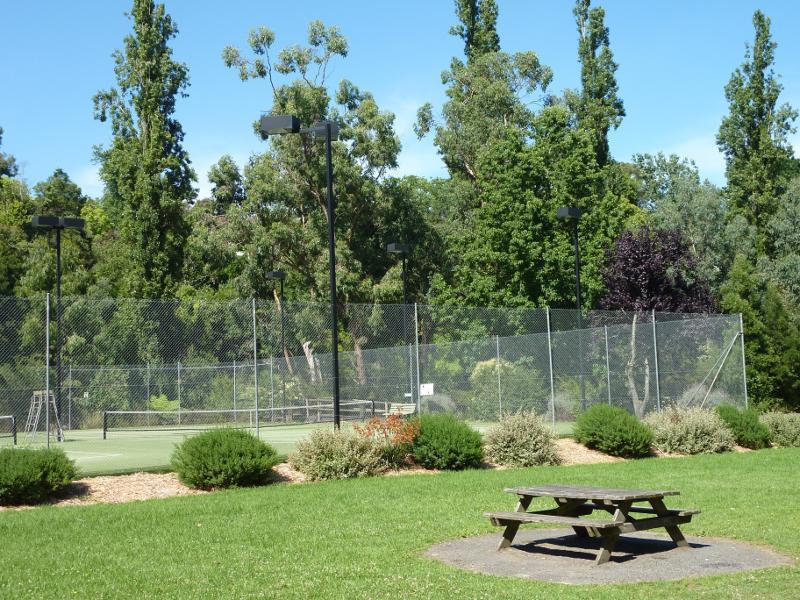
Queens Park - Tennis courts
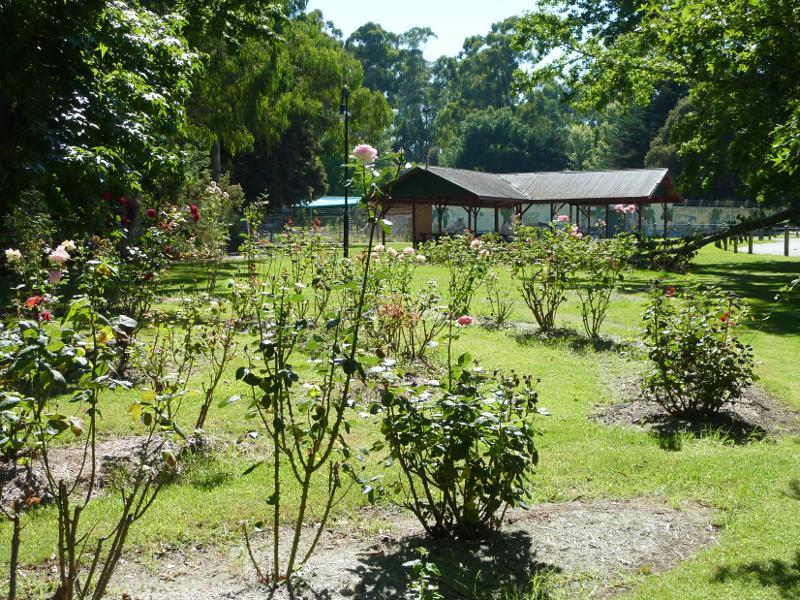
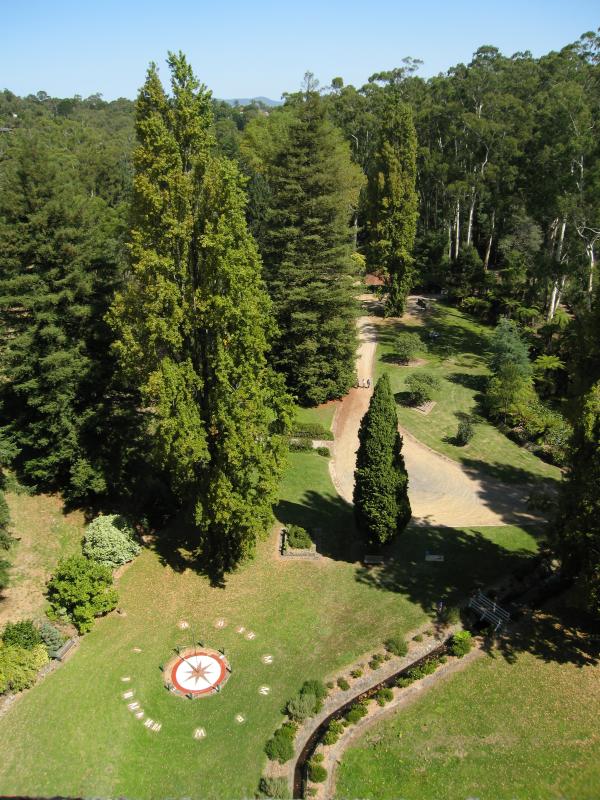
Queens Park - Rose garden
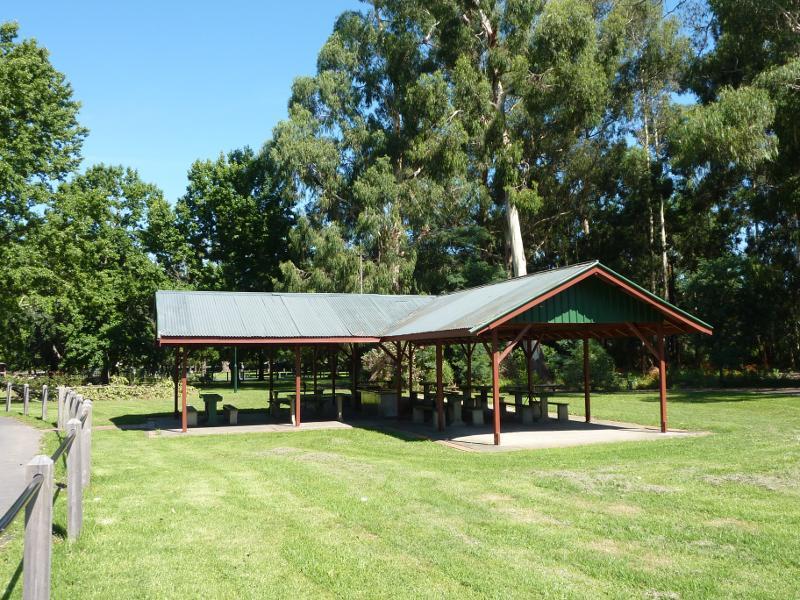
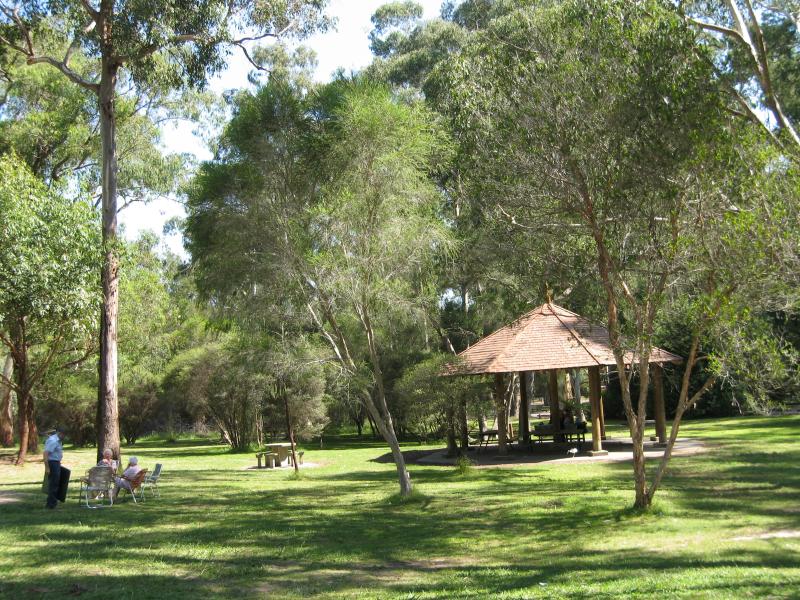
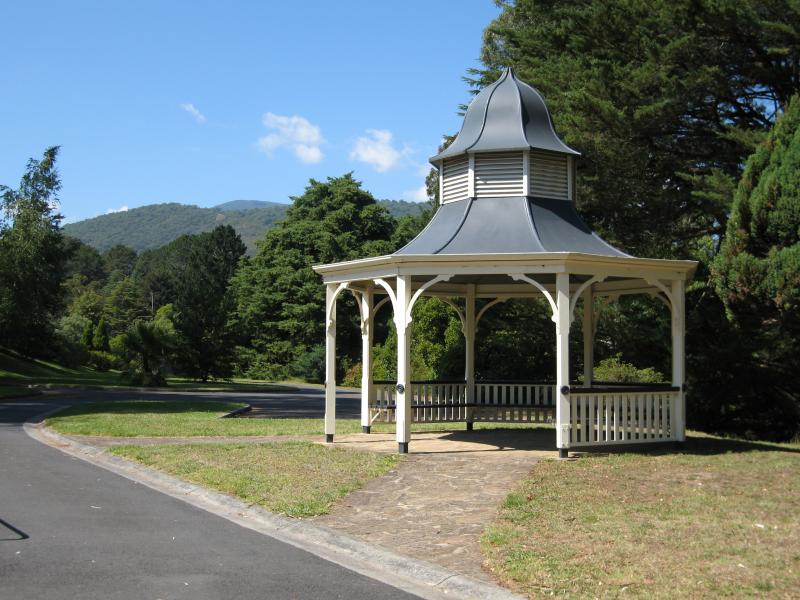
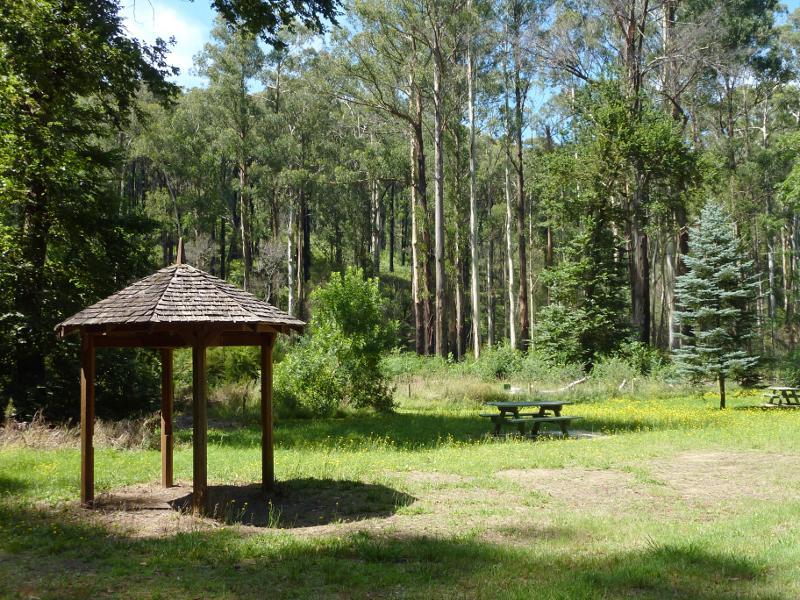
Queens Park - Shelter
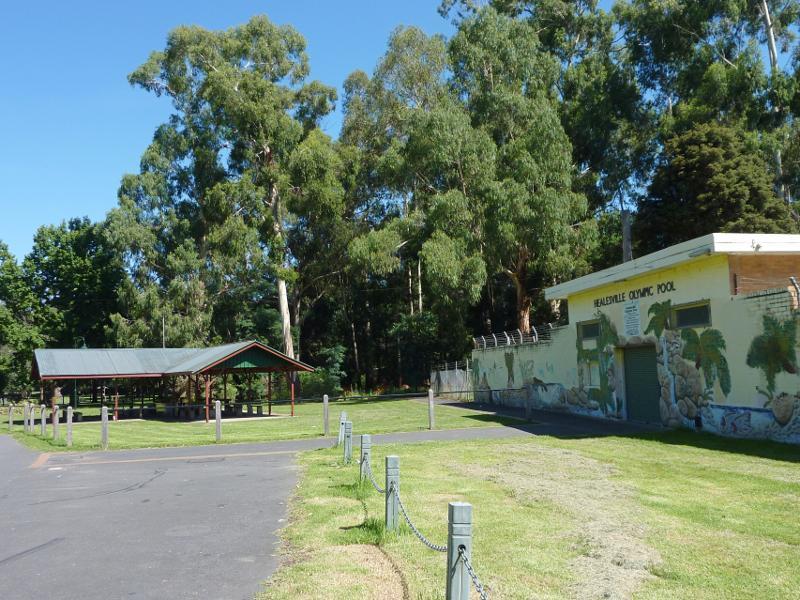
Queens Park - Shelter and entrance Healesville Olympic Pool
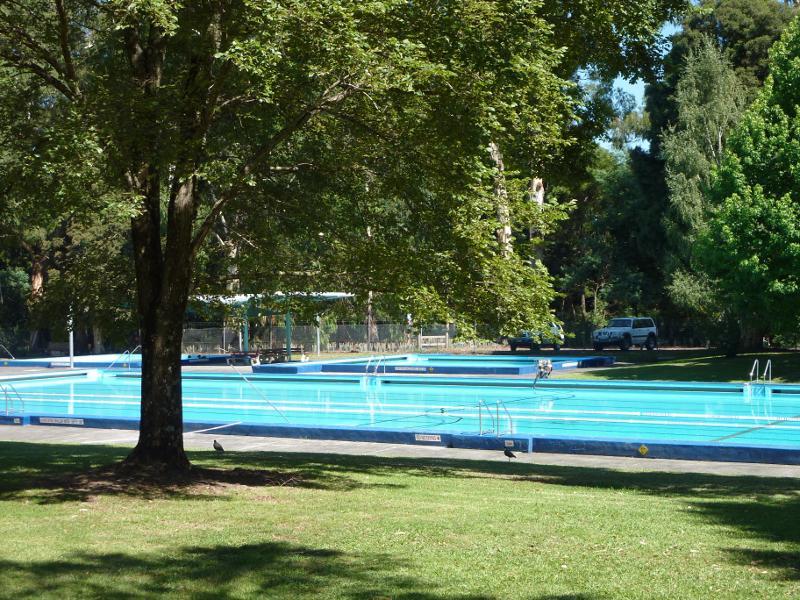
Queens Park - Pool
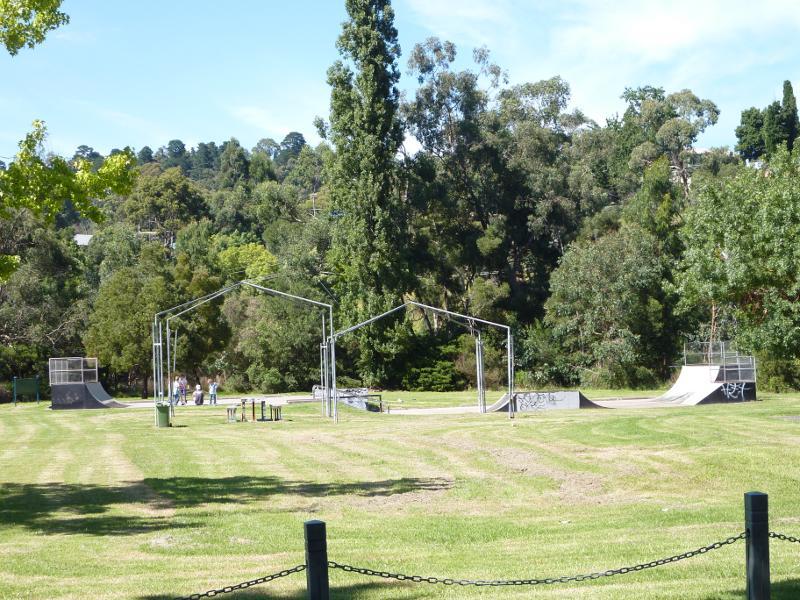
Queens Park - Skate park
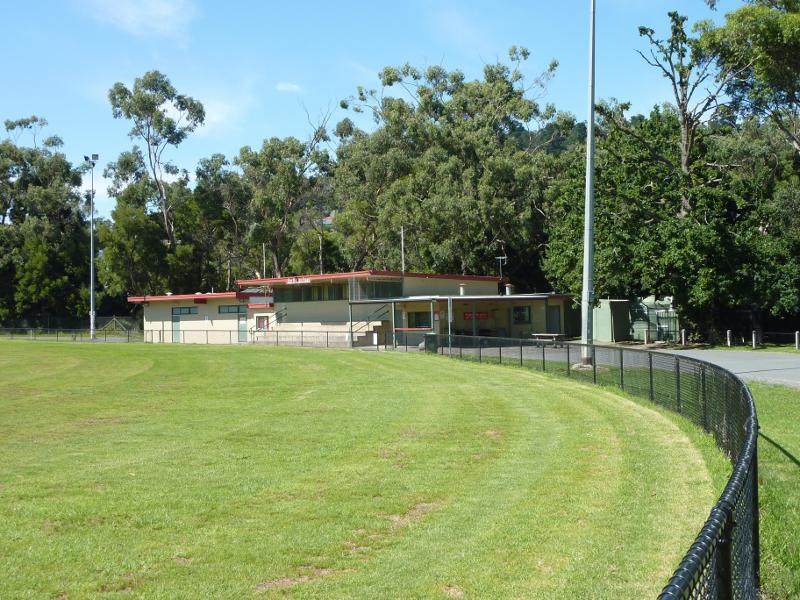
Queens Park - Football oval and Roy McLeish Stand
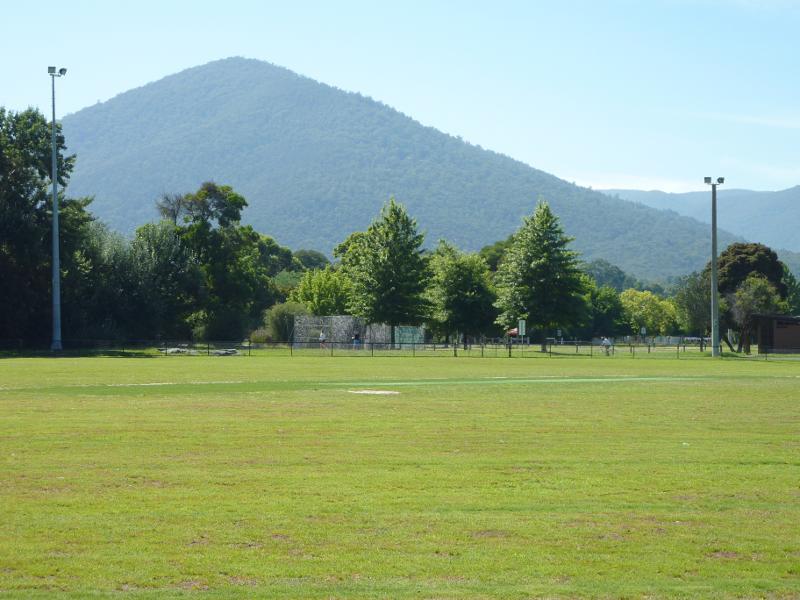
Queens Park - View across football oval
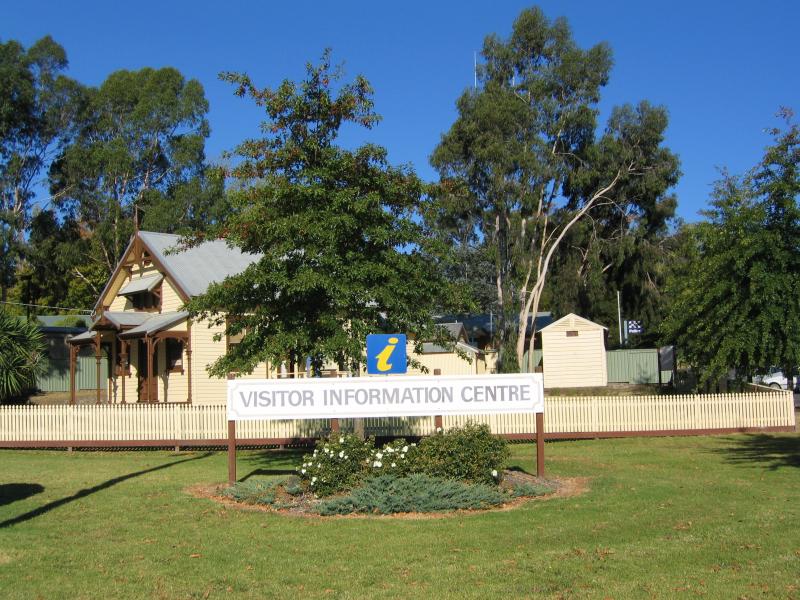
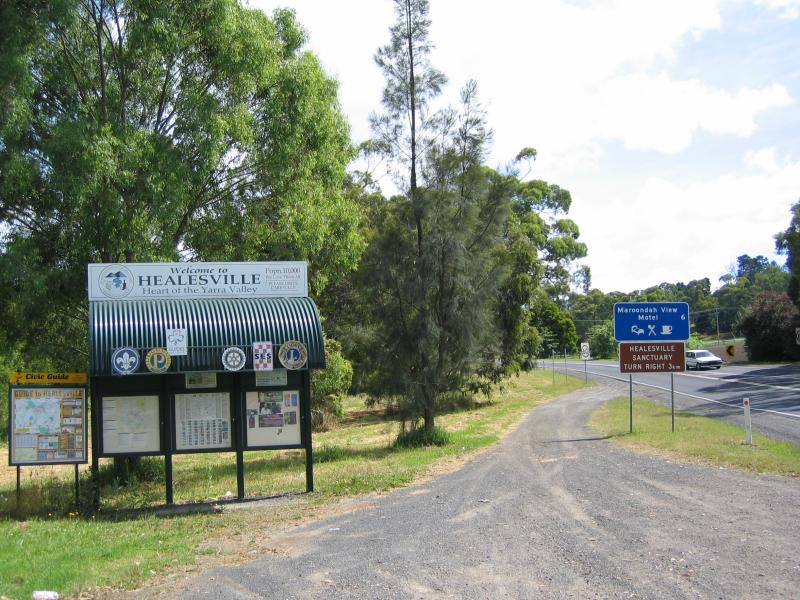
Kinglake Road - Visitor Information Centre
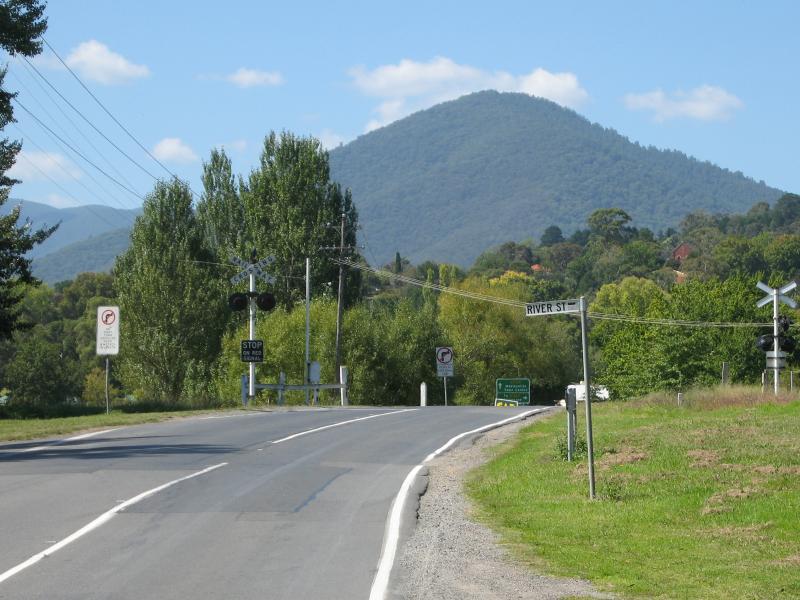
Kinglake Road - View east along Kinglake Rd towards River St
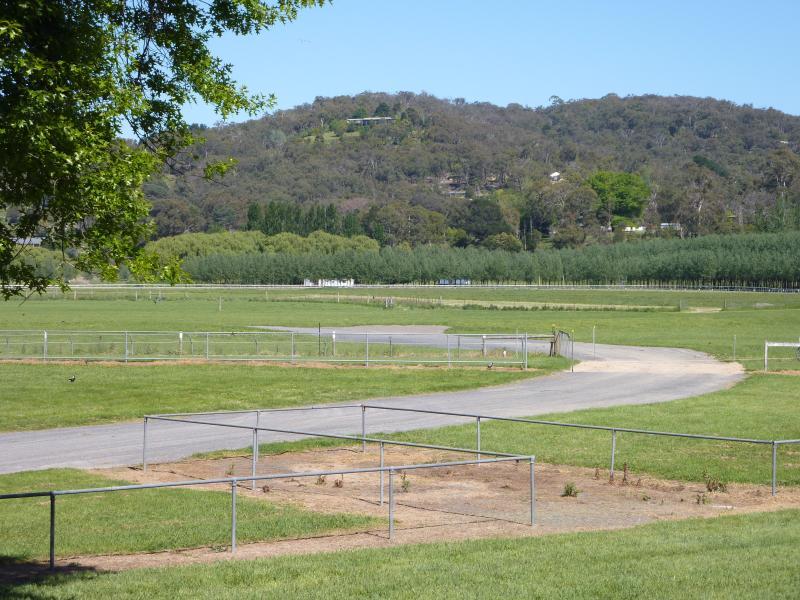
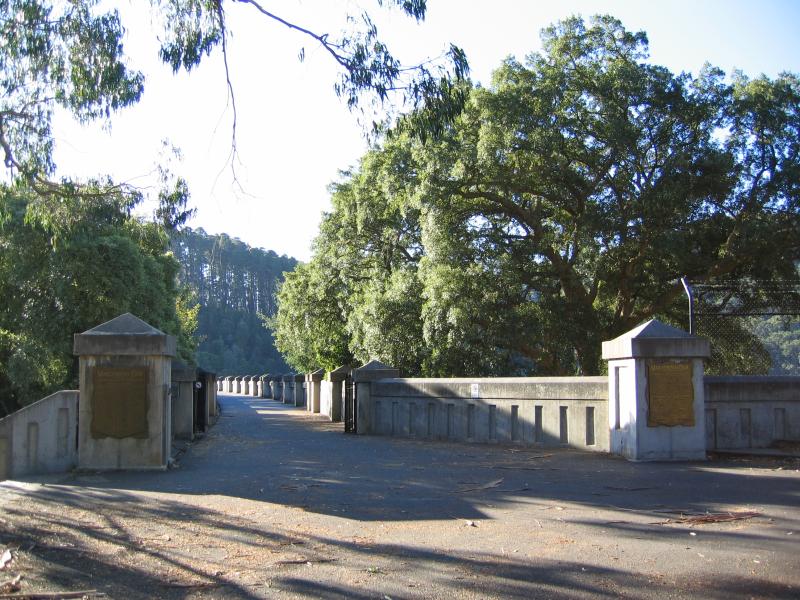
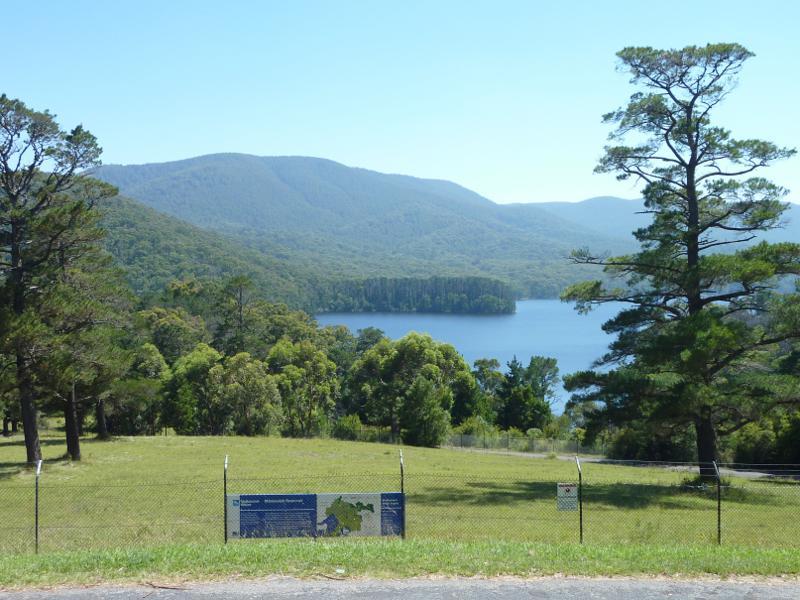
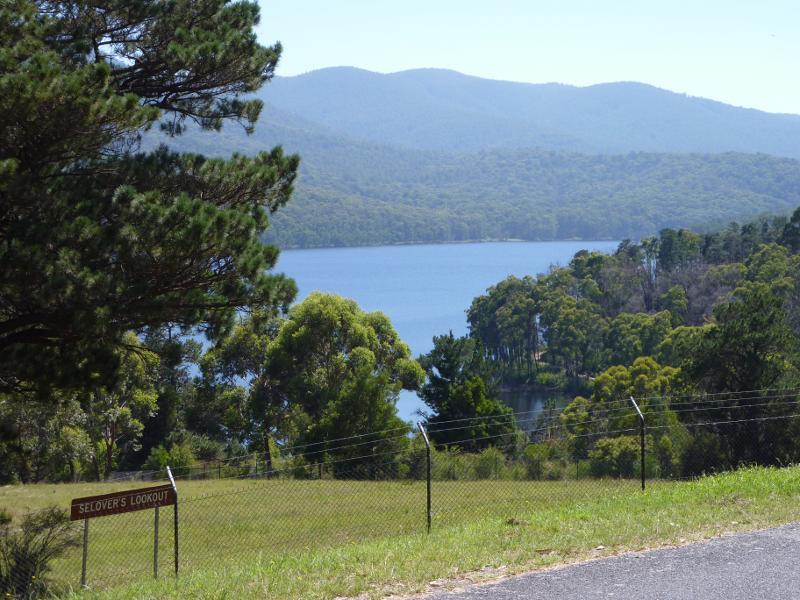
Healesville Racecourse, Kinglake Road - View along driveway at main entrance
Healesville Racecourse, Kinglake Road - Westerly view across racecourse near main entrance
Yarra Glen Road - View east, Yarra Glen Rd west of Mount Vue Rd
Yarra Glen Road - View south-east towards town centre and Mt Riddell from Yarra Glen Rd west of Mount Vue Rd
Yarra Glen Road - View south, Yarra Glen Rd west of Mount Vue Rd
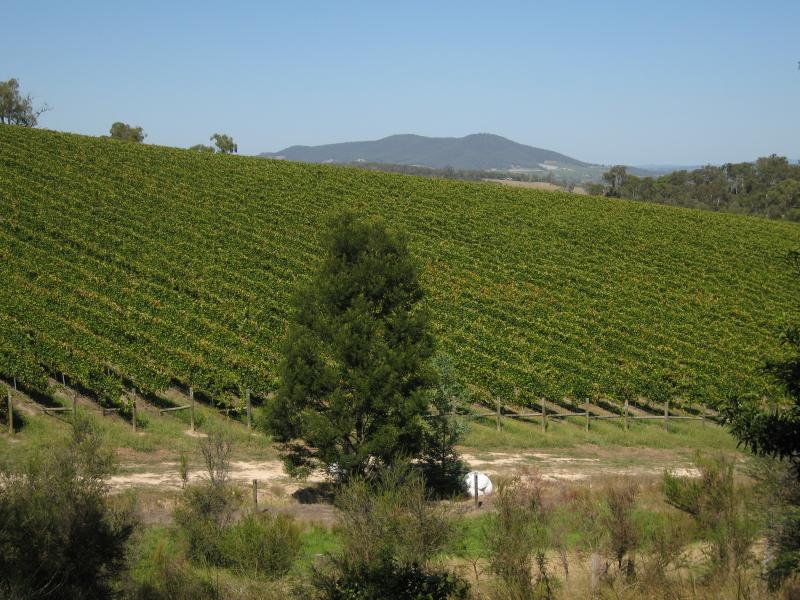
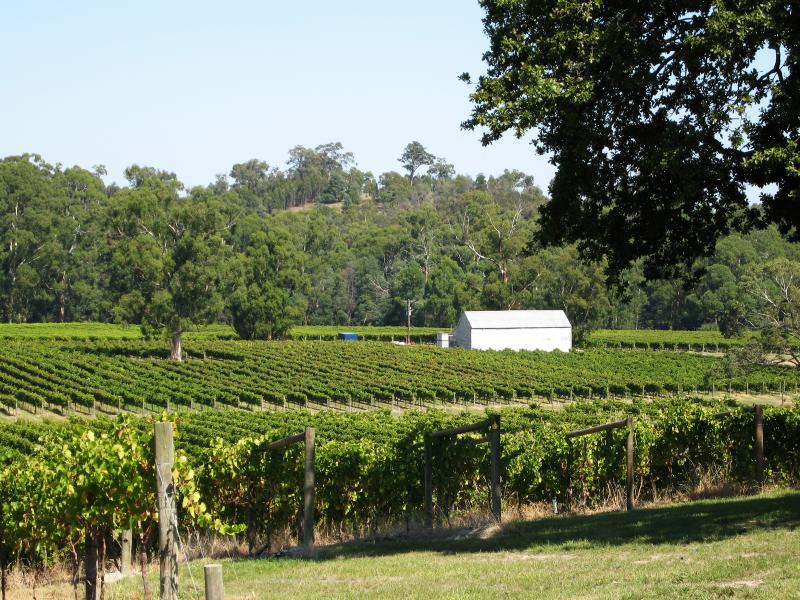
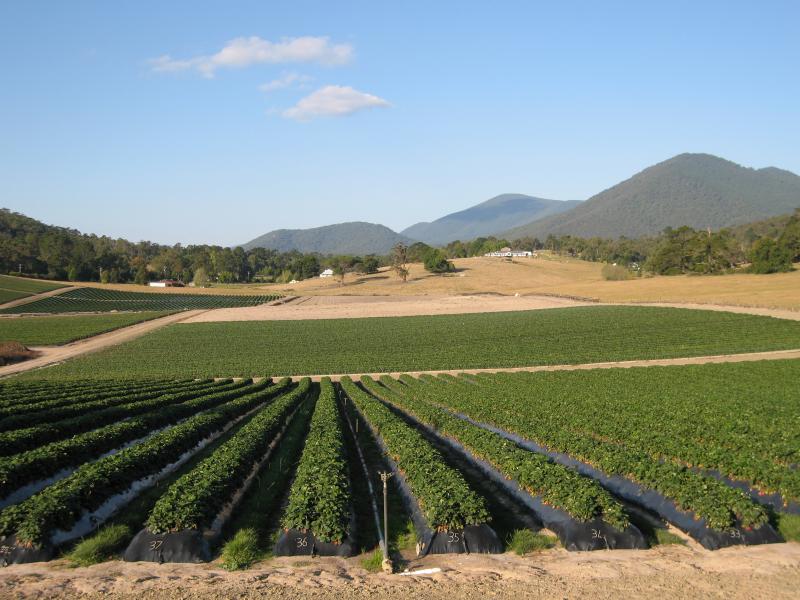
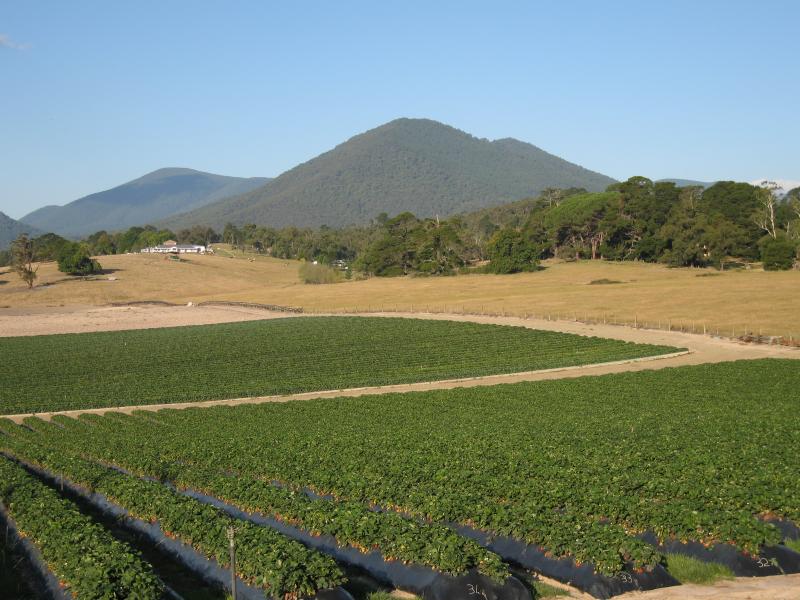
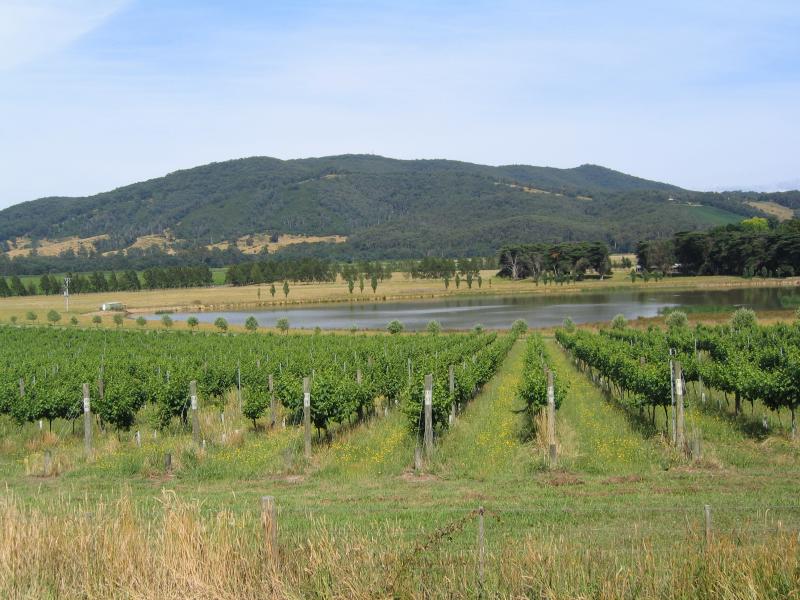
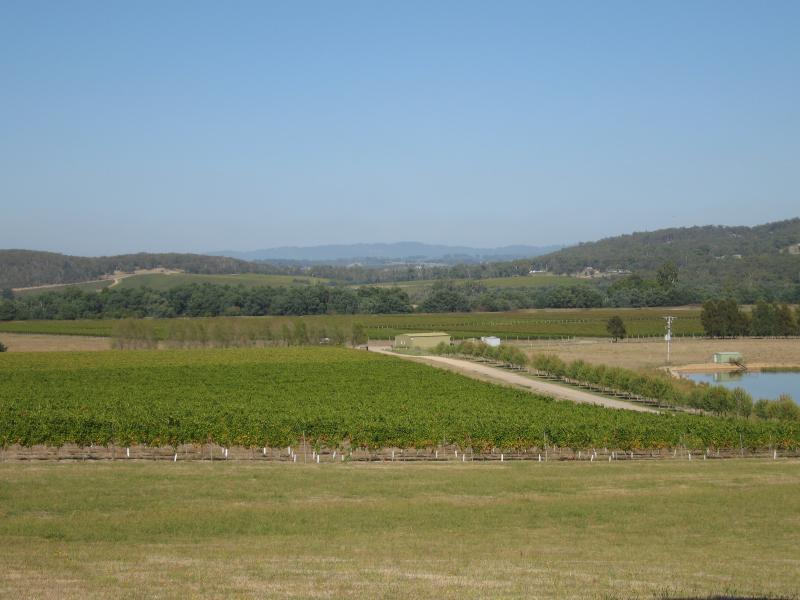
Yarra Glen Road - View south towards vineyard from Yarra Glen Rd near Mt Rael entrance
Yarra Glen Road - View south towards vineyard from Yarra Glen Rd near Mt Rael entrance
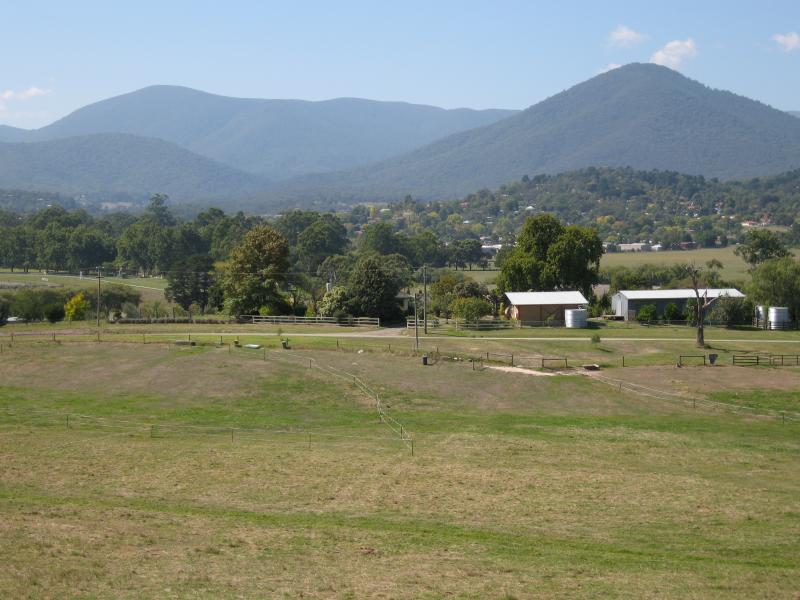
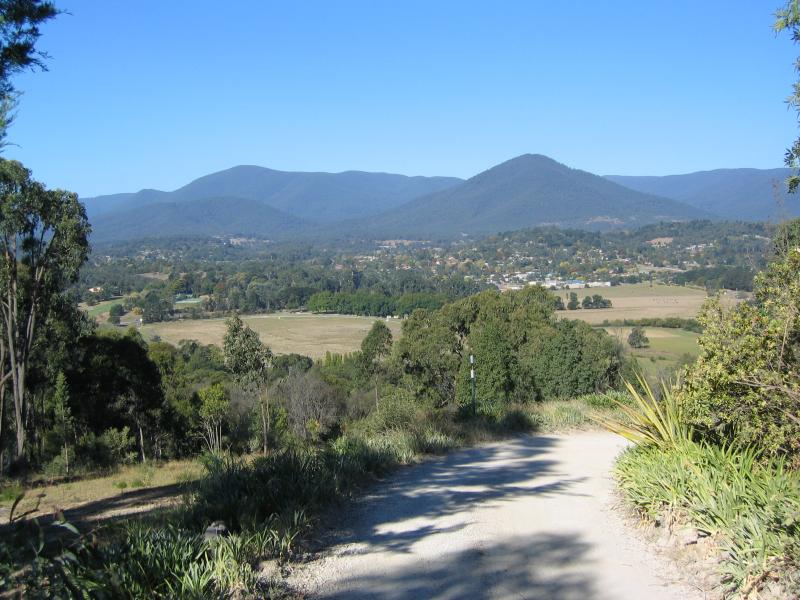
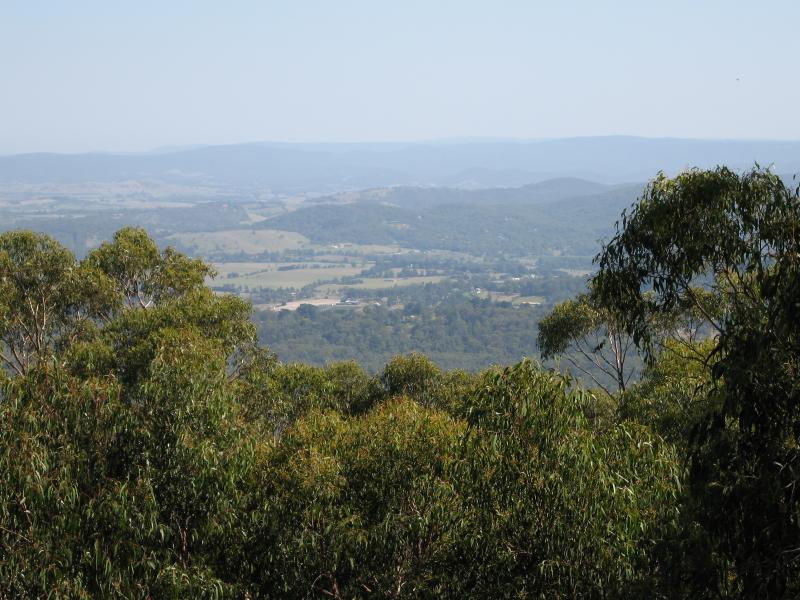
Mt. Rael, Yarra Glen Road - View south-east towards Healesville from peak
Mt. Rael, Yarra Glen Road - View south-east towards Healesville from peak
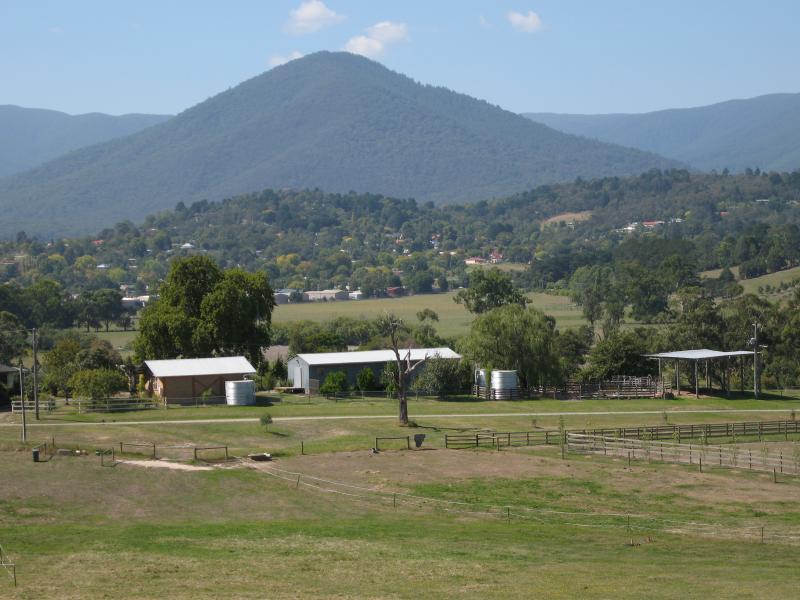
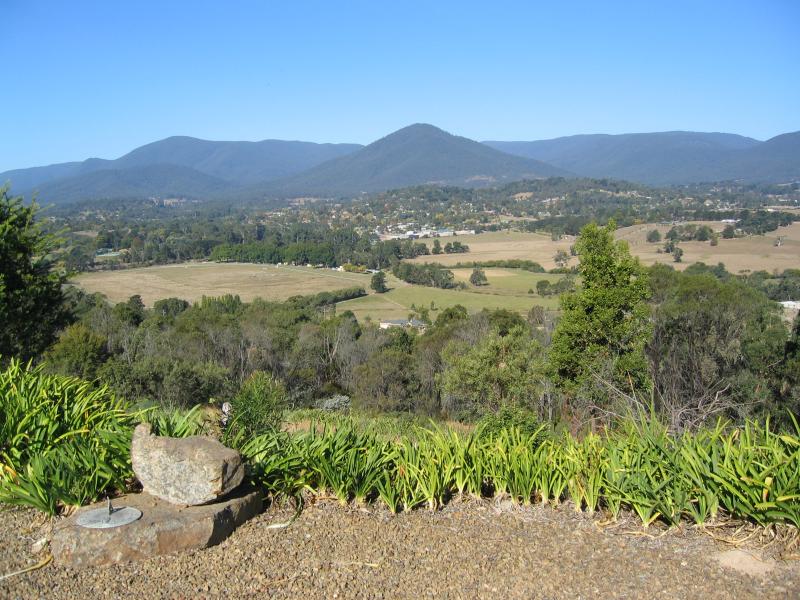
Mt. Rael, Yarra Glen Road - View towards Healesville and Mt Riddell from peak
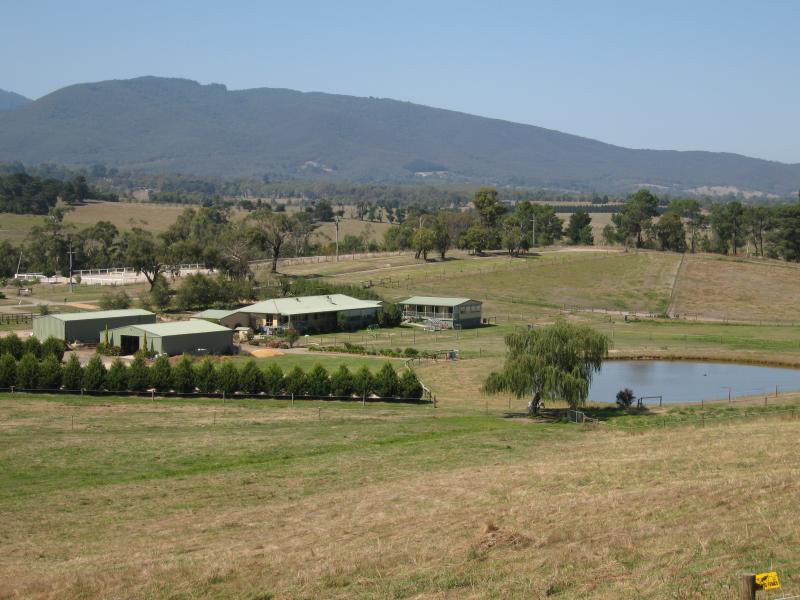
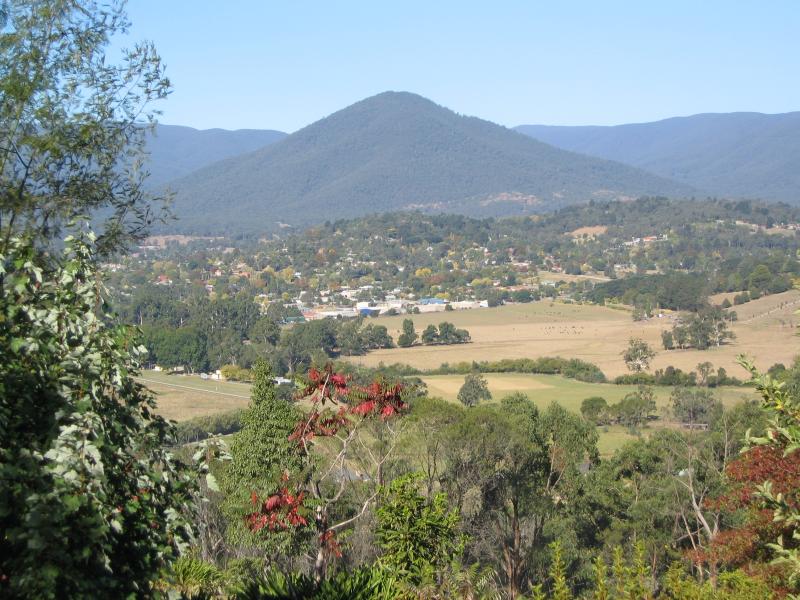
Mt. Rael, Yarra Glen Road - Southerly view from peak