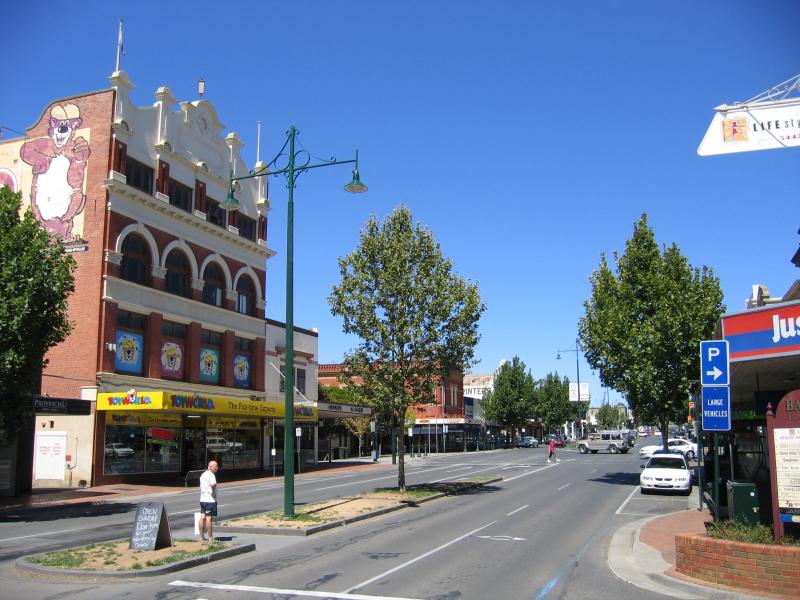
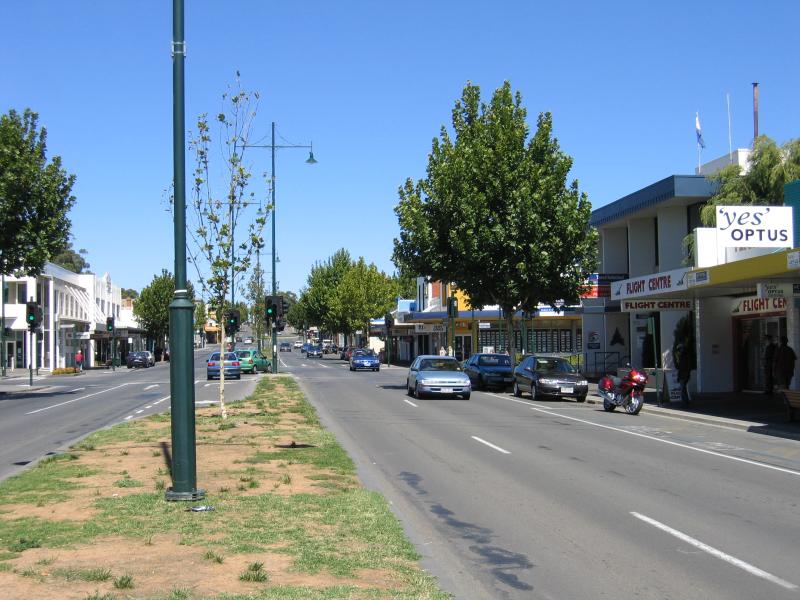
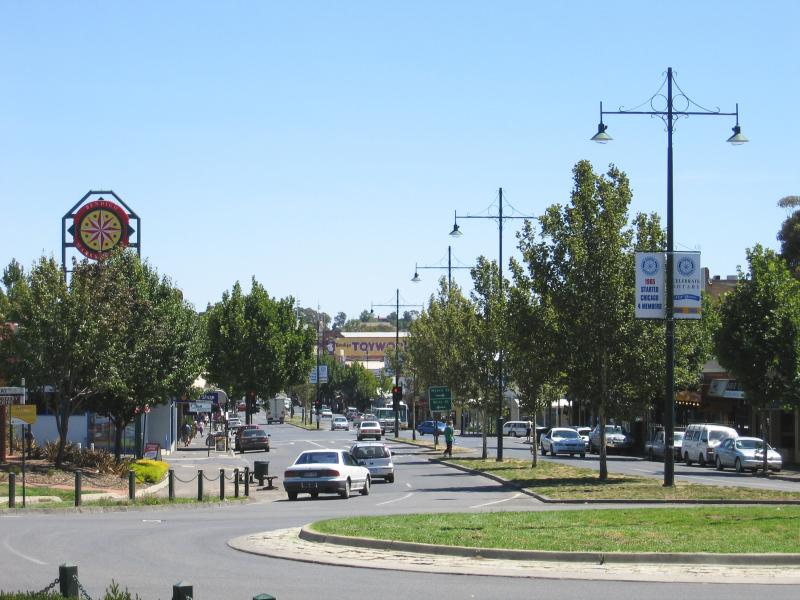
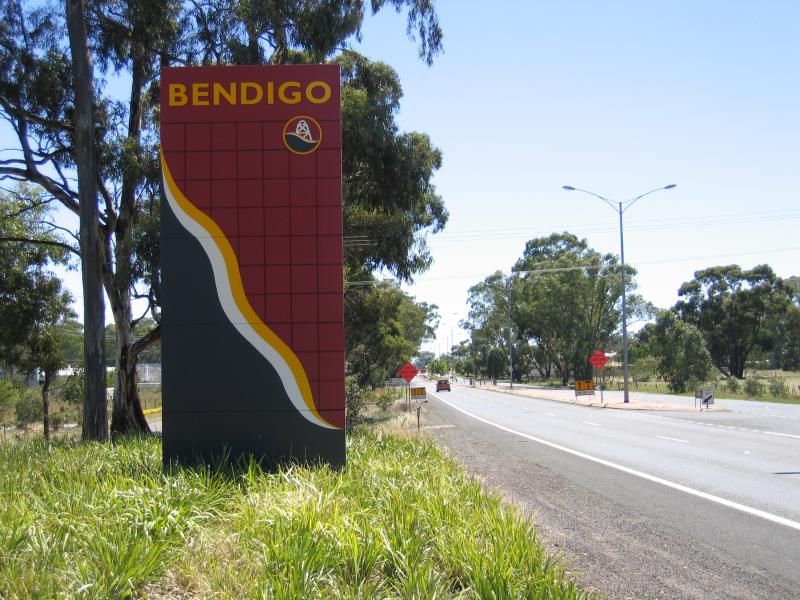
Bendigo - photos
Bendigo
Stay
See and do
Food and drink
Shopping
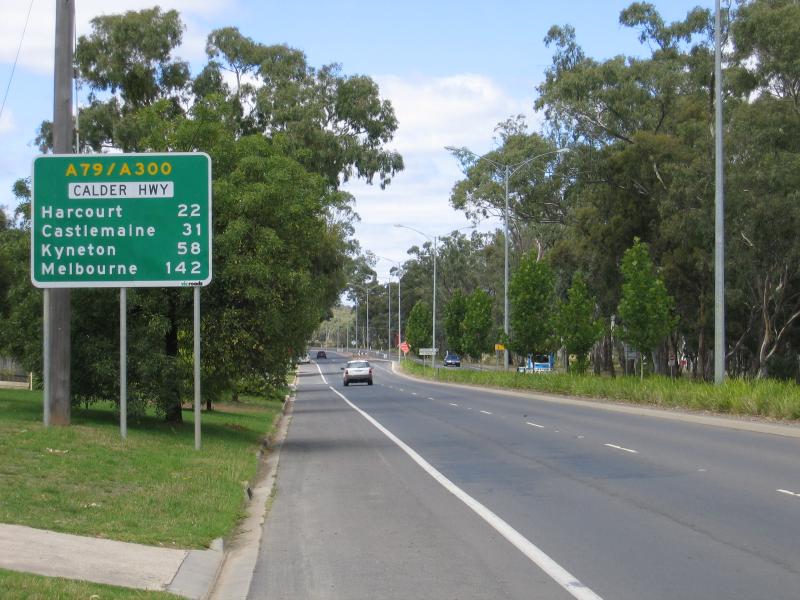
Getting around
Visitor information
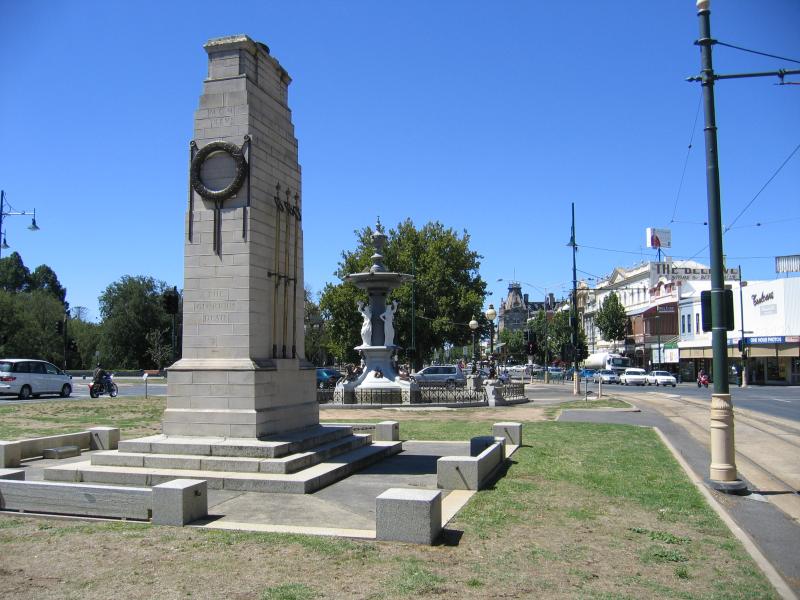
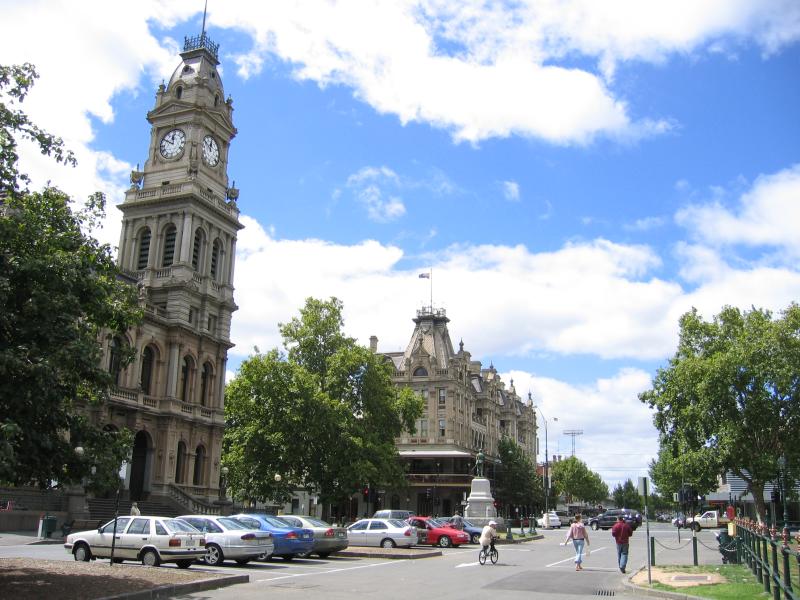
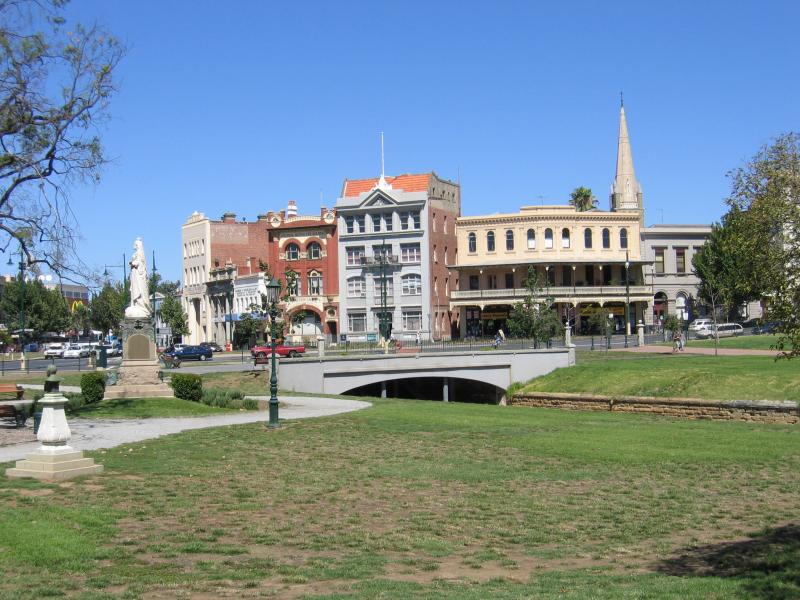
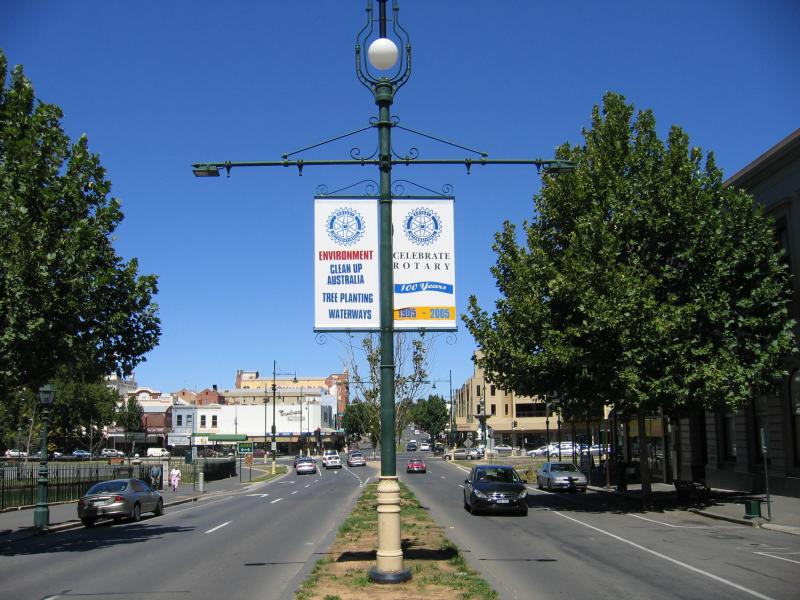
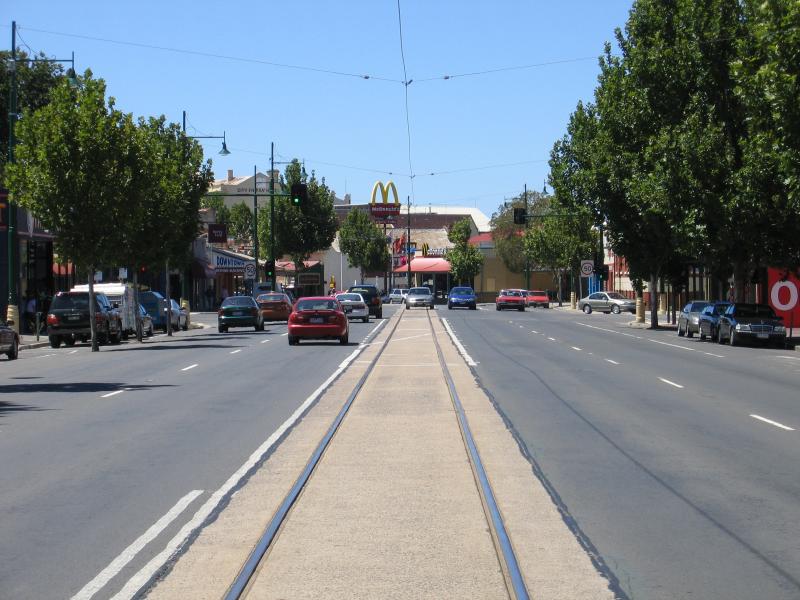
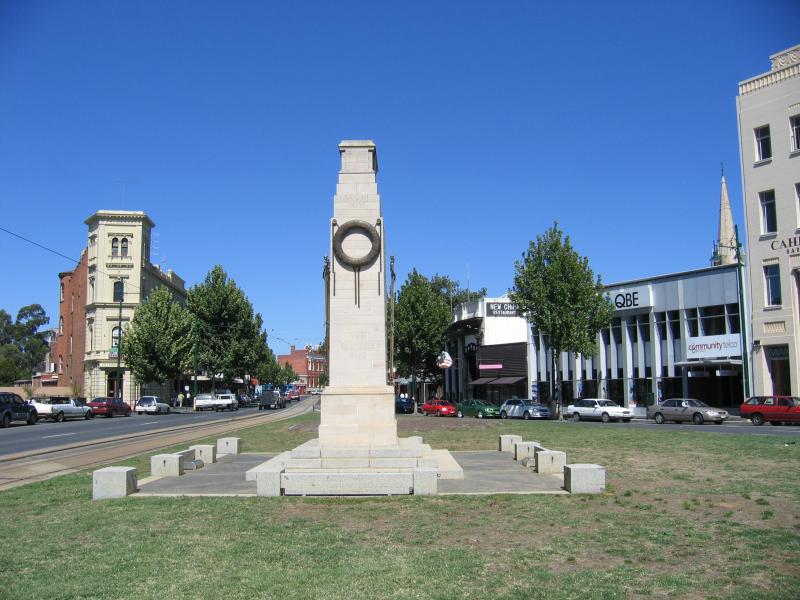
View north-east along Pall Mall towards war memorial, Alexandra Fountain and Mitchell St
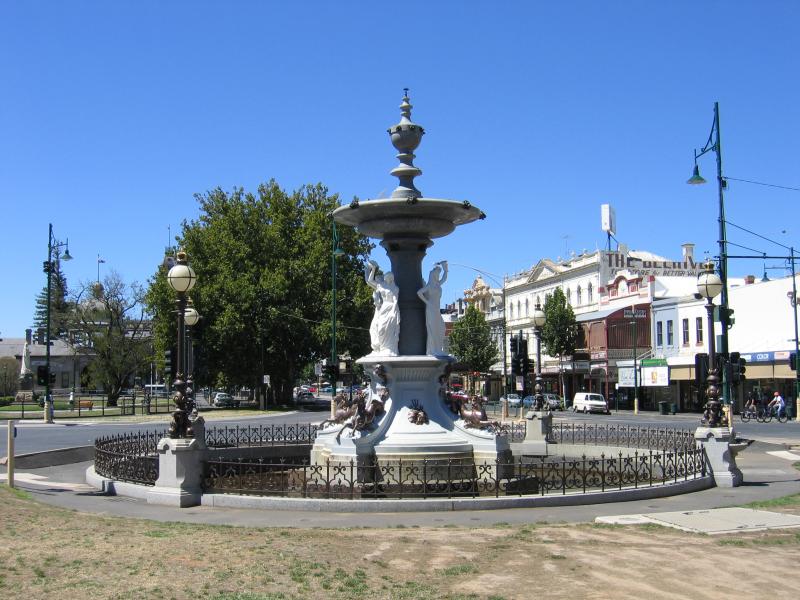
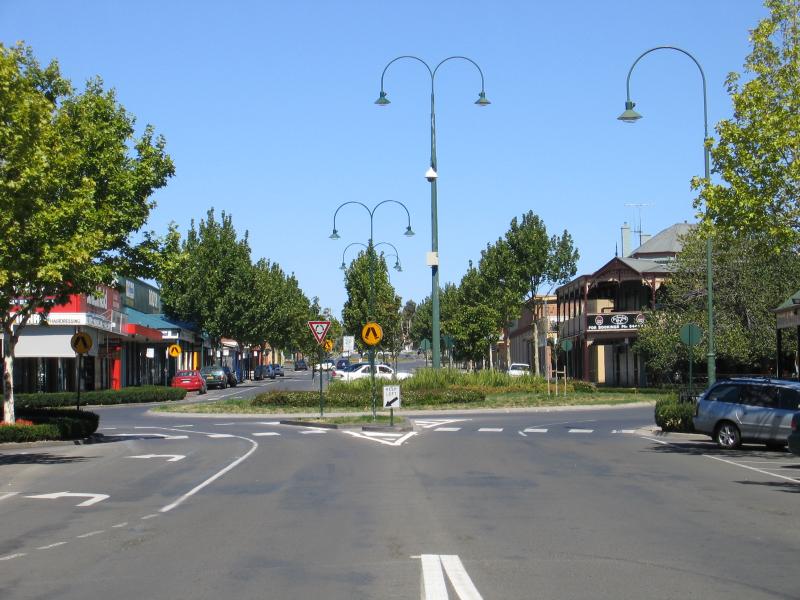
Alexandra Fountain, Pall Mall at Mitchell St
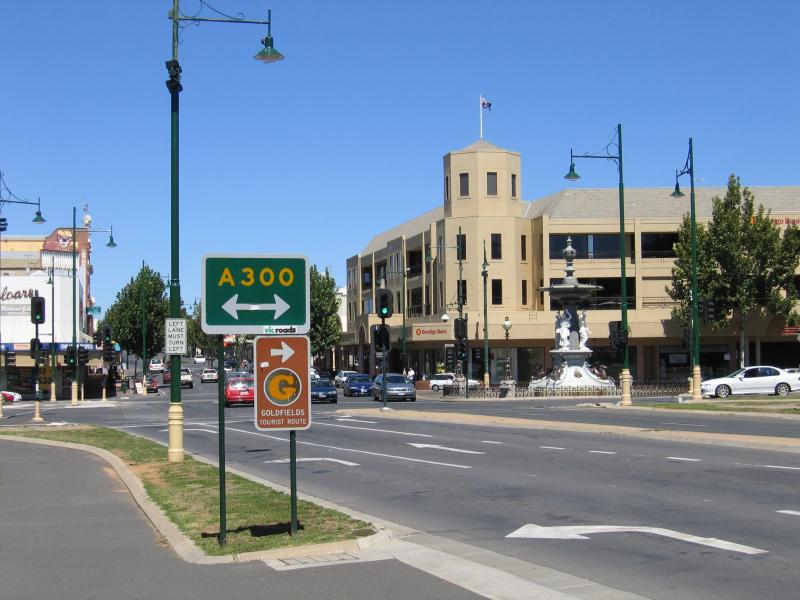
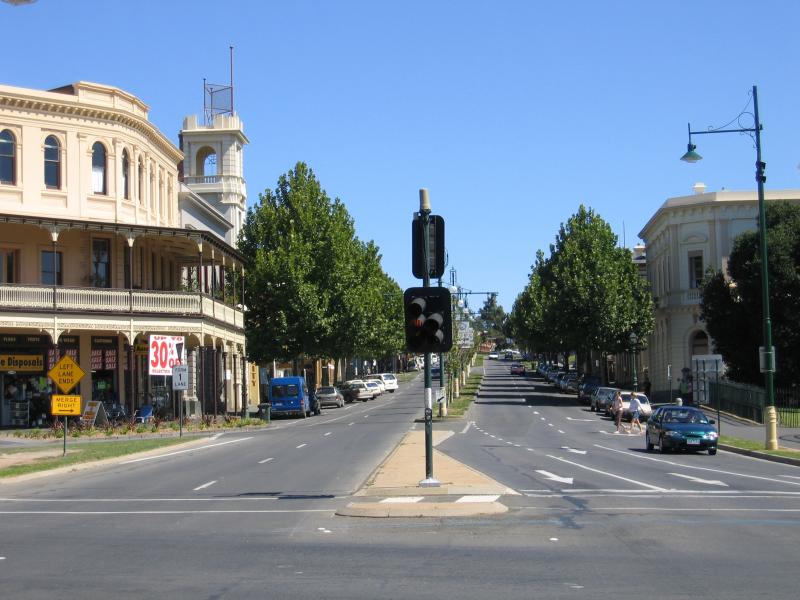
View south-east along View St and Mitchell St at Pall Mall
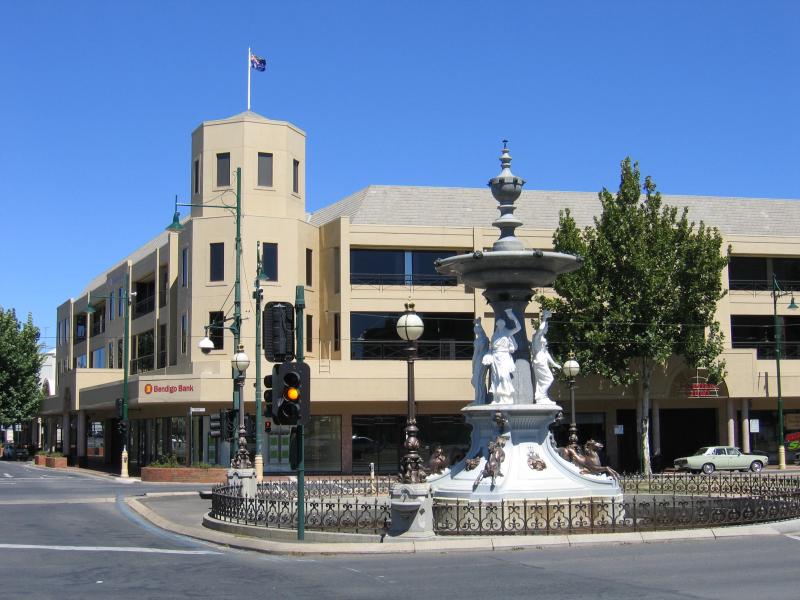
Alexandra Fountain, Pall Mall at Mitchell St
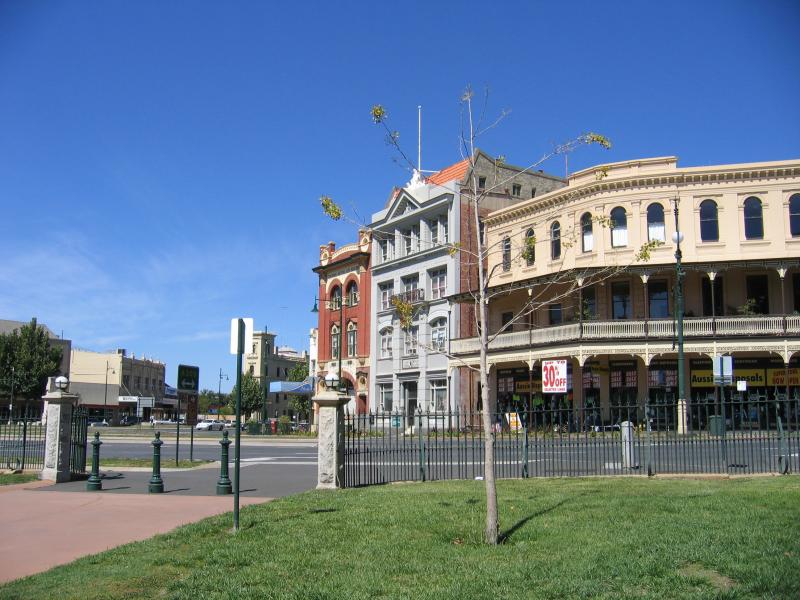
Corner of View St and Pall Mall
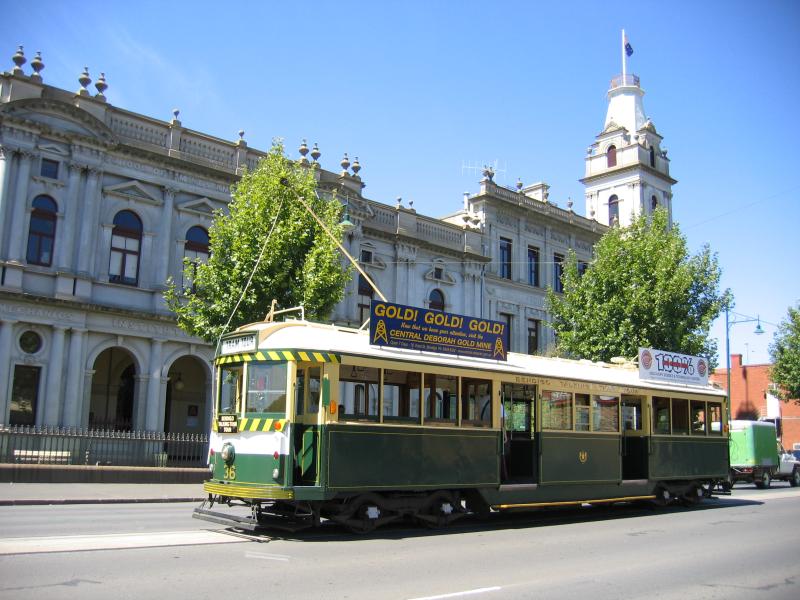
Vintage Talking Tram Tour stop, Pall Mall at Mitchell St

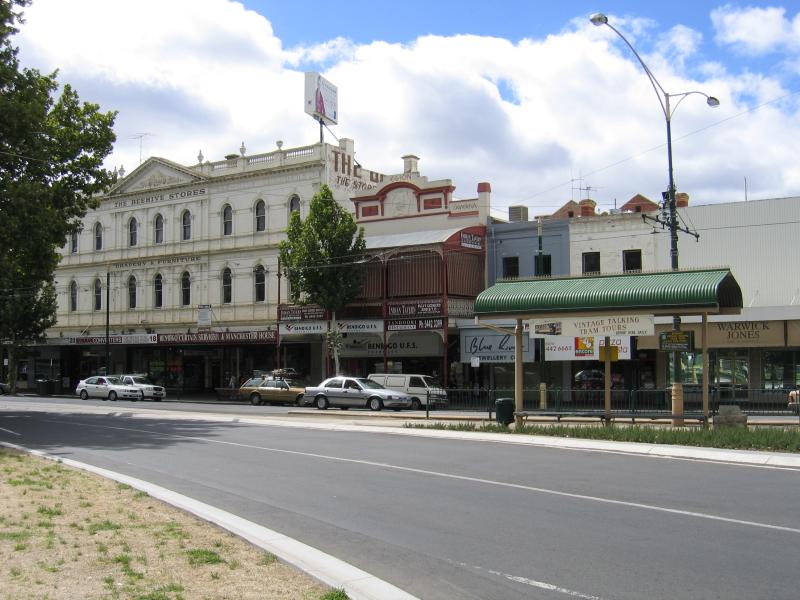
Beehive Stores building, Pall Mall between Williamson St and Mitchell St
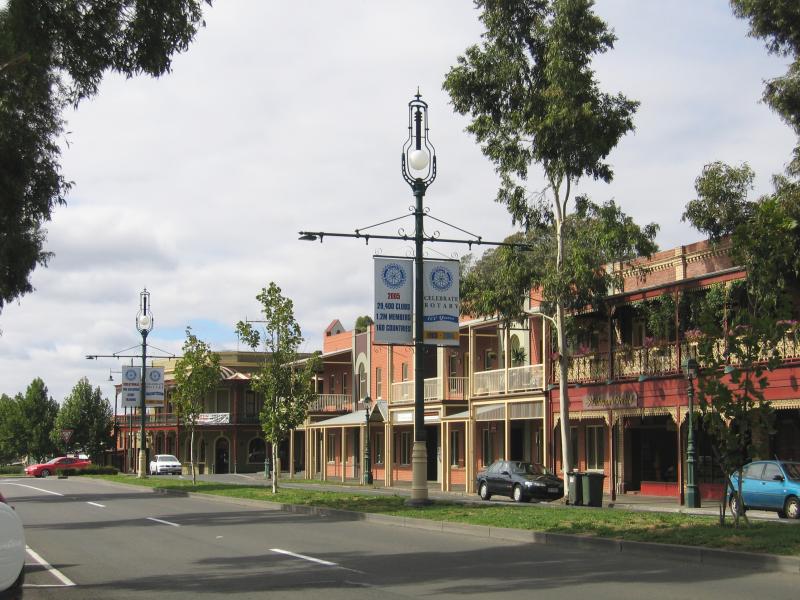
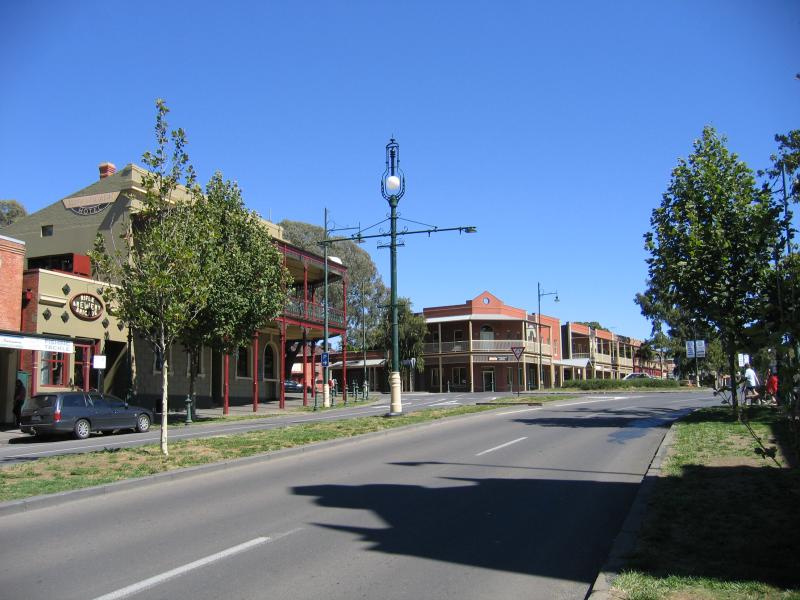
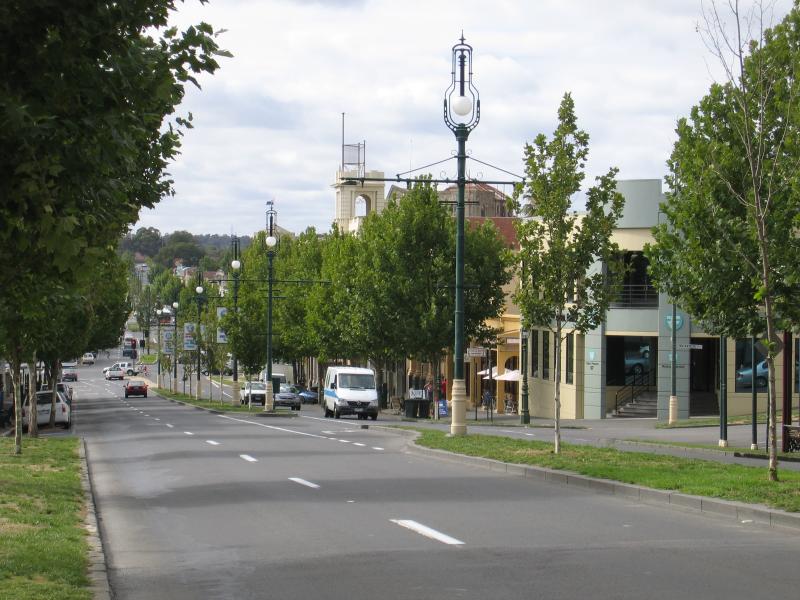
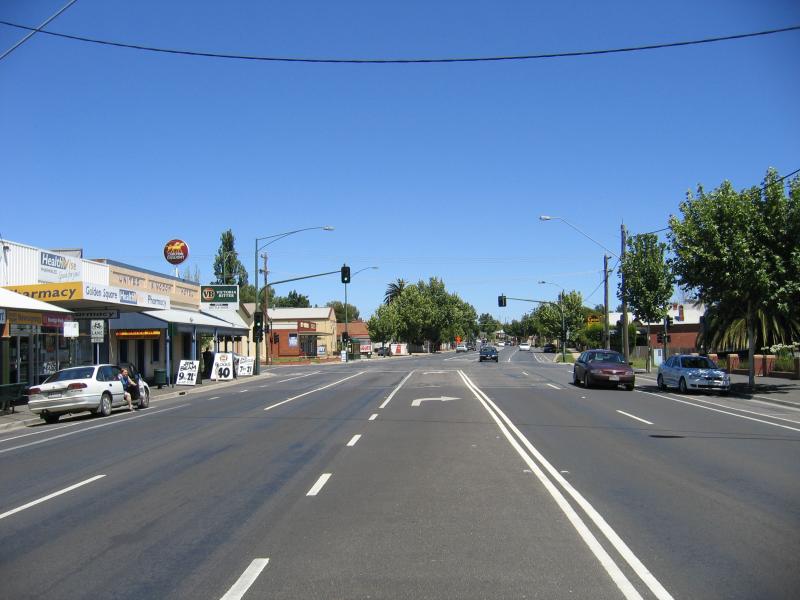
View south-west along Pall Mall towards Mitchell St
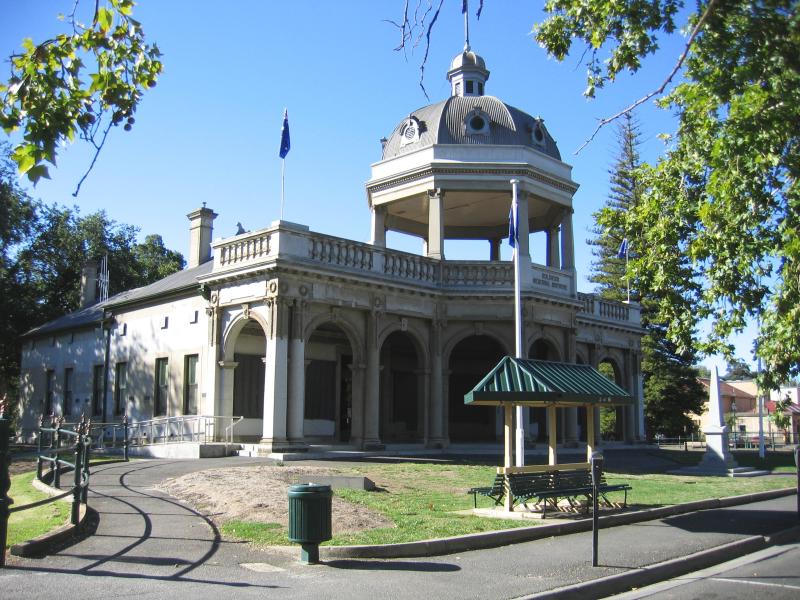
R.S.L. Military Museum
View south-west along Pall Mall at Williamson St towards R.S.L. Military Museum
View south-west along Pall Mall at Williamson St from upper level of Shamrock Hotel

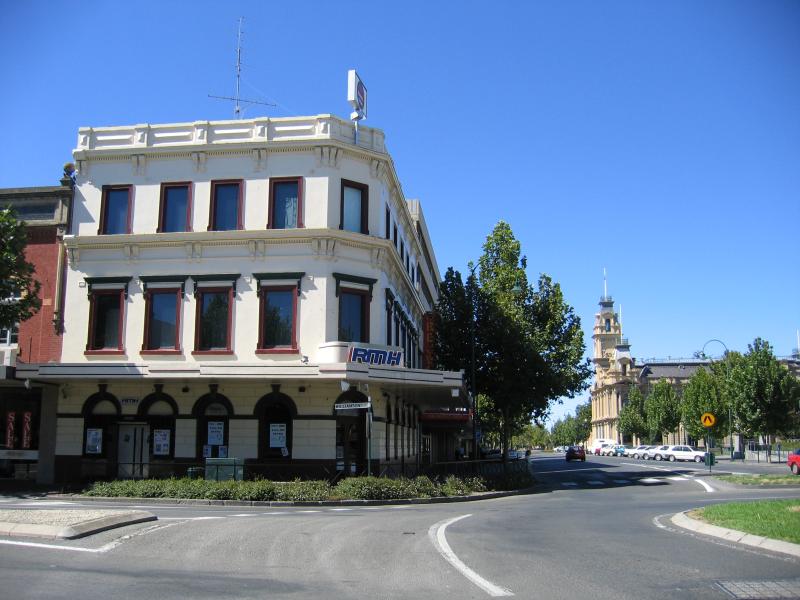
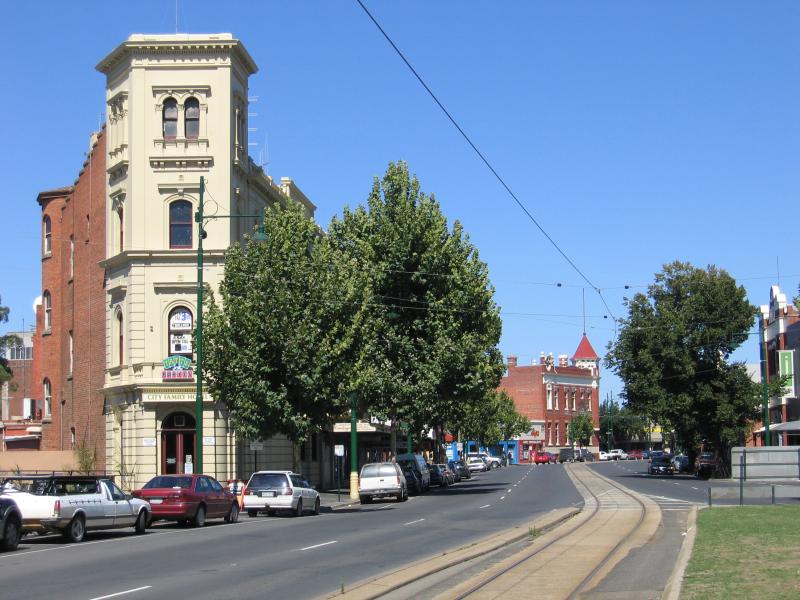
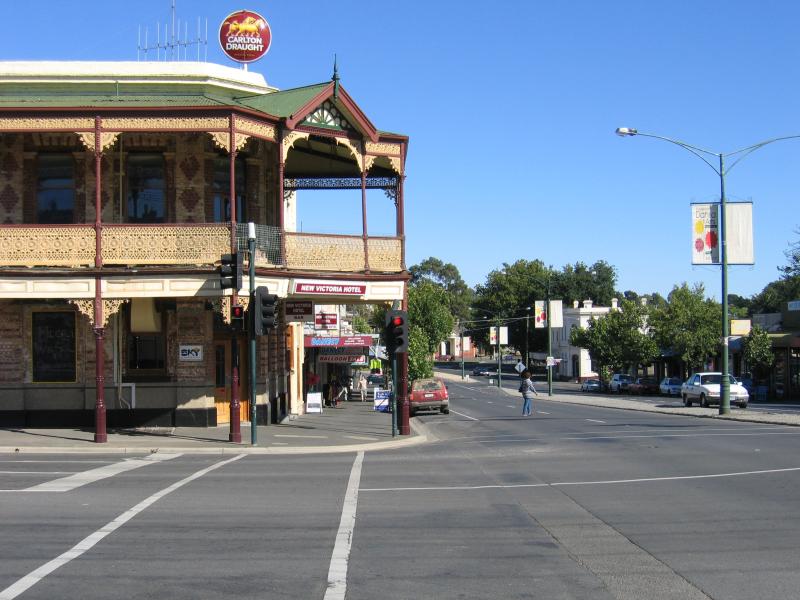
View north-east along Pall Mall at Williamson St
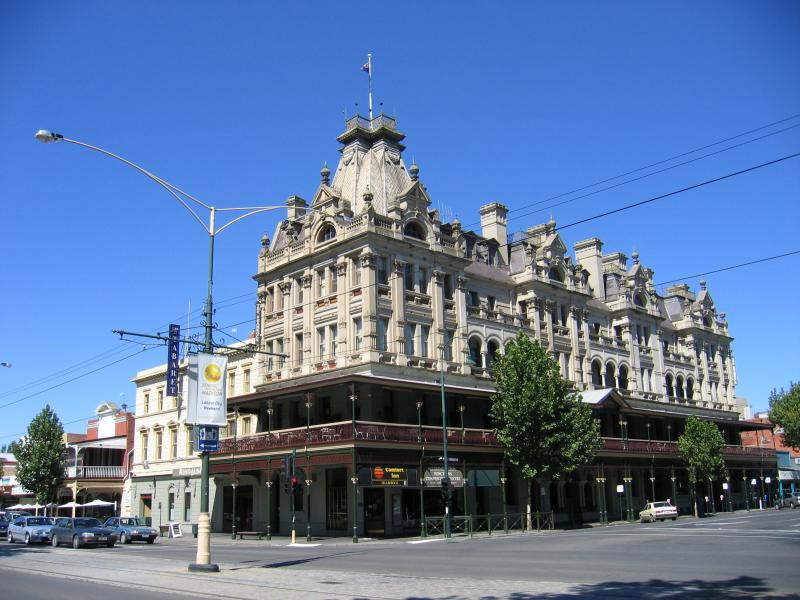
Shamrock Hotel, corner Pall Mall and Williamson St
View south-east along Williamston St towards Pall Mall, Visitor Information Centre and Shamrock Hotel
View north-east along Pall Mall towards Williamston St and Visitor Information Centre
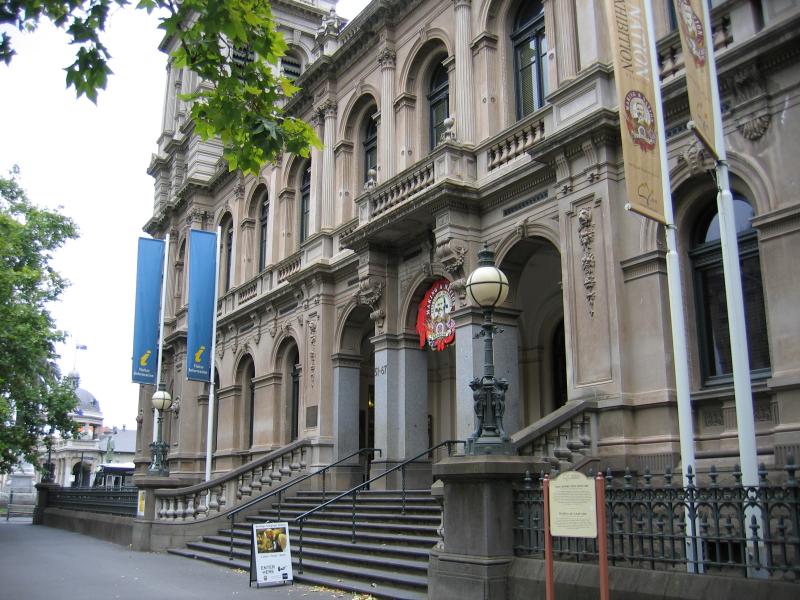
Entrance to Visitor Information Centre
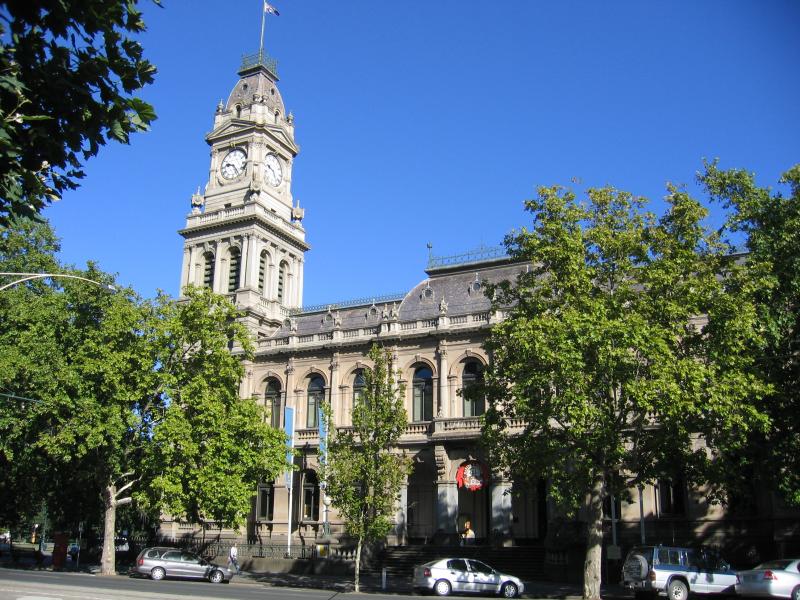
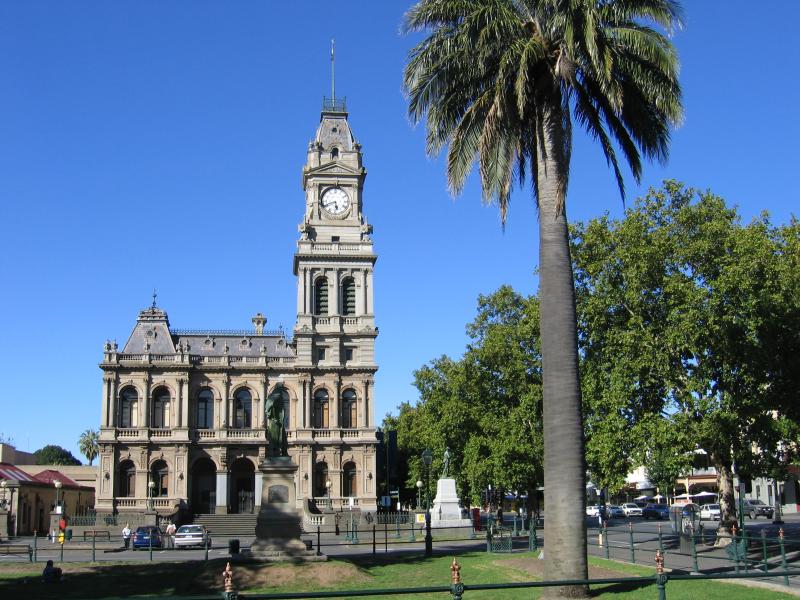
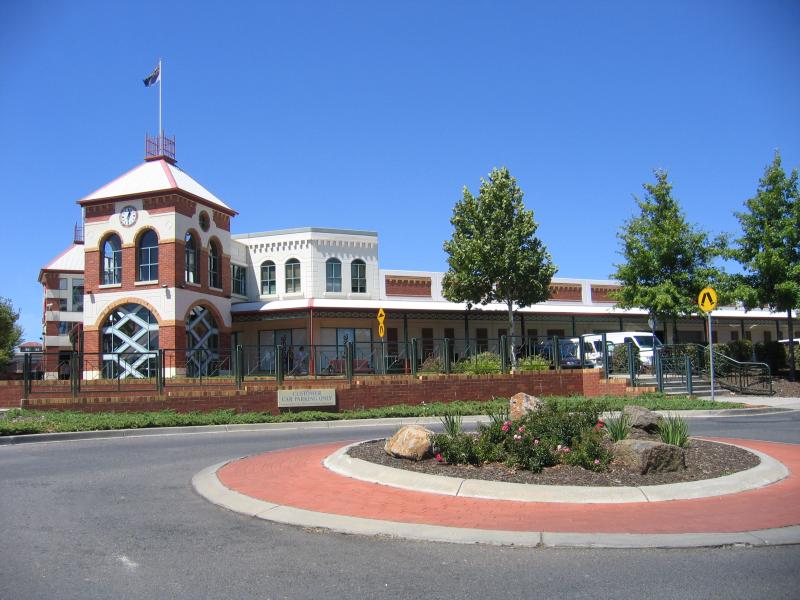
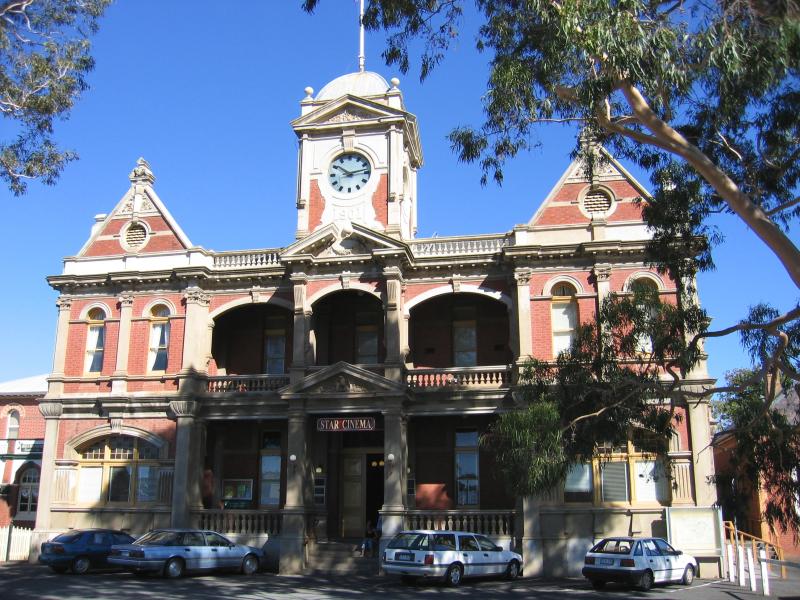
Visitor Information Centre, corner Pall Mall and Williamston St
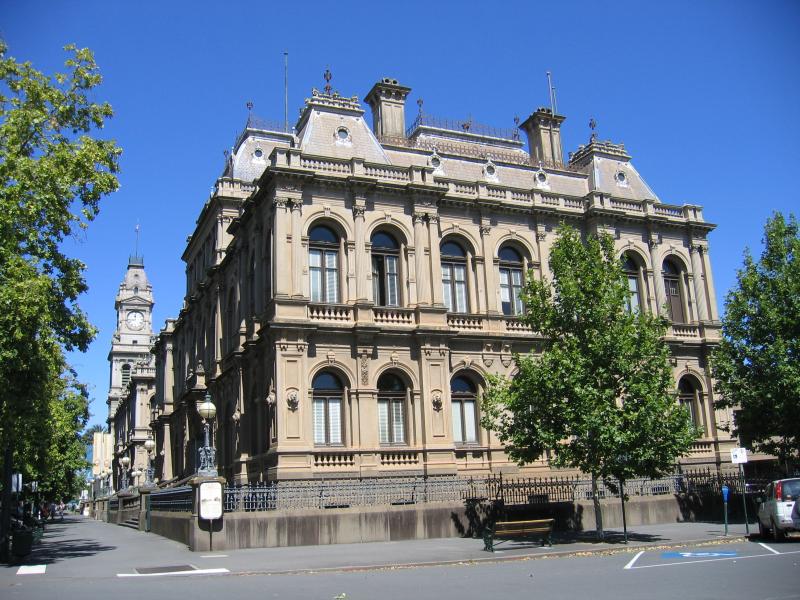
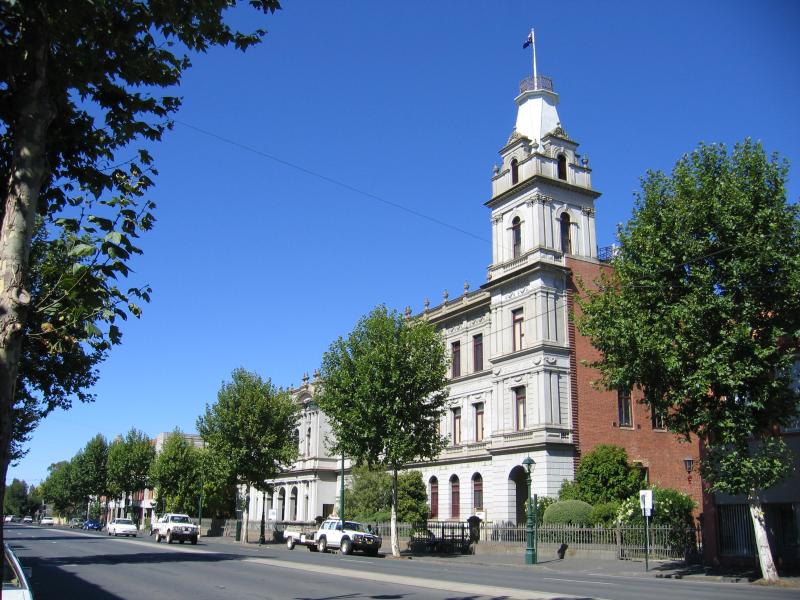
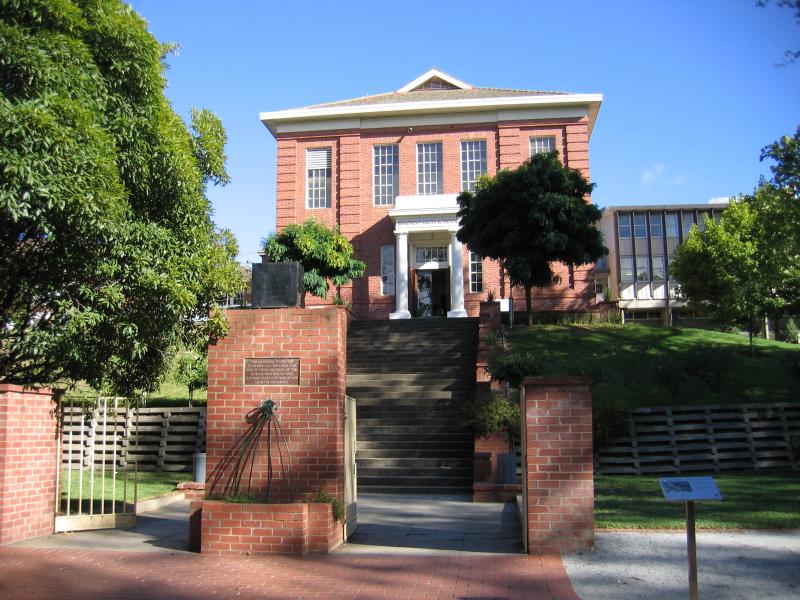
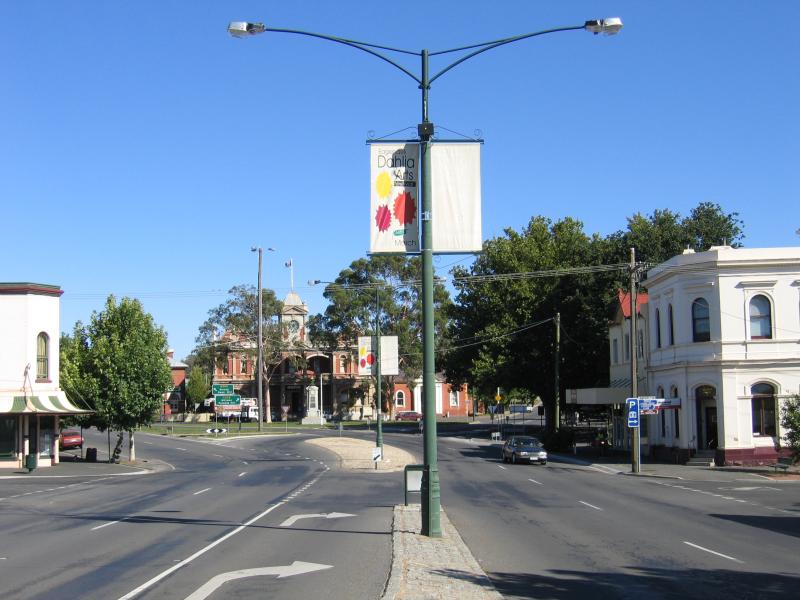
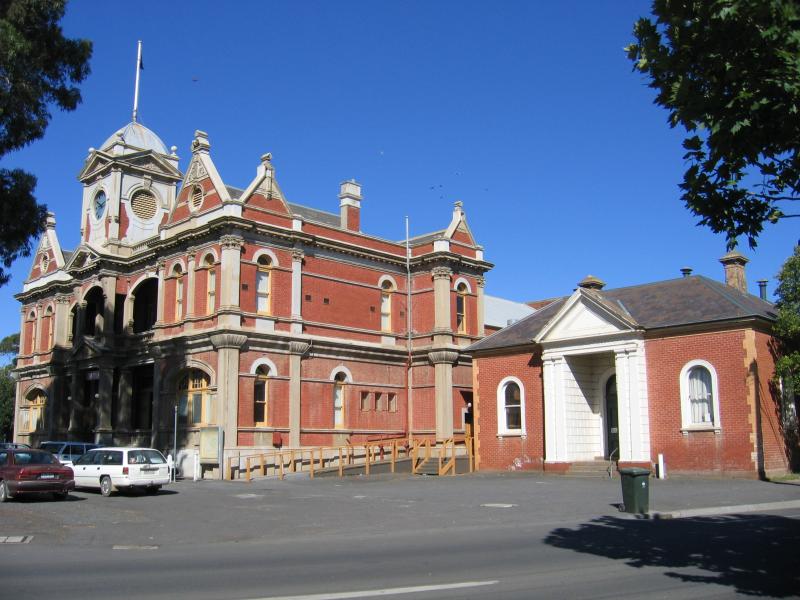
Bendigo Law Courts, view south-west along Pall Mall at Bull St
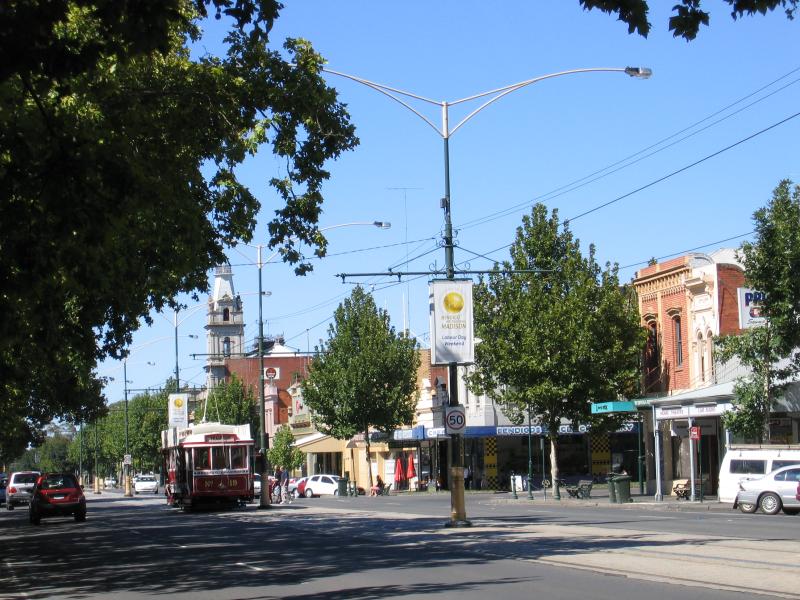
View north-east along Pall Mall towards Bull St
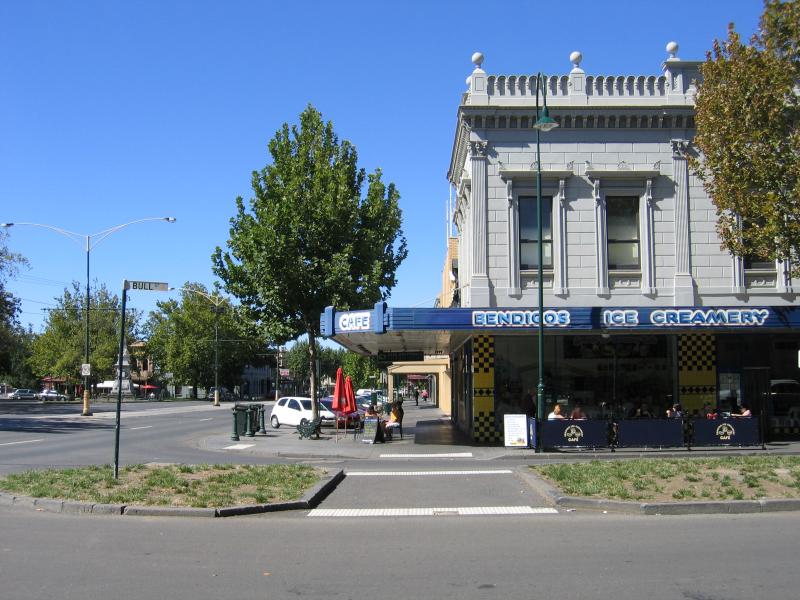
Bendigo's Ice Creamery, corner Pall Mall and Bull St
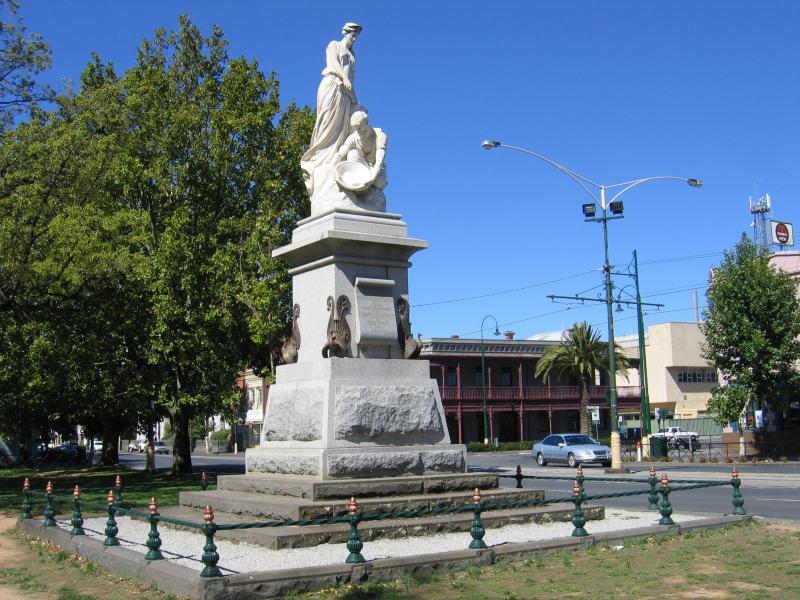
Statue, view north-east along Pall Mall towards Mundy St
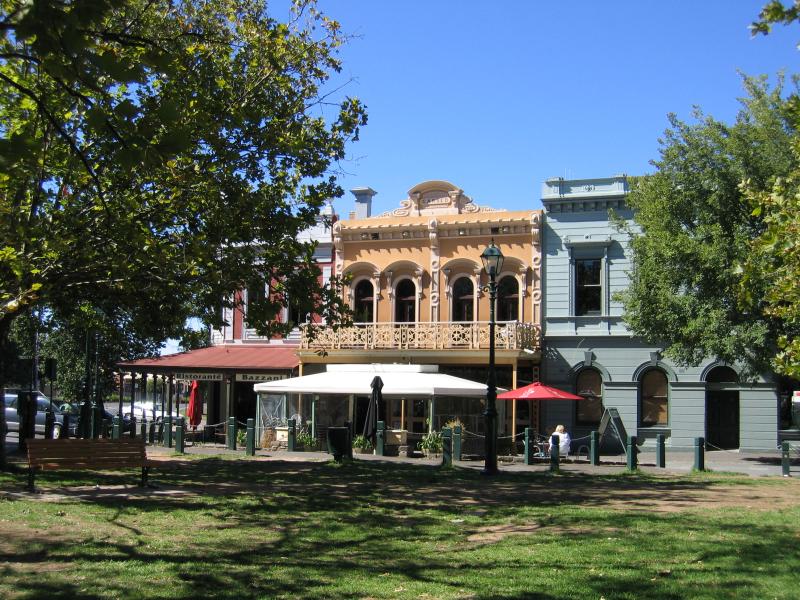
Restaurants, corner Bridge St and Pall Mall

Sundance Saloon, corner Pall Mall and Mundy St
BRiT (Tafe college), Pall Mall between Mundy St and Chapel St
Talking Tram tour, Pall Mall at BRiT (Tafe college)
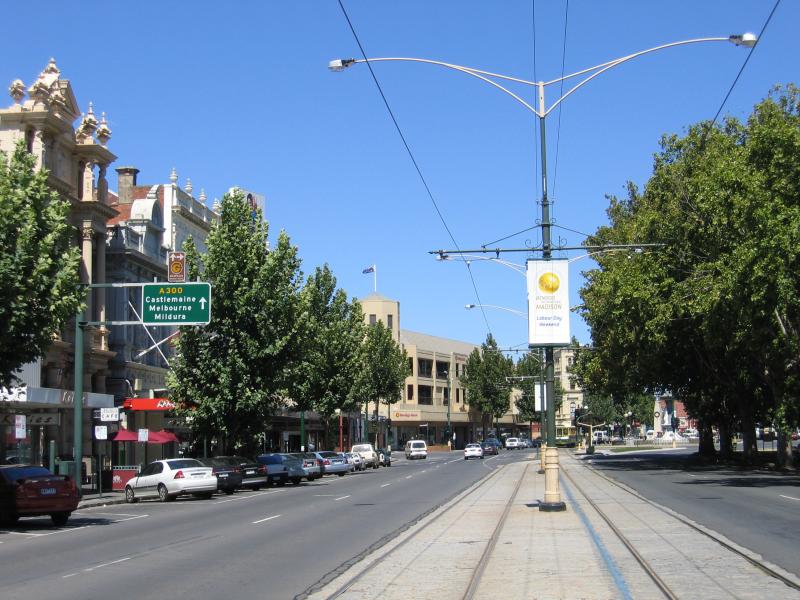
View north-east along Pall Mall towards Chapel St
View south-east along Williamson St towards Queen St and Lyttleton Terrace
View south-west along Queen St at Williamson St
South-west Hargreaves St between Mitchell St and Edward St
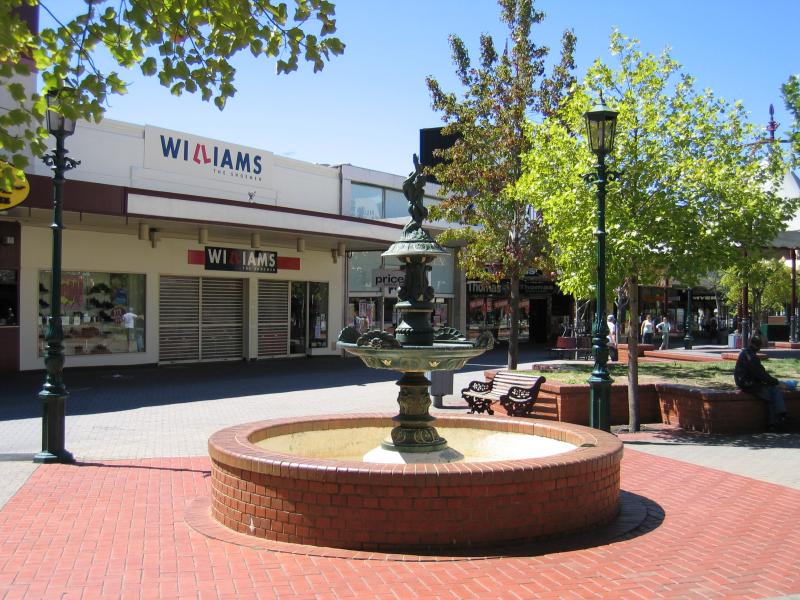
Fountain in Mall
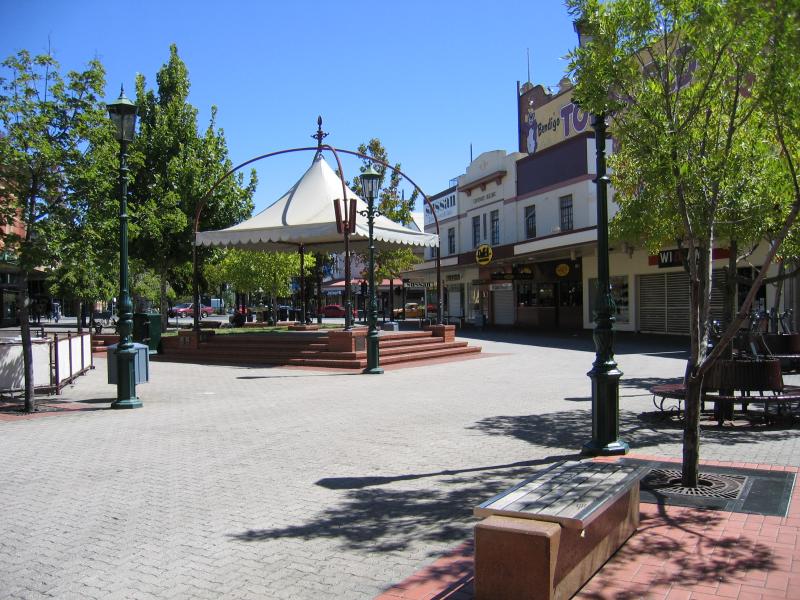
Mall
Mall

View north-east through Mall towards Williamson St

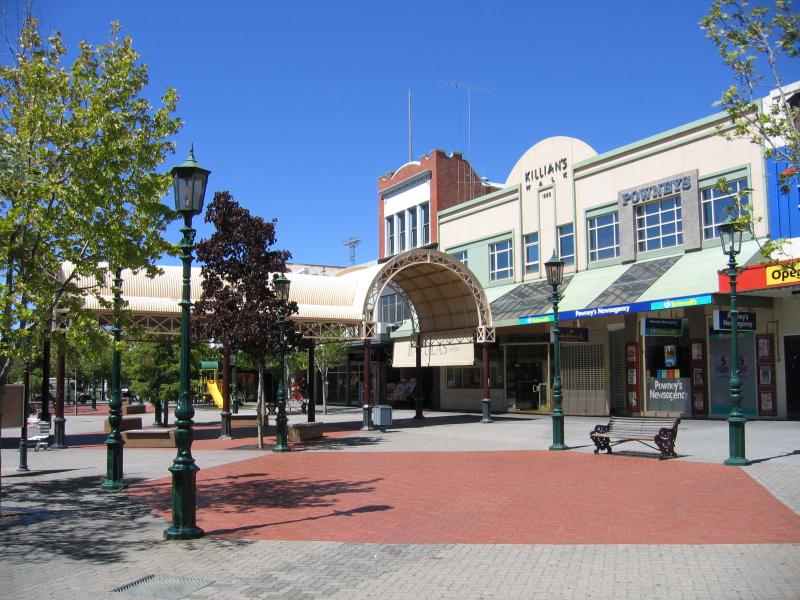
View south-east along Williamson St at Hargreaves Mall
View north-east along Hargreaves St at Williamson St

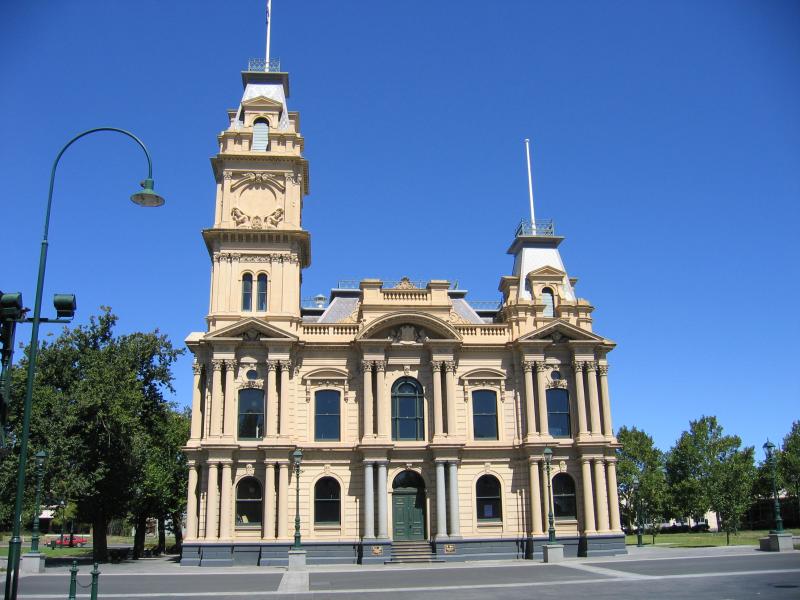
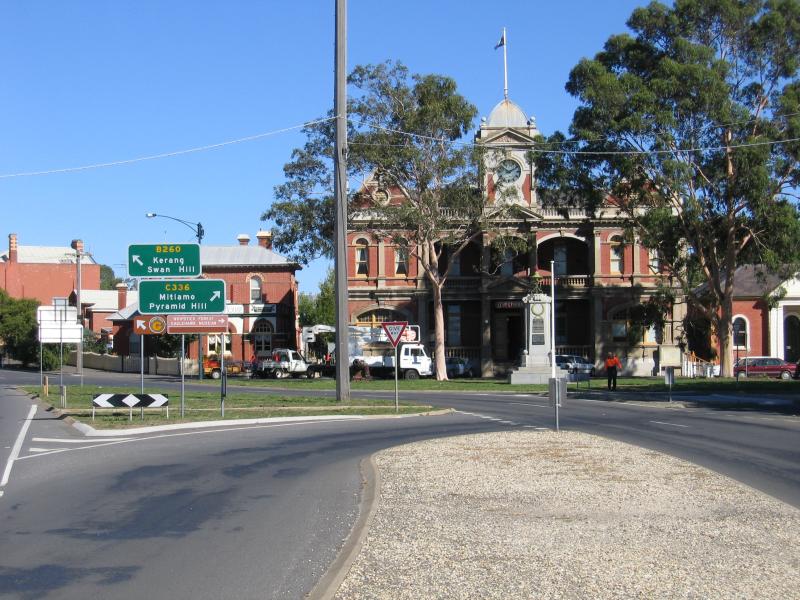
Bendigo Town Hall, Hargreaves St at Bull St
View south-east along Bull St towards Bendigo Town Hall on Hargreaves St

State Offices, view north-east along Hargraves St towards Mundy St

BRiT (Tafe college), corner Mundy St and Hargraves St
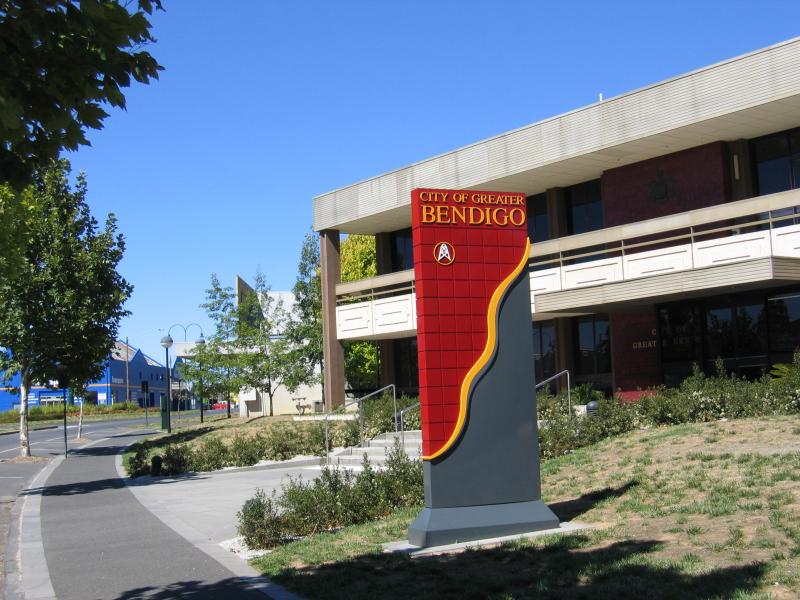
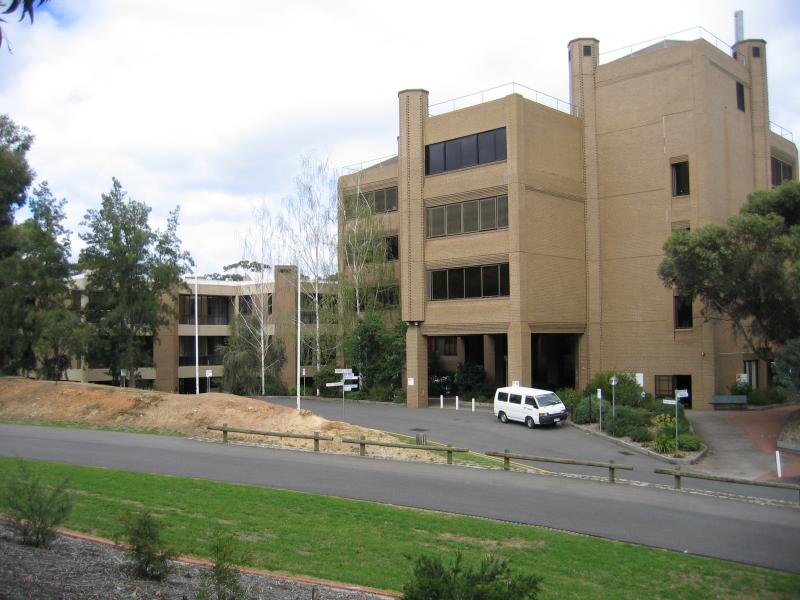
City of Greater Bendigo council offices, Lyttleton Terrace between Mundy St and St Andrews Av

View of back of Town Hall from Lyttleton Terrace at St Andrews Av
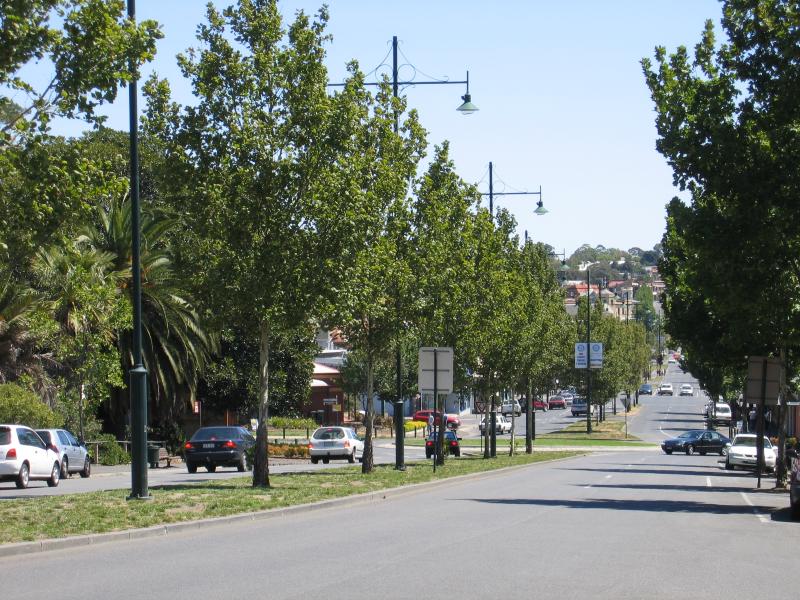
View south-east along Mitchell St towards Hargreaves St
View south-east along Mitchell St towards Queen St
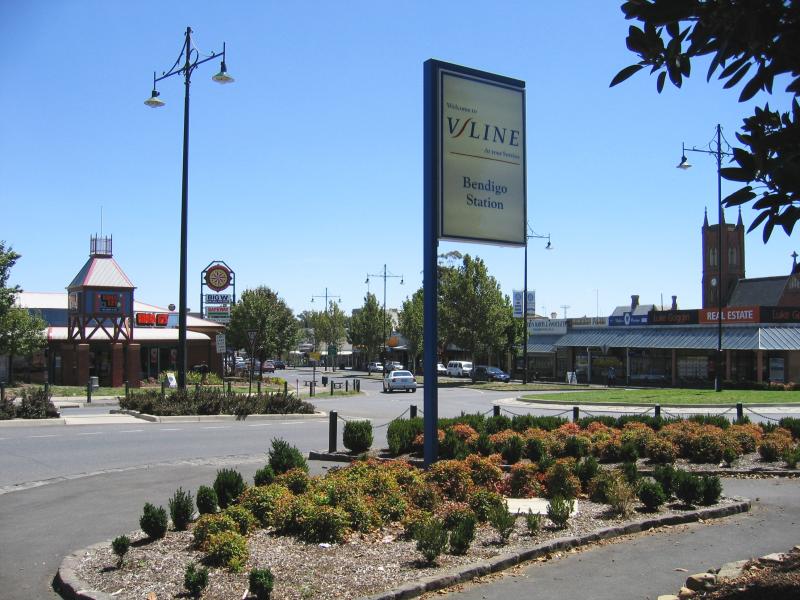
View north-west along Mitchell St at Railway Pl
View north-west along Mitchell St towards Railway Pl
Entrance to Bendigo railway station, Railway Pl at Mitchell St
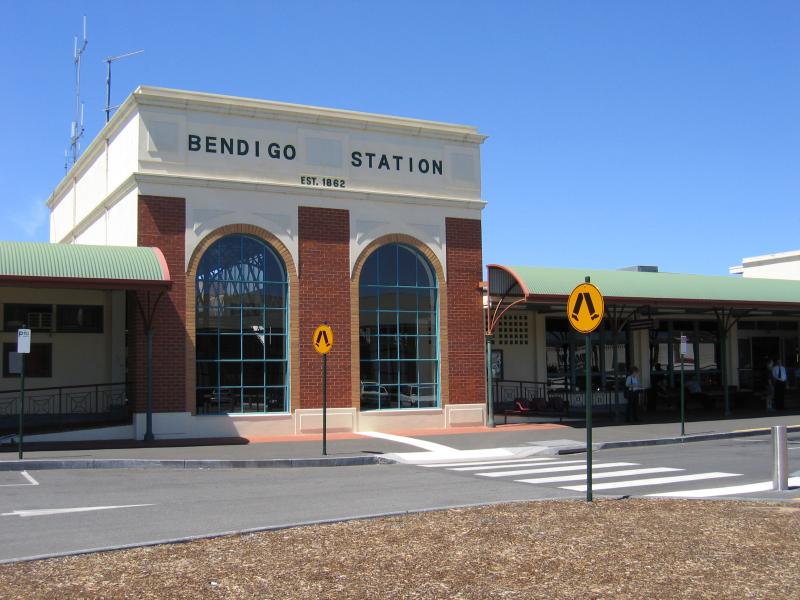
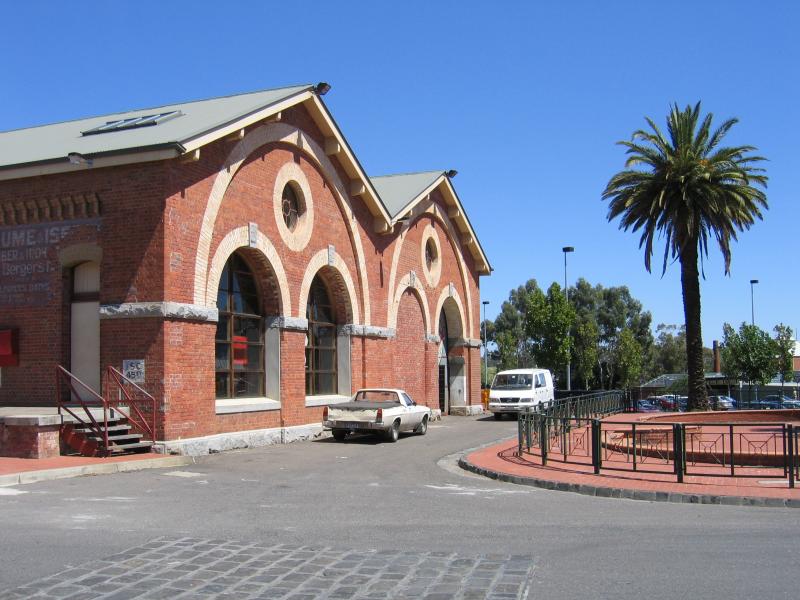
Bendigo railway station
Science and Discovery Centre, Railway Pl
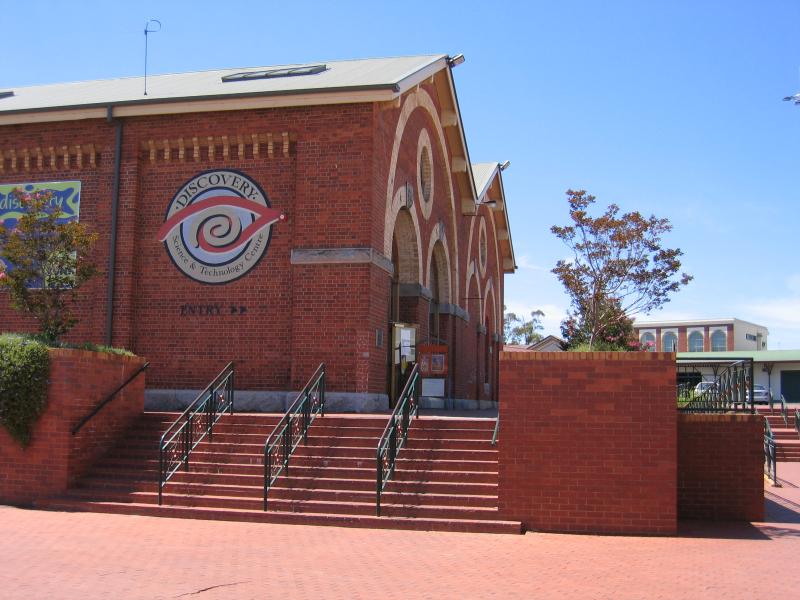
Science and Discovery Centre, Railway Pl
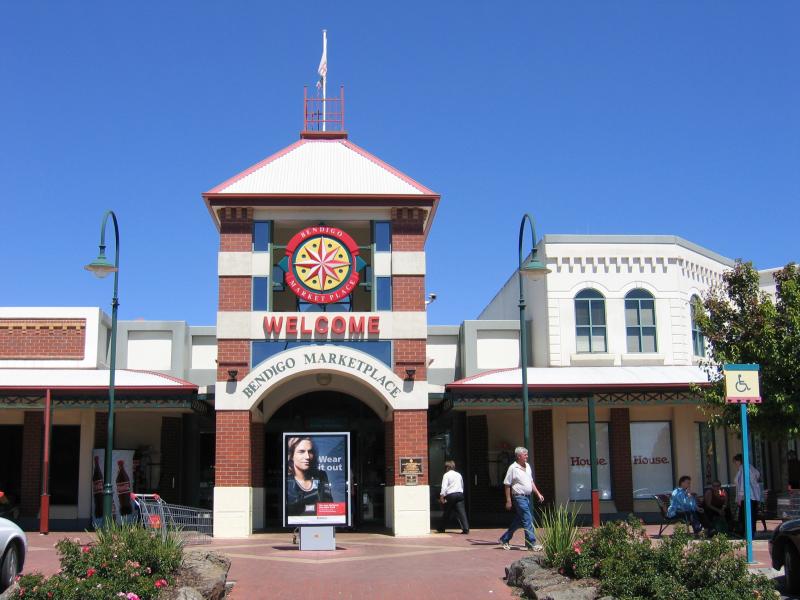
Bendigo Marketplace shopping centre
View of Bendigo Marketplace shopping centre from Edward St
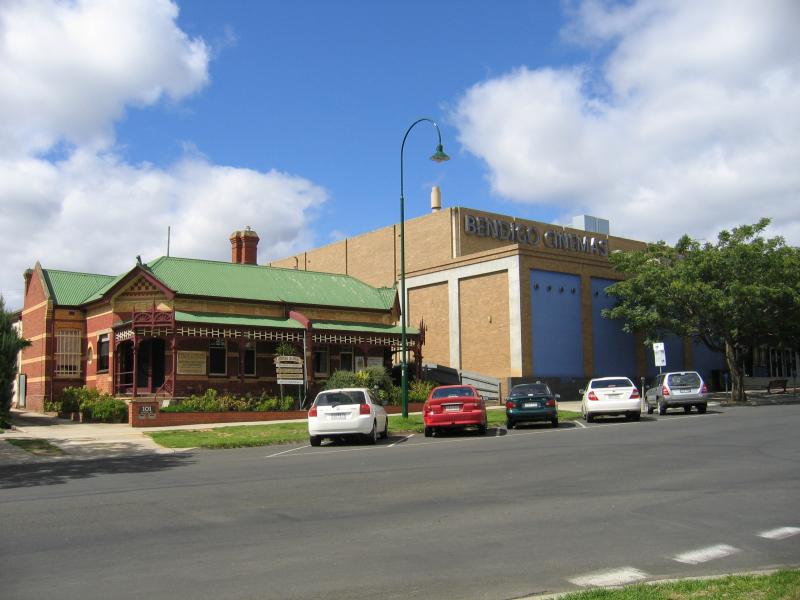
Bendigo Cinemas, Queen St opposite Short St
View north-west along Short St towards Hargreaves St and Sacred Heart Cathedral

Museum main entrance, Bridge St
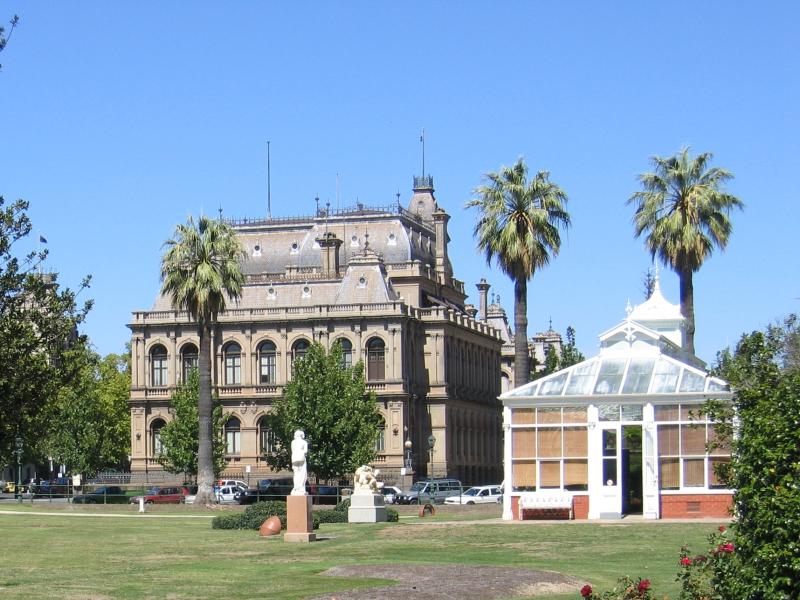
View south-west along Bridge St at museum

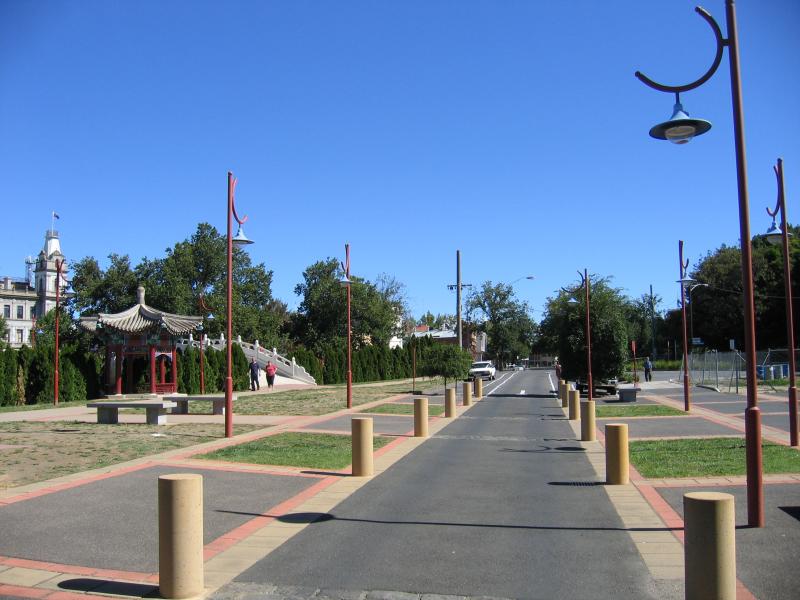
View along pathway between Pall Mall and museum
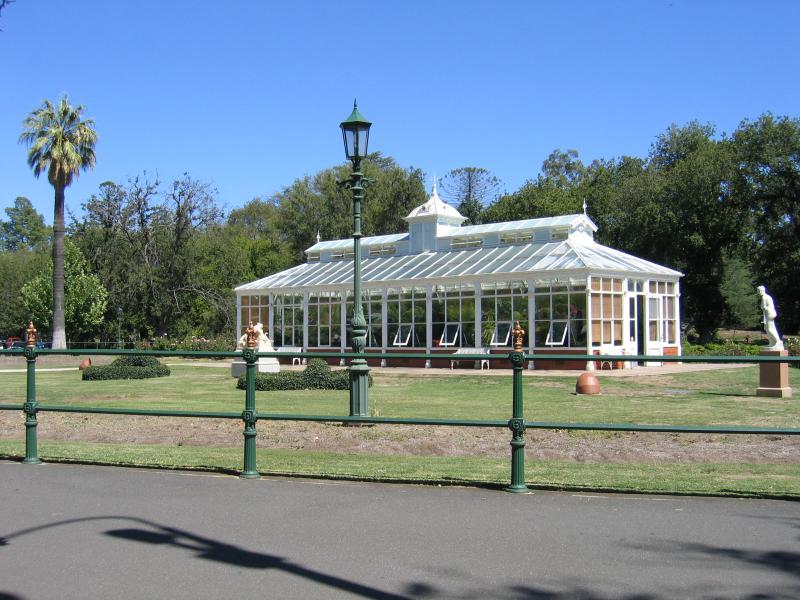
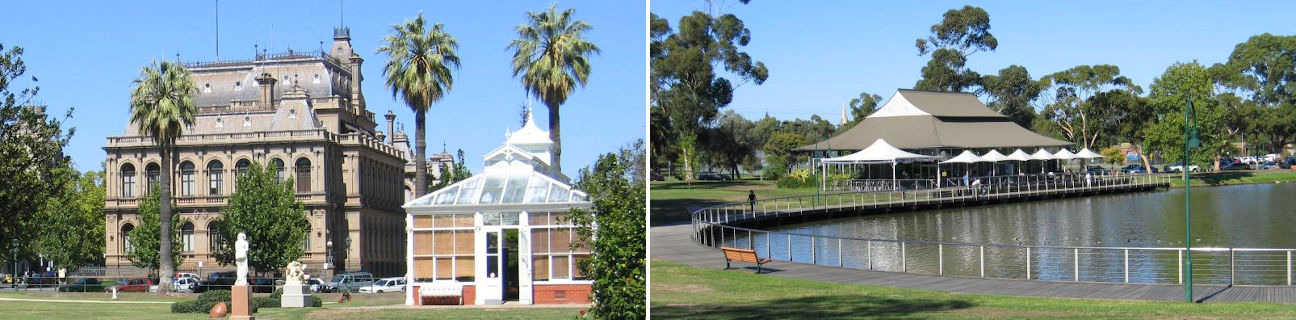
Conservatory
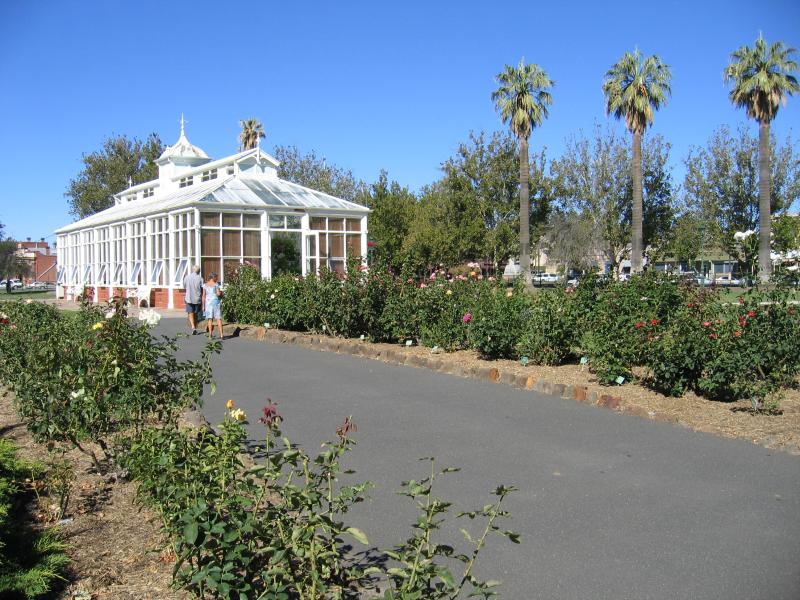
Rose gardens at conservatory
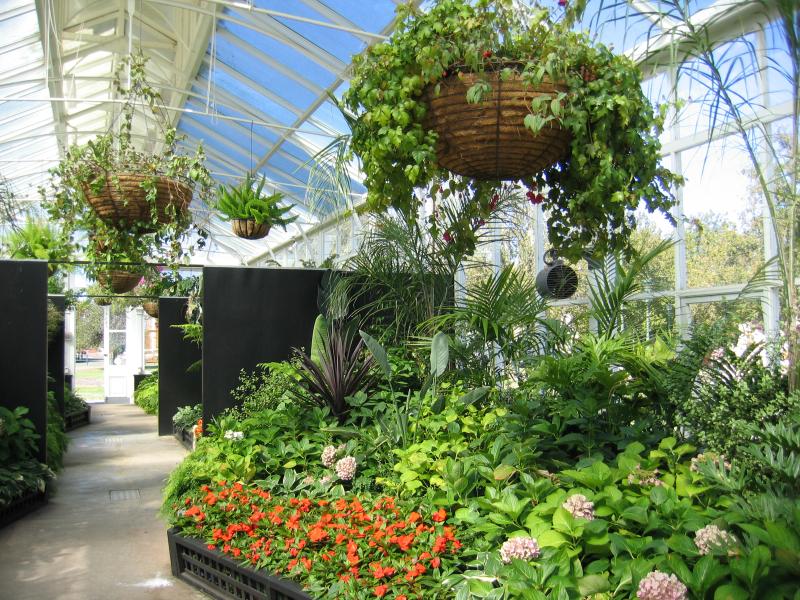
Inside conservatory
View south-west through gardens towards Bull St and Bendigo Law Courts
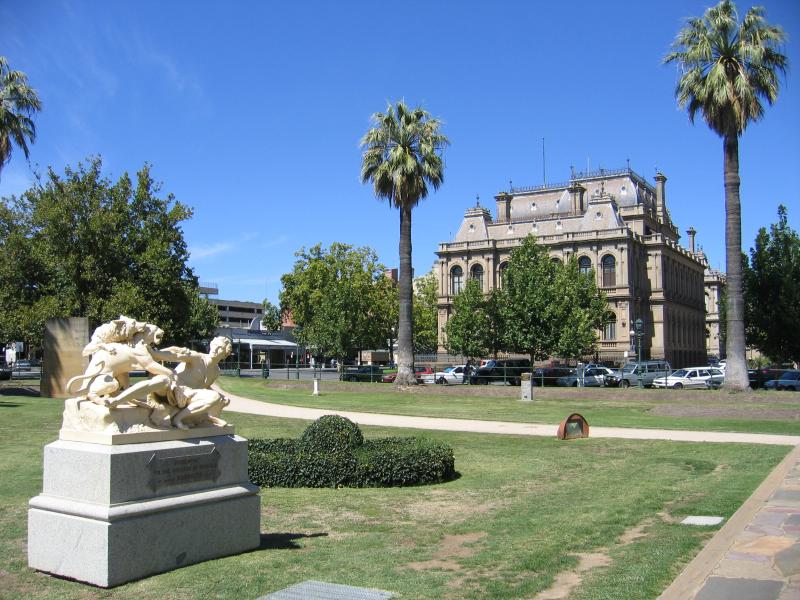
Gardens with Bendigo Law Courts in background
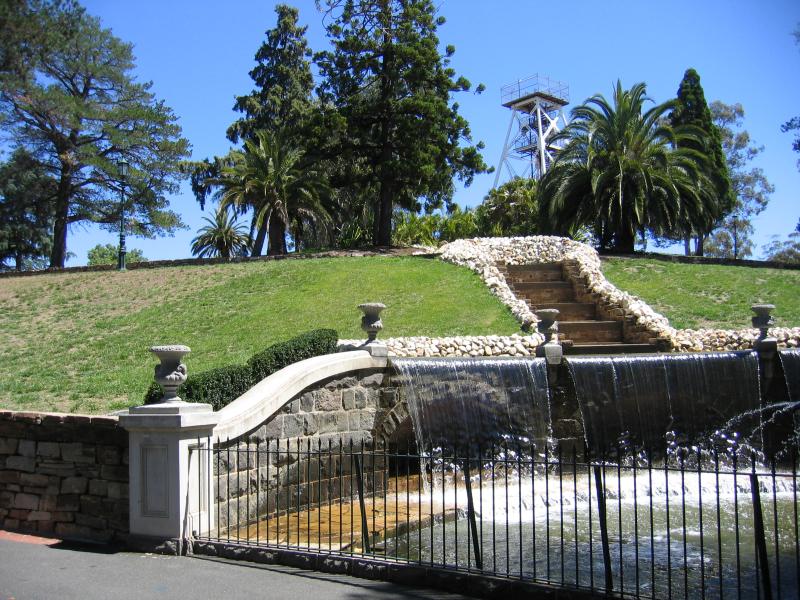
View towards Poppet Head lookout from the Cascades
Cascades near Poppet Head lookout with Visitor Information Centre clock tower in background
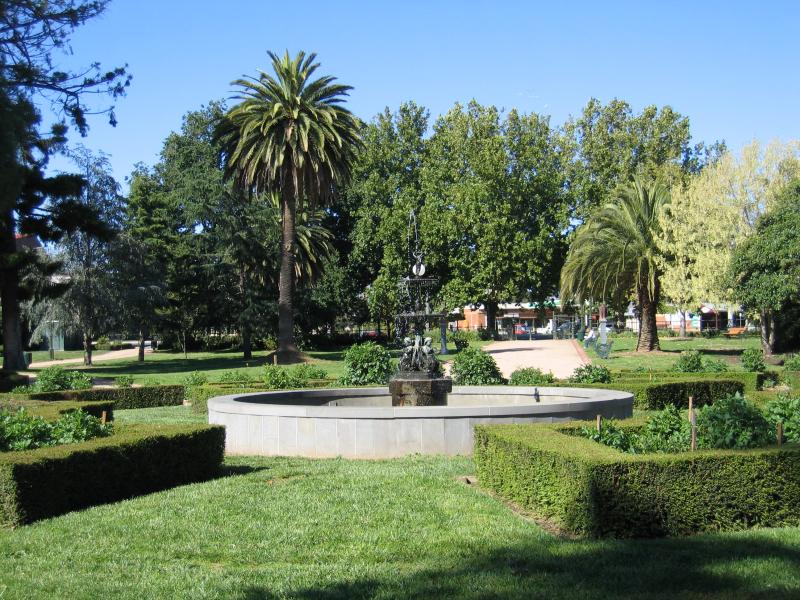
Fountain, with view to Poppet Head
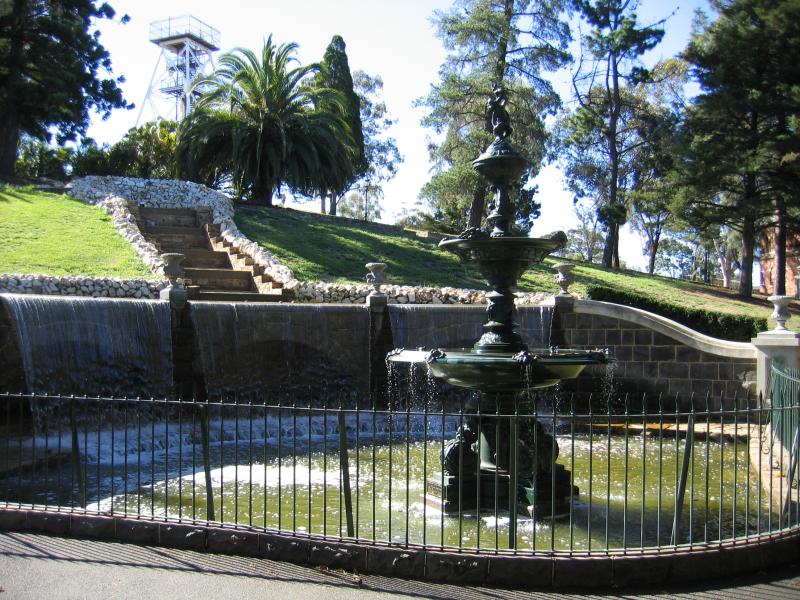
Fountain
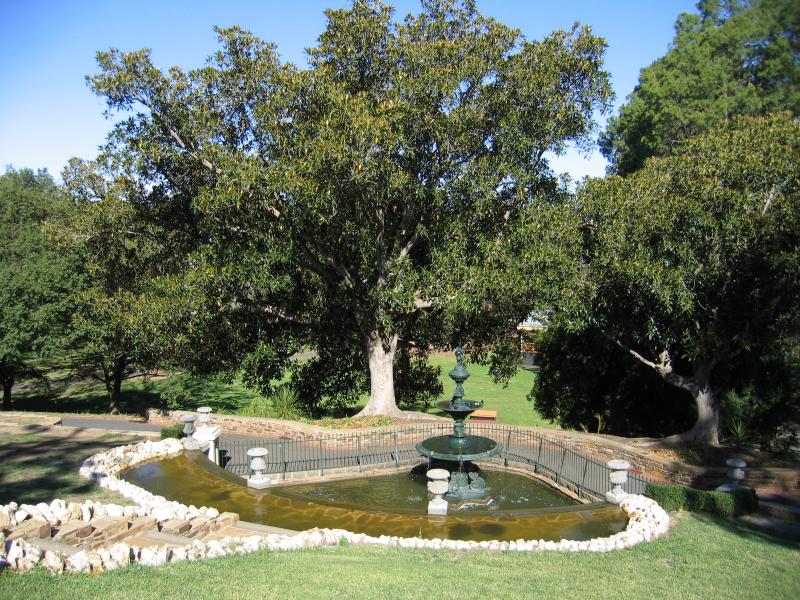
View of fountain from Cascades
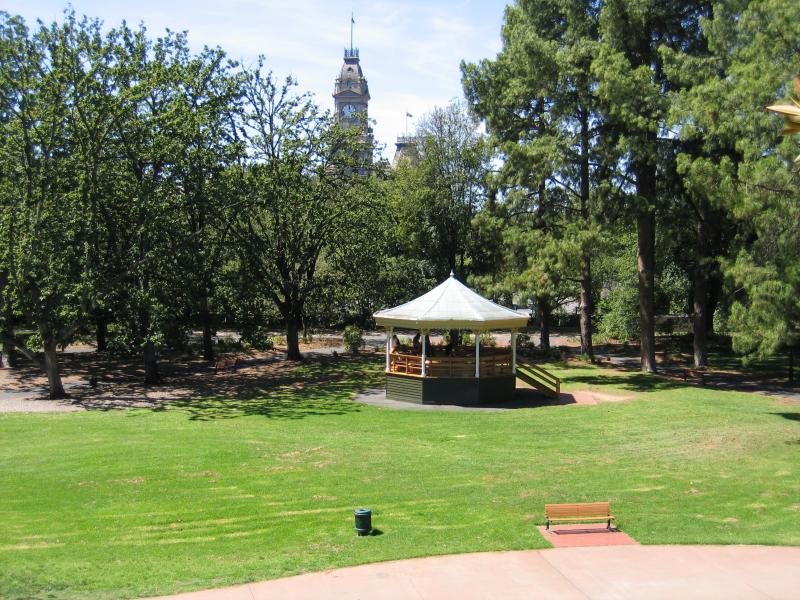
Rotunda
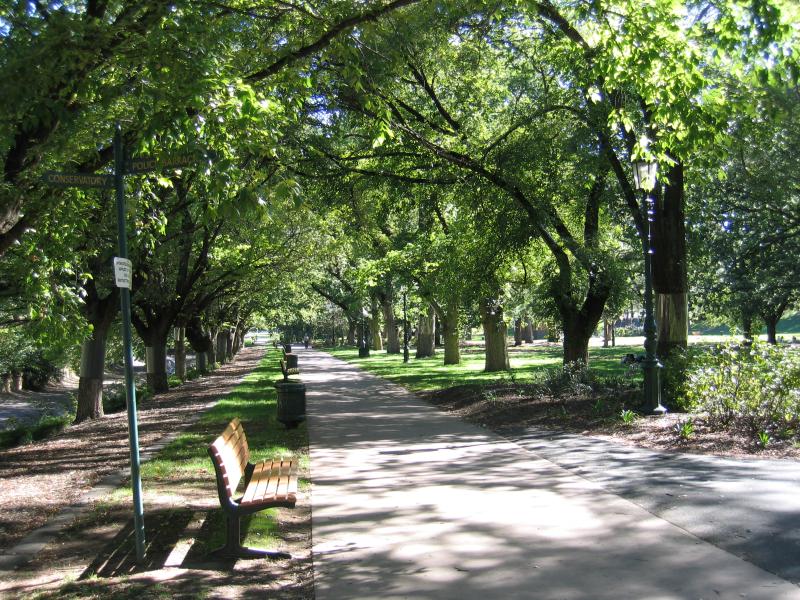
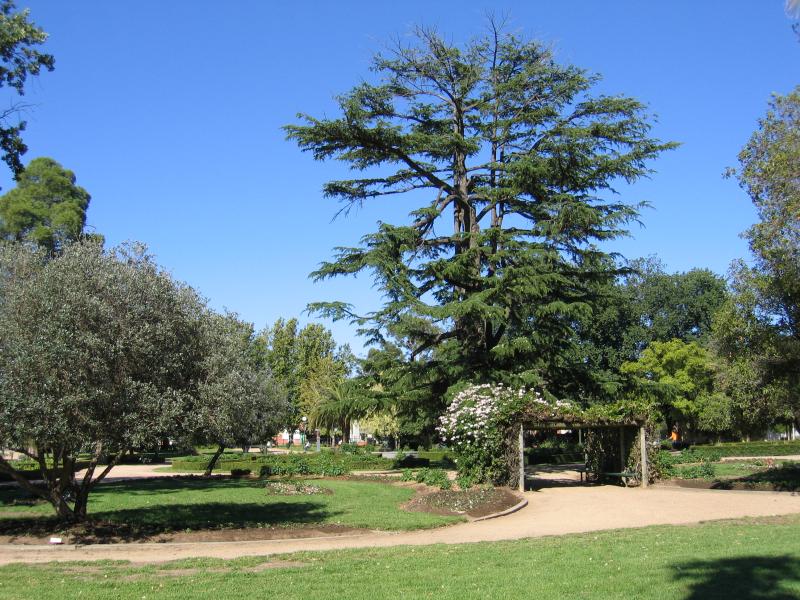
Shady pathway

View towards Camp Hill primary school
View towards Bendigo senior secondary college
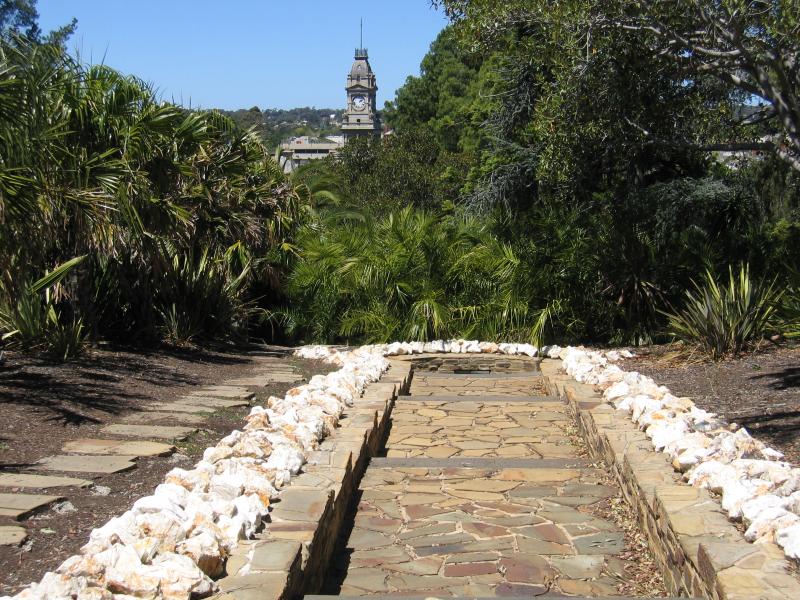
View through Rosalind Park towards Bendigo Creek and View St at Pall Mall

Path near corner of View St and Pall Mall
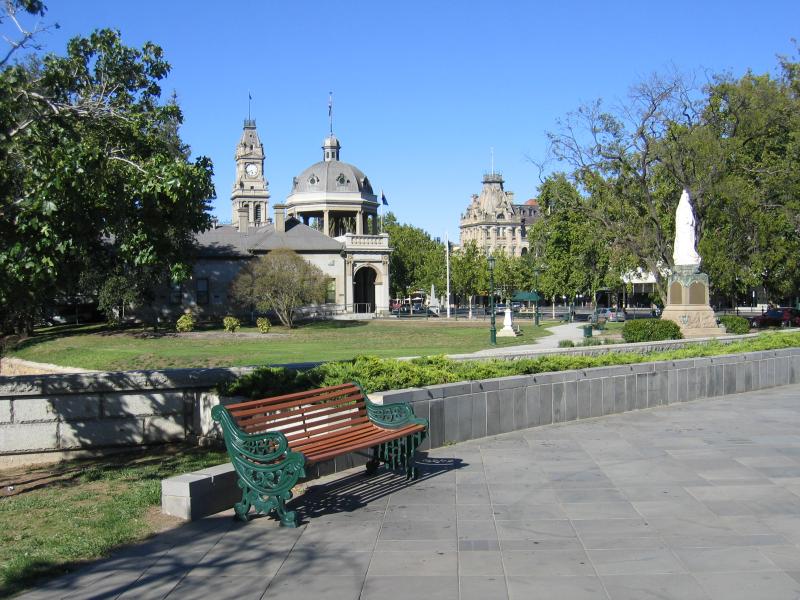
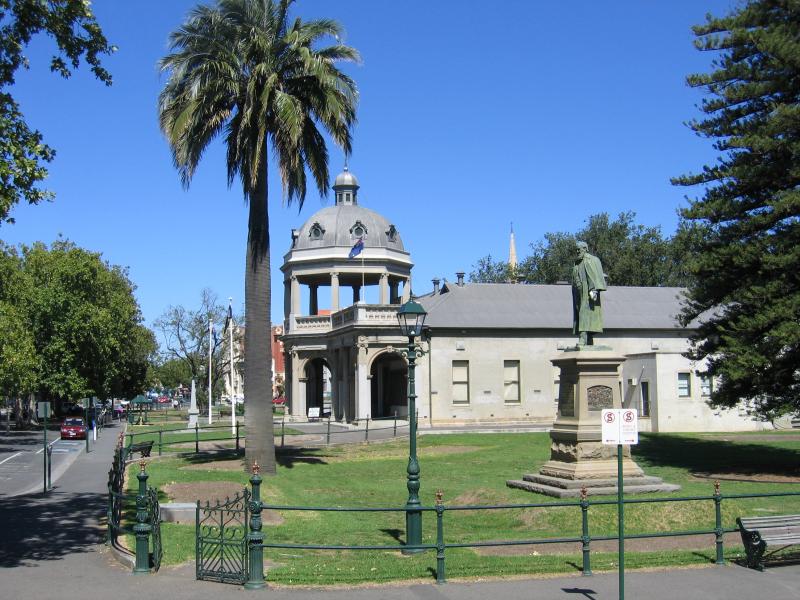
View through Rosalind park near corner of Pall Mall and View St towards R.S.L.
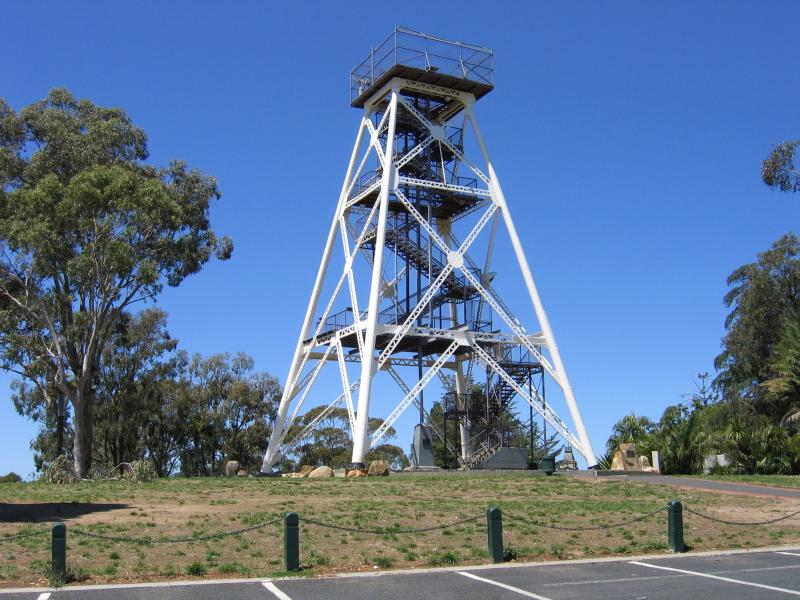
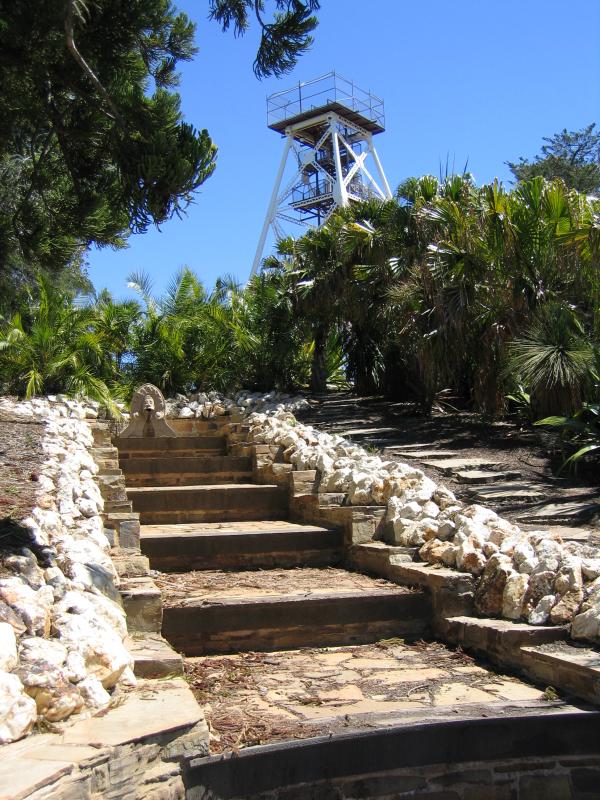
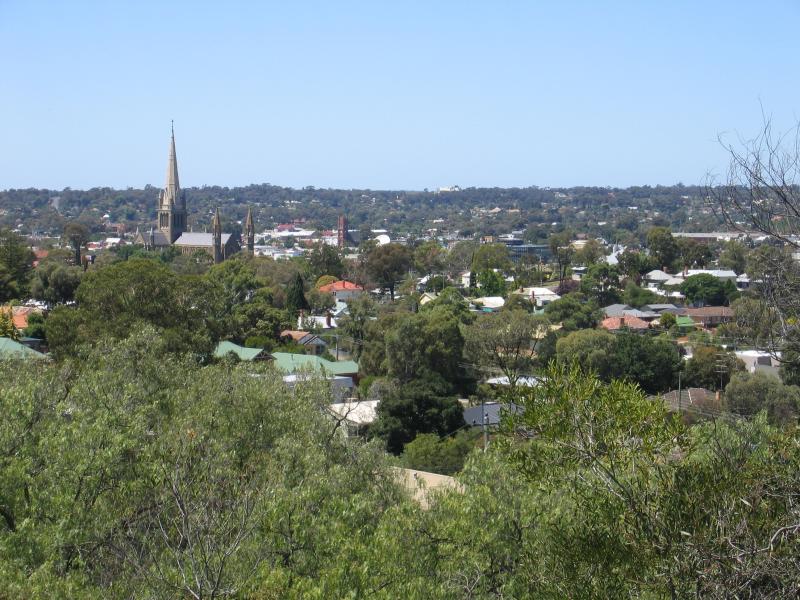
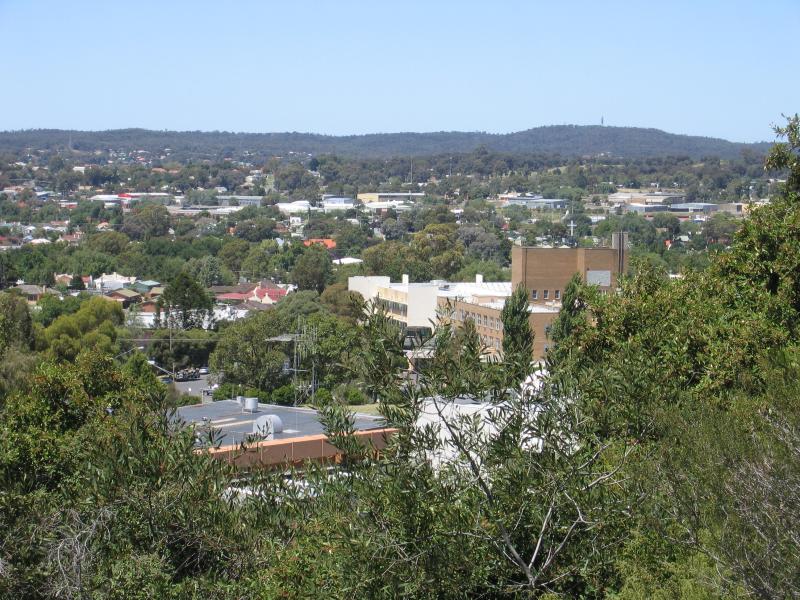
Lookout tower
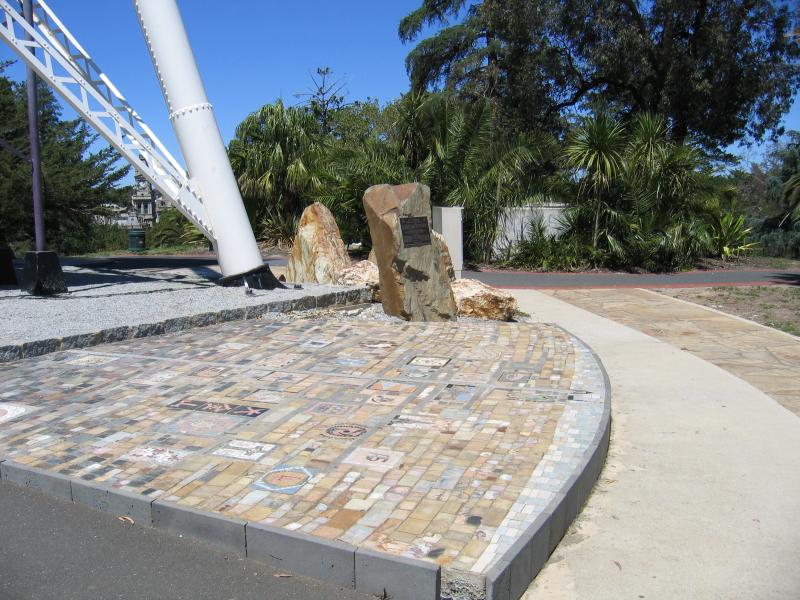
Mosaic at base of lookout tower
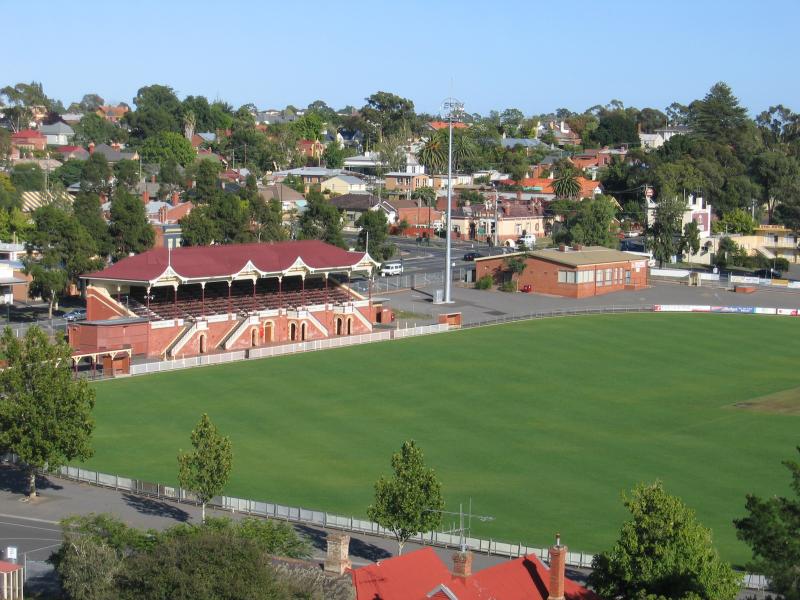
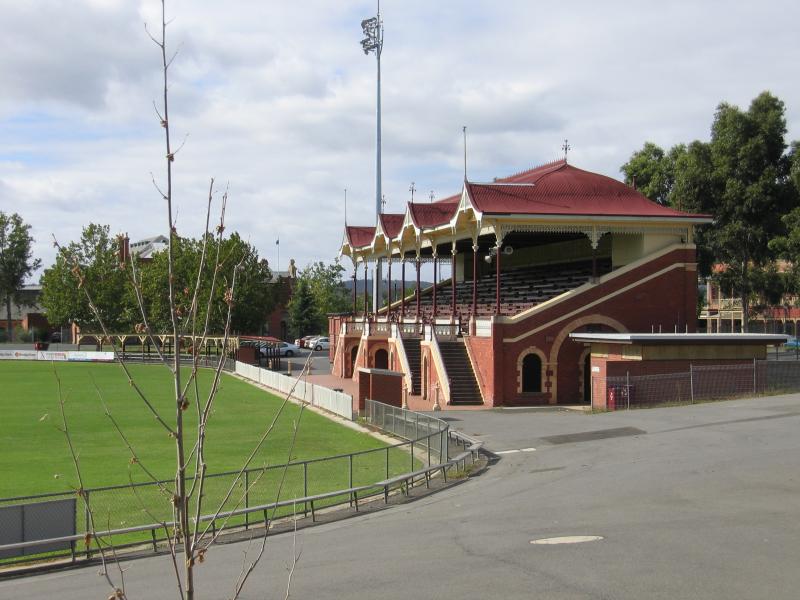
View north-west across Queen Elizabeth Oval
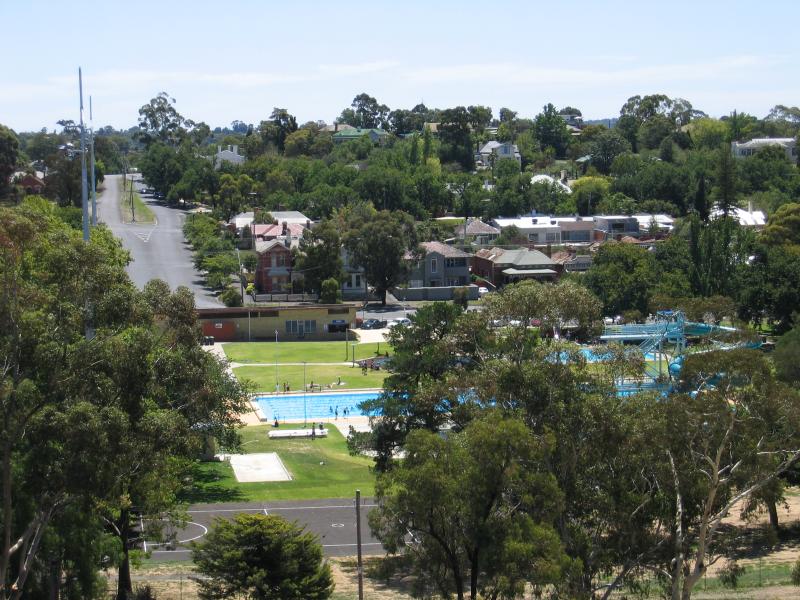
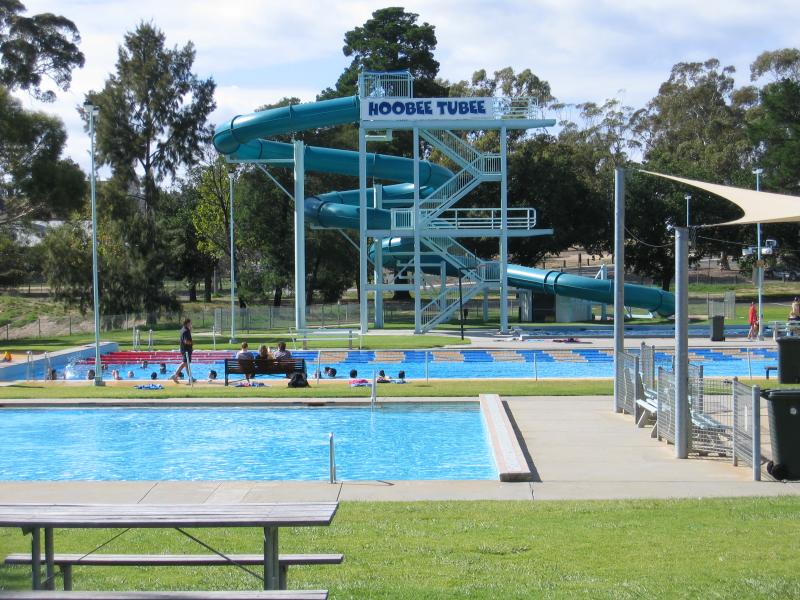
View north towards pool
View north-east towards tennis courts and Tom Flood Sports Centre
View west towards View St
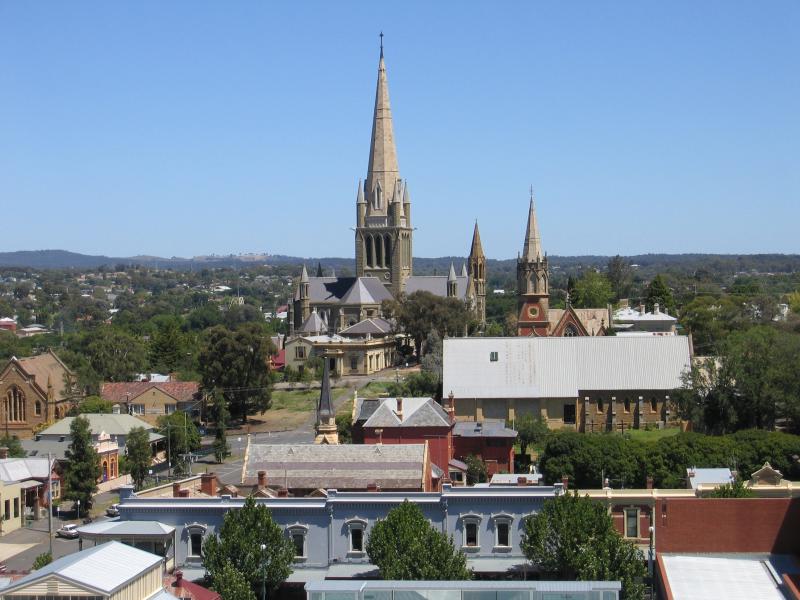
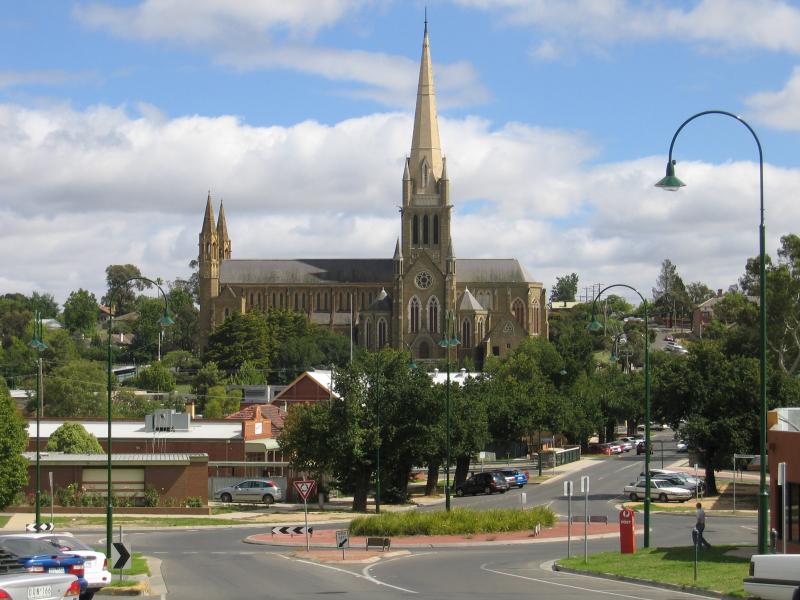
View south-west towards Sacred Heart Cathedral
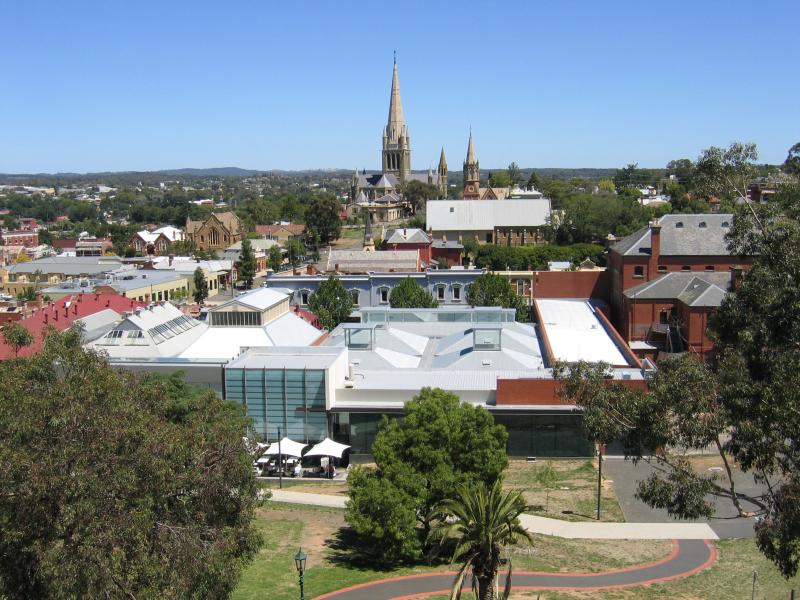
View south-west towards art gallery and Sacred Heart Cathedral
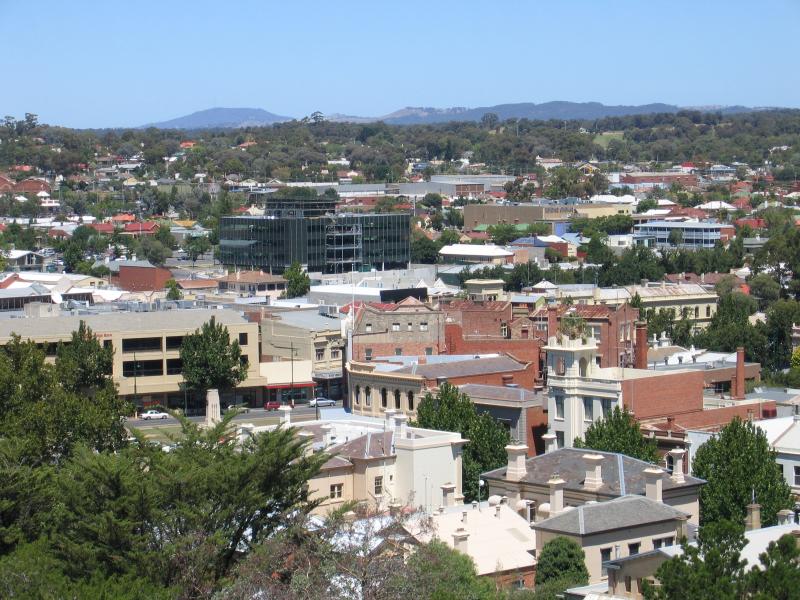
View south towards High St at View St
View south towards Mitchell St at Pall Mall
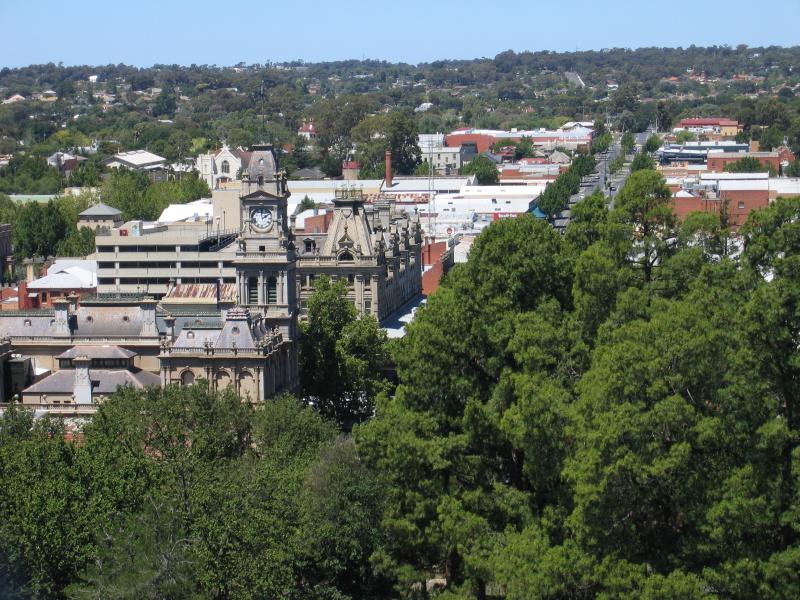
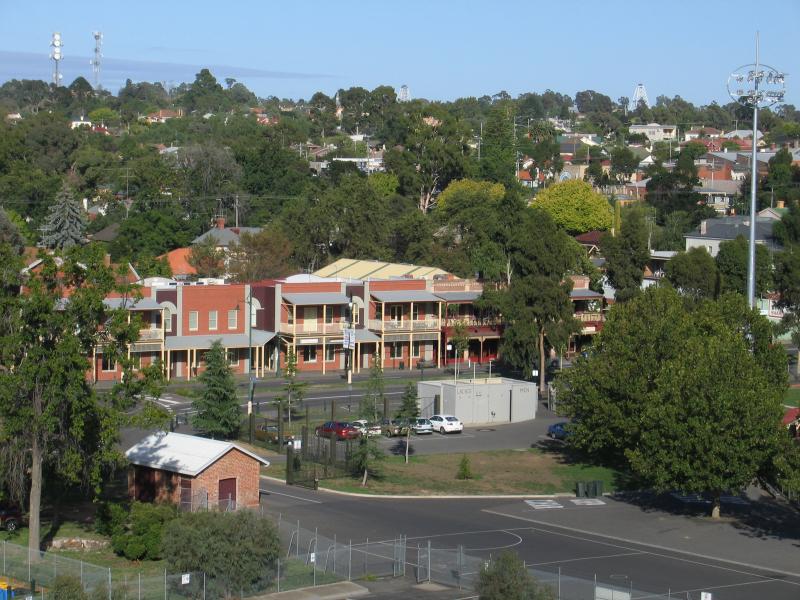
View south-east towards Visitor Information Centre, Shamrock Hotel and along Williamston St
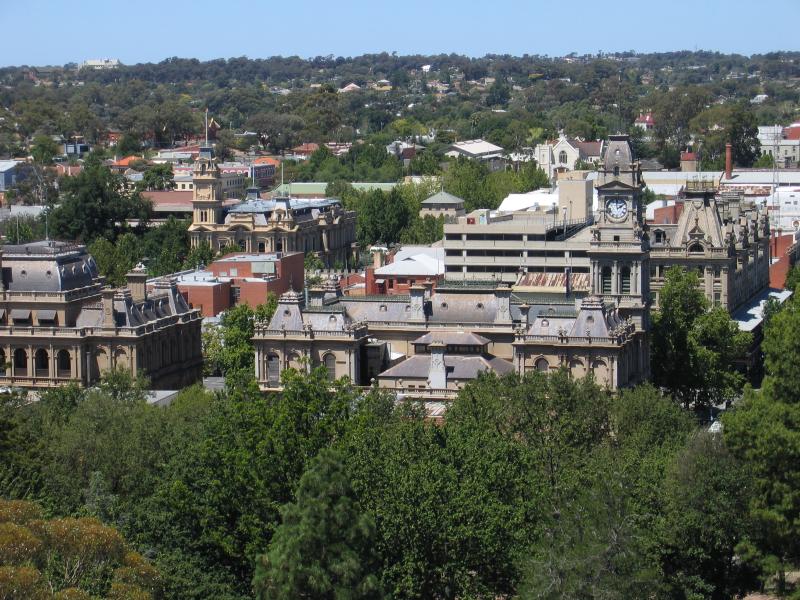
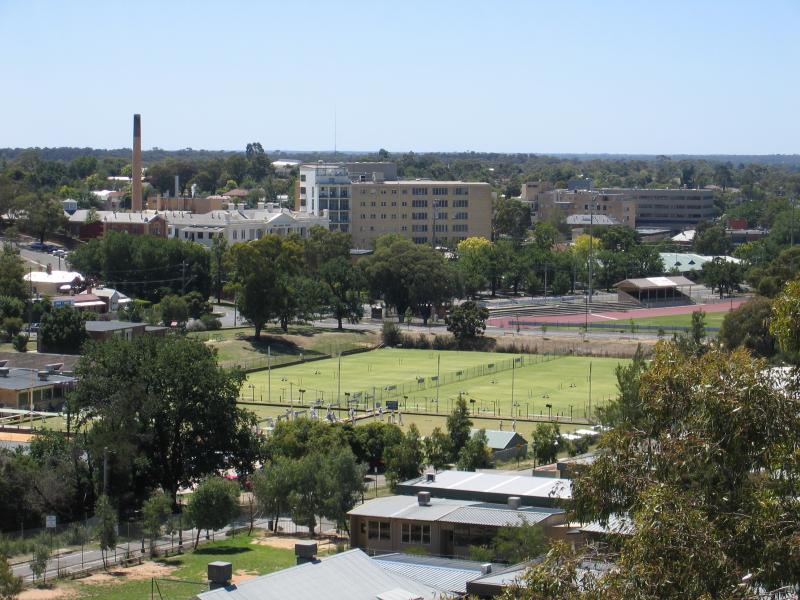
View south-east across Visitor Information Centre, Bendigo Law Courts and town hall
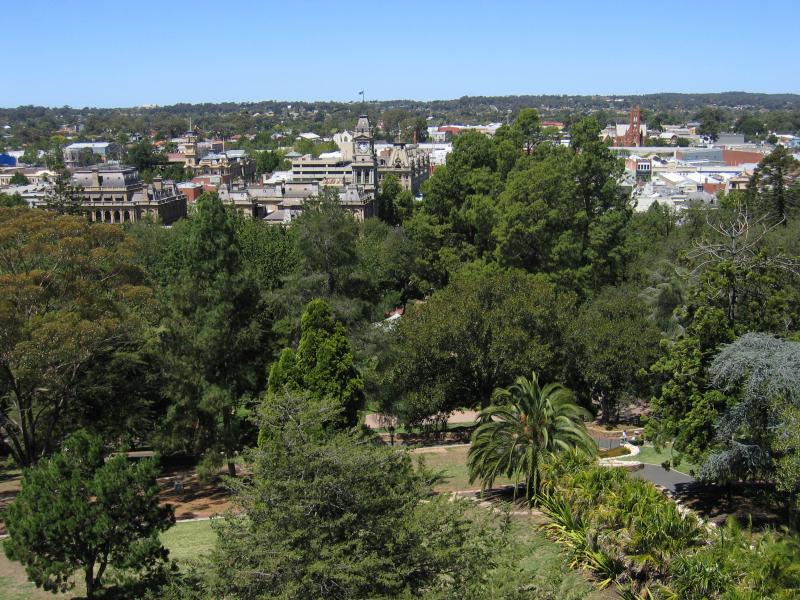
View south-east through Rosalind Park towards Visitor Information Centre
Queen Elizabeth Oval, corner View St and Barnard St
Pool, viewed from Barnard St
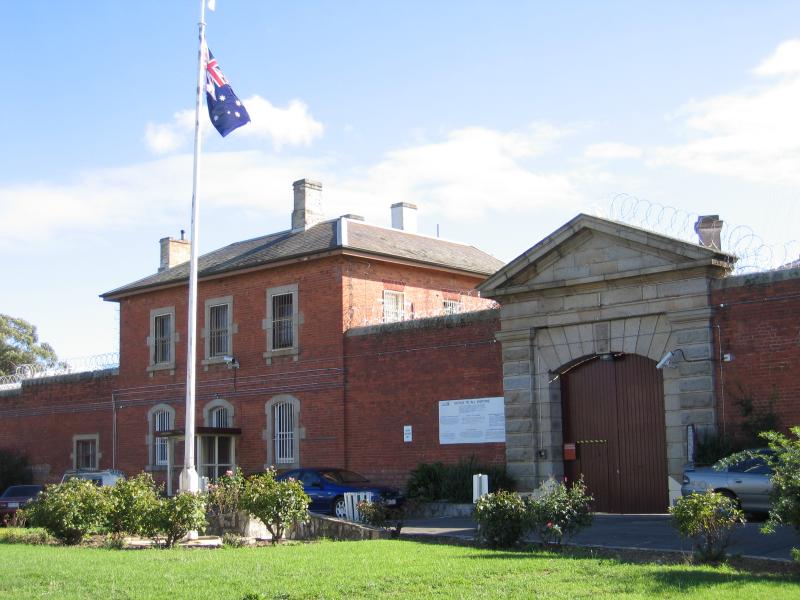
Bendigo Prison, Gaol Rd
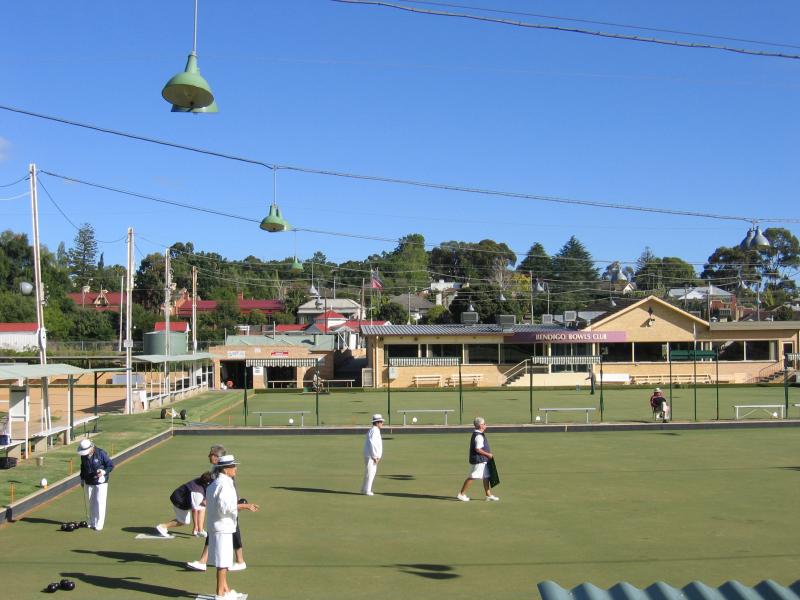
Bendigo Bowls Club, viewed from Gaol Rd

View across tennis courts from Barnard St
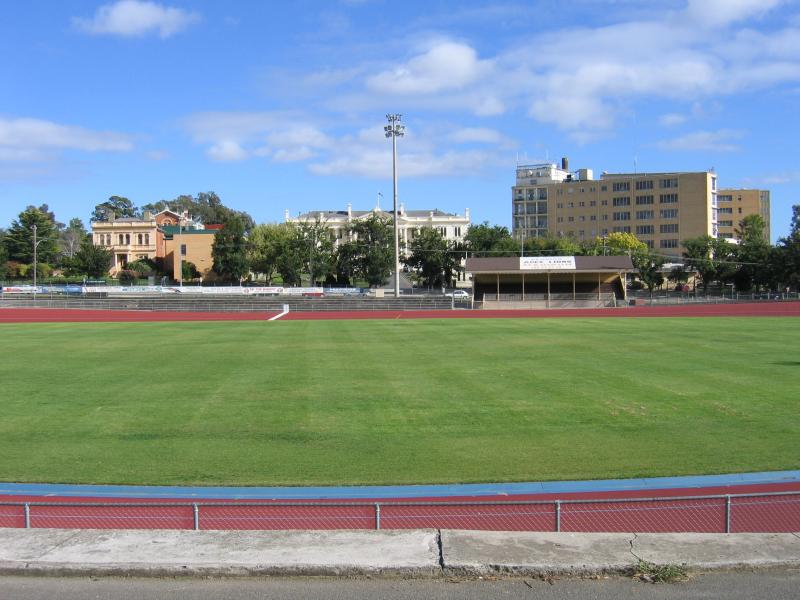
Tom Flood Sports Centre oval
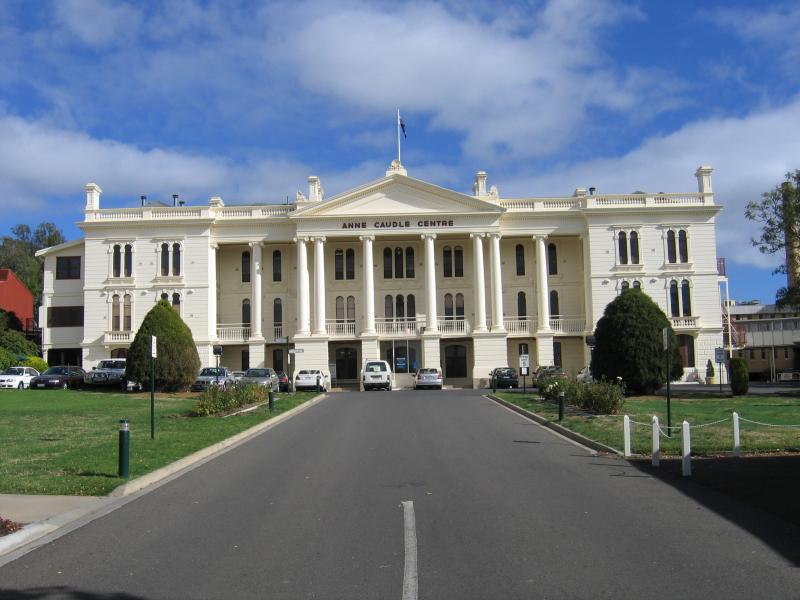
Anne Caudle Centre, Barnard St
View south-east along View St towards Rowan St
View north-west along View St towards Rowan St
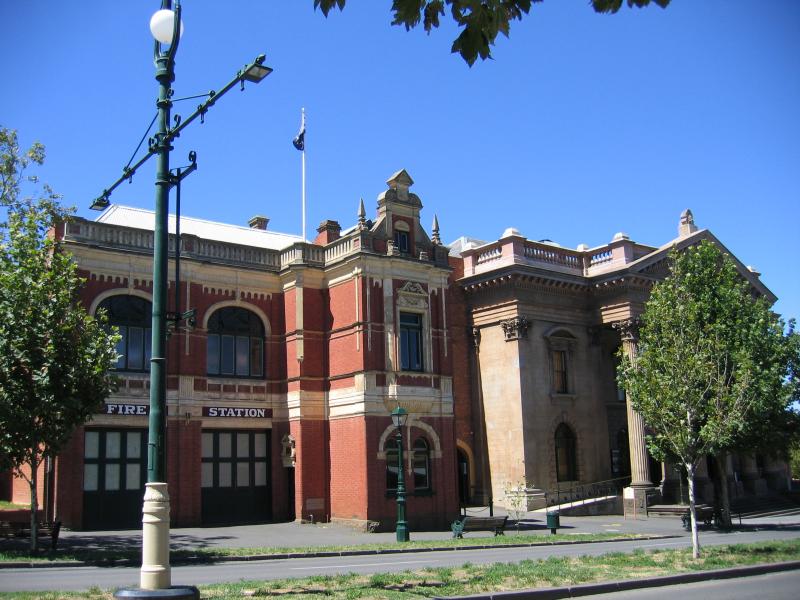
Fire station and Art Centre

Art Centre and Bendigo Art Gallery
Bendigo Art Gallery
View south-east along View St towards MacKenzie St
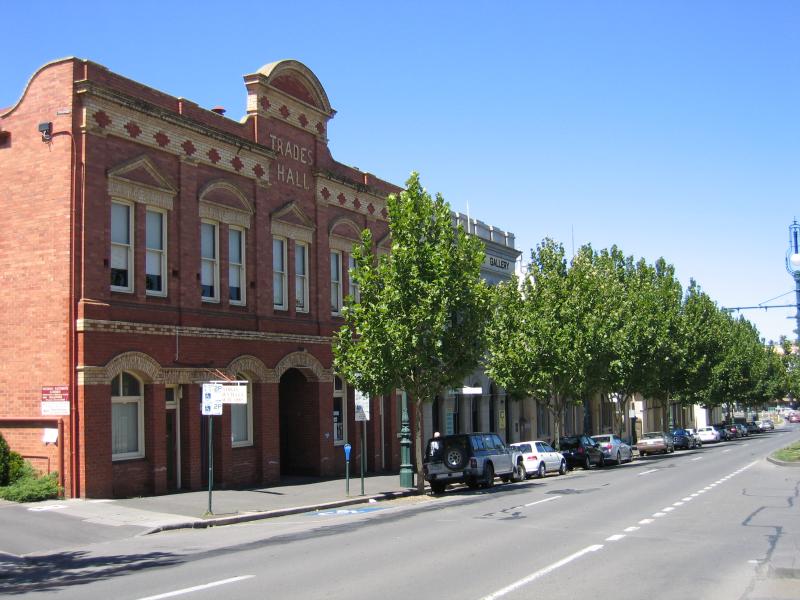
Trades Hall and Penfolds Fine Art Gallery, View St at MacKenzie St
View south-east along View St towards Pall Mall and Mitchell St
View north-west along View St at Pall Mall
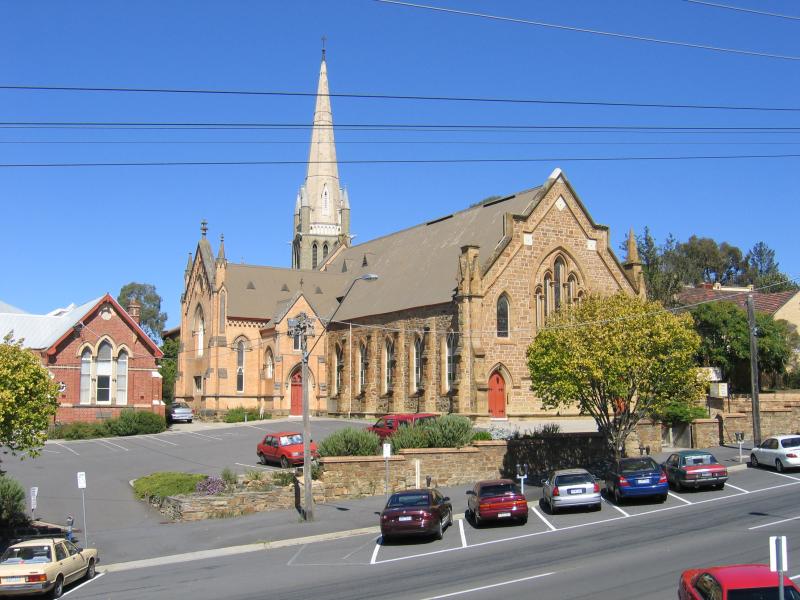
Uniting Church between MacKenzie St and High St
St Johns Presbyterian Church, corner Forest St and Mackenzie St
View south-west along High St at Violet St
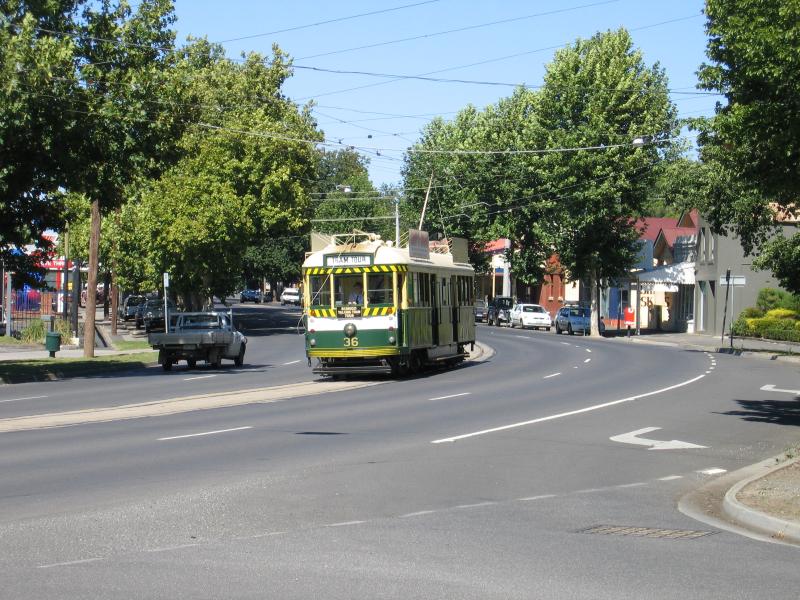
Tram, view south-west along High St at Wattle St
View north-east along High St towards Short St
City Family Hotel, view south-west along High St towards Forest St
War memorial, view south-west along High St between View St and Forest St
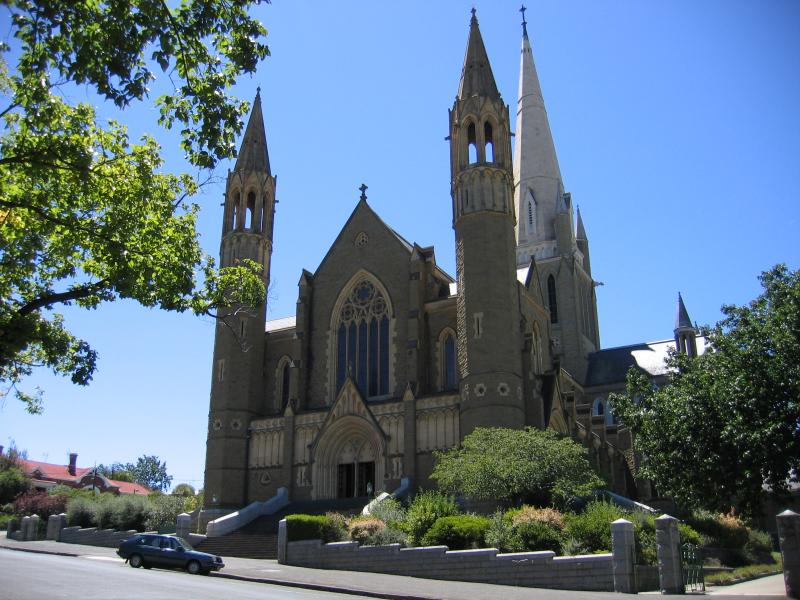
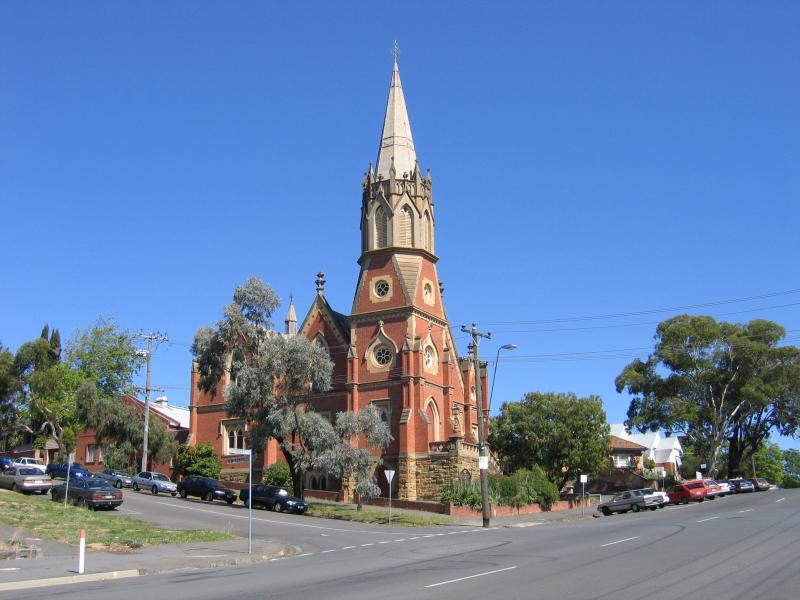
View of cathedral from Wattle St
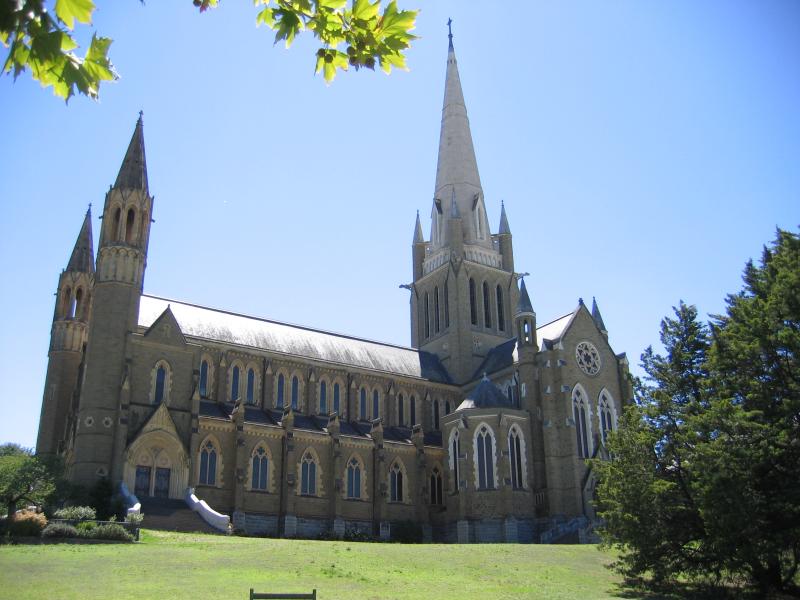
View of cathedral from High St
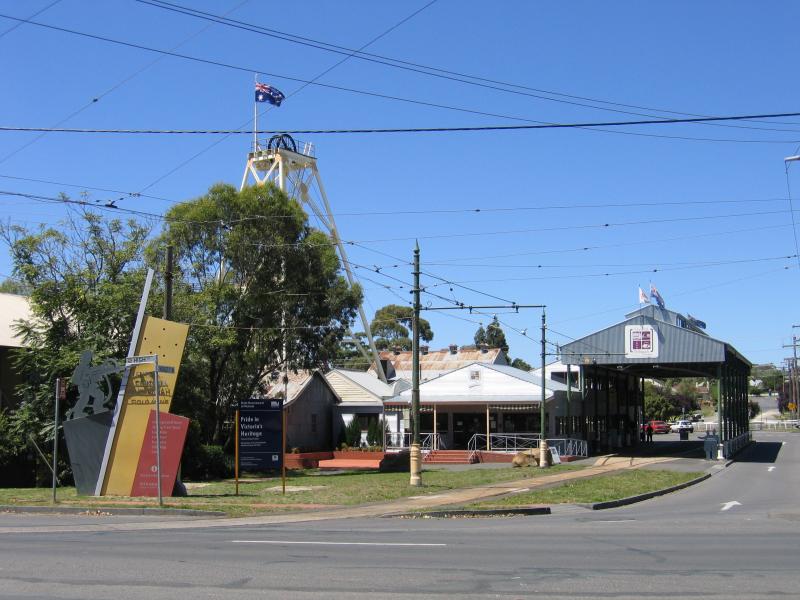
Entrance to Central Deborah, High St at Violet St
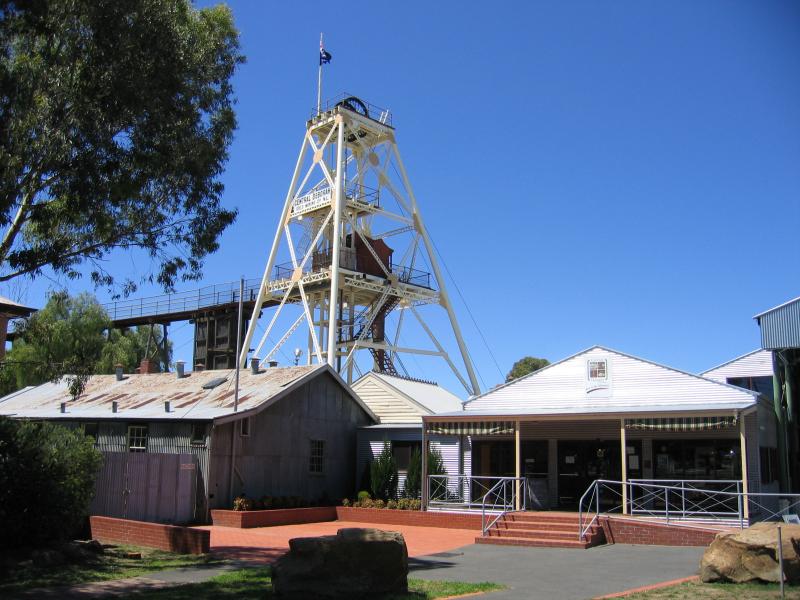
Gold mine complex
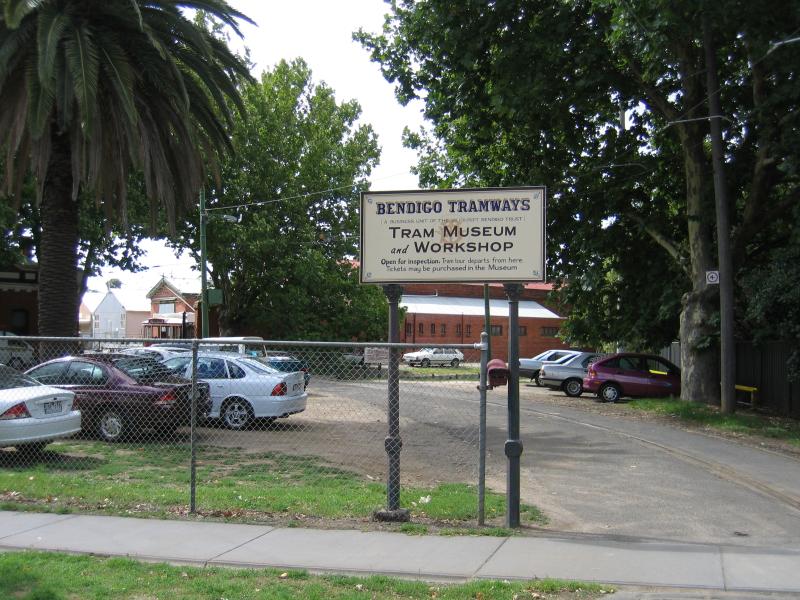
Entrance to tram museum
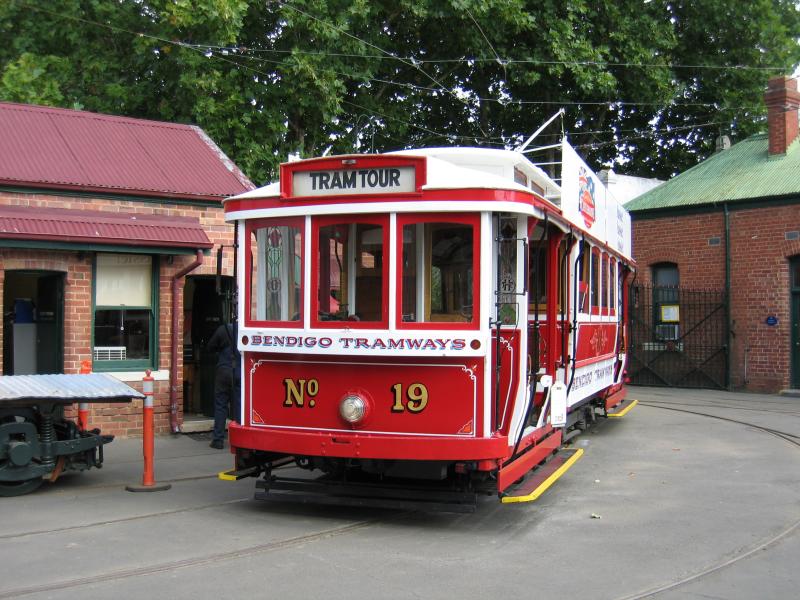
One of the trams on tour
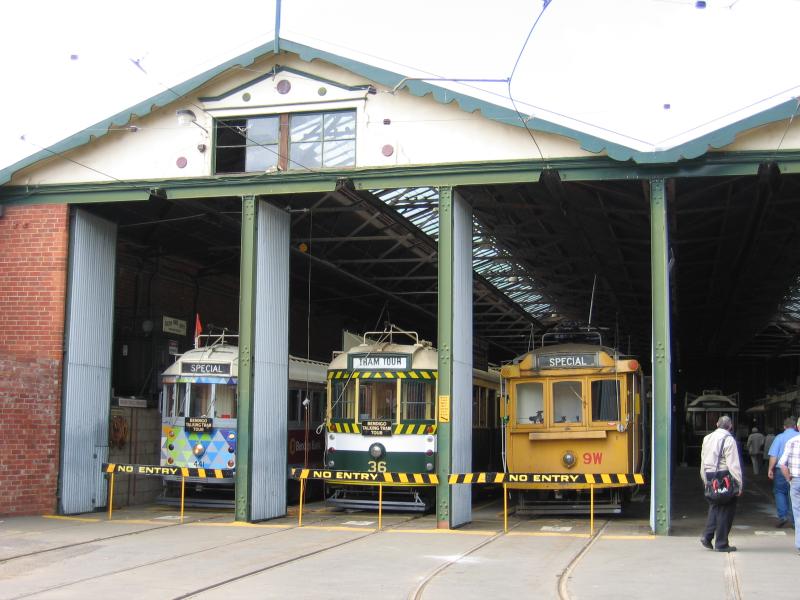
Workshop
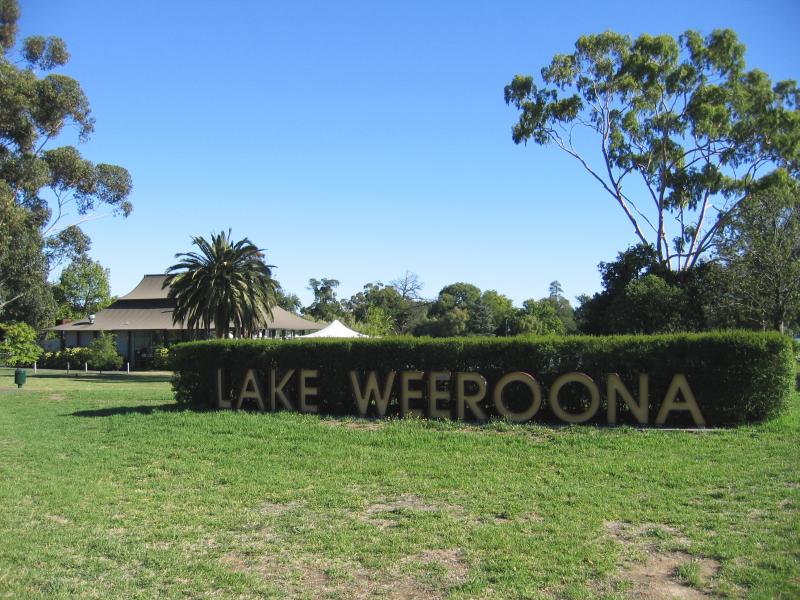
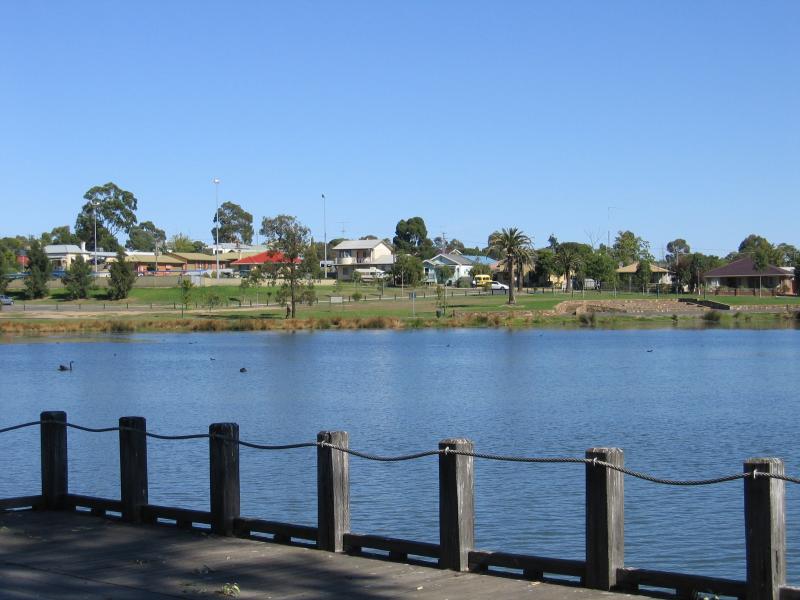
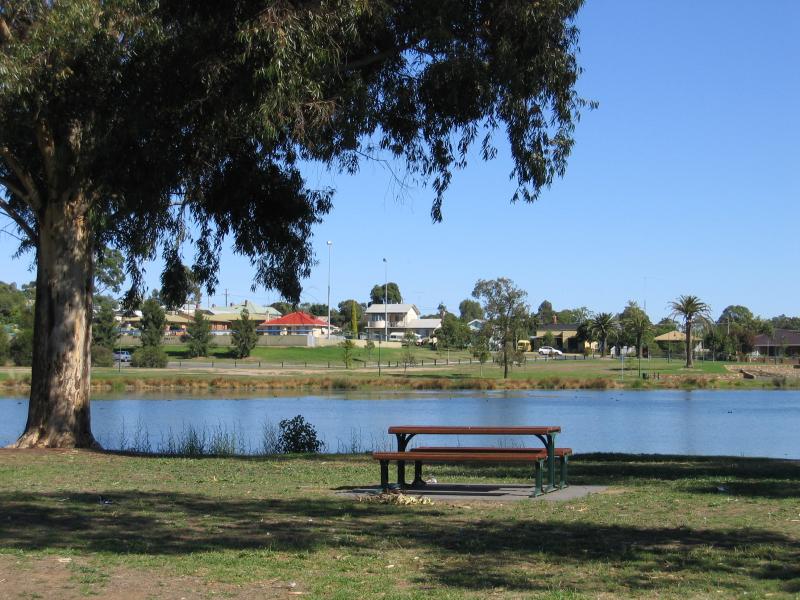
Lake Weeroona sign, corner Napier St and Nolan St
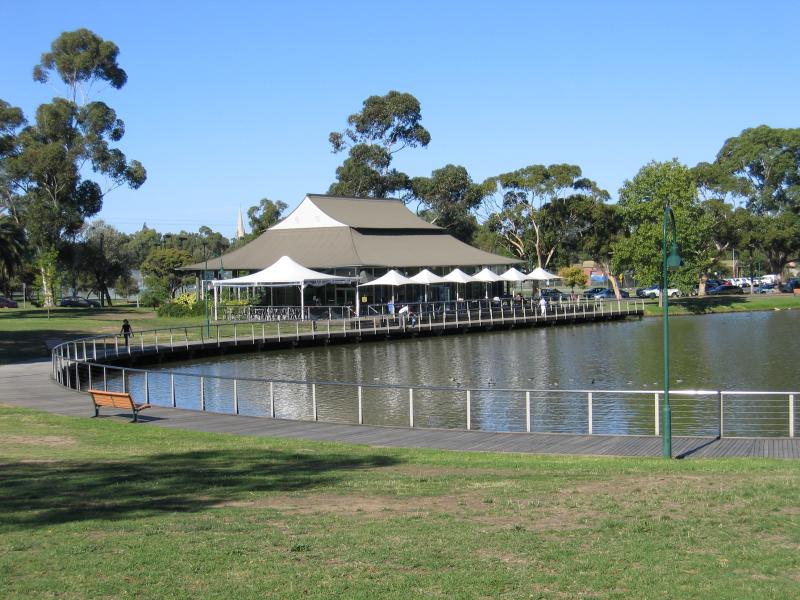
Boardwalk Cafe, near Nolan St
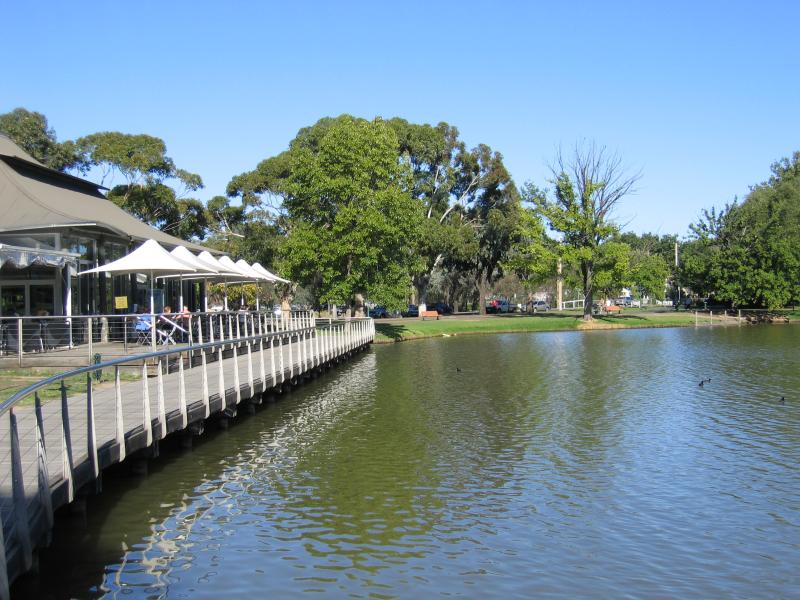
Boardwalk Cafe
View along lake near Boardwalk Cafe
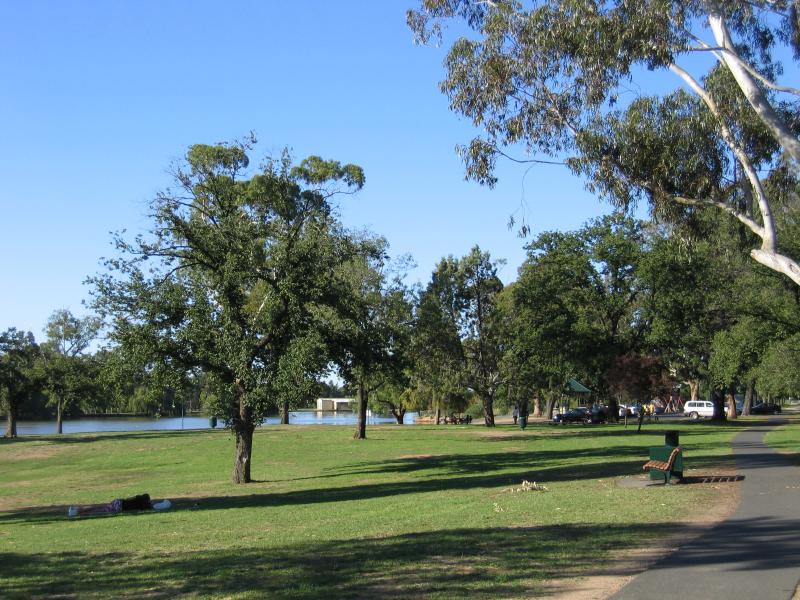
View through parkland beside lake along Napier St
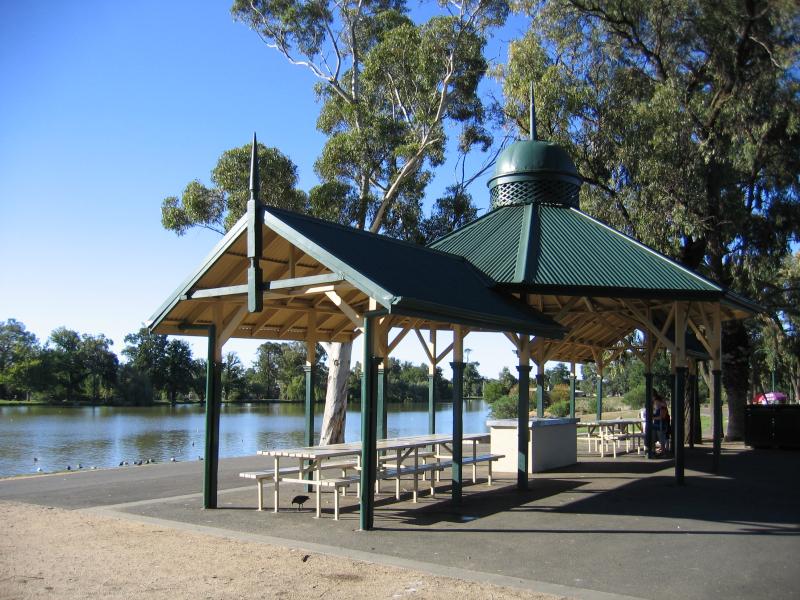
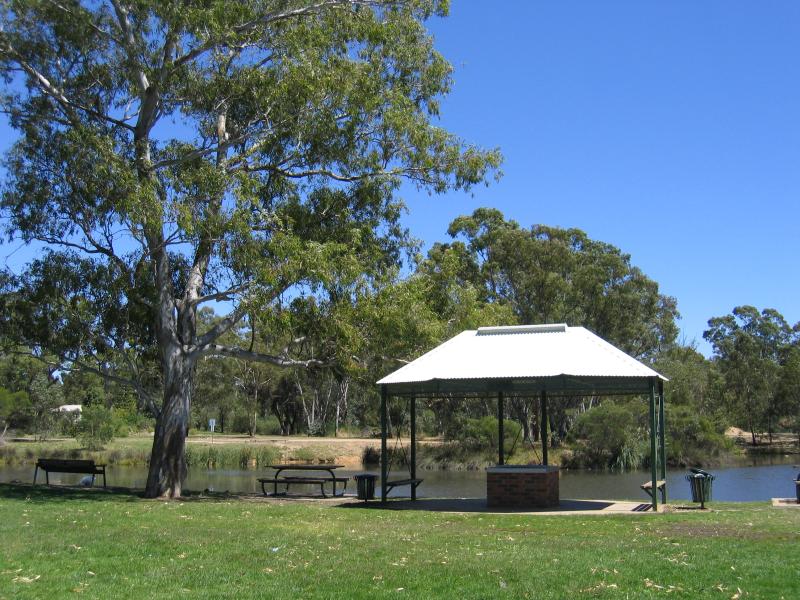
BBQ and picnic shelter, along Napier St
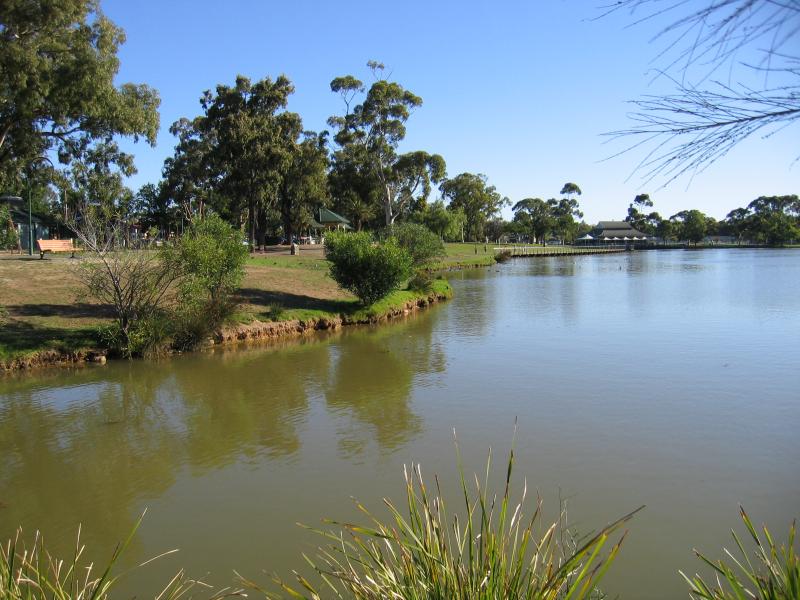
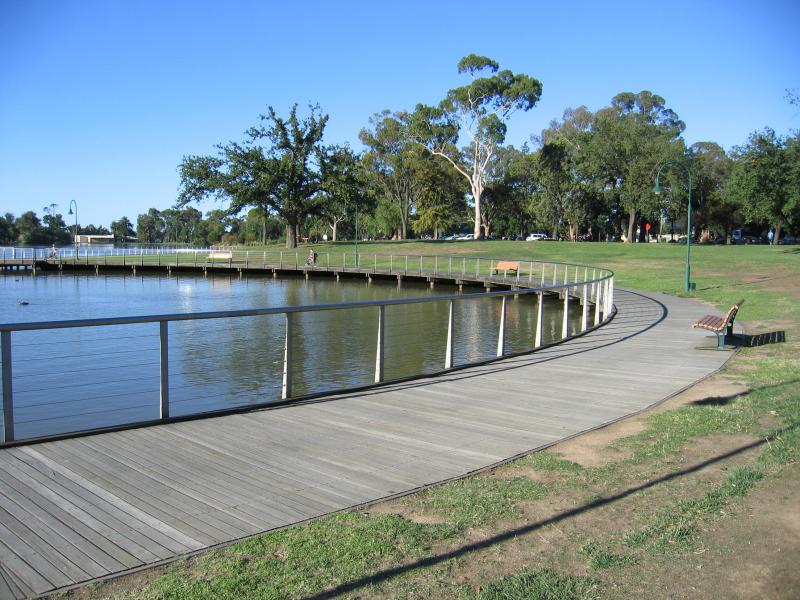
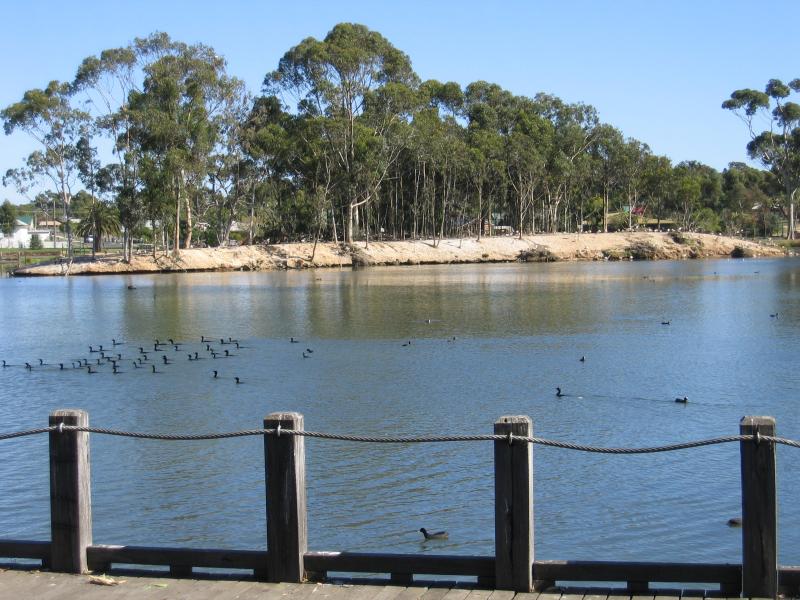
View south-west along lake near railway line
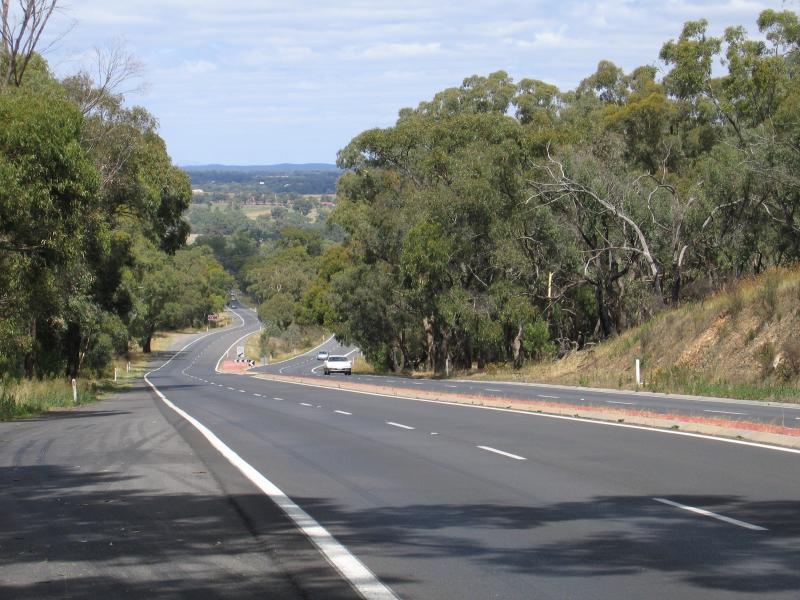
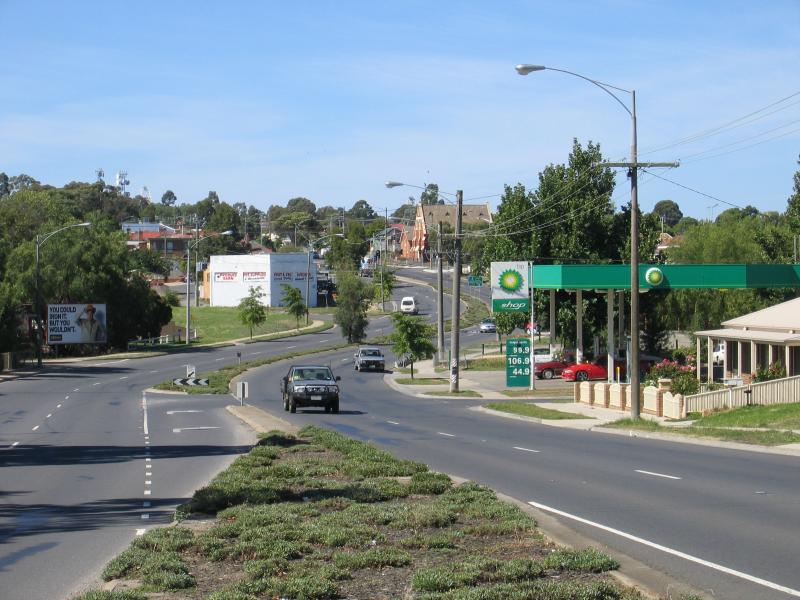
View south along Calder Highway, around Big Hill
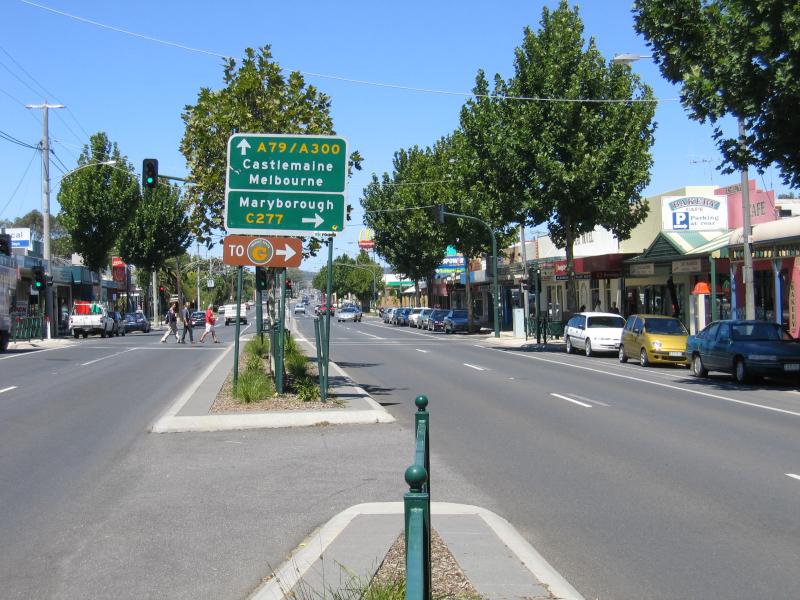
View north along Calder Highway, south of Phillis St
View south along Calder Highway towards Lauren Ct
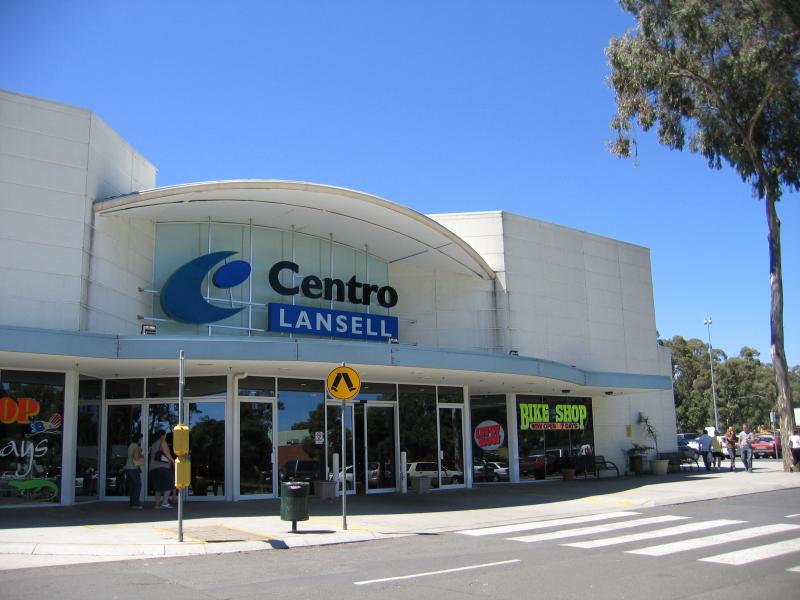
Centro Lansell Shopping Centre, Calder Highway
View south along High St between Station St and Camp St
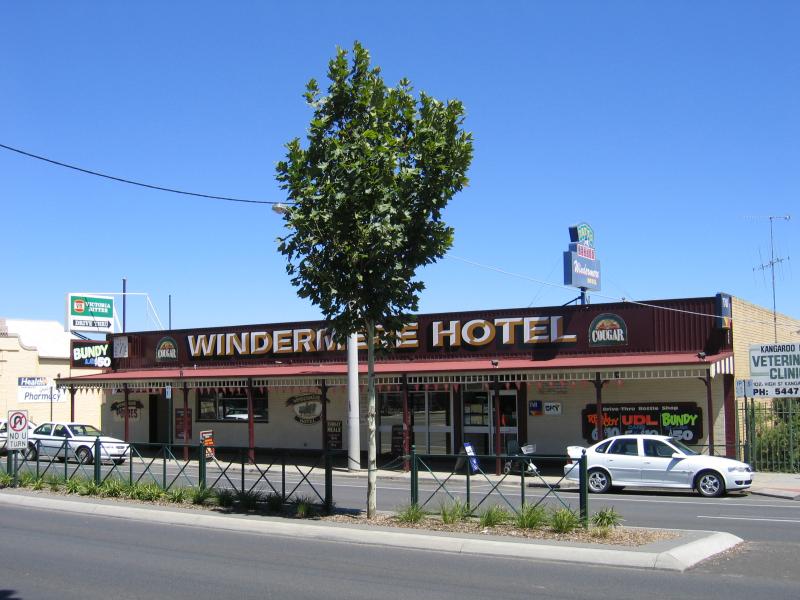
Windermere Hotel, High St
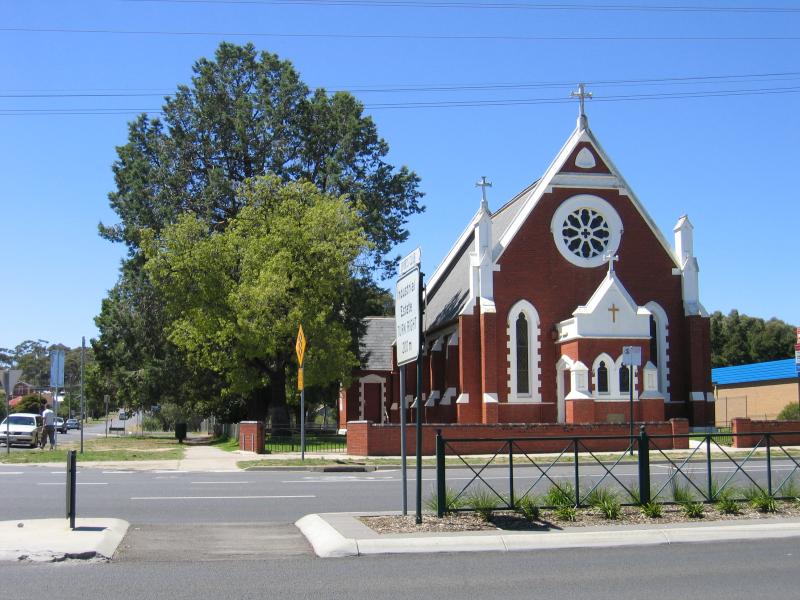
Catholic Church, corner High St and Station St
Rotary Gateway Park, High St
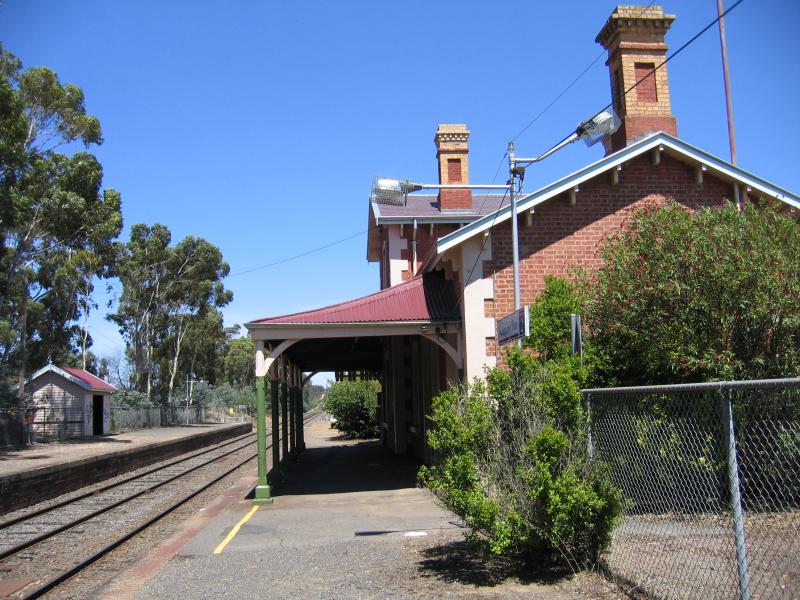
Kangaroo Flat railway station
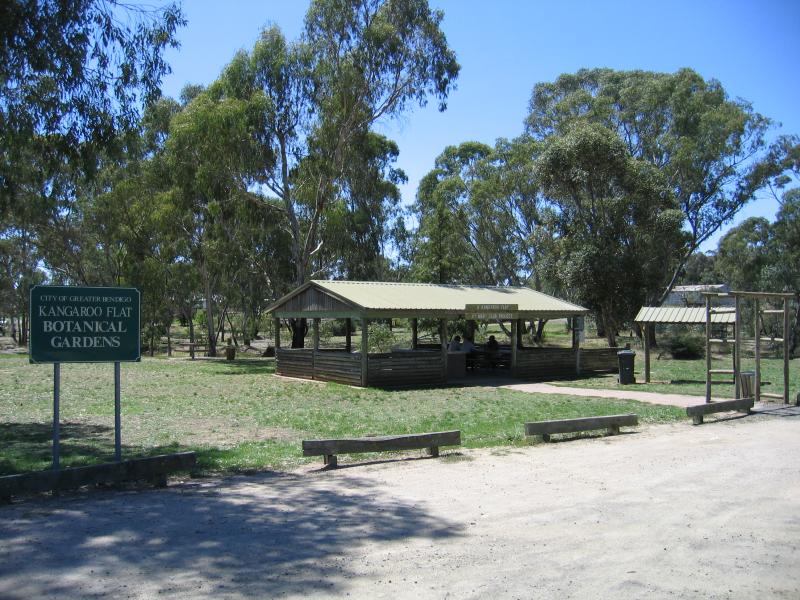
Botanical Gardens, end of Camp St
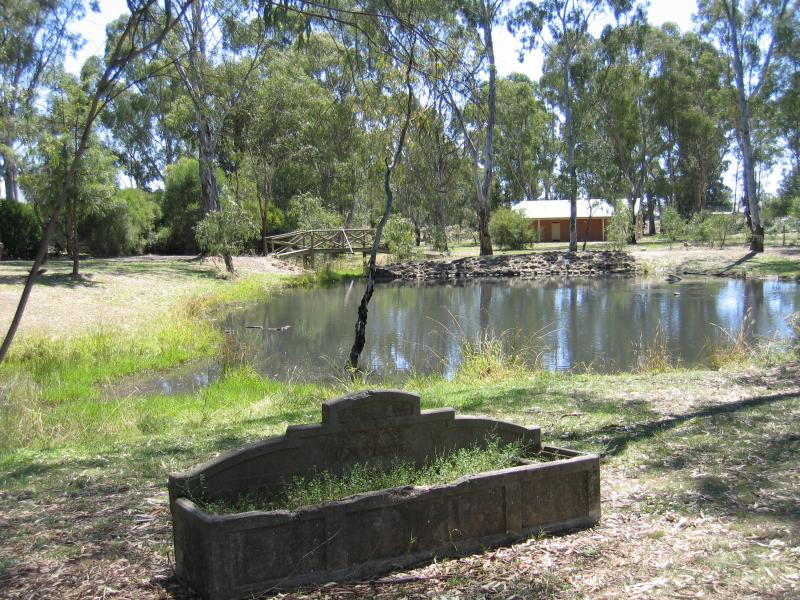
Lake at Botanical Gardens
View south-west along High St towards Laurel St
View west along Eaglehawk Rd towards Marong Rd
View south-east from lookout, Pethard Pl
View south from lookout, Pethard Pl
View south along Eaglehawk Rd from Jackson St
View south along Eaglehawk Rd towards Speedy St

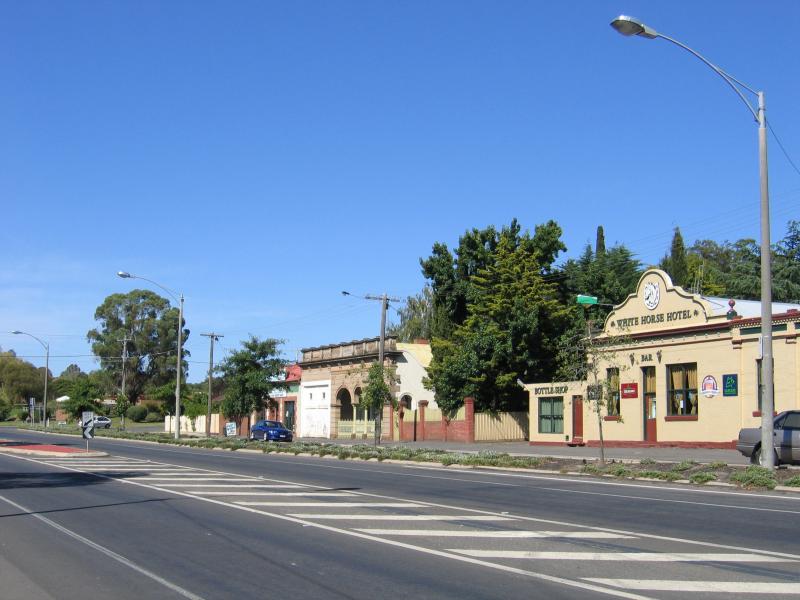
View north-west along High St towards Church St
View Victoria Hotel, corner High St and Victoria St
View north-west along High St towards Napier St
View north-west along High St towards junction of Peg Leg Rd and Sailors Gully Rd with town hall in background
Town Hall, corner of Peg Leg Rd and Sailors Gully Rd
Town Hall, viewed from Sailors Gully Rd
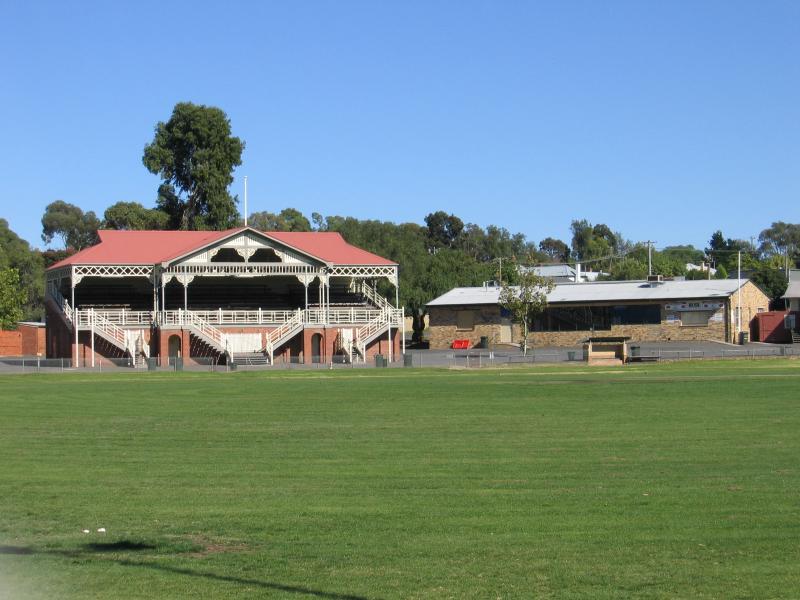
Ten Oval, Canterbury Park
Neangar Gardens, near High St
Neangar Gardens, near High St
Lake Neangar
Lake Neangar
Lake Neangar

Shops, south-west along Midland Highway towards Plumridge St
Entrance to White Hills Botanical Gardens, Midland Highway between Napoleon Cr and Scott St
White Hills Botanical Gardens
Car park
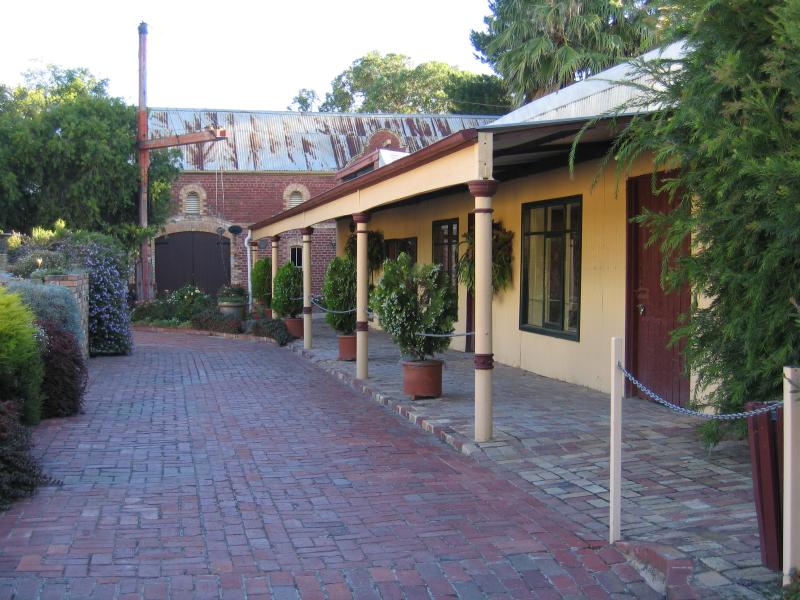
Around pottery complex
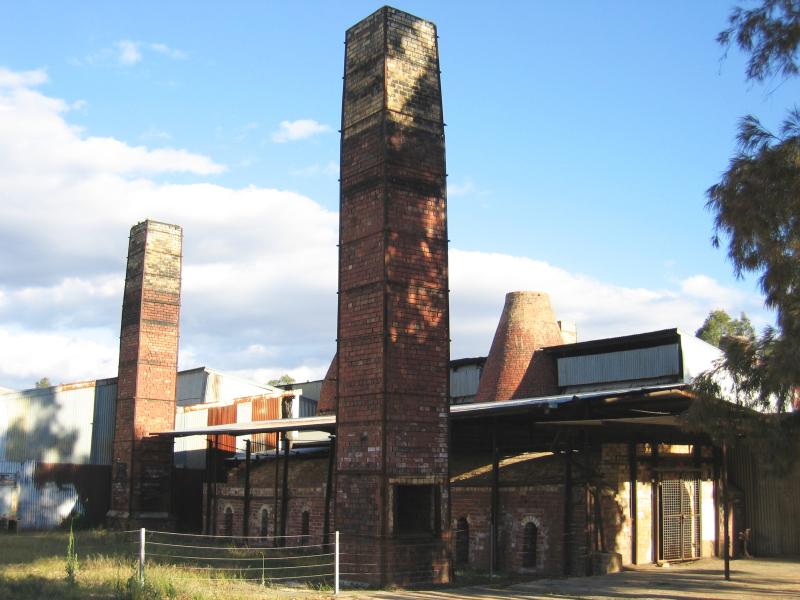
Kilns and chimneys
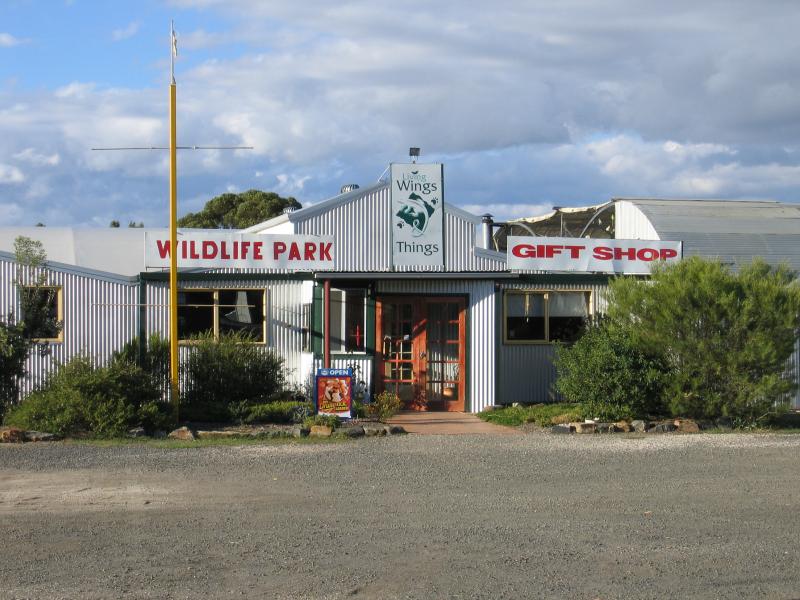
Living Wings and Things Wildlife Park
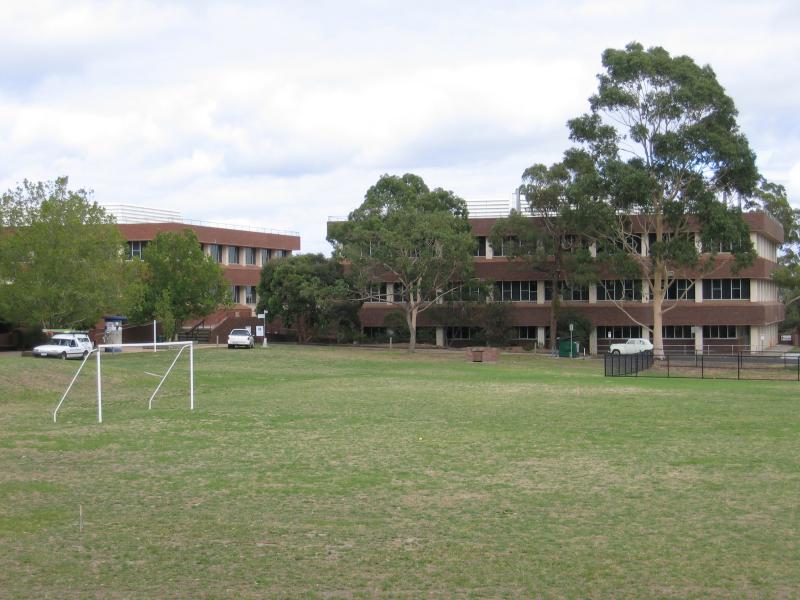
Oval
Arts building

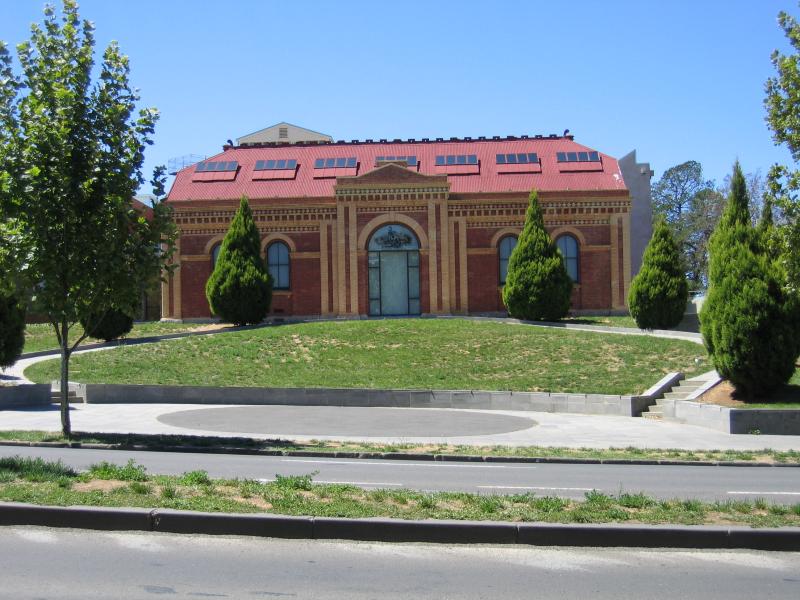
Waterfall at library
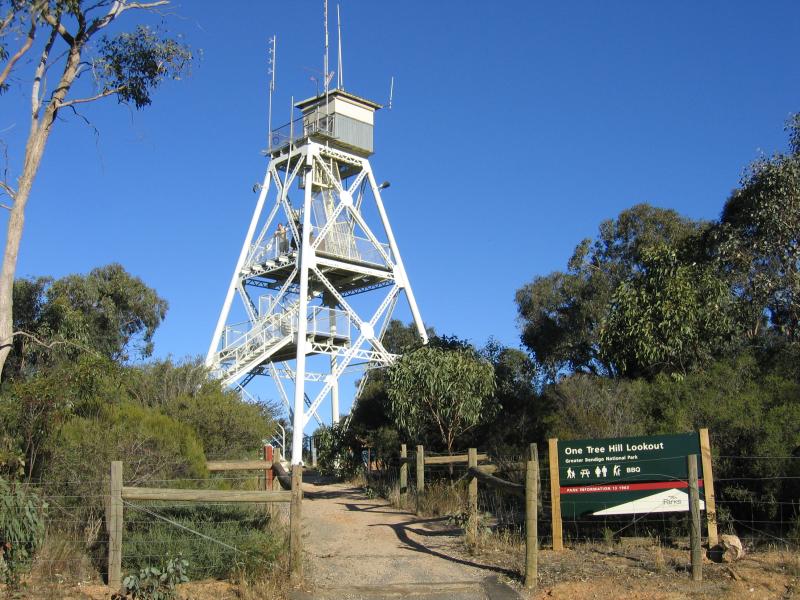
Lookout tower
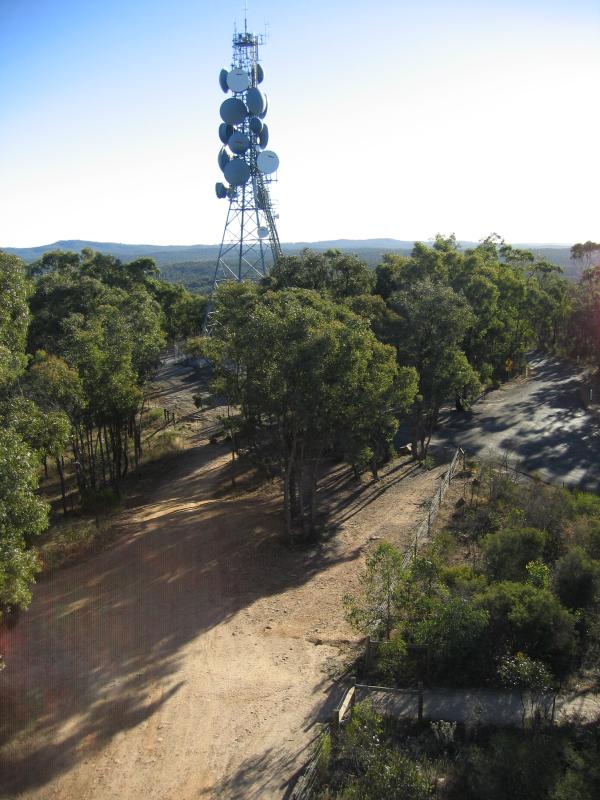
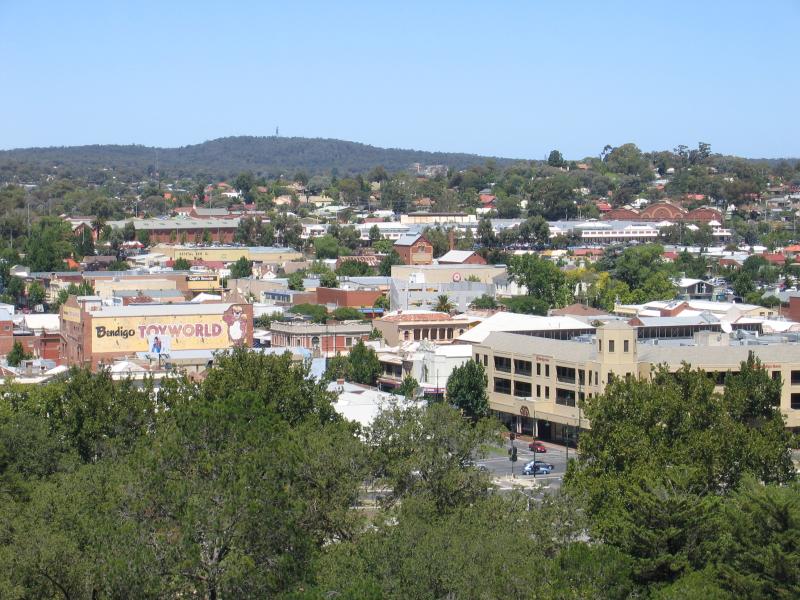
View from lookout down to One Tree Hill Rd and communications tower
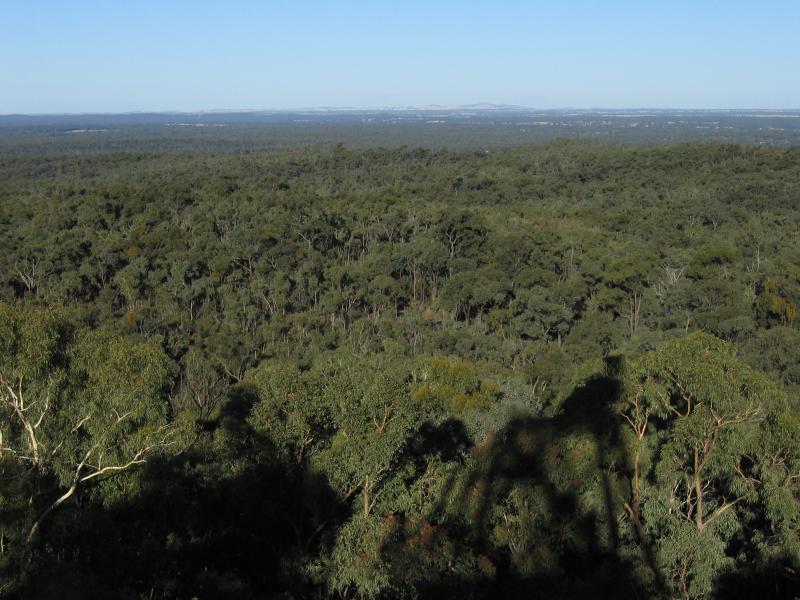
View across One Tree Hill Regional Park