Richmond - photos
Richmond
Stay
See and do
Food and drink
Shopping
Getting around
Visitor information
View east along Bridge Rd from Hoddle St at Wellington Pde

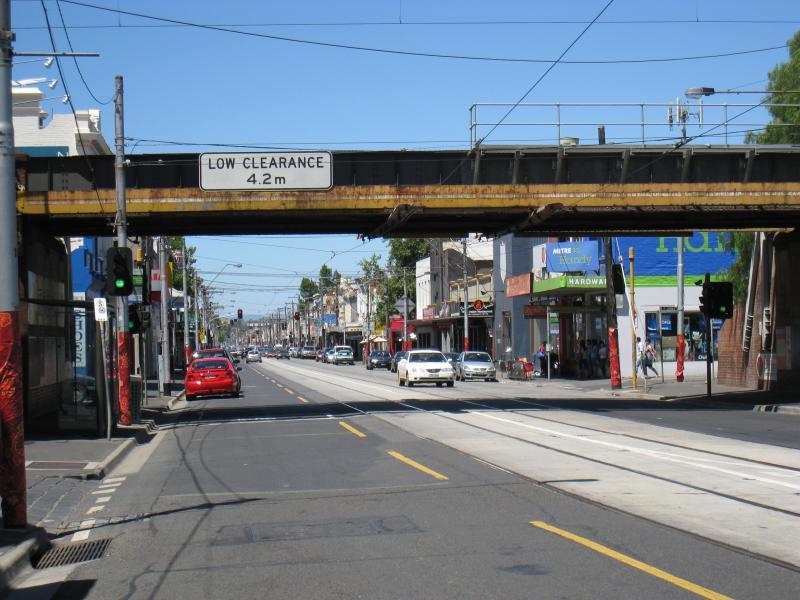
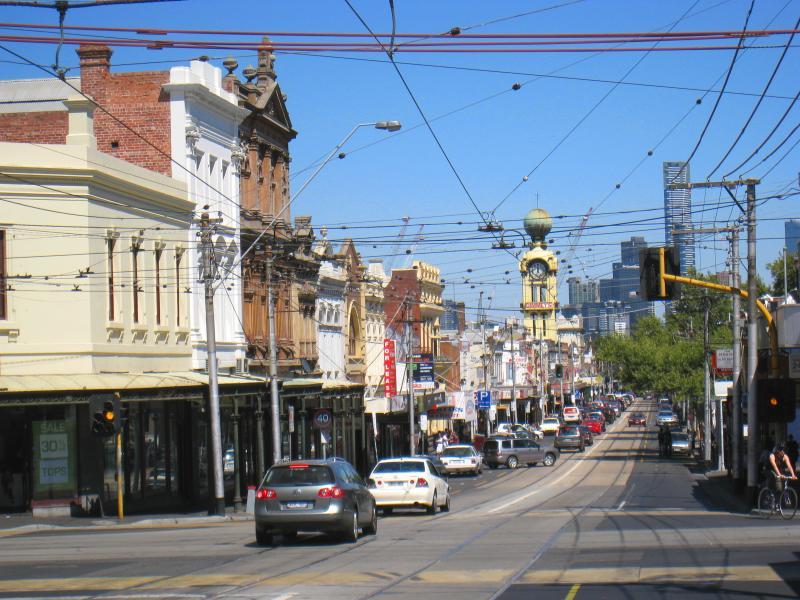
View east along Bridge Rd at Hoddle St
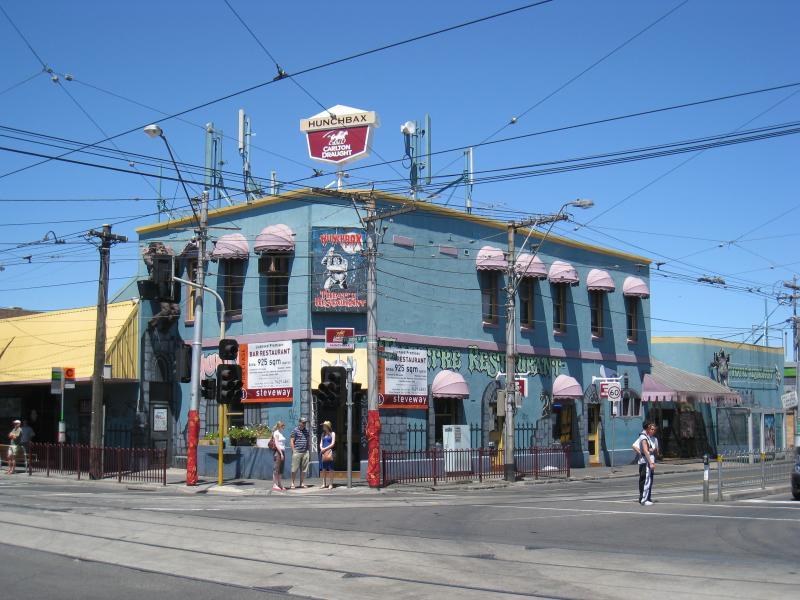
View south at junction of Bridge Rd and Hoddle St
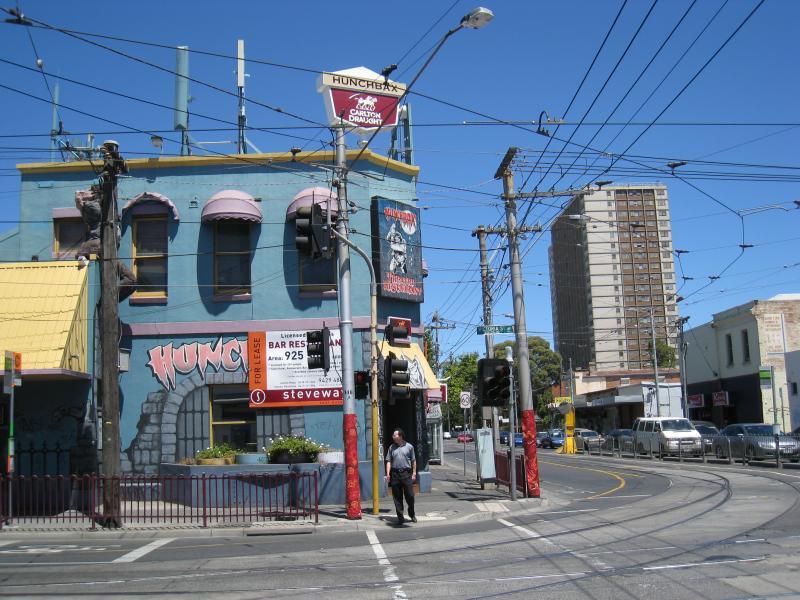
Urban Arts Square, corner Bridge Rd and Hoddle St
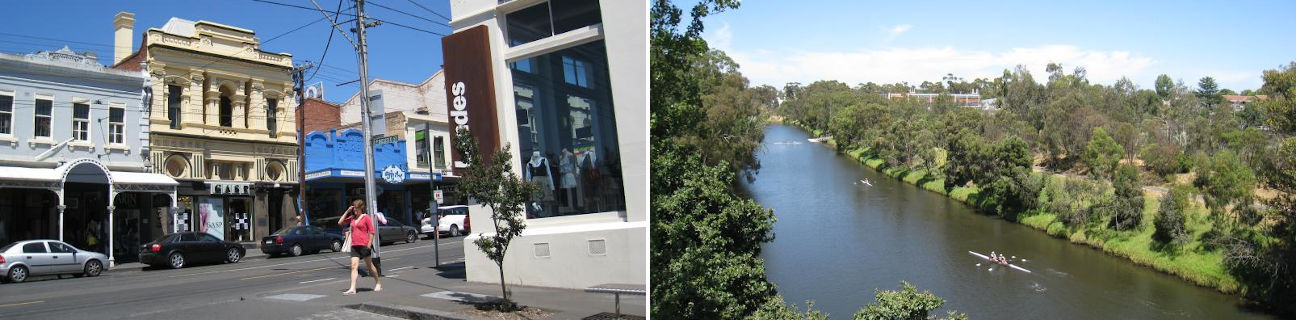
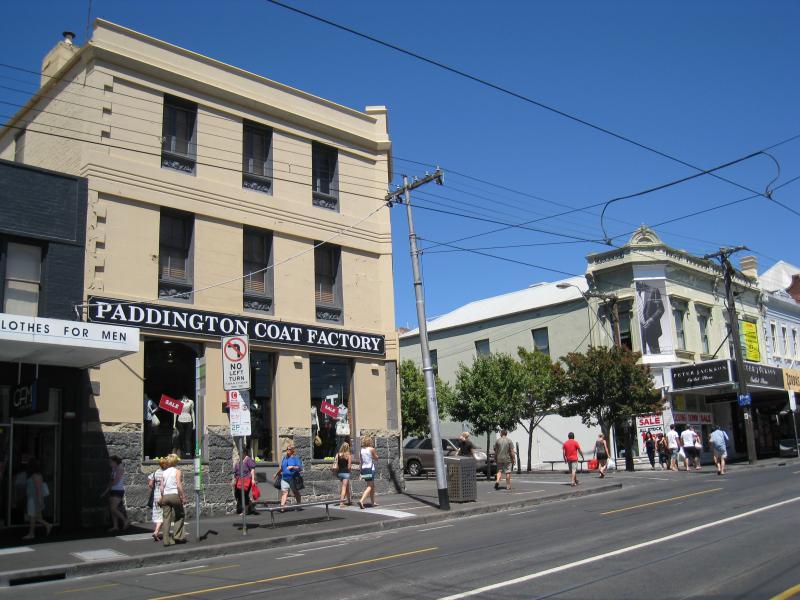
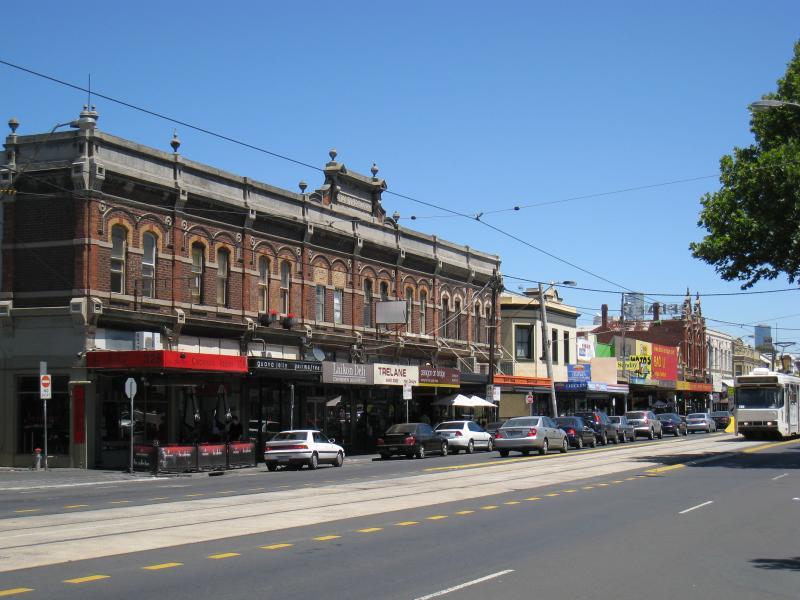
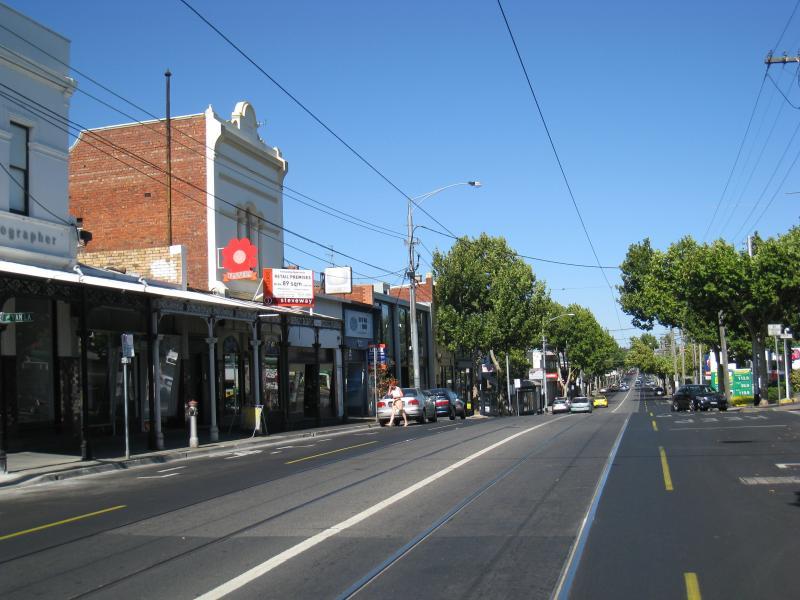
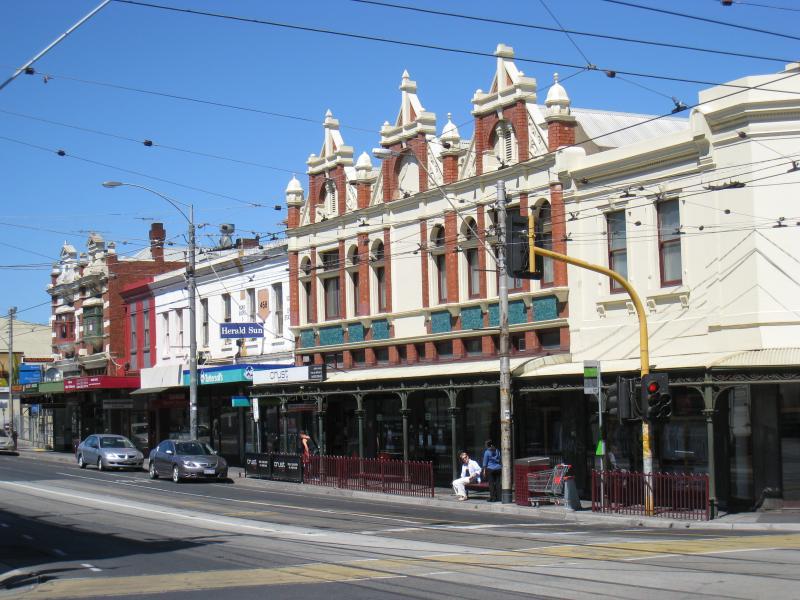
Shops along south side of Bridge Rd near Moorhouse St
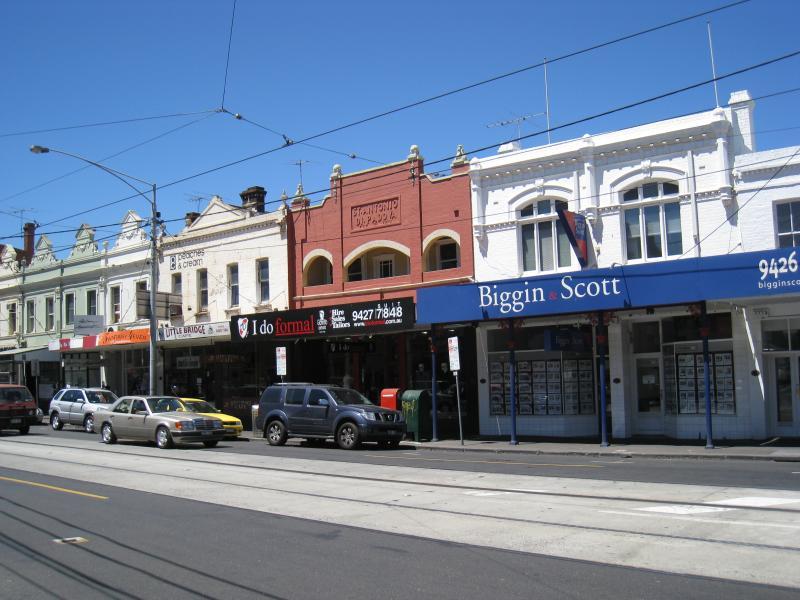
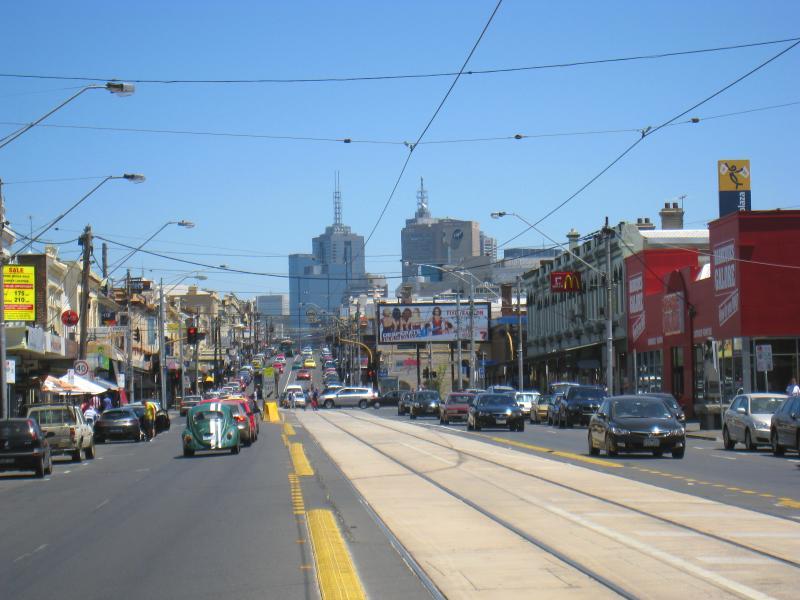
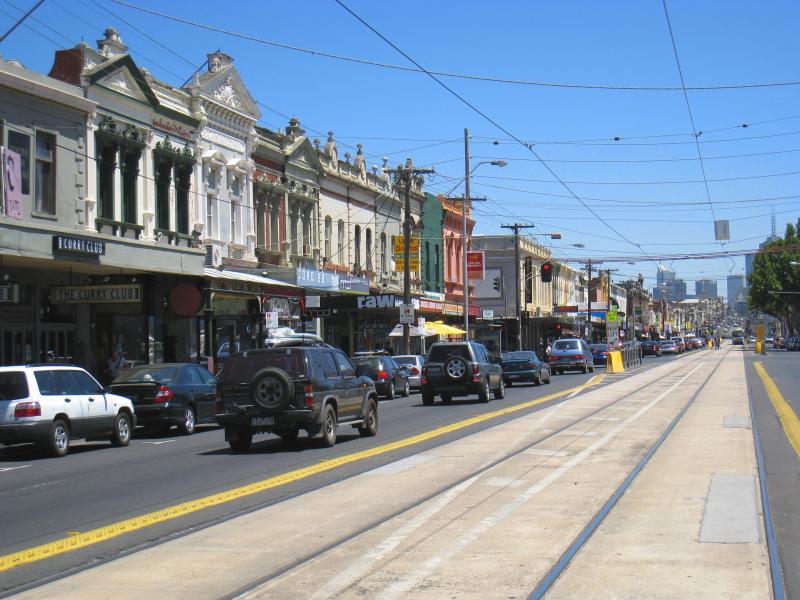
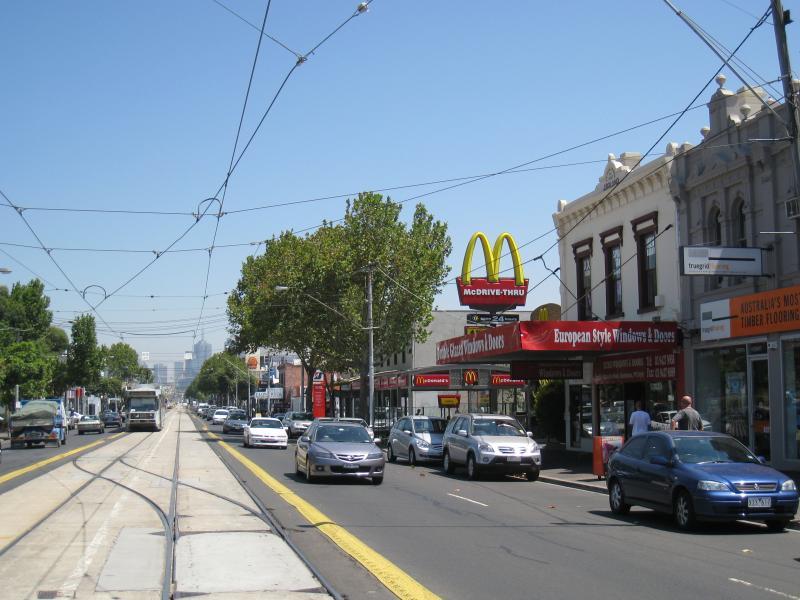
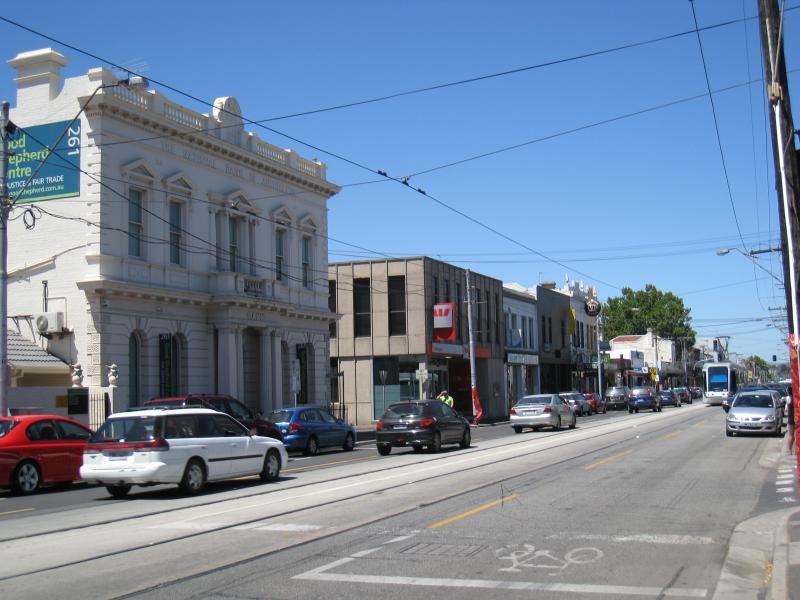
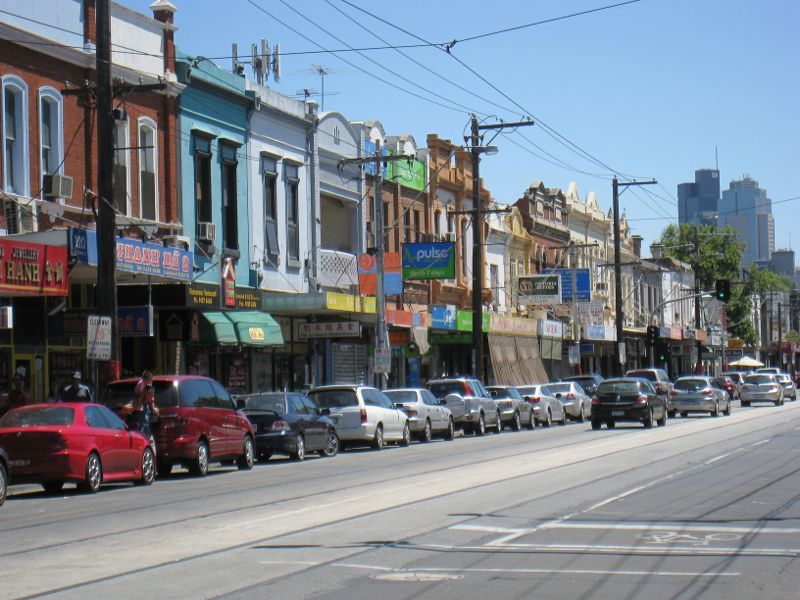
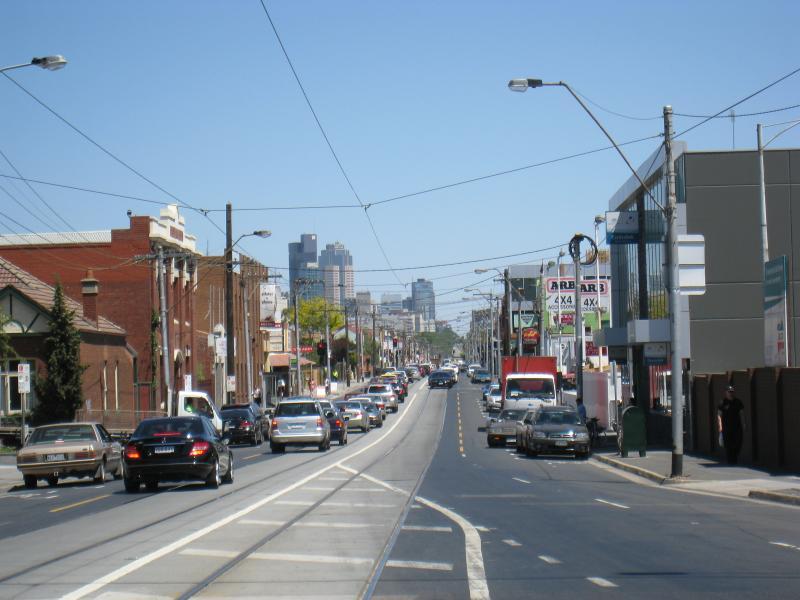
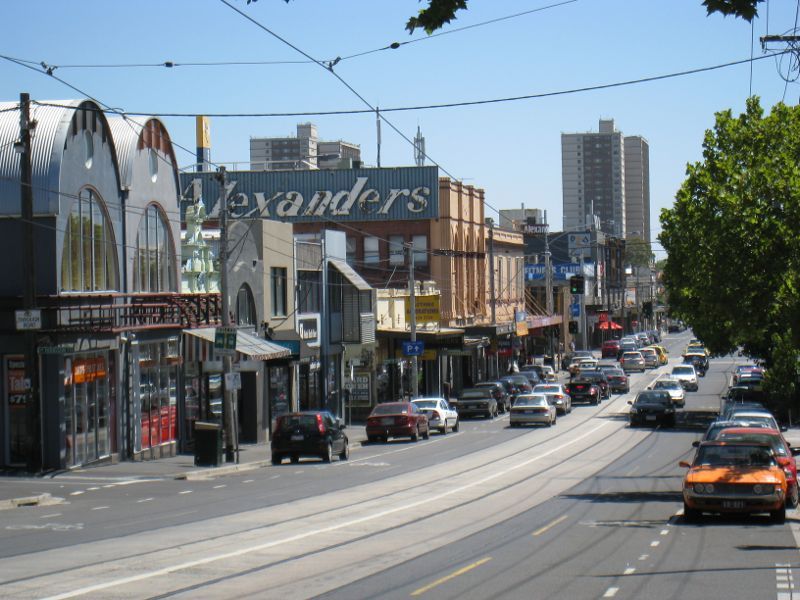
View west along Bridge Rd towards Hoddle St and city skyline
View west along Bridge Rd at Normanby Pl
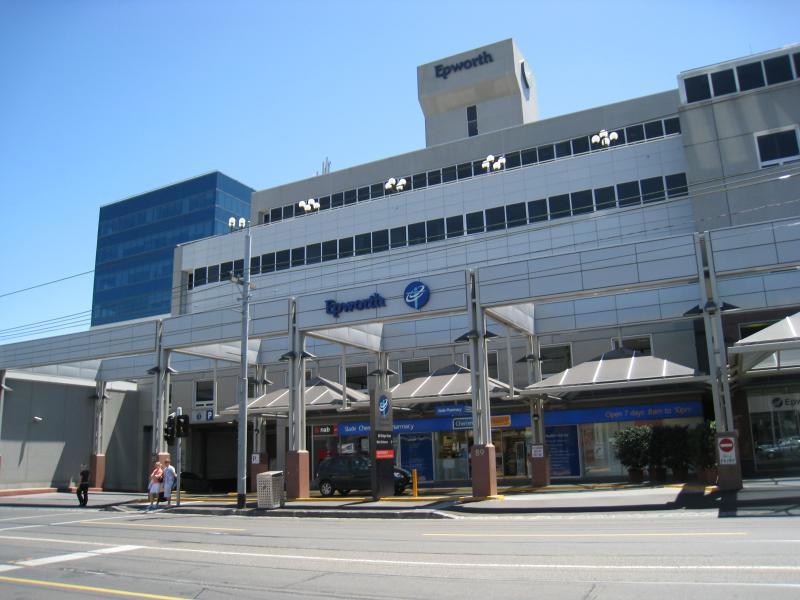
Epworth Hospital, main entrance at Bridge Rd
South side of Bridge Rd at Lennox St
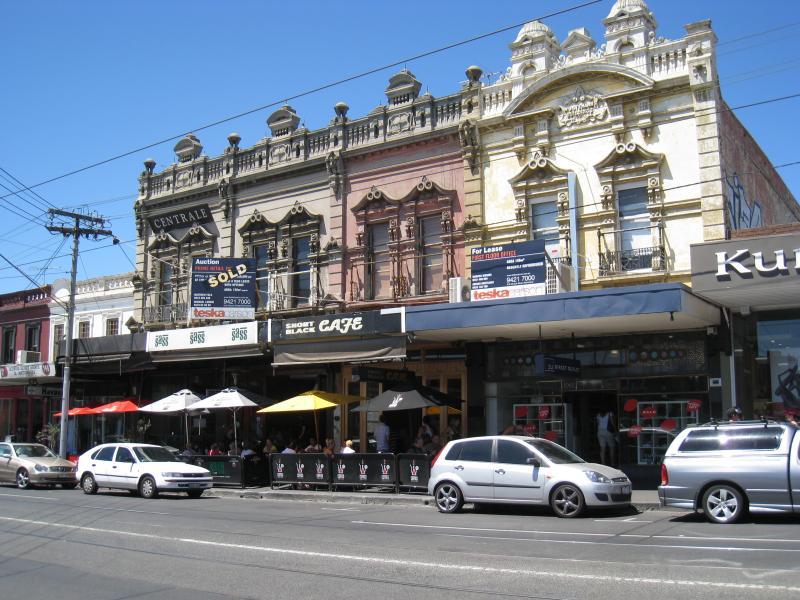
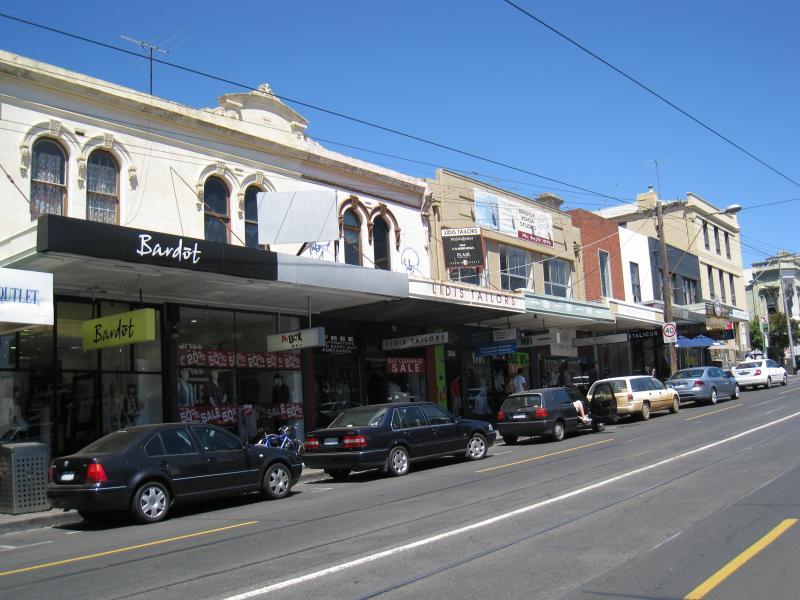
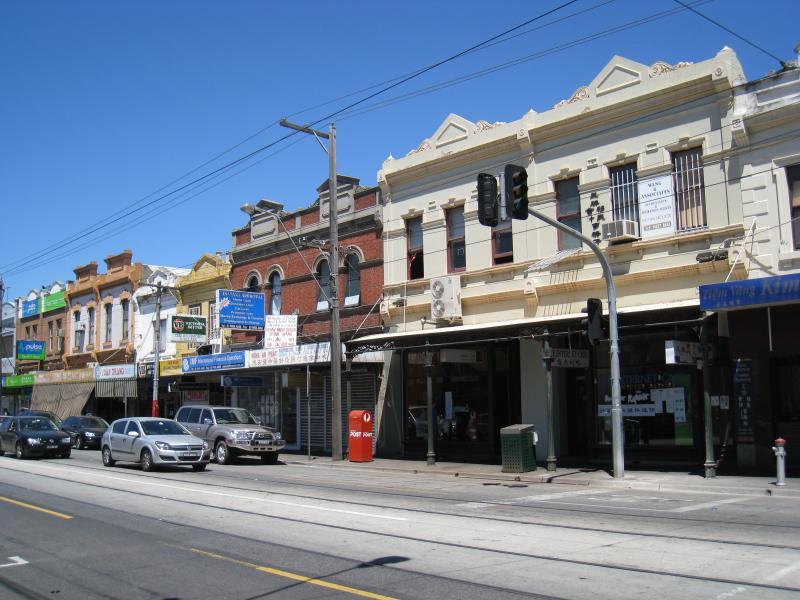
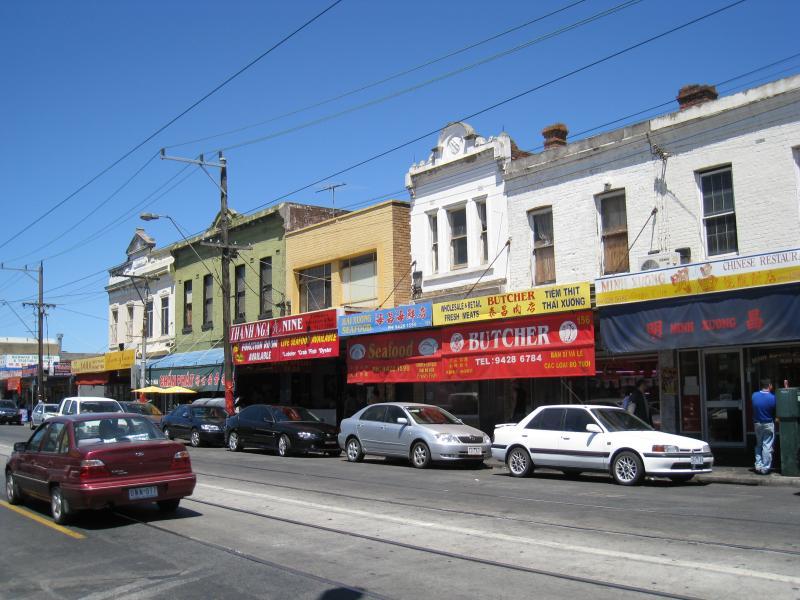
South side of Bridge Rd east of Lennox St
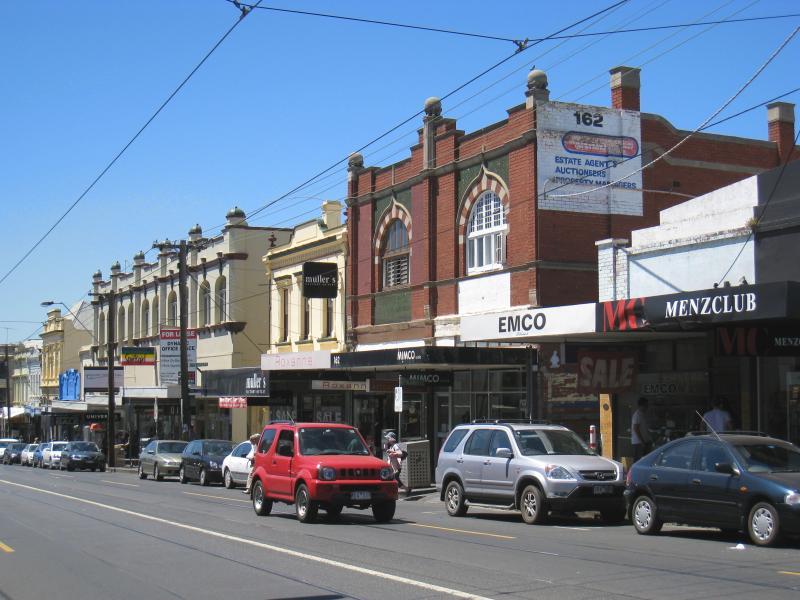
View east along Bridge Rd at Allowah Tce
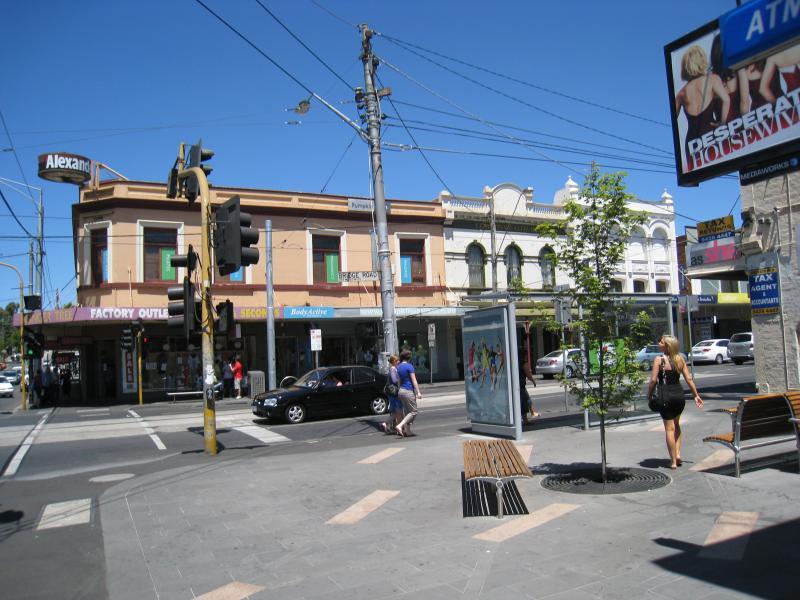
View south at junction of Bosisto St and Bridge Rd
View west along Bridge Rd towards Waltham St
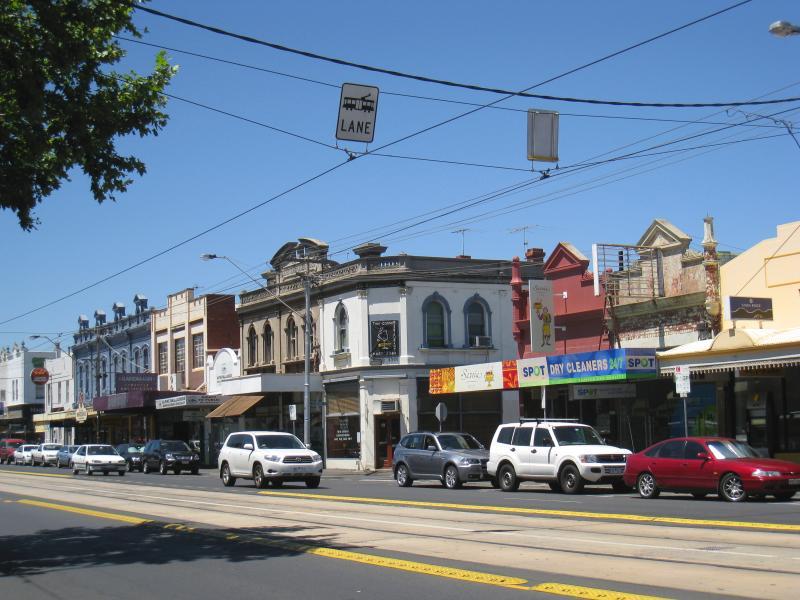
View west along Bridge Rd between Waltham St and Church St
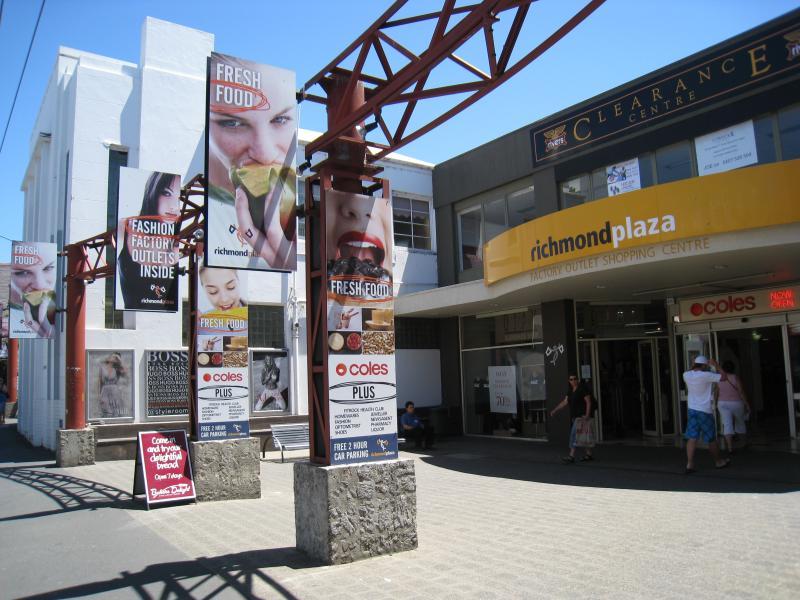
Entrance to Richmond Plaza Shopping Centre, Bridge Rd
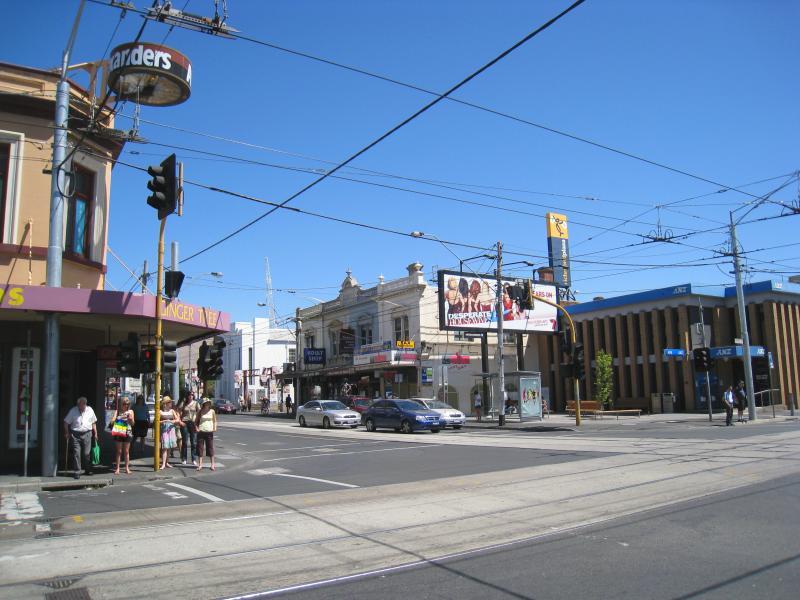
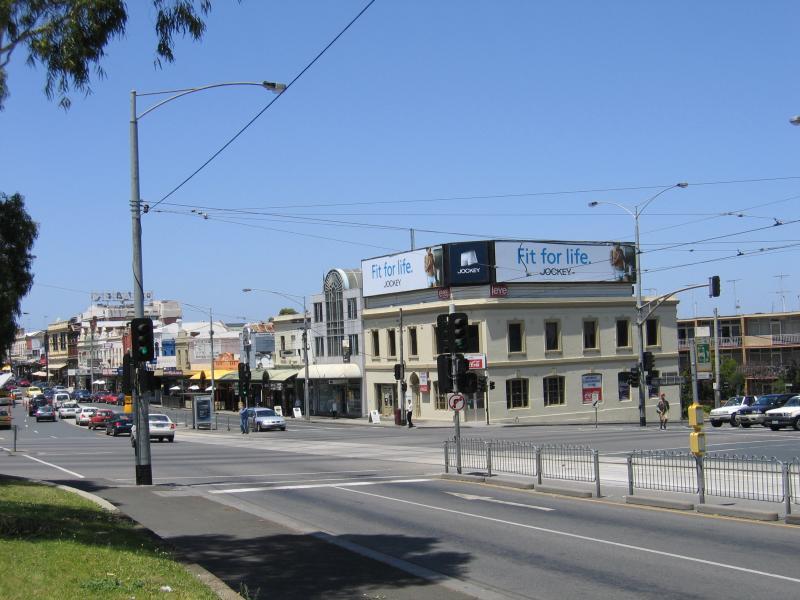
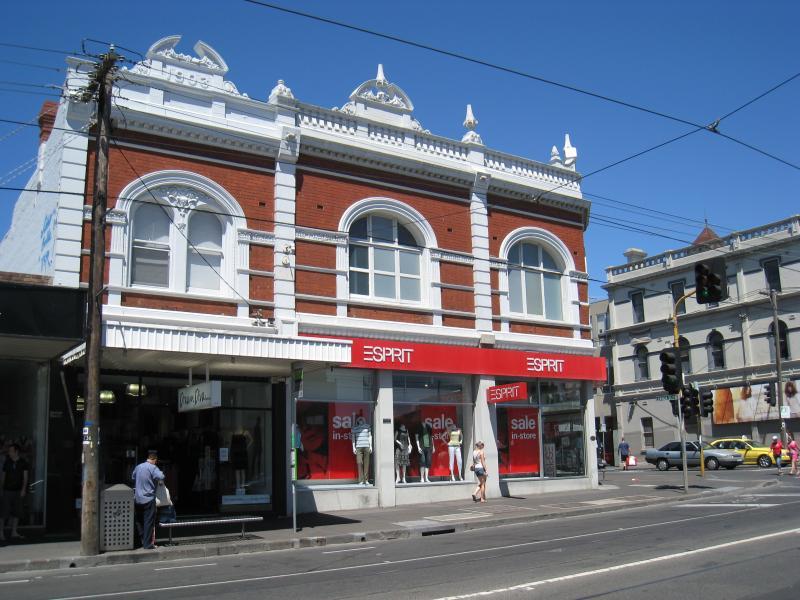
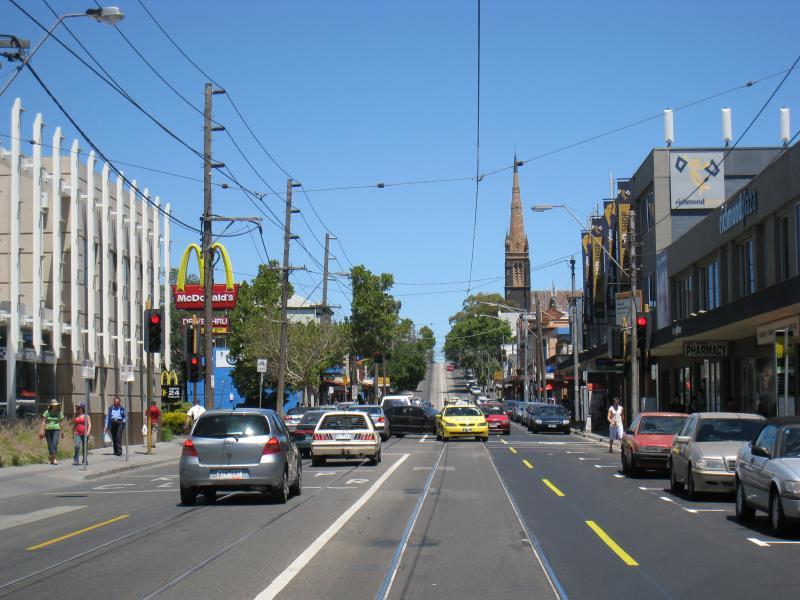
View west along Bridge Rd at Church St
South across Bridge Rd at Church St
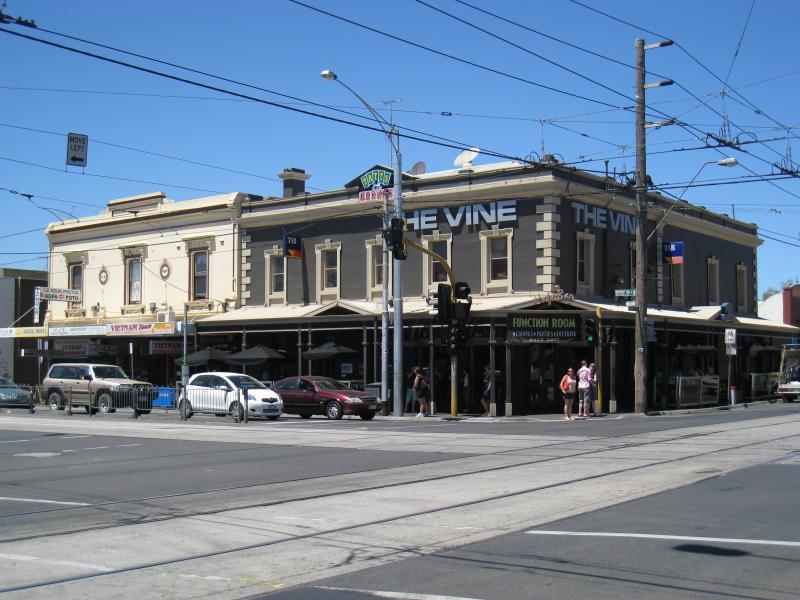
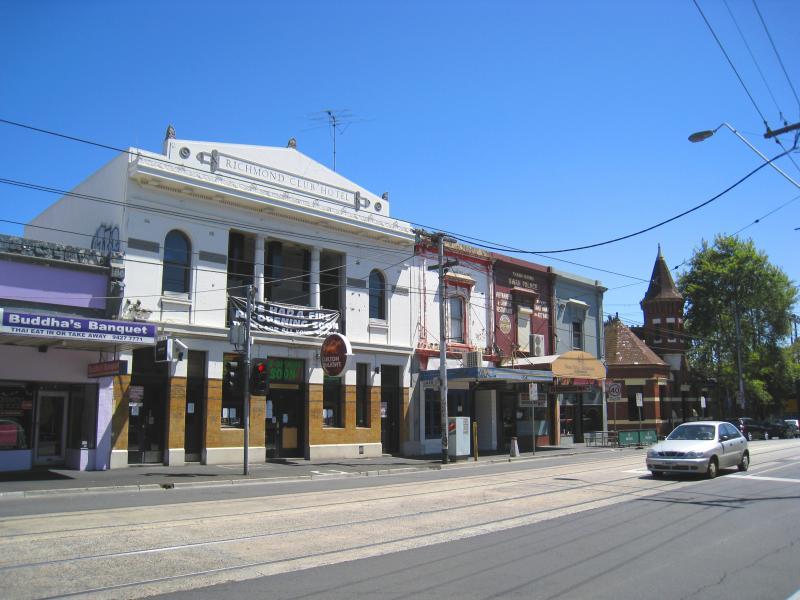
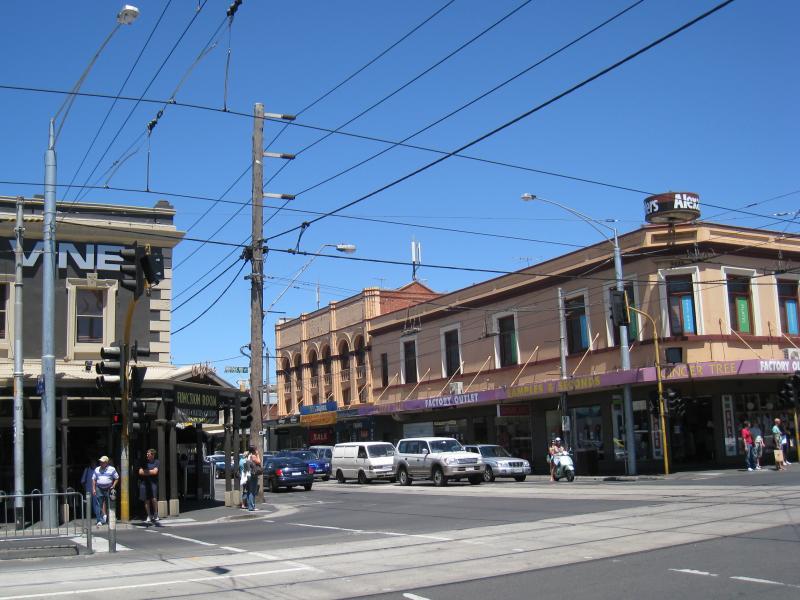
The Vine Hotel, corner Bridge Rd and Church St
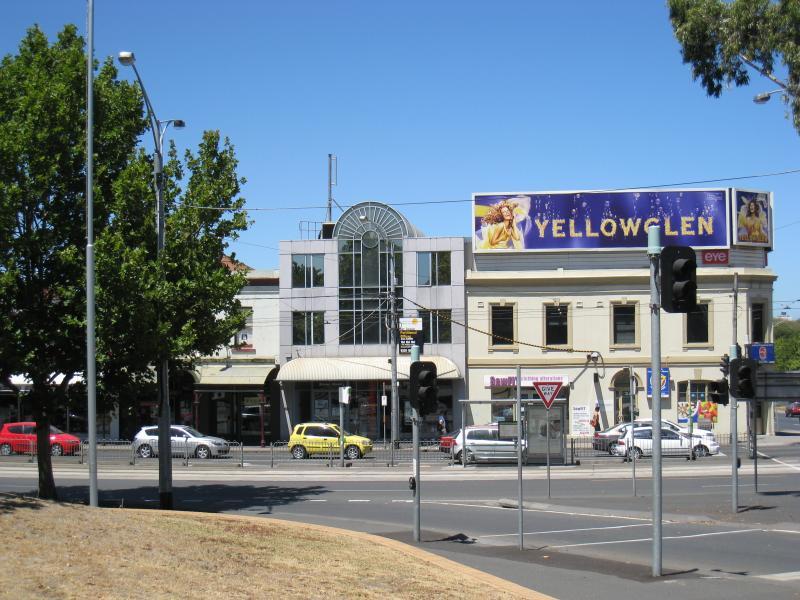
View west along Bridge Rd towards Church St
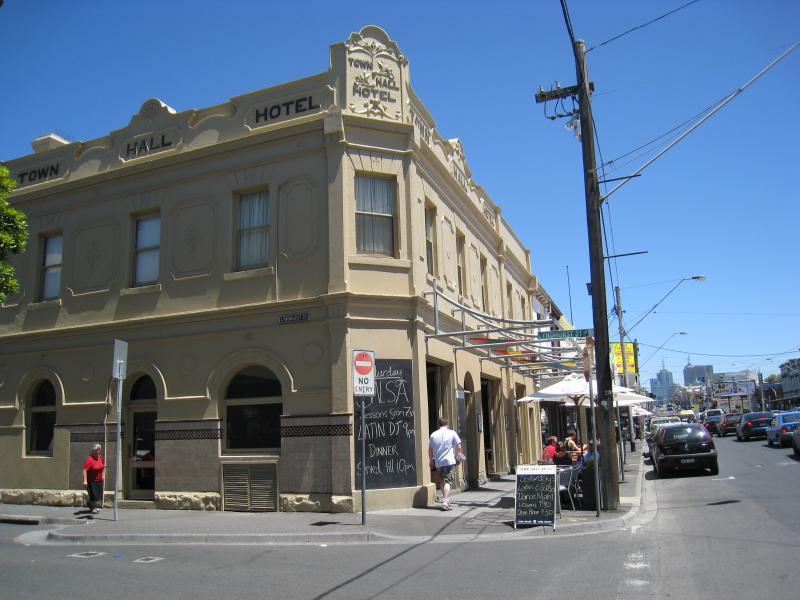
Town Hall Hotel, view west along Bridge Rd towards Church St
View west along Bridge Rd at Lyndhurst St
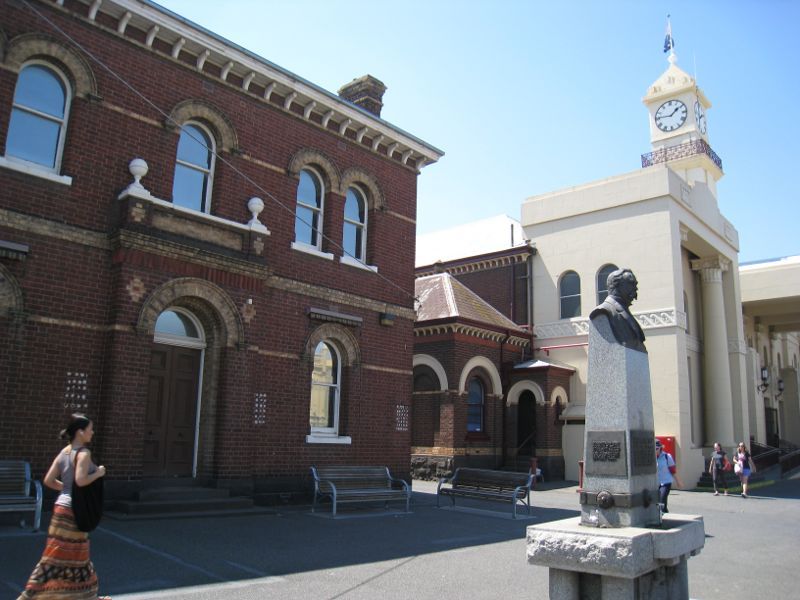
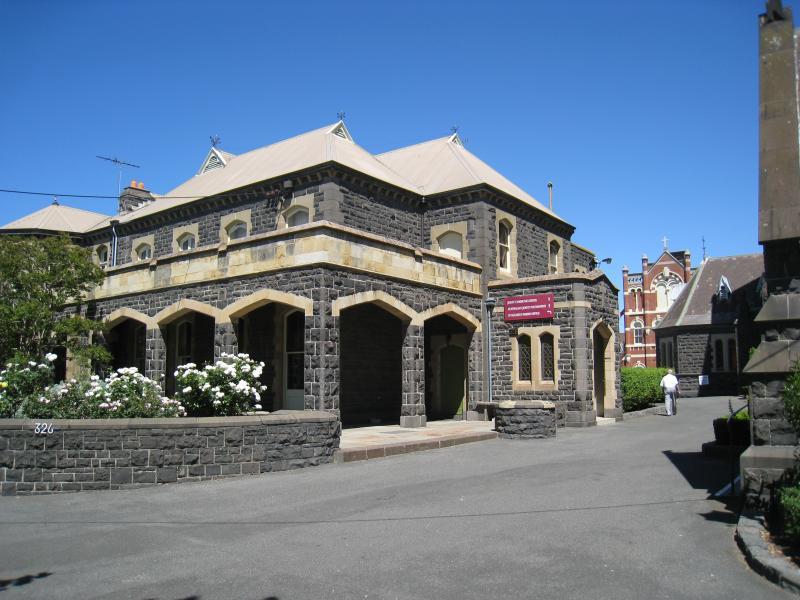
Council offices, statue of former mayor G.H. Bennett and Richmond Town Hall
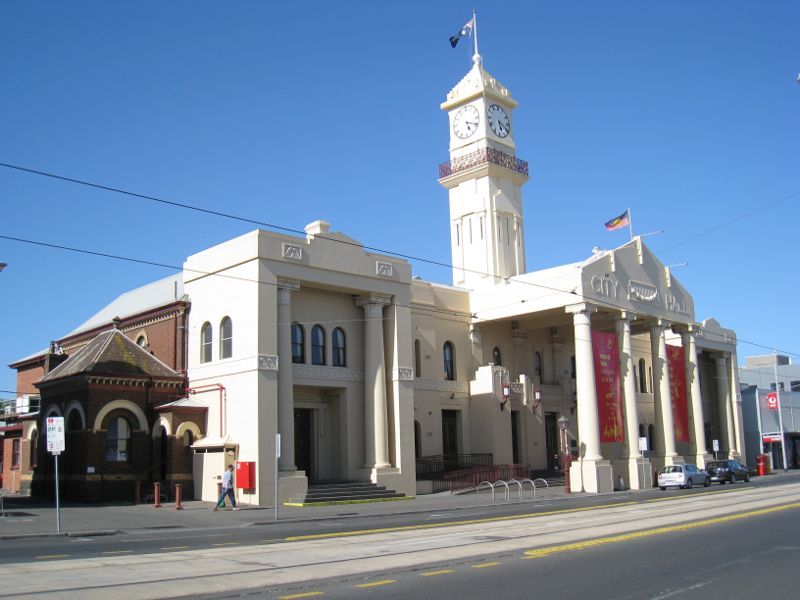
Richmond Town Hall
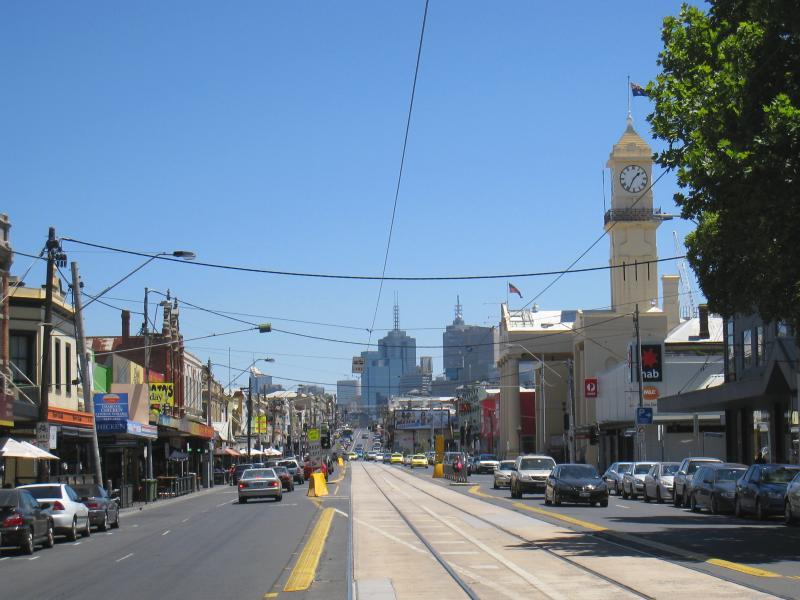
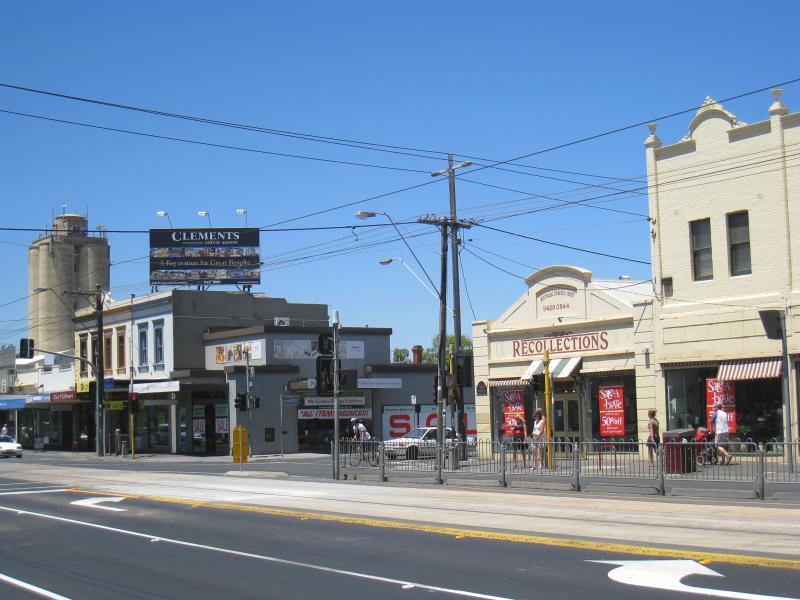
View west along Bridge Rd towards Gleadell St and Richmond Town Hall
View west along Bridge Rd at Mary St
View east along Bridge Rd at Mary St
View west along Bridge Rd towards Griffiths St
Corner of Bridge Rd and Coppin St
View west along Bridge Rd towards Coppin St
View east along Bridge Rd towards Fraser St
View east along Bridge Rd towards Burnley St
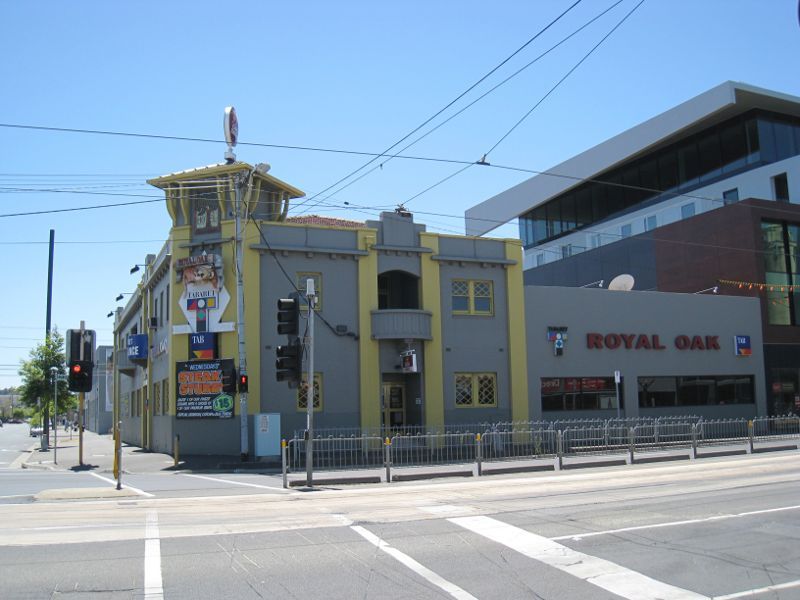
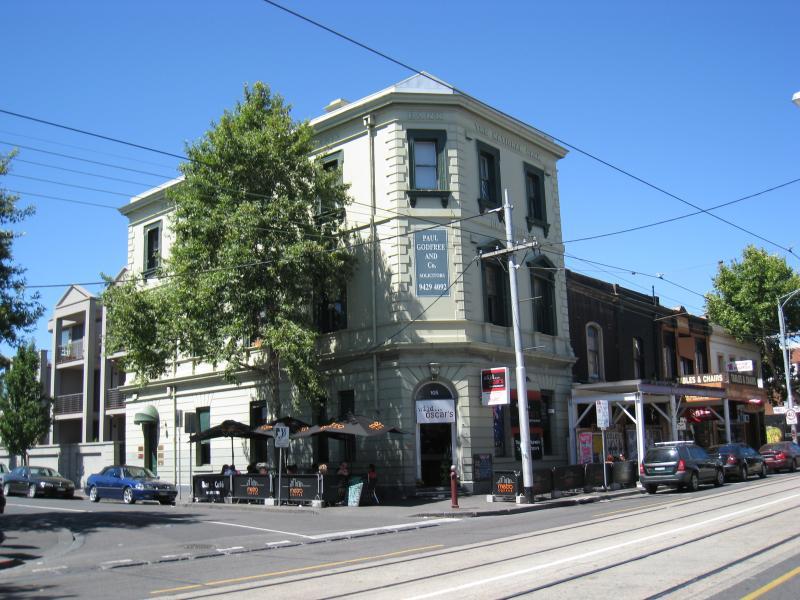
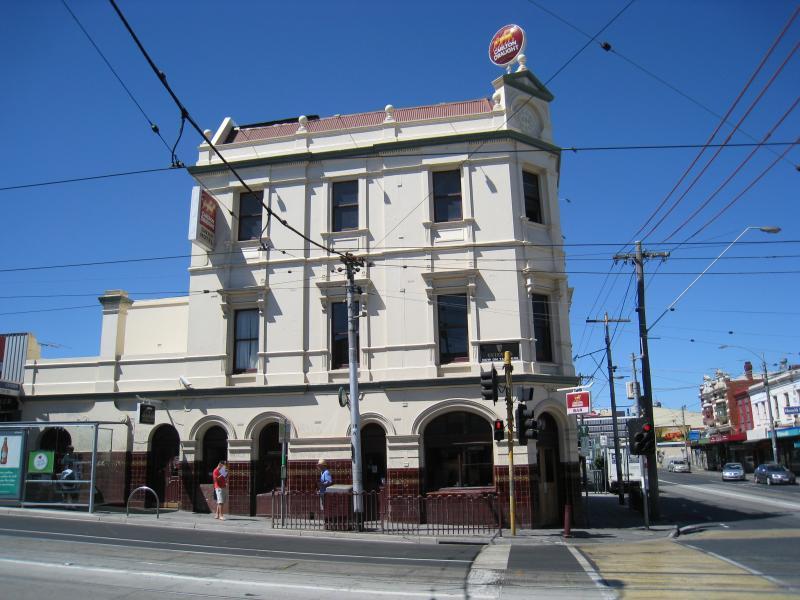
Royal Oak Hotel, corner Bridge Rd and Burnley St
View west along Bridge Rd between Tudor St and Stawell St
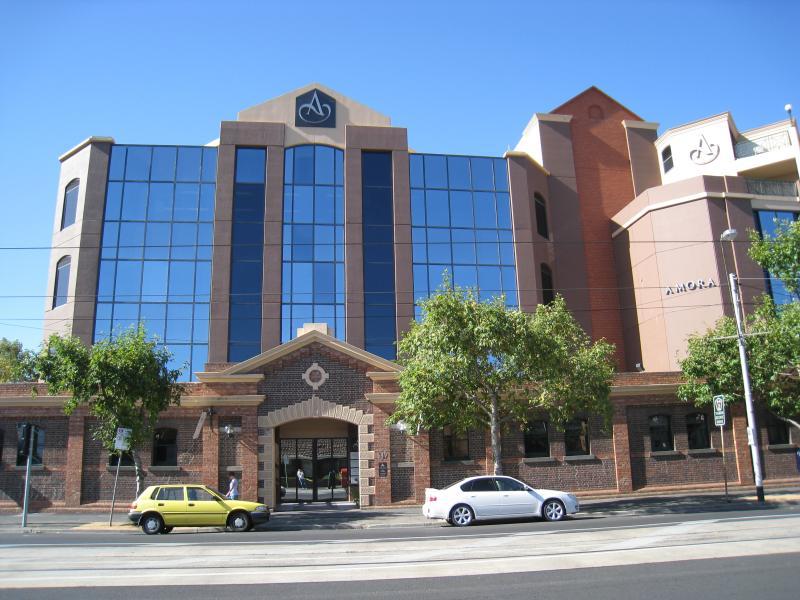
Amora Hotel, Bridge Rd opposite Westbank Tce

View east along Bridge Rd at Westbank Tce
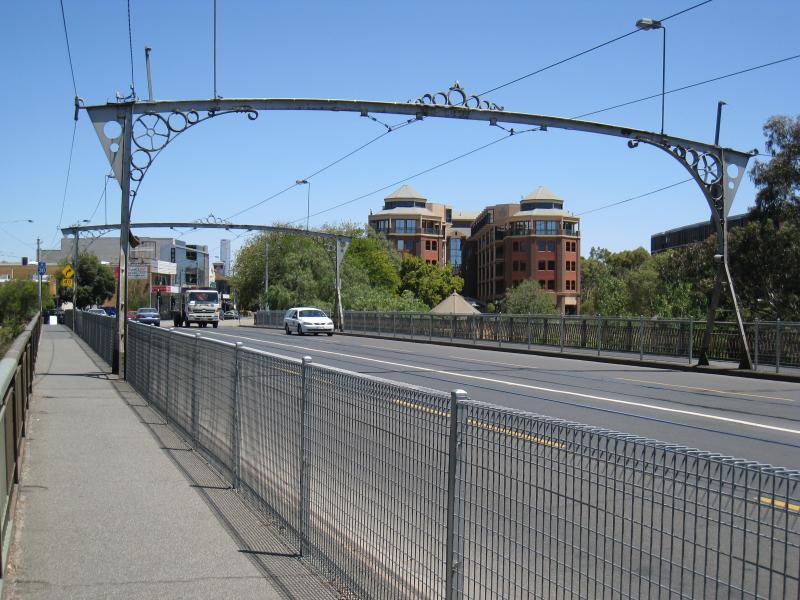
View west along Bridge Rd on Hawthorn Bridge
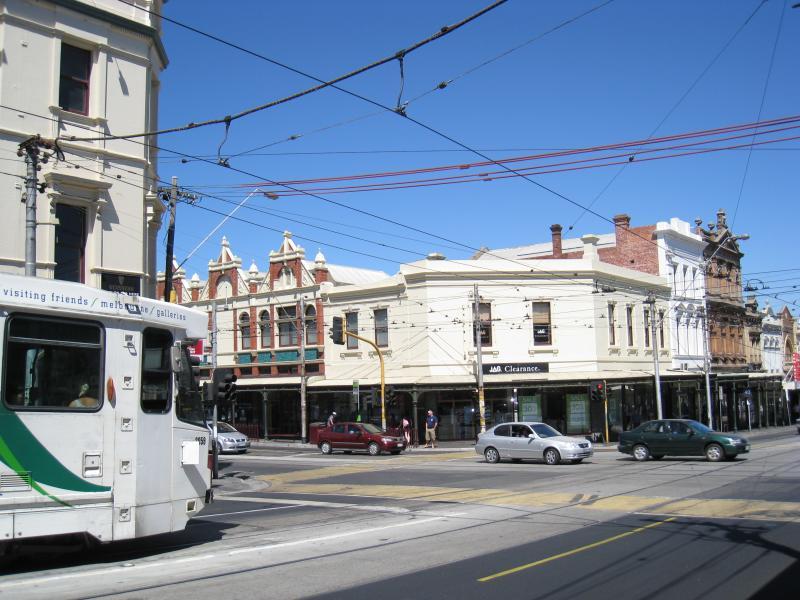
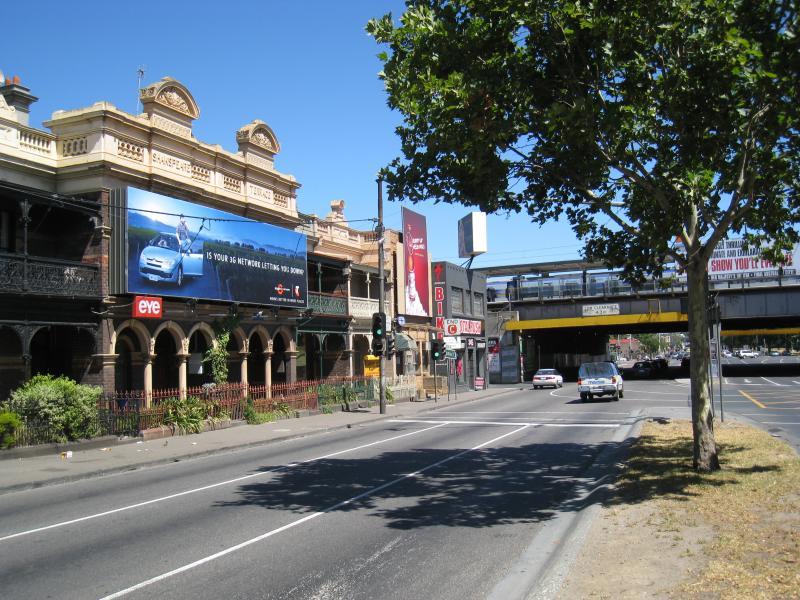
Shops along northern side of Victoria St at Hoddle St
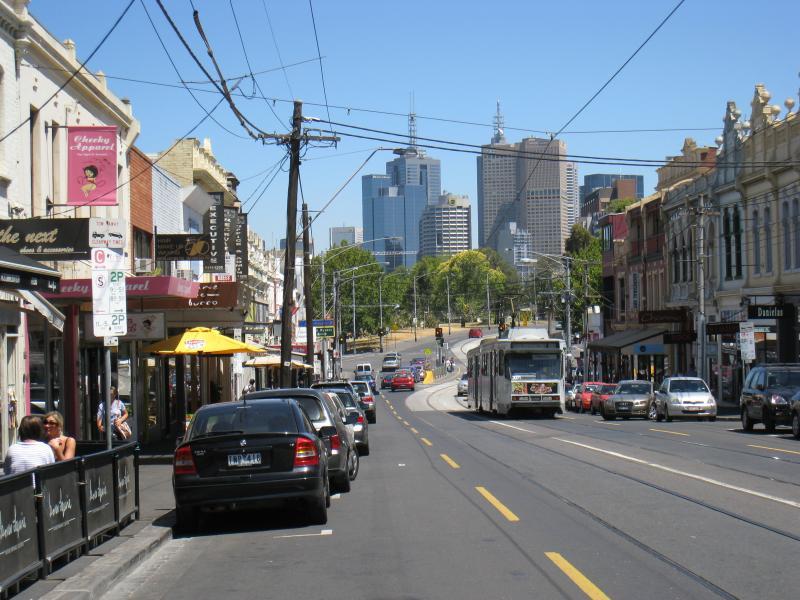
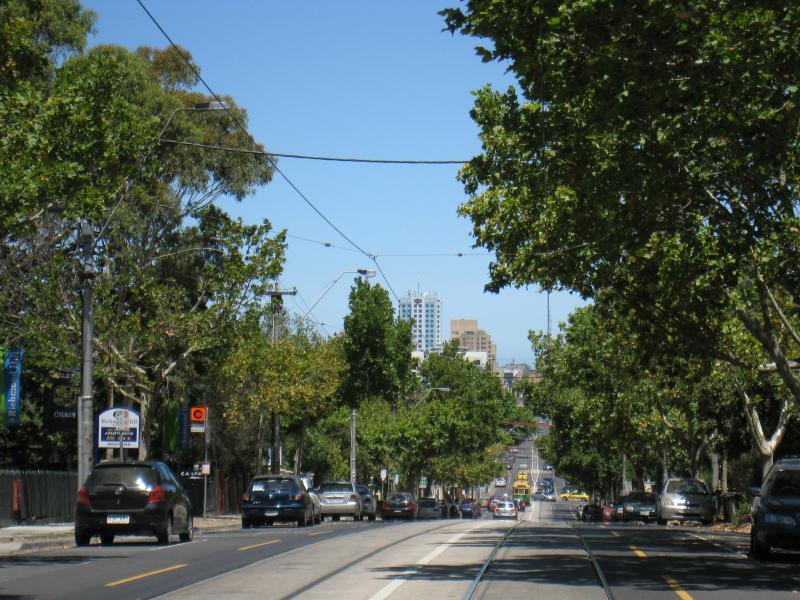
View east along Victoria St towards railway overpass
View east along Victoria St towards James St

Corner of Victoria St and Shelley St
Shops along south side of Victoria St near Charles St
Corner of Victoria St and Charles St
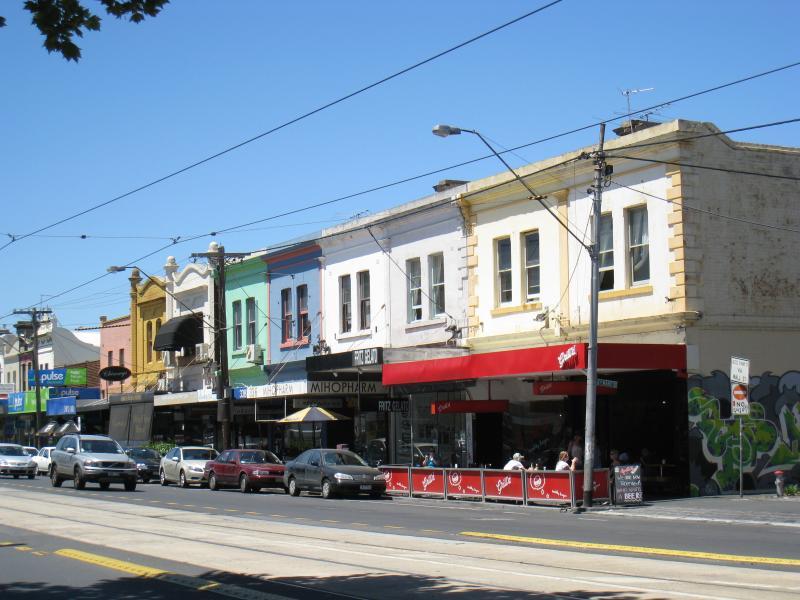
View west along Victoria St near Lennox St
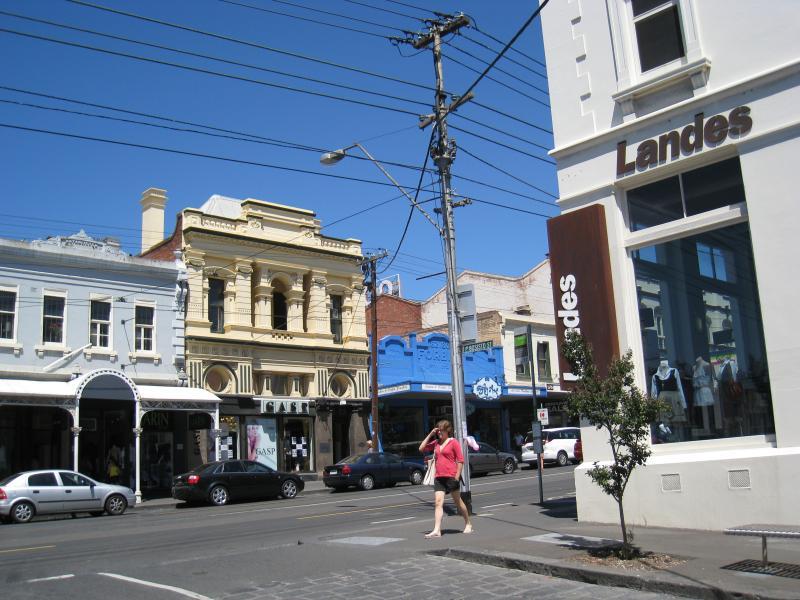
Corner of Victoria St and Lennox St
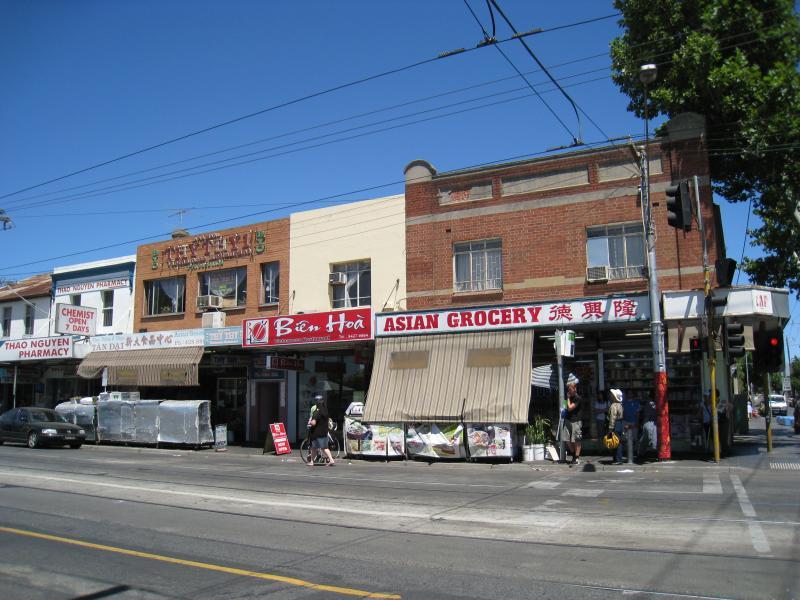
Asian grocery shop, Victoria St near Lennox St
View east along Victoria St towards William St

View south across Victoria St at William St towards apartment buildings

St Mathhias Anglican Church, William St near Victoria St
View east along Victoria St near Albert St
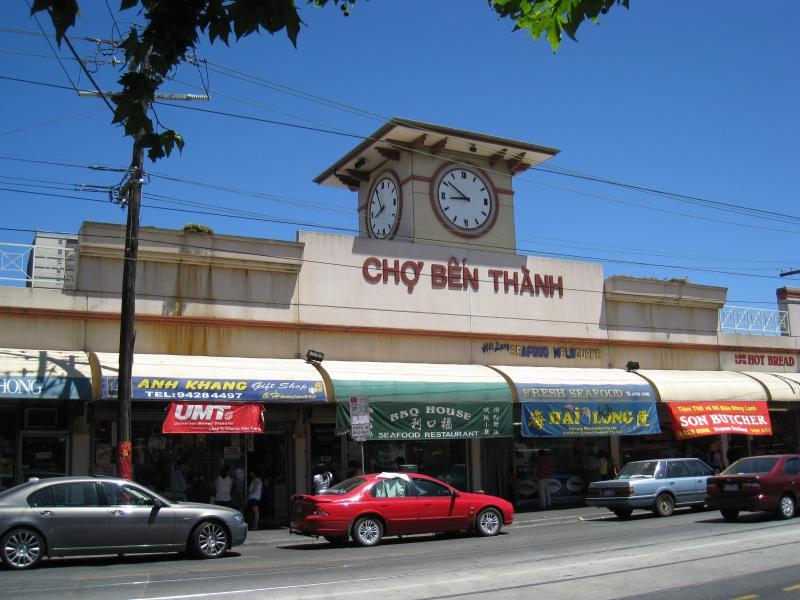
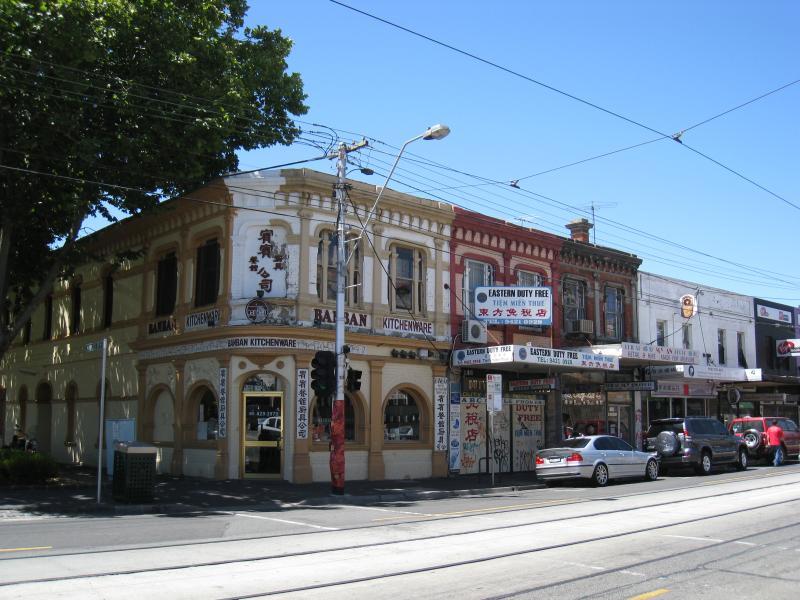
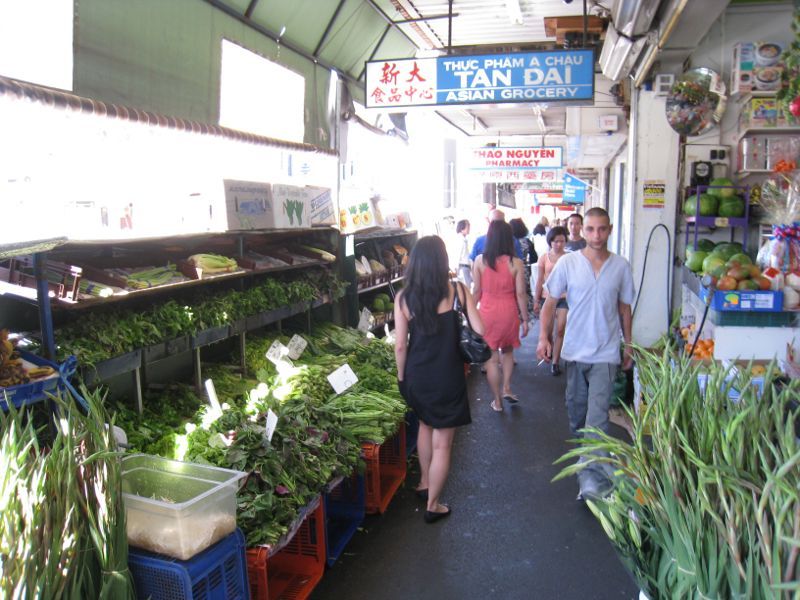
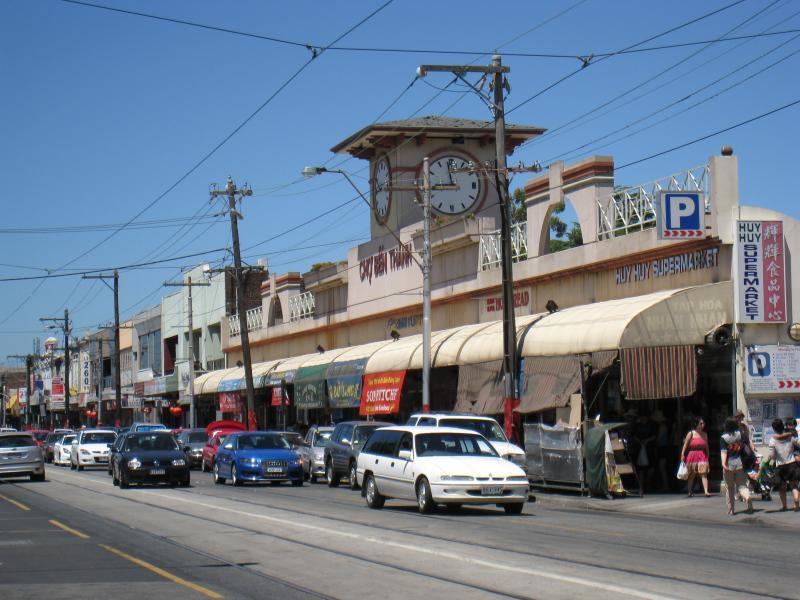
Cho Ben Thanh market complex, Victoria St opposite Albert St
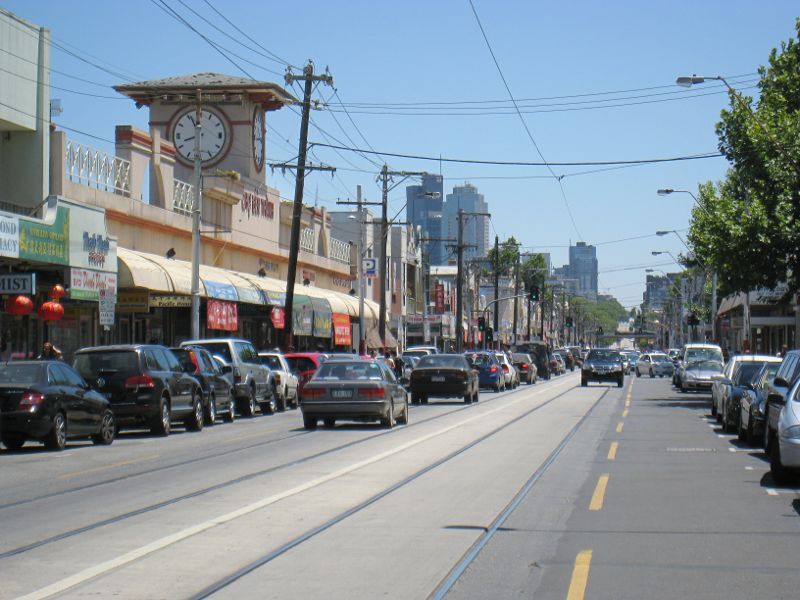
View west along Victoria St towards Albert St
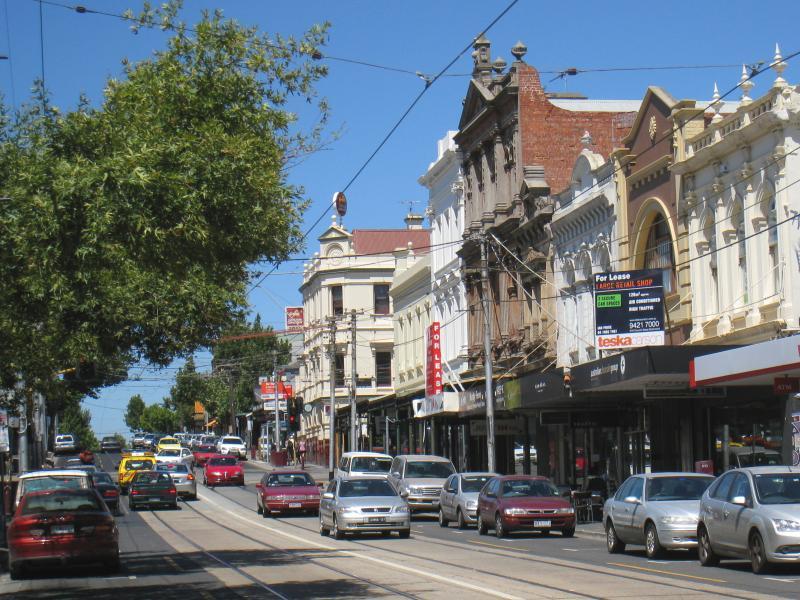
View east along Victoria St towards Church St
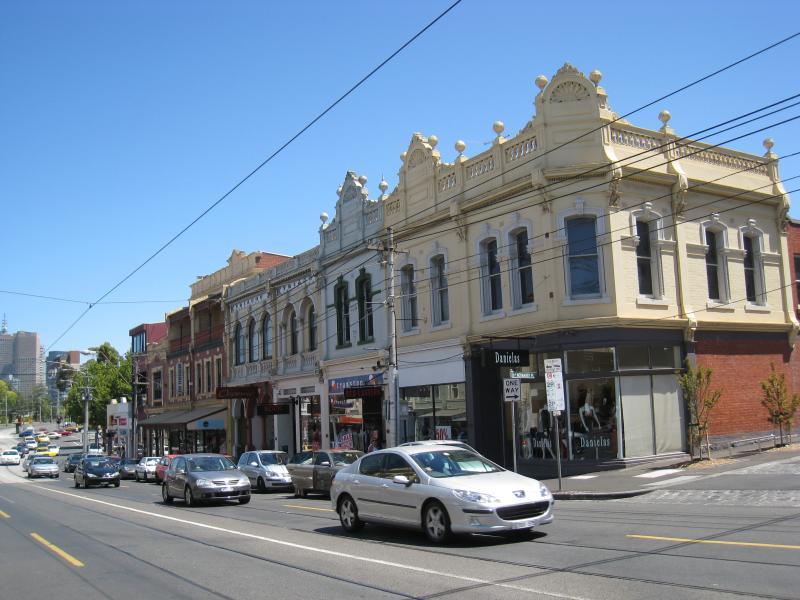
Corner of Victoria St and Church St
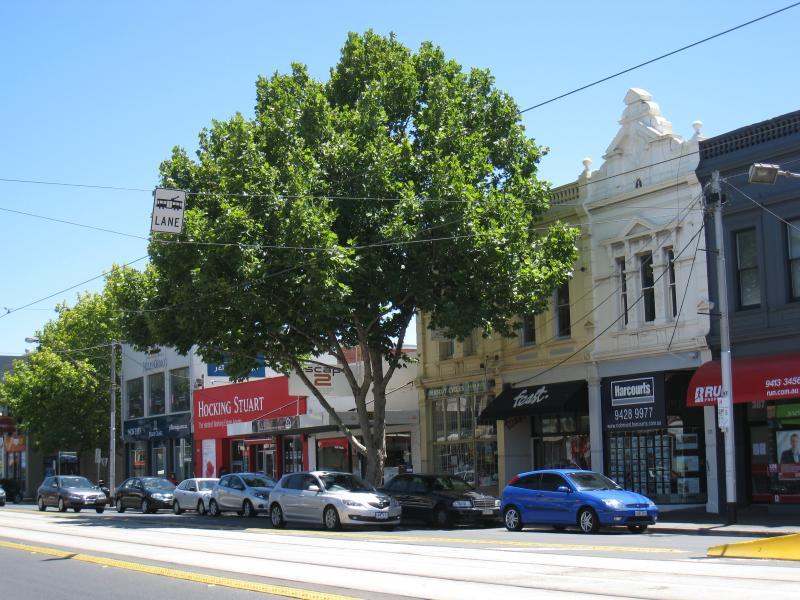
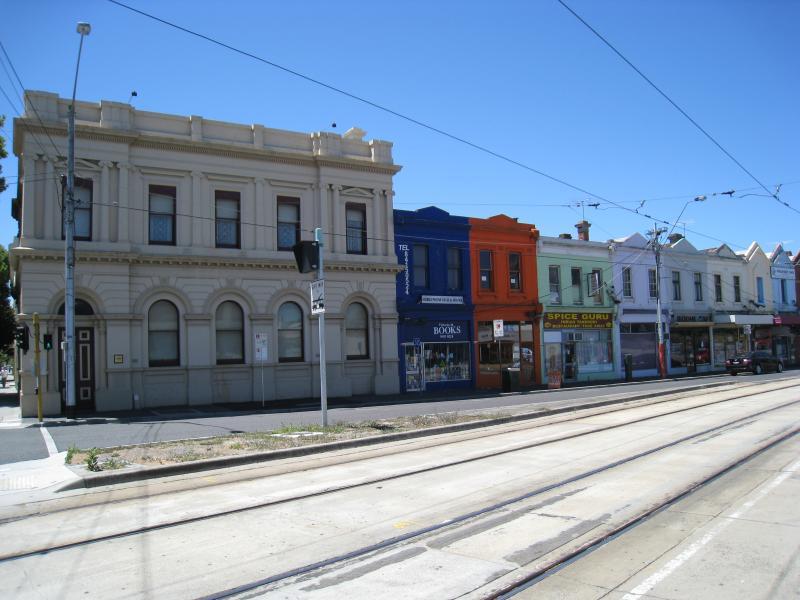
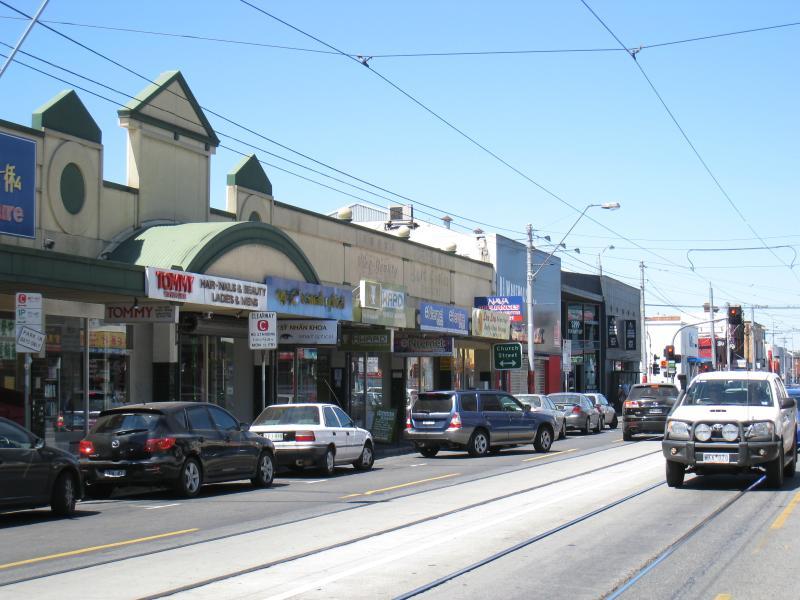
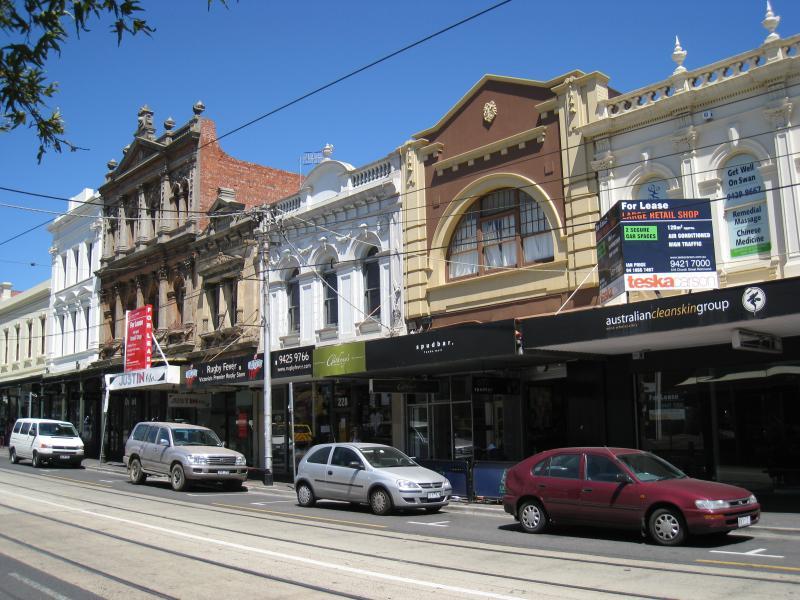
Professional offices, Victoria St between Lambert St and Church St
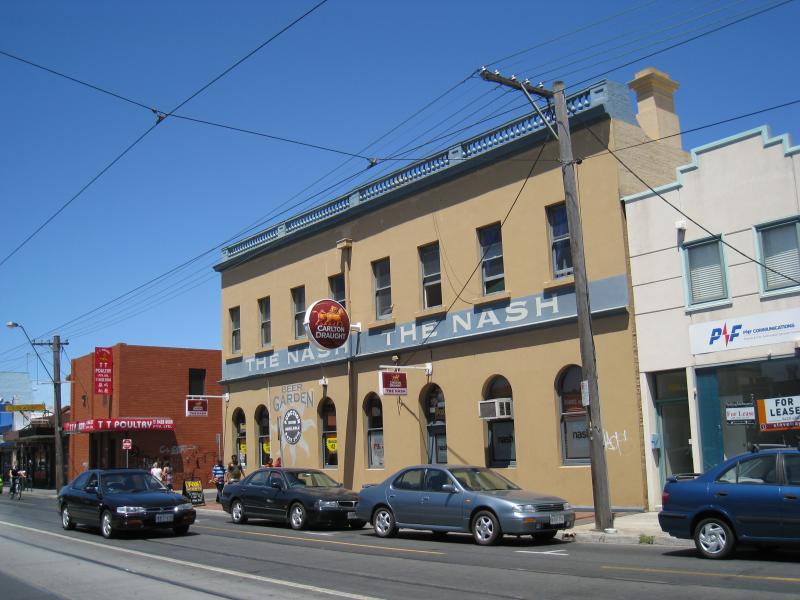
View east along Victoria St towards Lambert St and The Nash Hotel
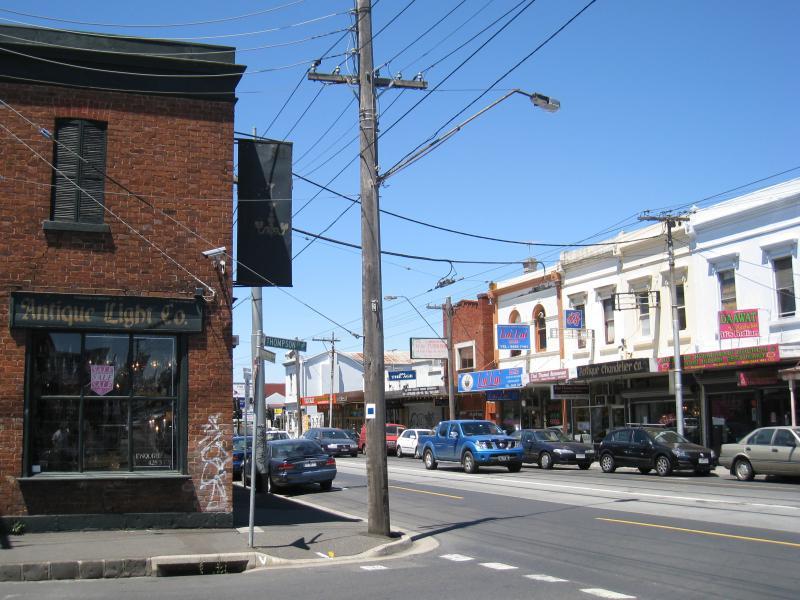
View east along Victoria St at Thompson St
View west along Victoria St at Burnley St
Williams Reserve, corner Victoria St and Burnley St
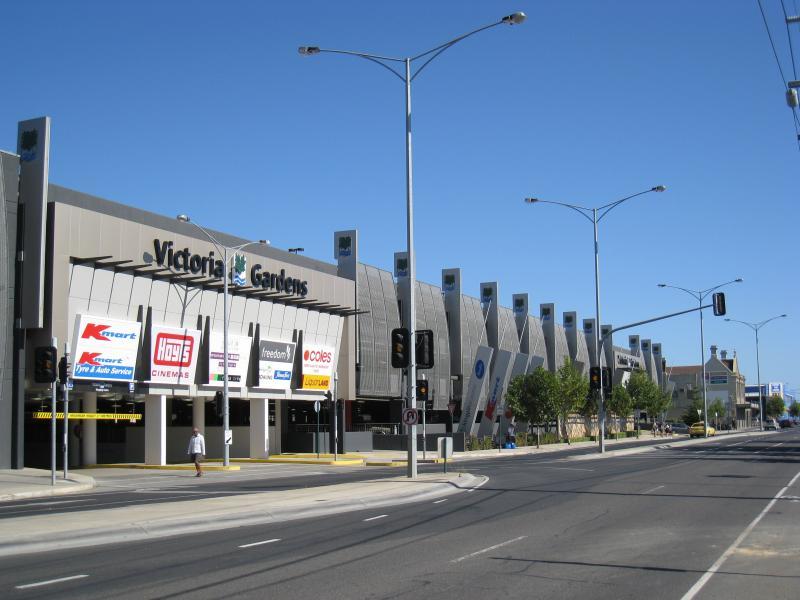
Victoria Gardens Shopping Centre fronting Burnley St
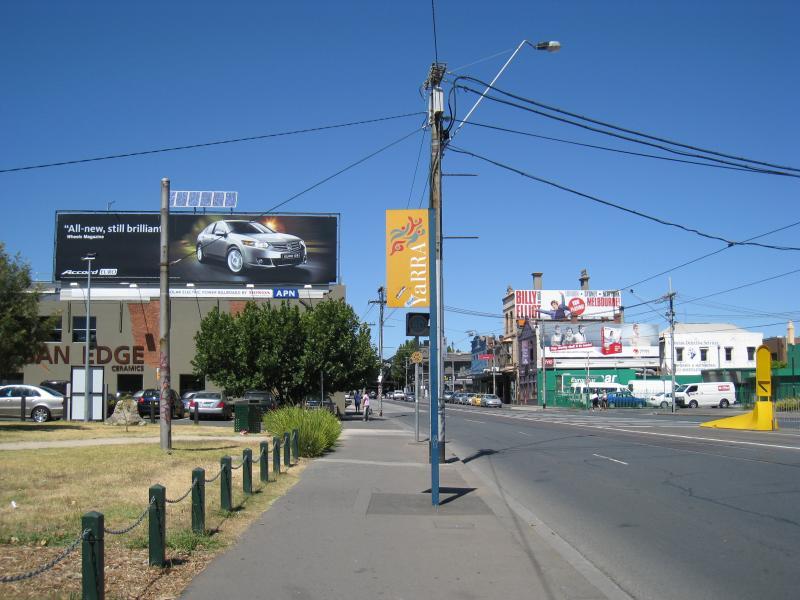
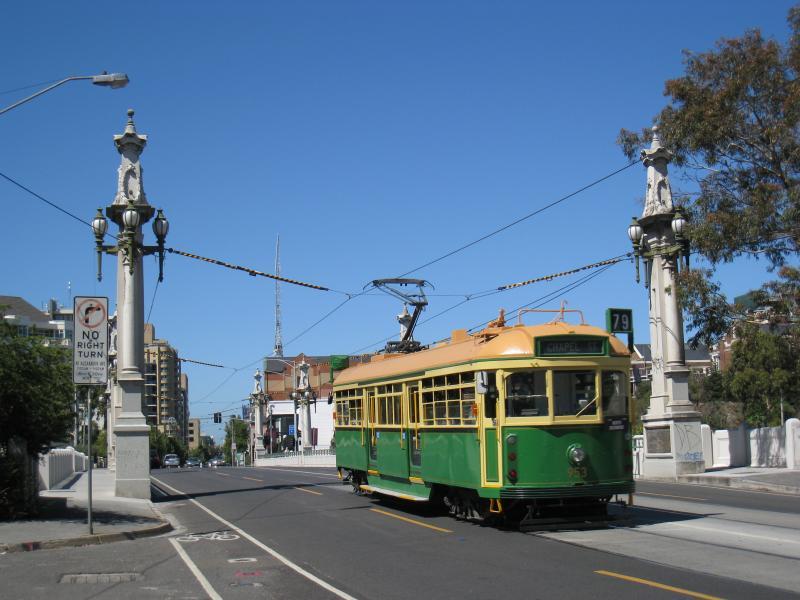
View east along Victoria St at Burnley St towards Skipping Girl sign
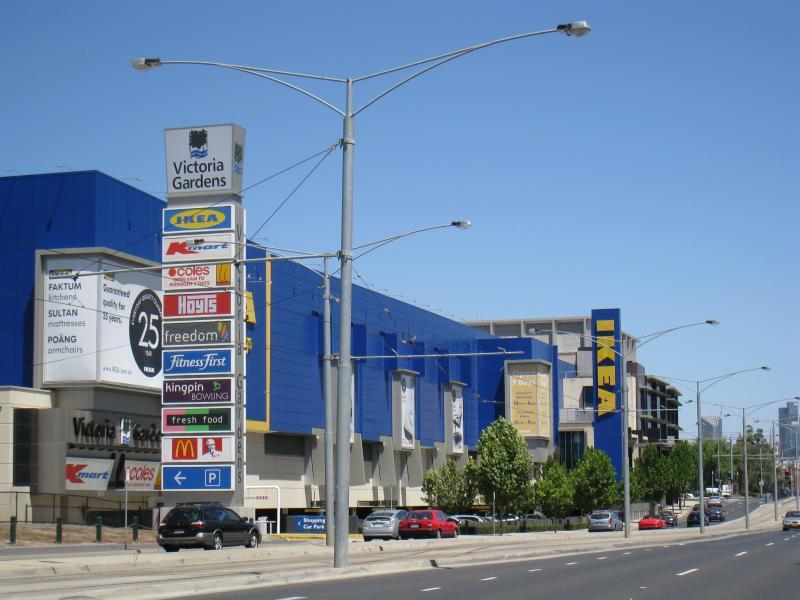
Victoria Gardens Shopping Centre, view west along Victoria St
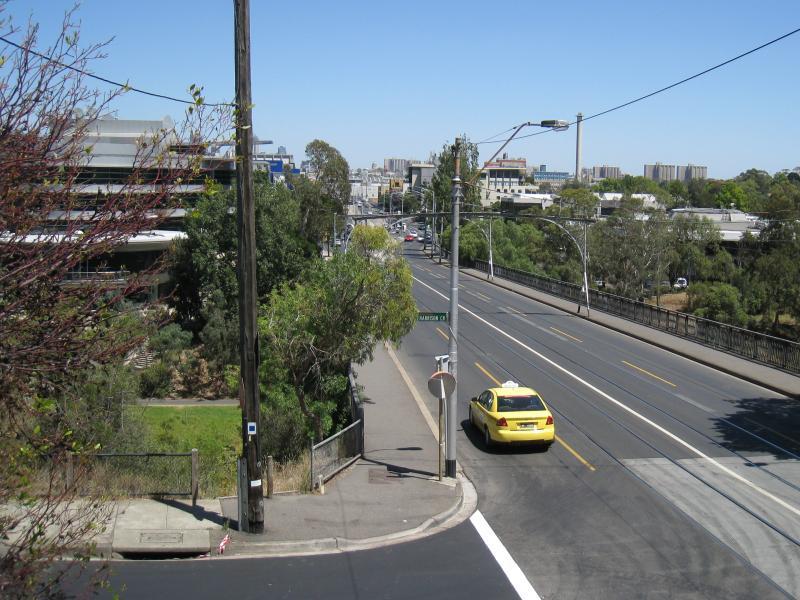
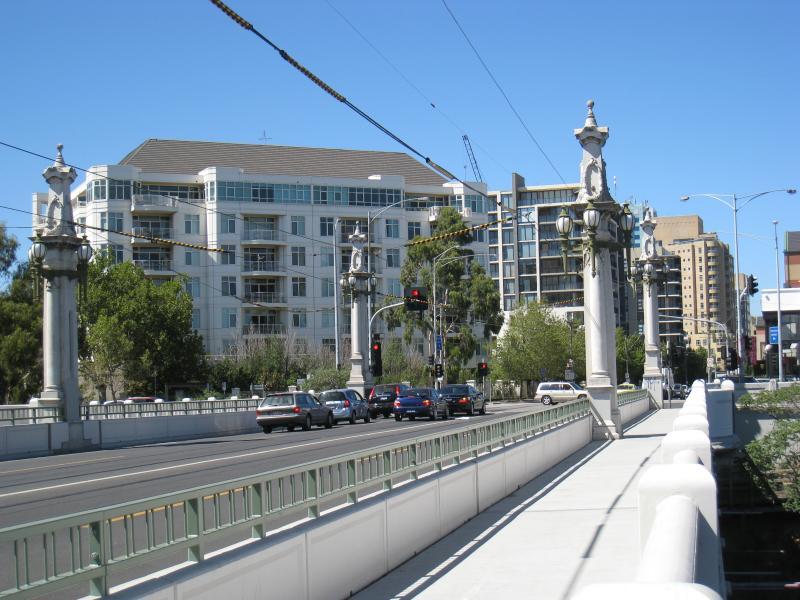
View west along Victoria St at Victoria Bridge
View east along Swan St near Punt Rd
View east along Swan St towards Cremorne St
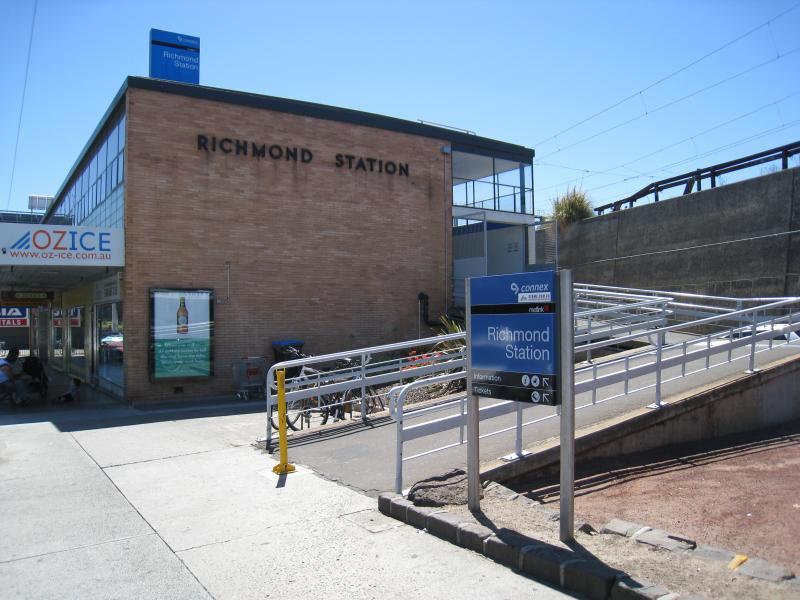
Richmond Station entrance, north side of Swan St
South side of Swan St opposite Lennox St

View east along Swan St, east of Lennox St
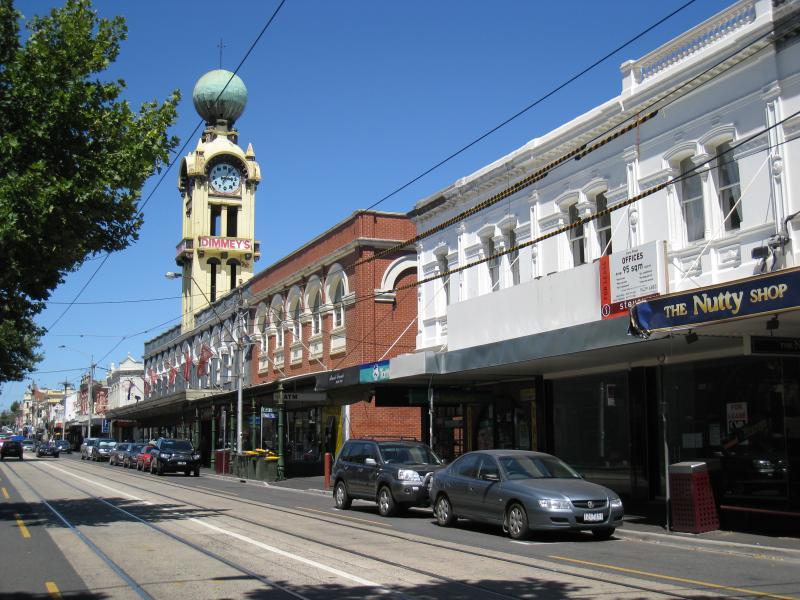
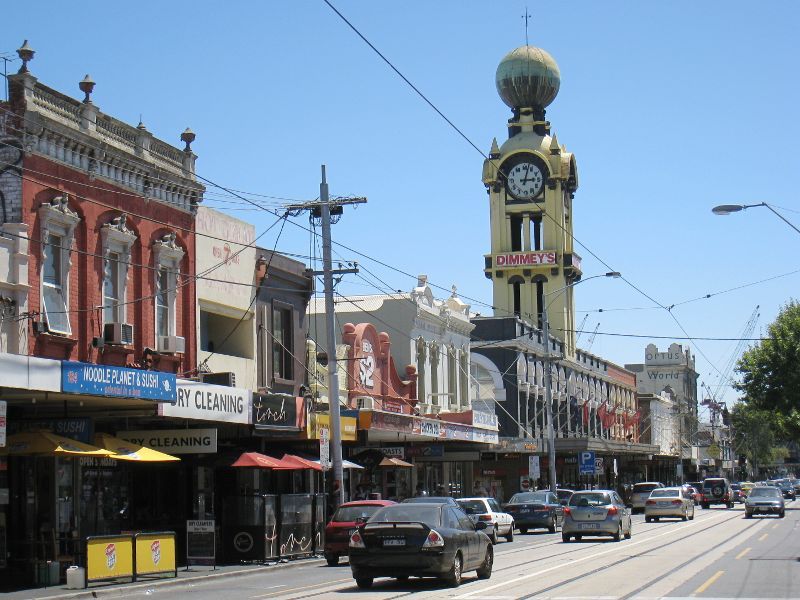
View east along Swan St towards Byron St and Dimmeys
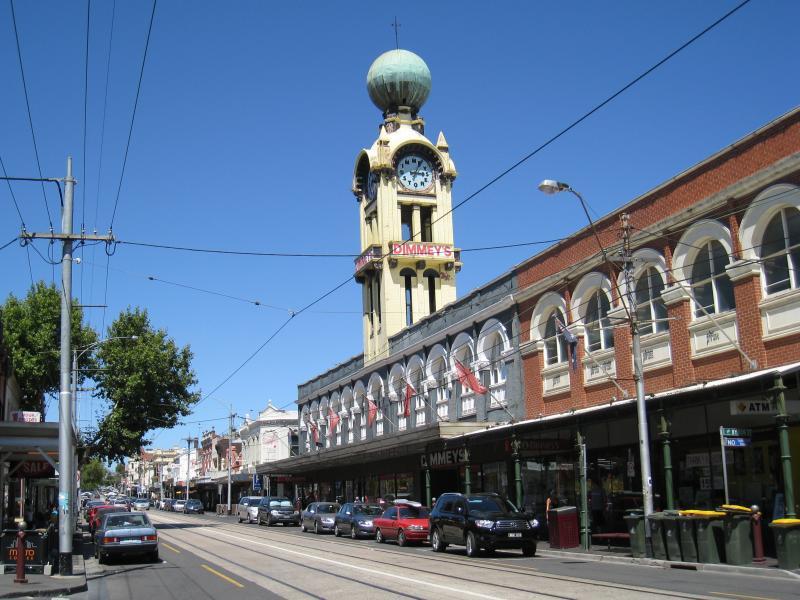
View east along Swan St at Stanley St, towards Dimmeys
Corner of Swan St and Stanley St
View west along Swan St towards Green St
View east along Swan St towards Church St
View east along Swan St towards Church St

View west along Swan St at Church St
View west along Swan St at Church St
View west along Swan St at Church St
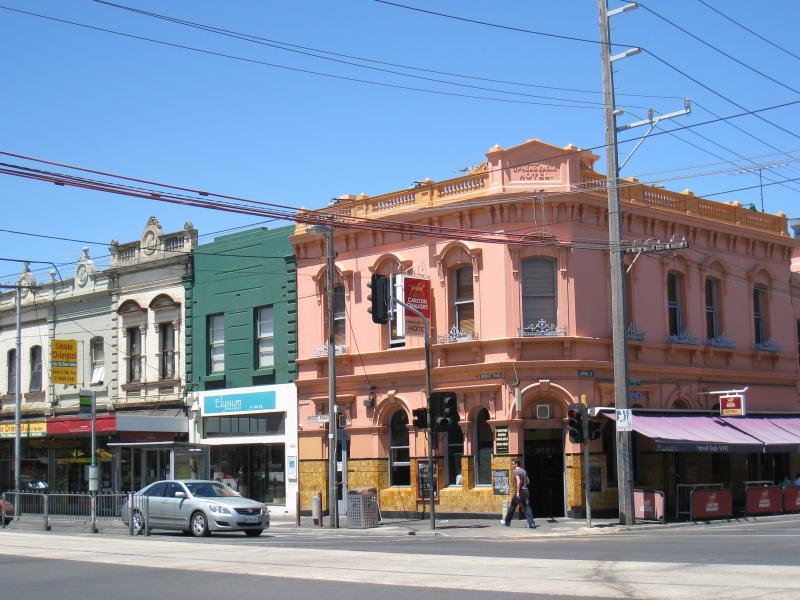
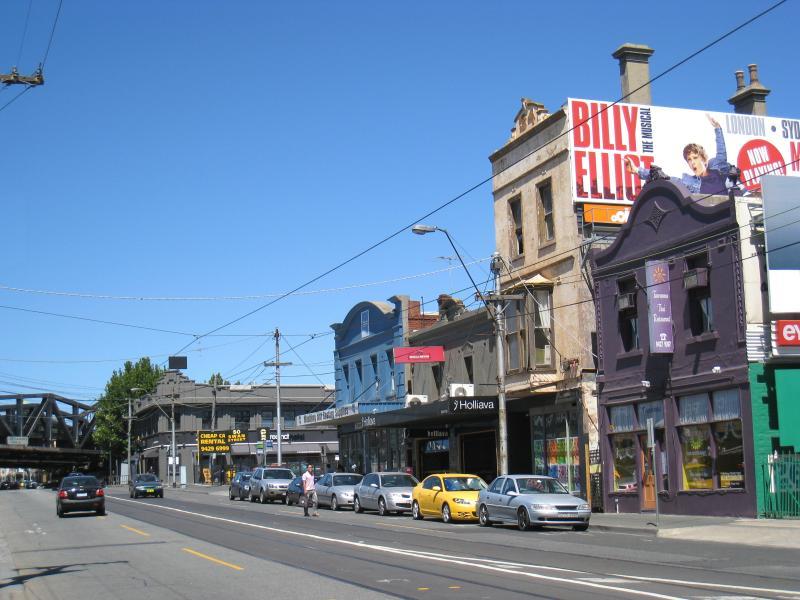
Swan Hotel, corner Swan St and Church St
View east along Swan St towards Brighton St
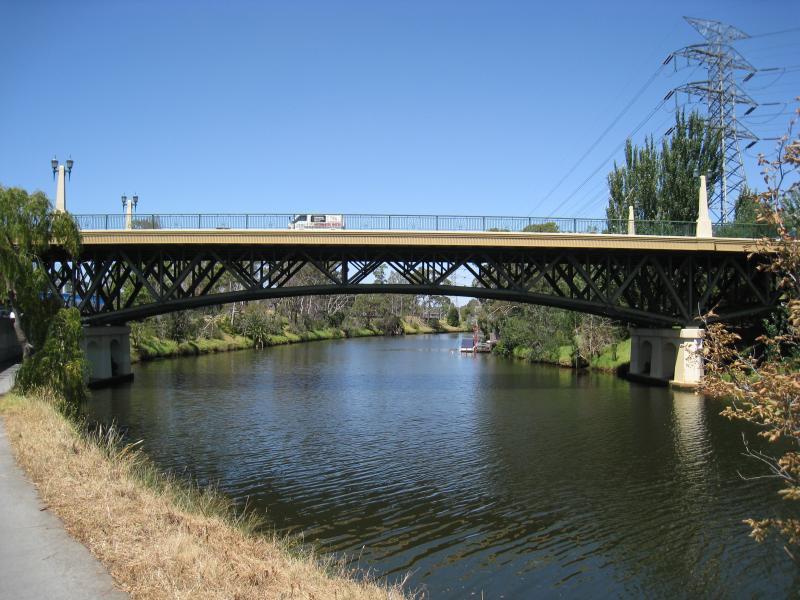
View north along Church Street Bridge
View south over Church Street Bridge
View south along Church St towards tram on Church Street Bridge
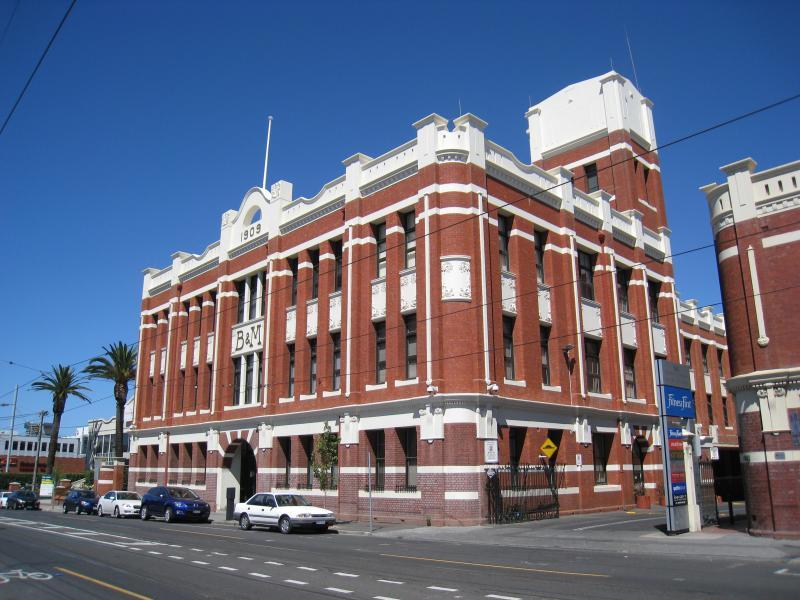
B&M building, Church St between Adelaide St and Balmain St

View south along Church St at Hill St
View south along Church St at Swan St
View south along Church St down towards Swan St
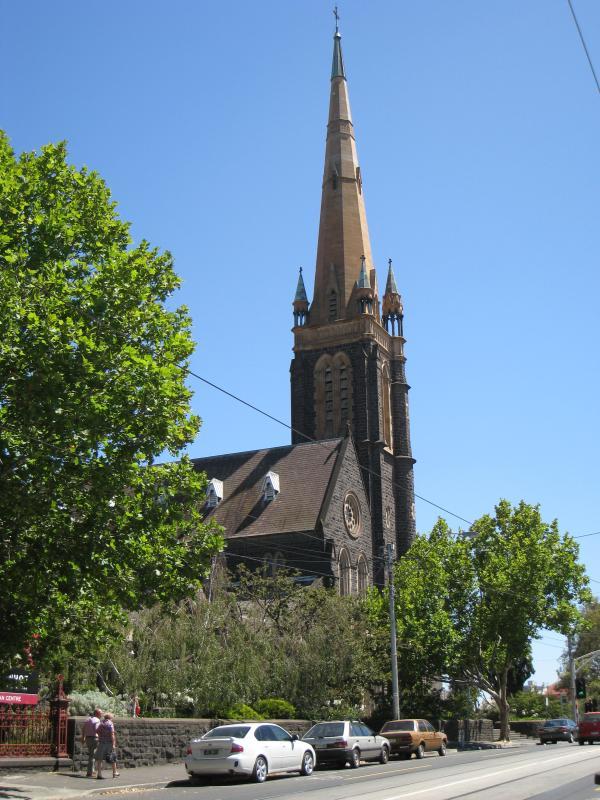
View north along Church St towards St Ignatius Catholic Church
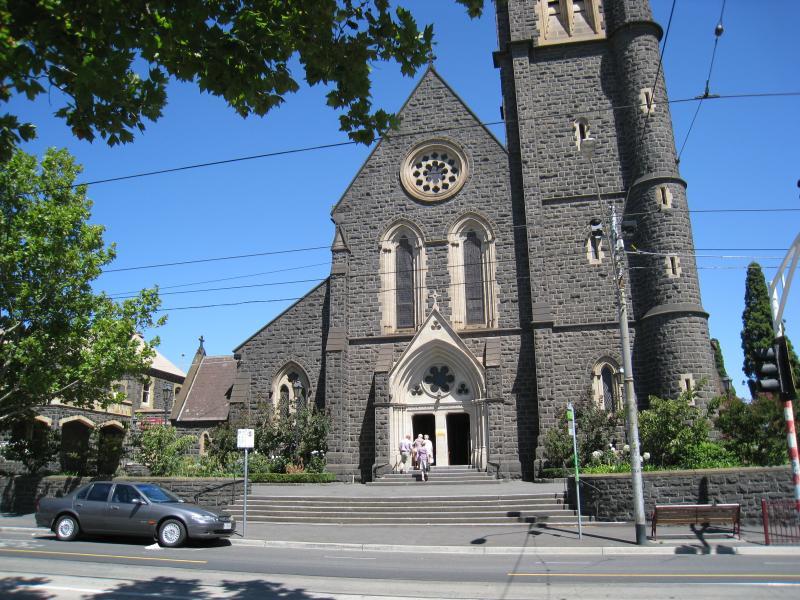
Entrance to St Ignatius Church
Within the grounds of St Ignatius Church
View north along Church St towards Bridge Rd
View south along Church St at Bridge Rd
View south along Church St towards Bridge Rd
View south along Church St at Victoria St
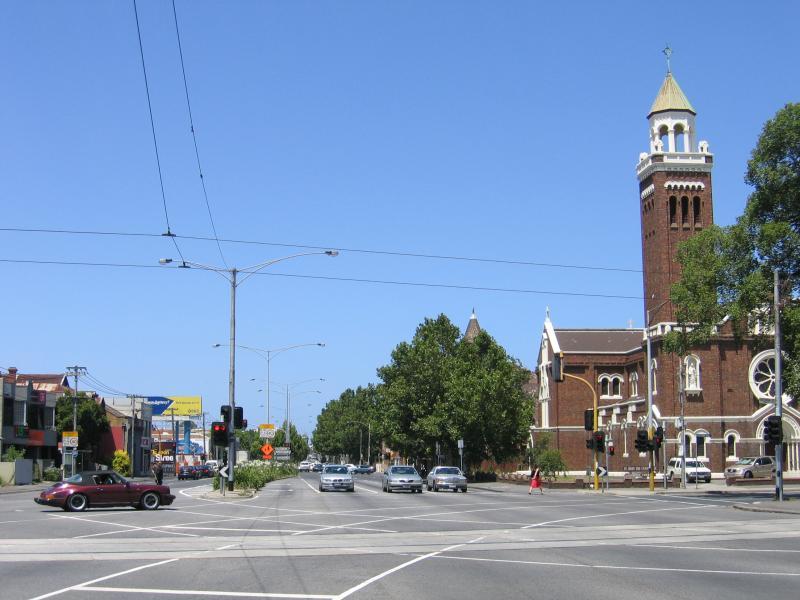
View south along Hoddle St at Victoria St towards St Johns Church
View south along Punt Rd at Bridge St
View north along Punt Rd towards Richmond Tce
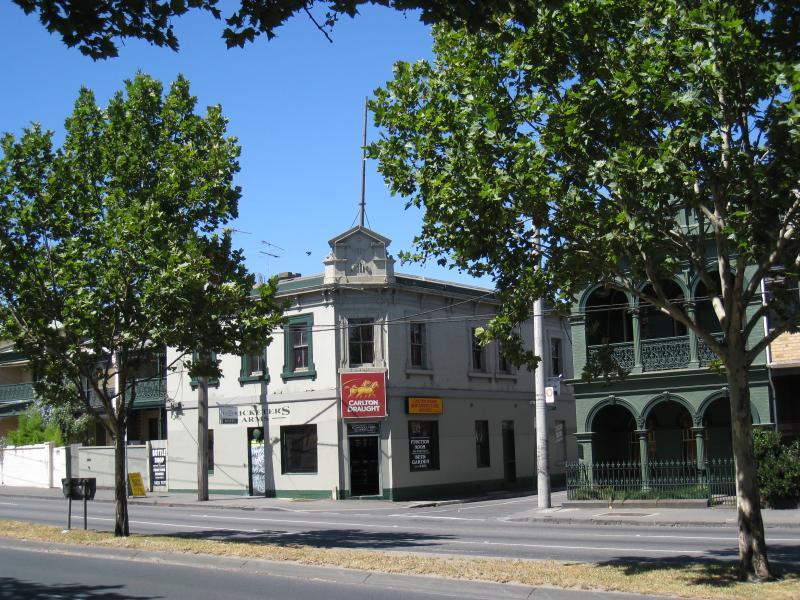
Cricketers Arms Hotel, corner Punt Rd and Tanner St
View south along Punt Rd towards Brunton Av and Richmond Station overpass
View east through park towards Jack Dyer Pavillion
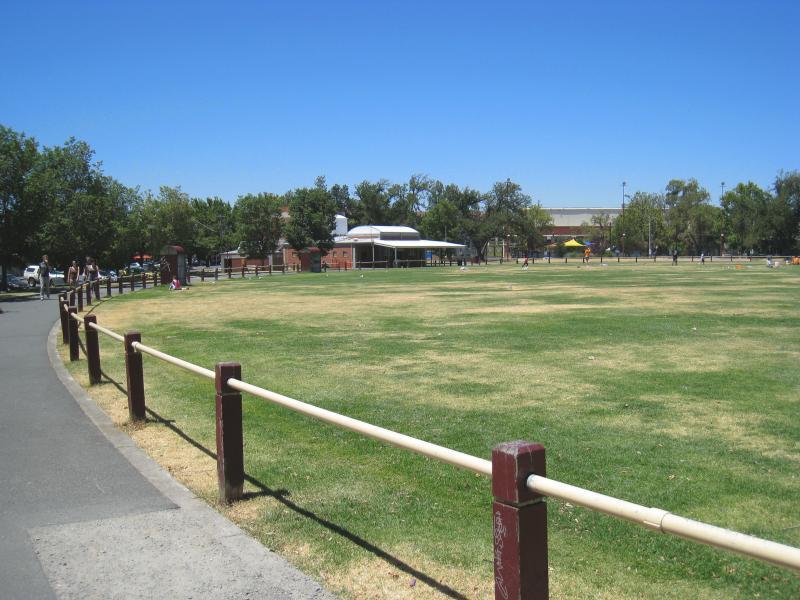
View south-east across oval
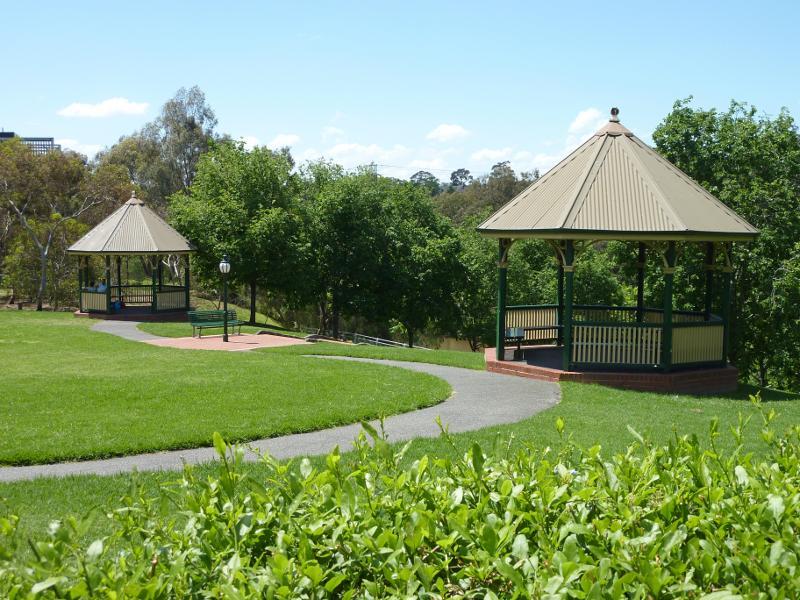
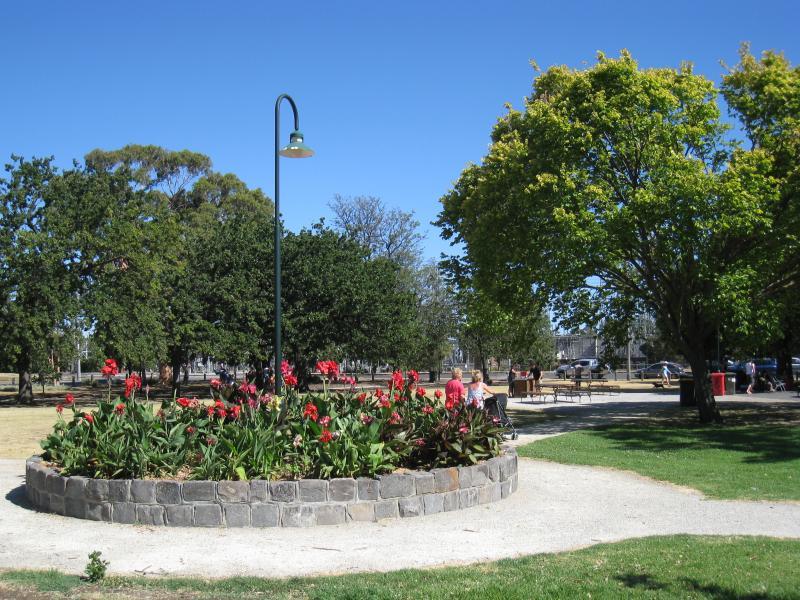
Rotundas in park viewed from Bridge Rd

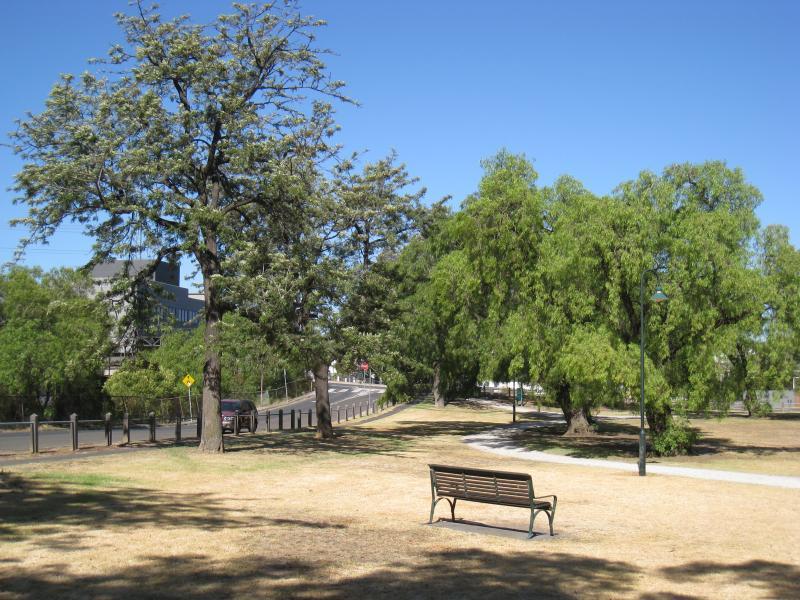
View west through park towards rotunda and Amora Hotel
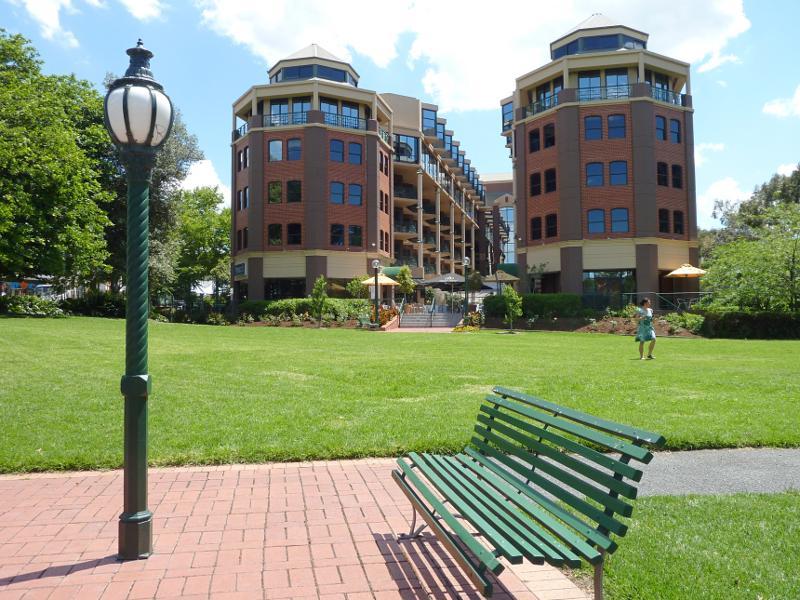
View west through park towards Amora Hotel
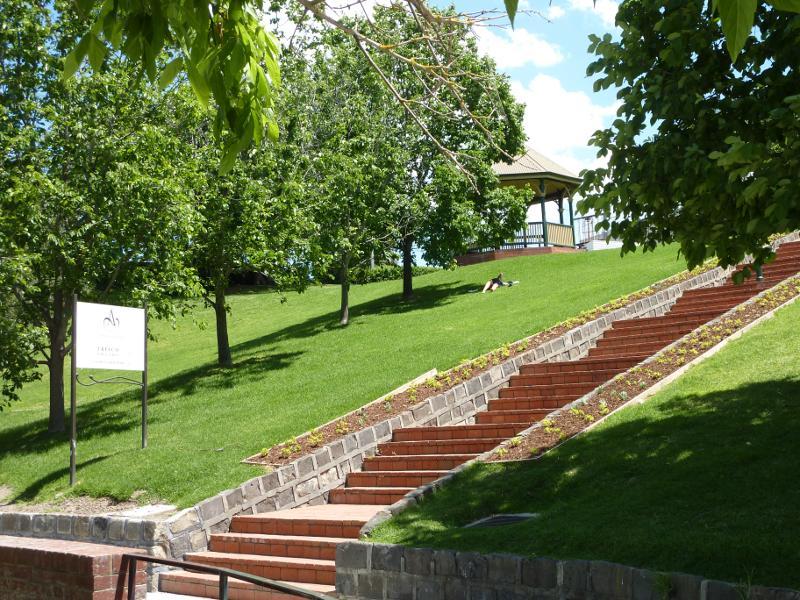
Steps leading down to Capital City Trail along Yarra River

Rotunda
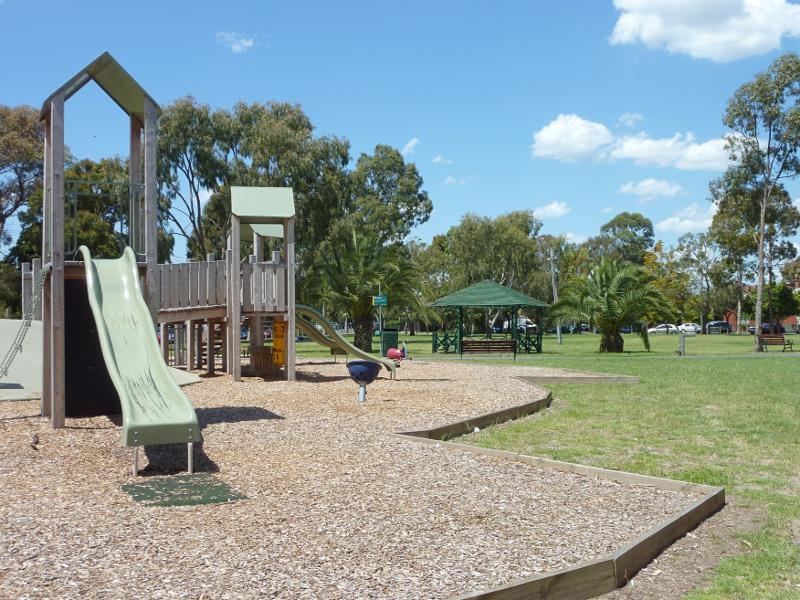
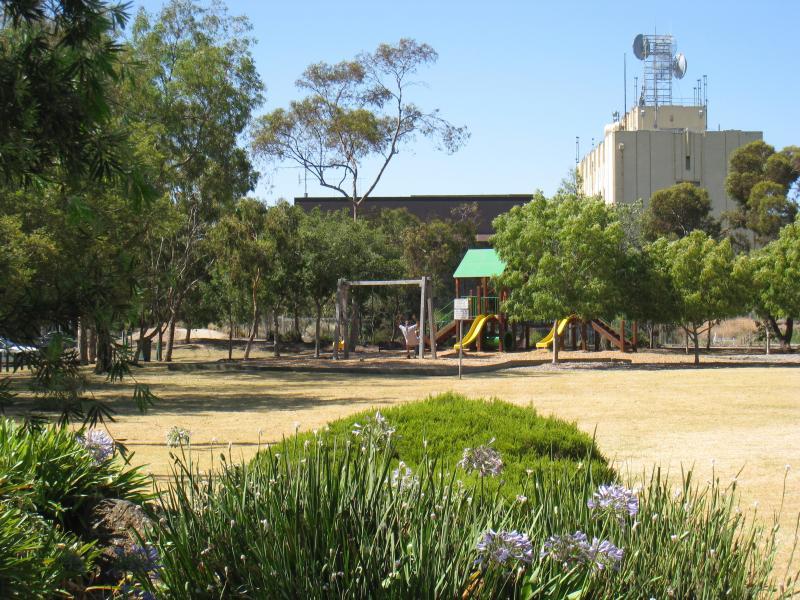
Playground
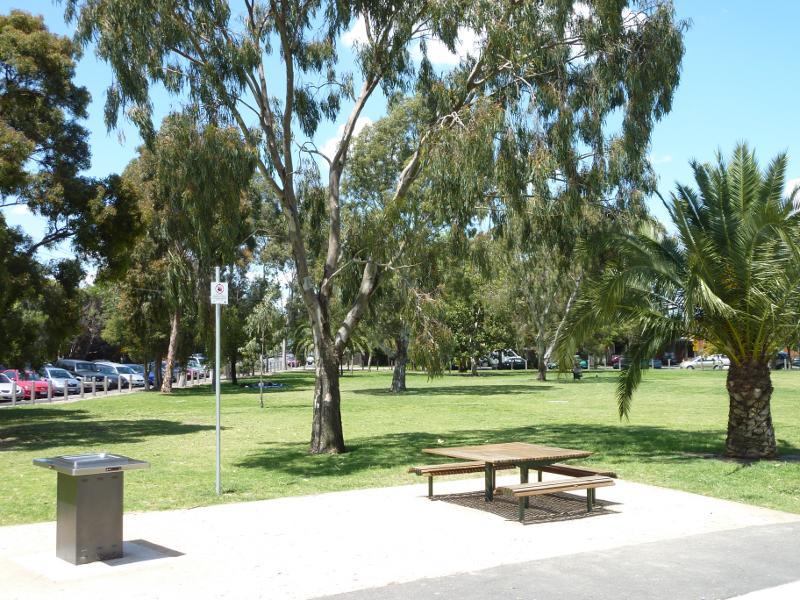
BBQ area fronting Madden Gv
View south through park towards Parkville St
View south-east through park towards Parkville St and Gibdon St
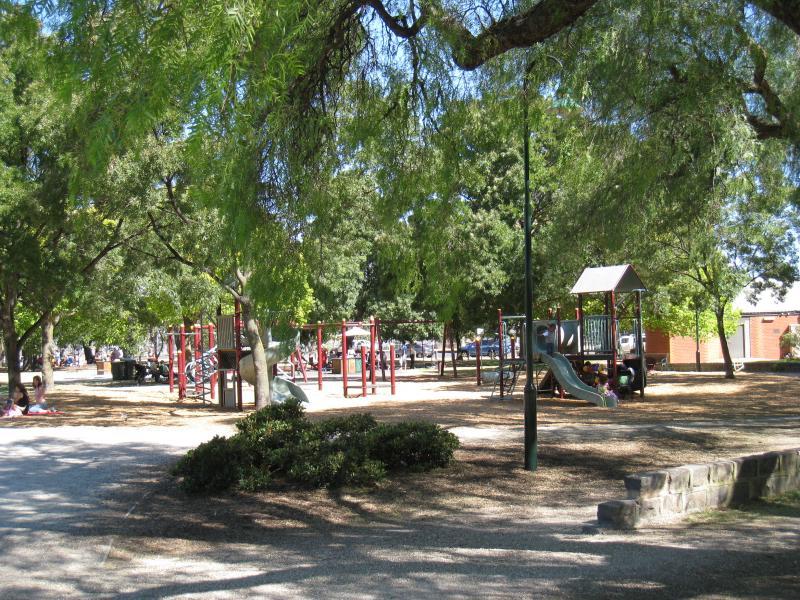
Playground
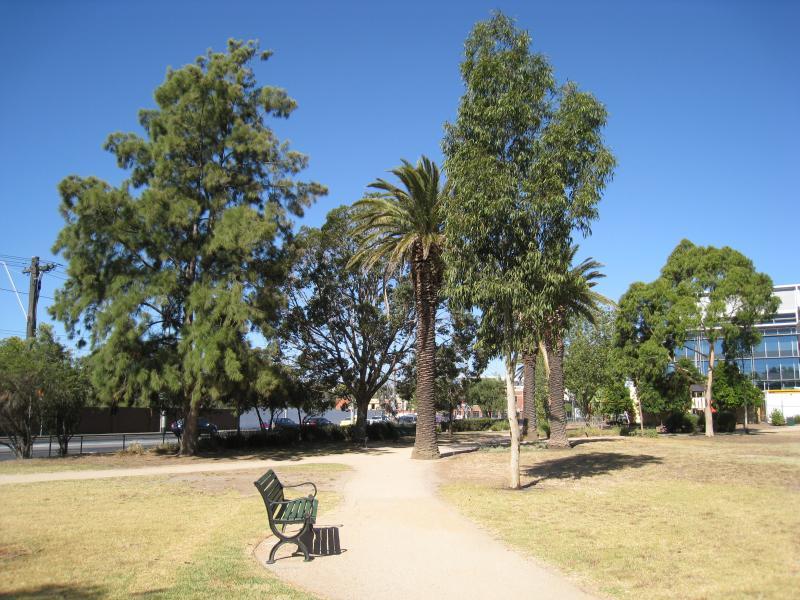
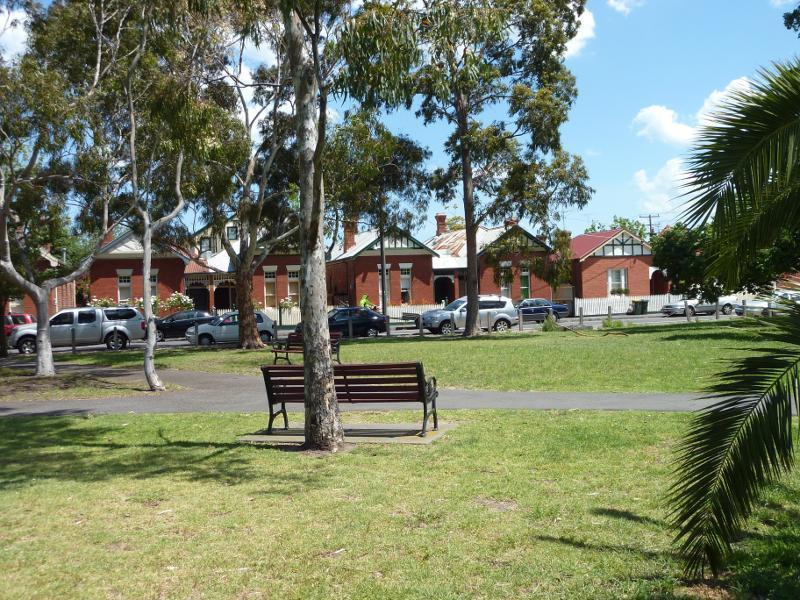
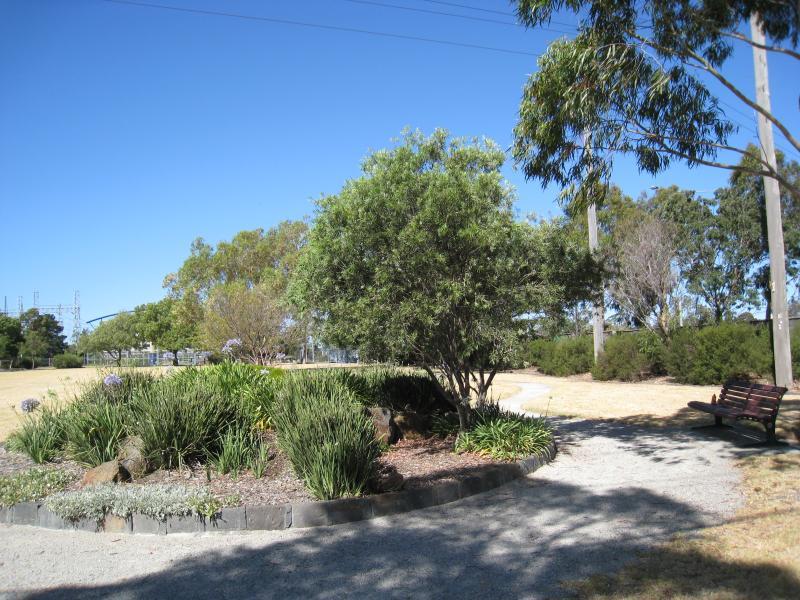
Gardens and picnic areas
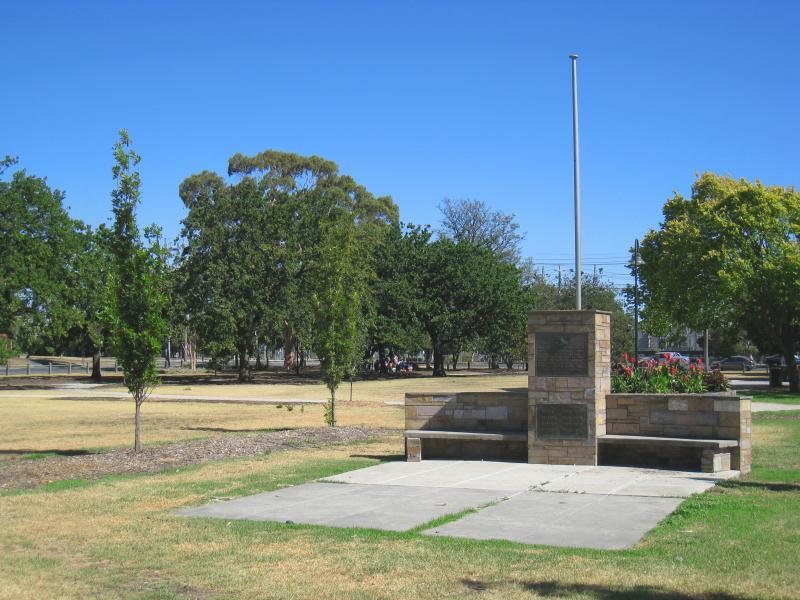
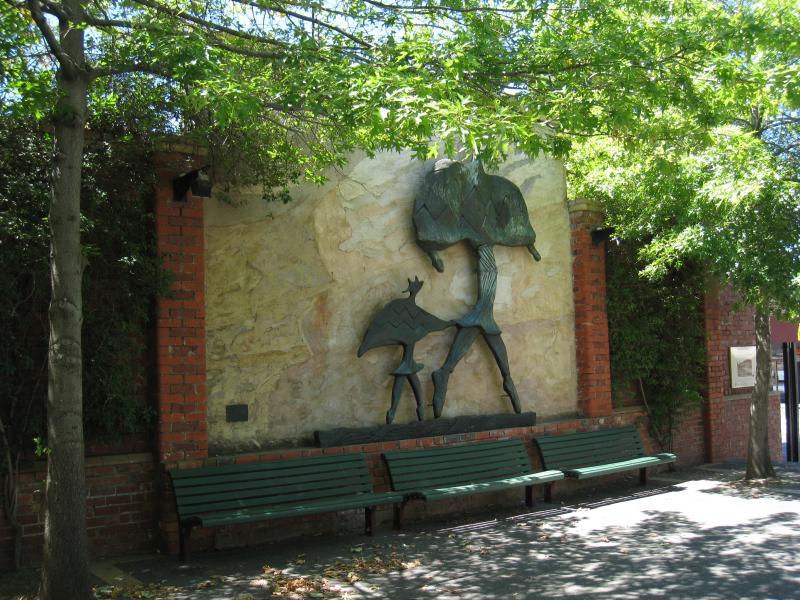
War memorial
View through gardens towards Coppin St
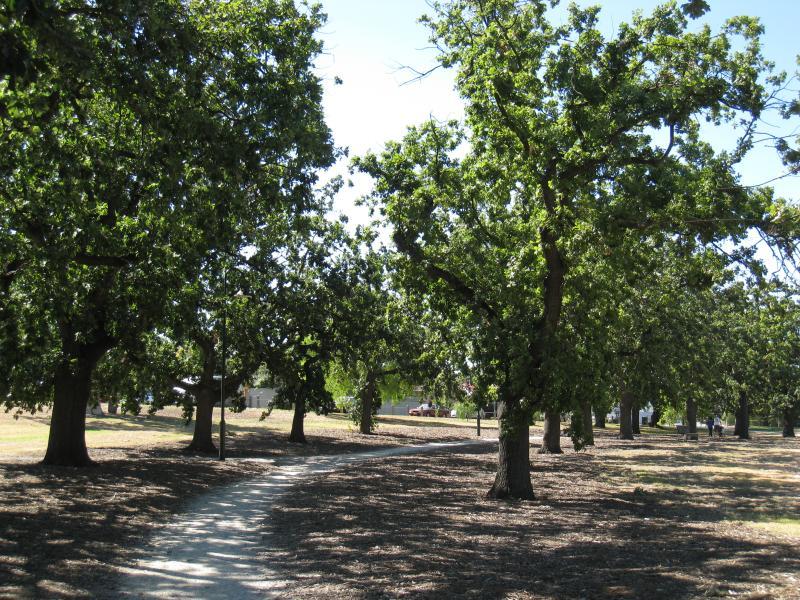
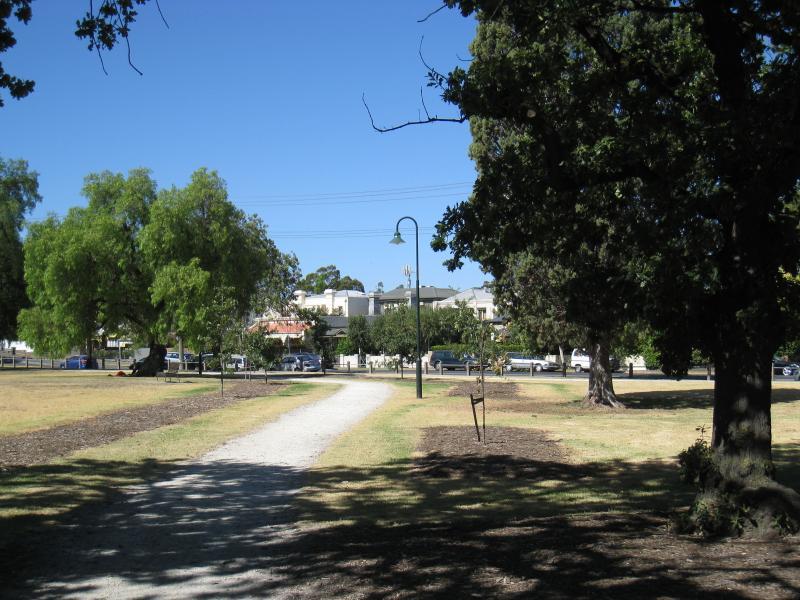
Pathway between trees
Gardens near corner of Mary St and Madden St
View north through McConchie Reserve towards playground
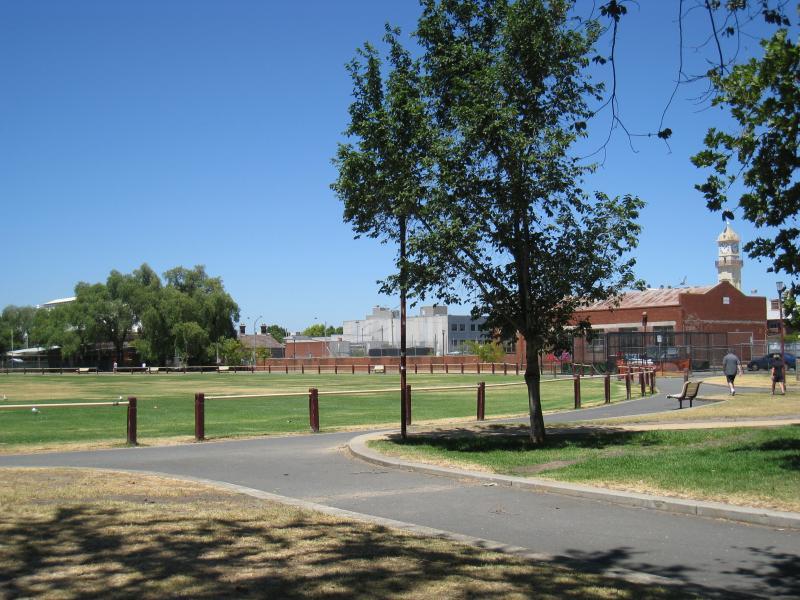
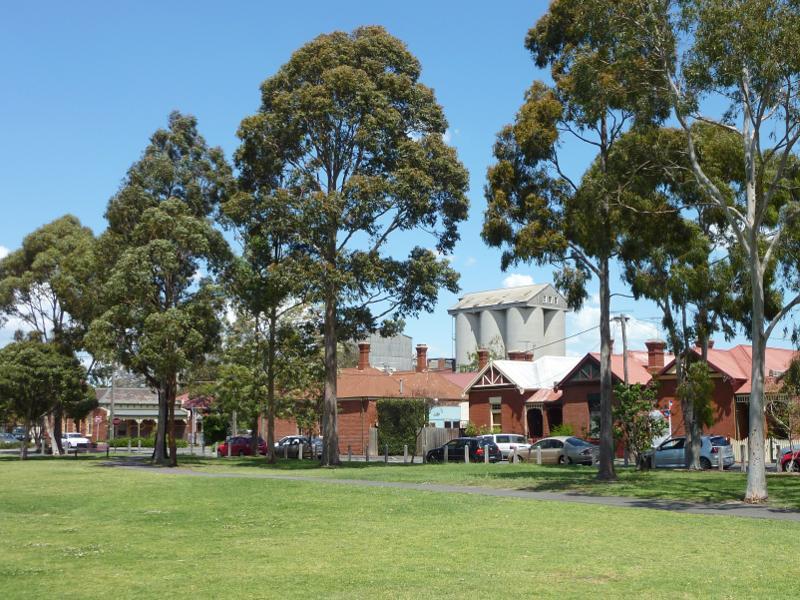
Southern end of park
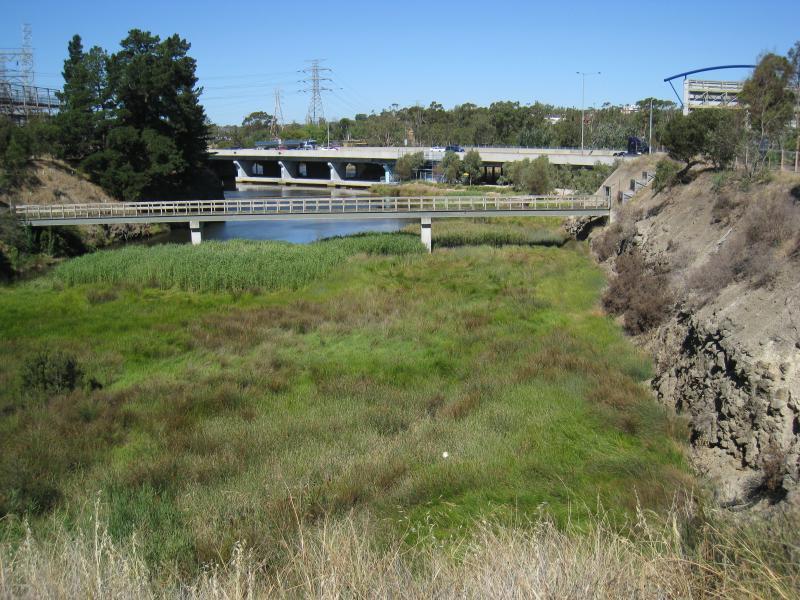
View east through wetlands towards Burnley Harbour
View east across Burnley Harbour towards Monash Fwy
Gardens fronting western edge of Burnley Harbour
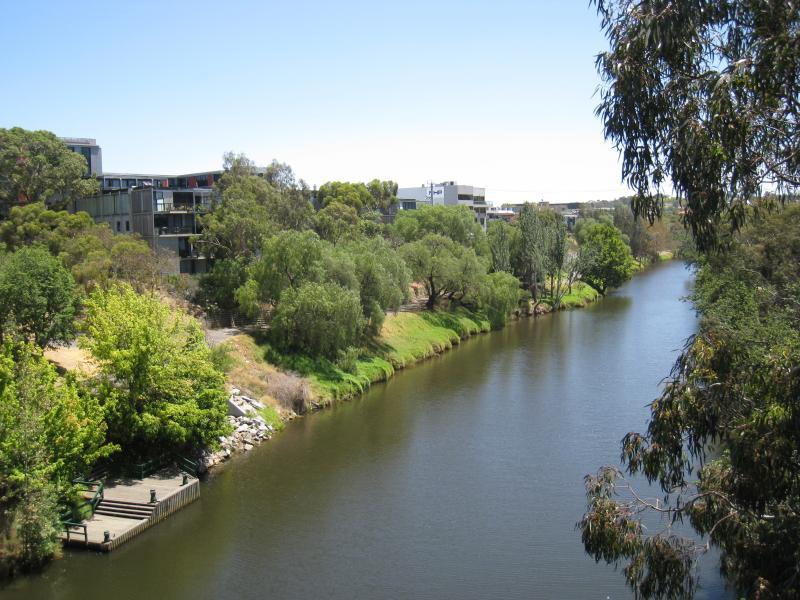
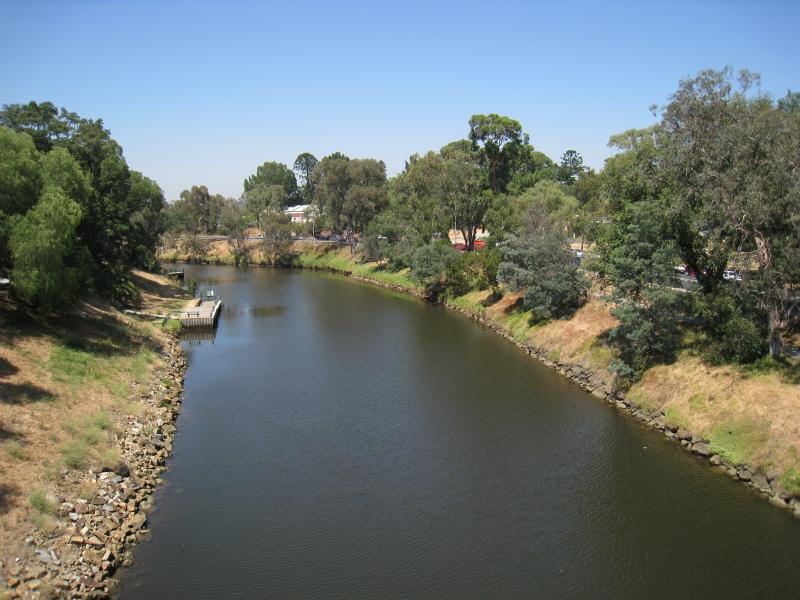
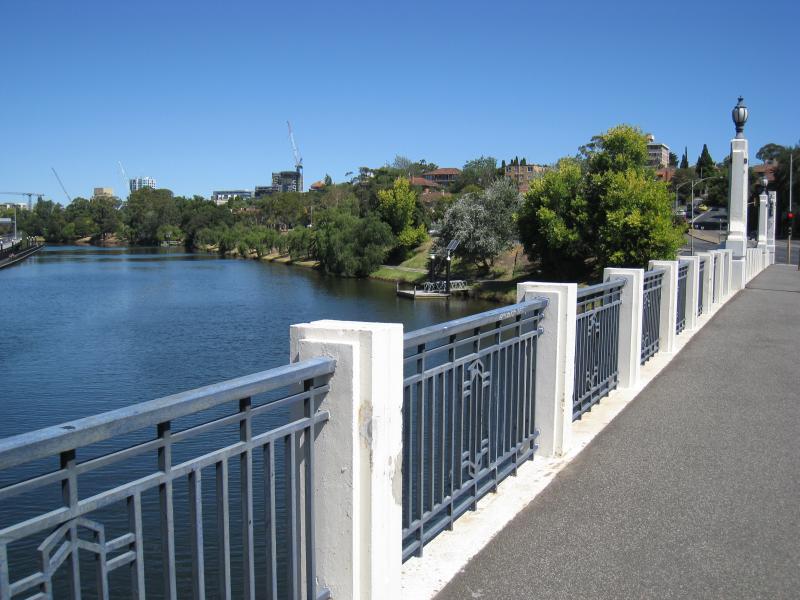
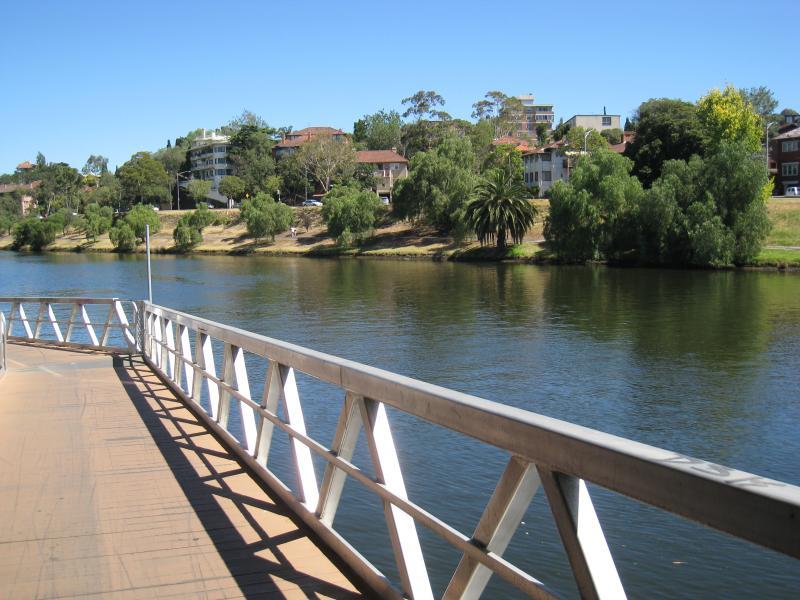
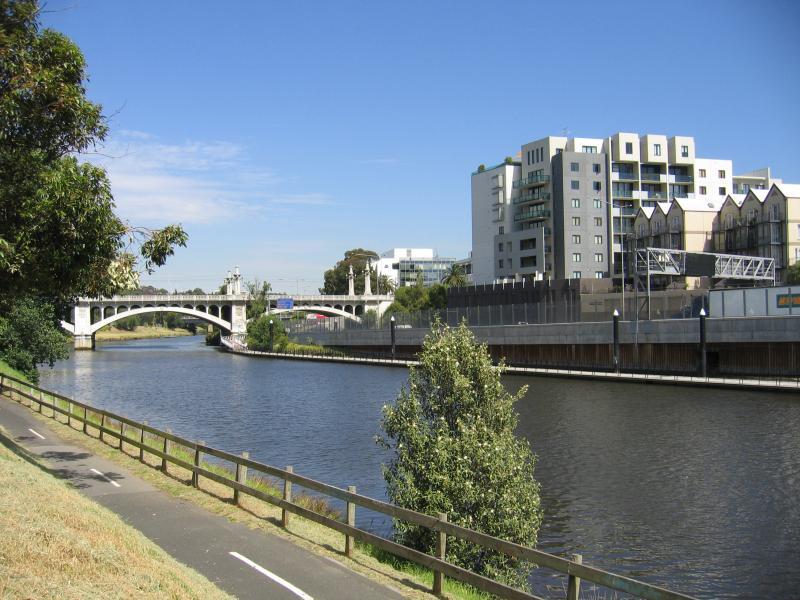
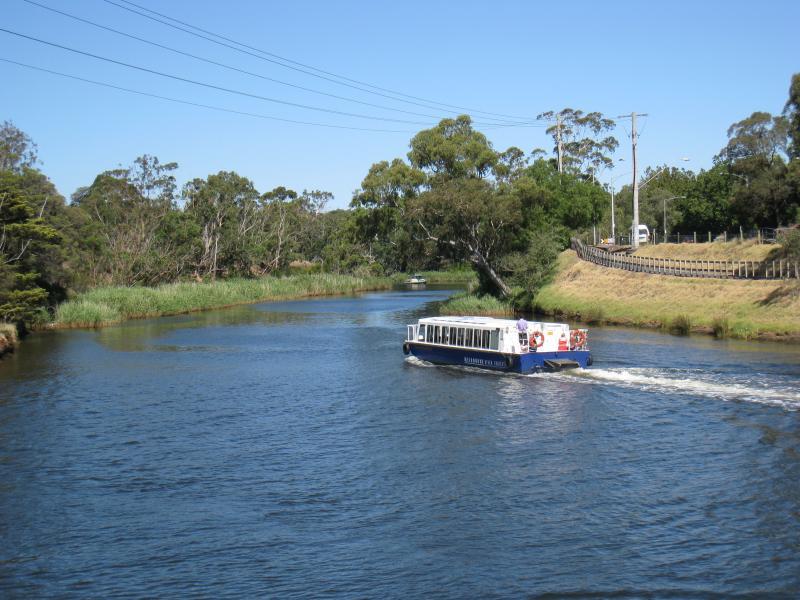
View north along Yarra River from Victoria Bridge
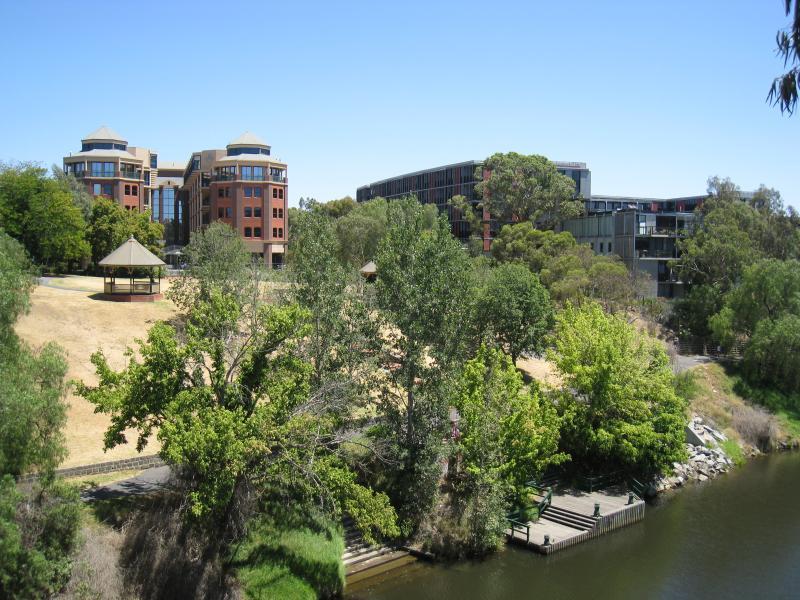
View north along Yarra River towards eastern side from Victoria Bridge
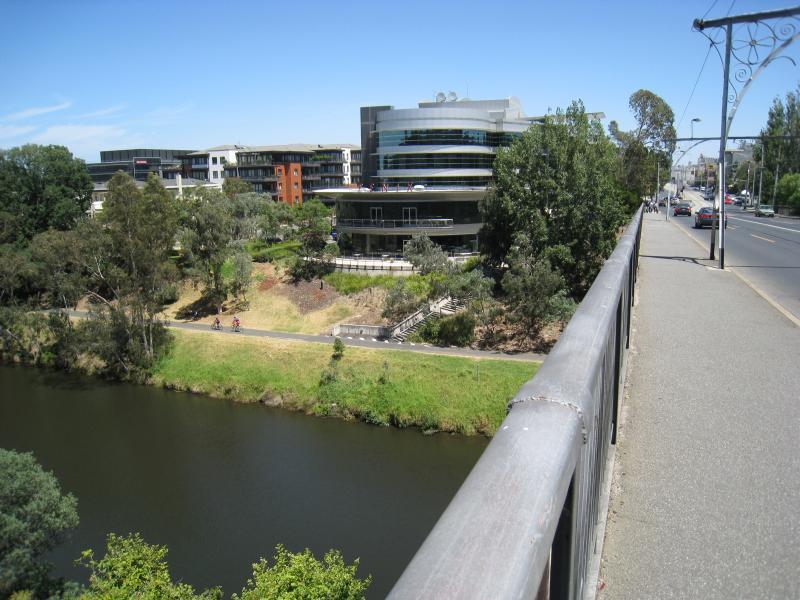
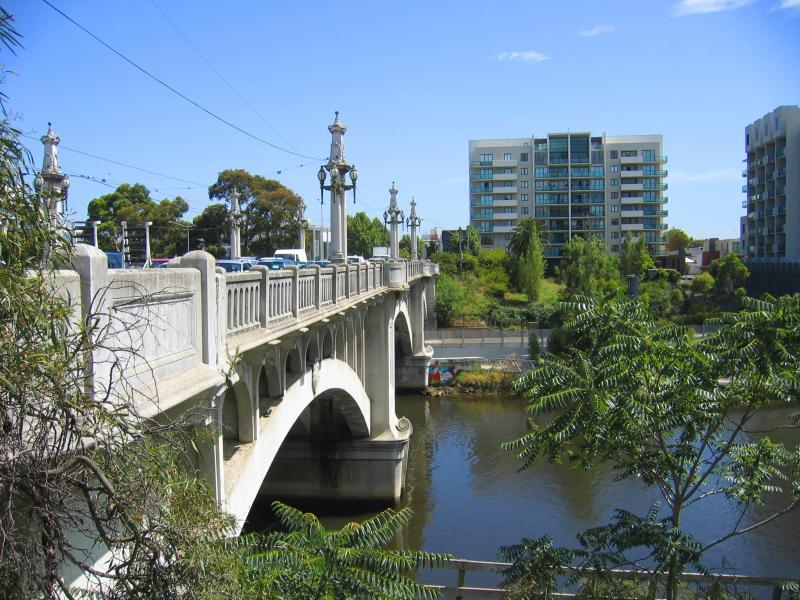
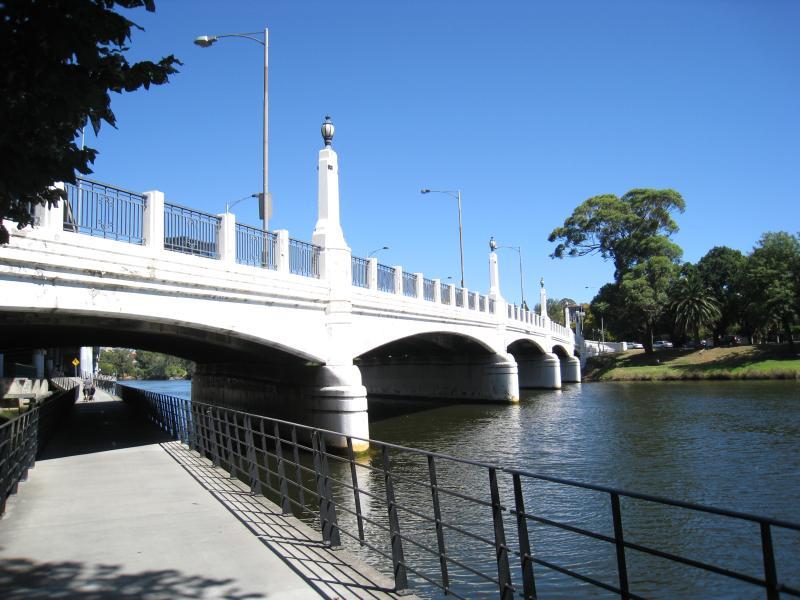
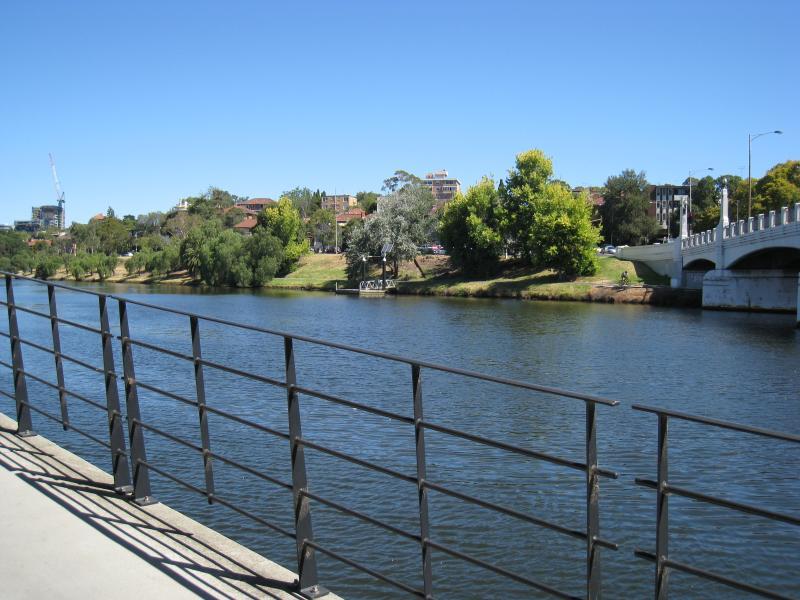
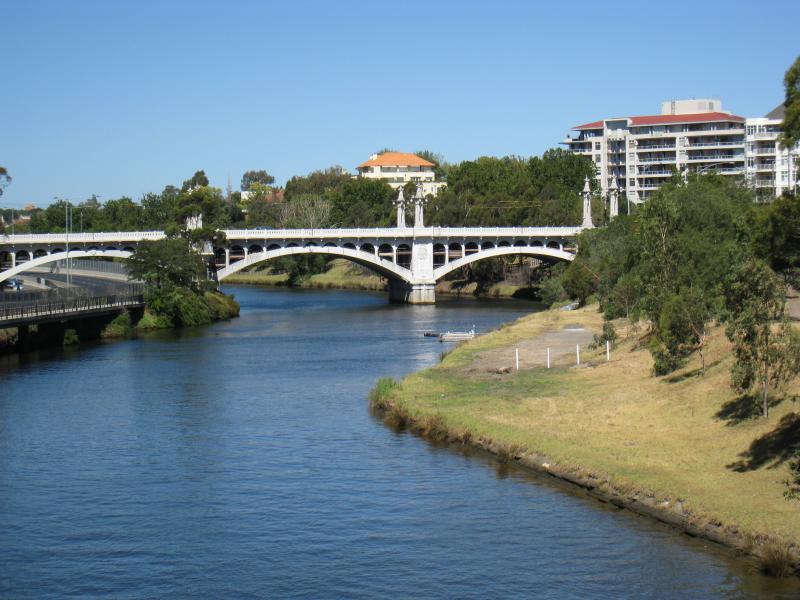
View west along Victoria Bridge across Yarra River
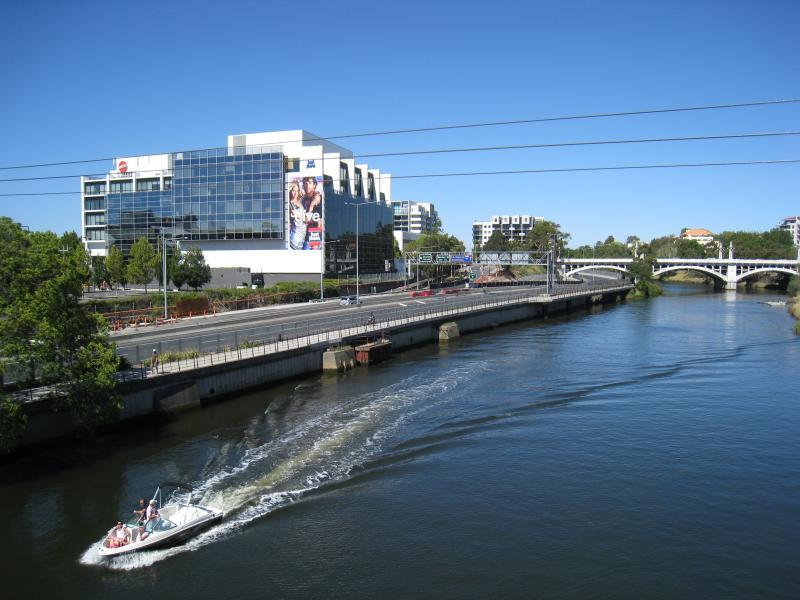
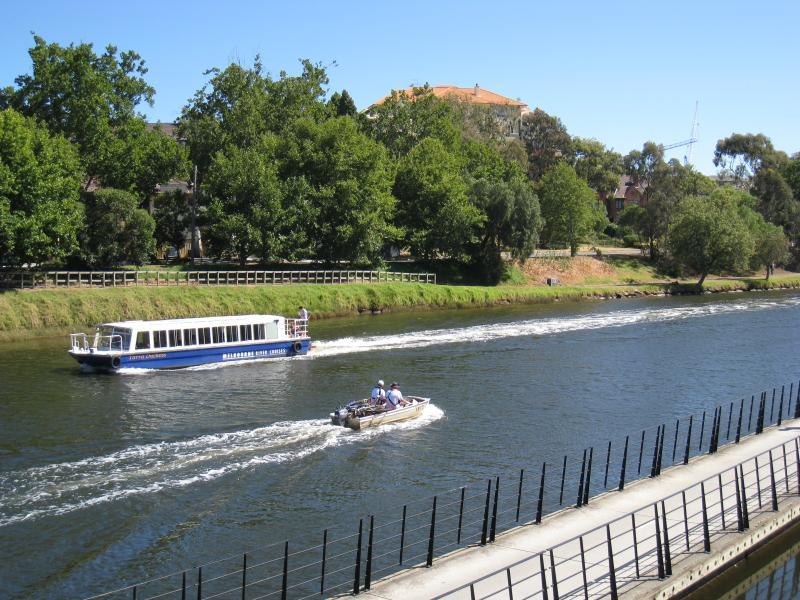
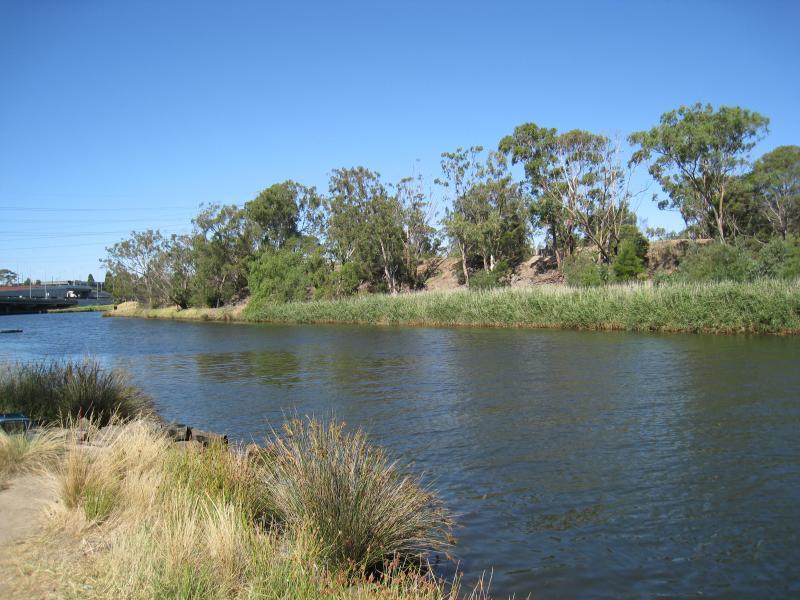
View south along Yarra River from Victoria Bridge
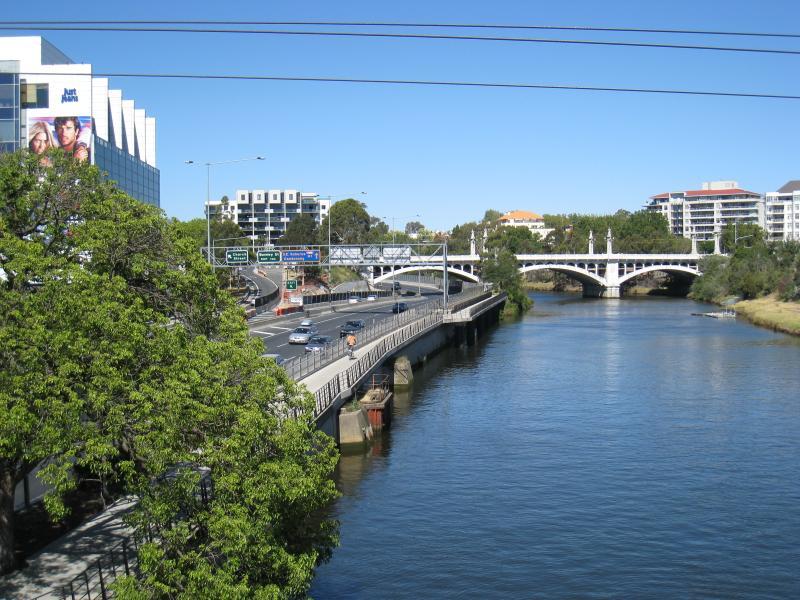
View south along Yarra River from Victoria Bridge
View south along Yarra River from Victoria Bridge

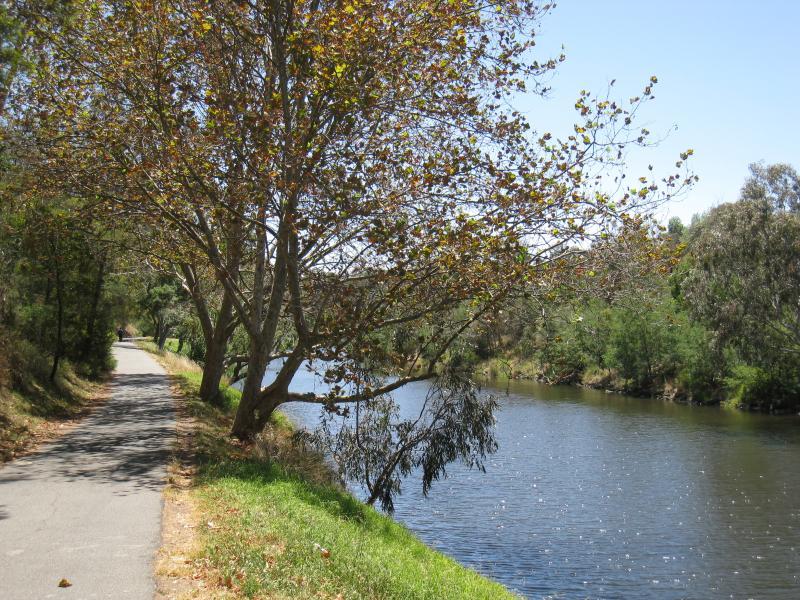
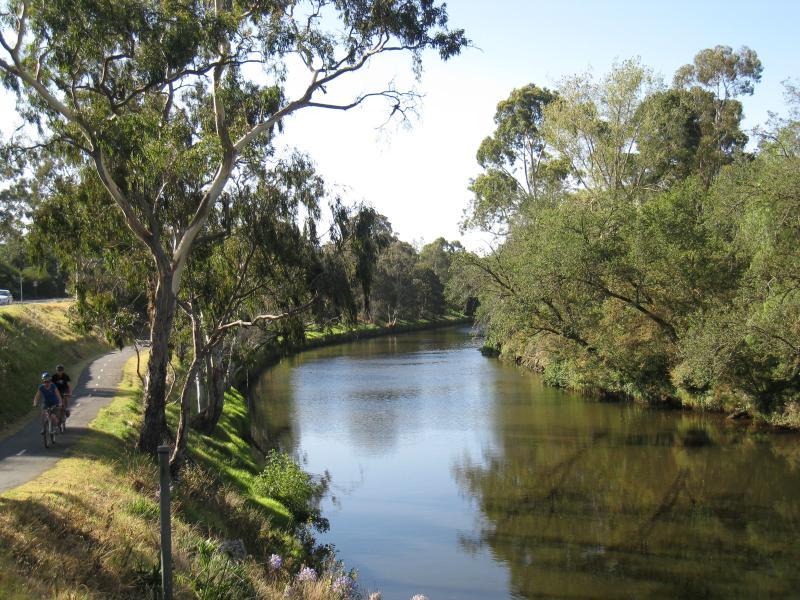
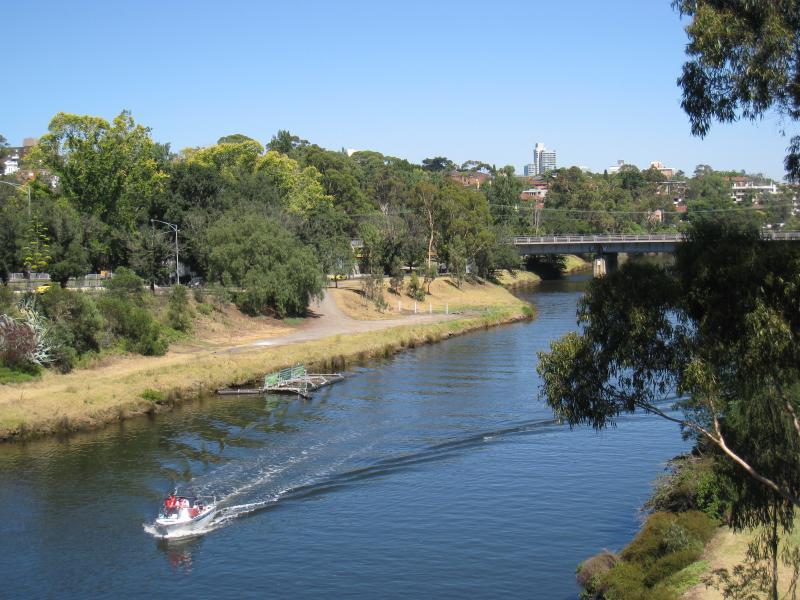
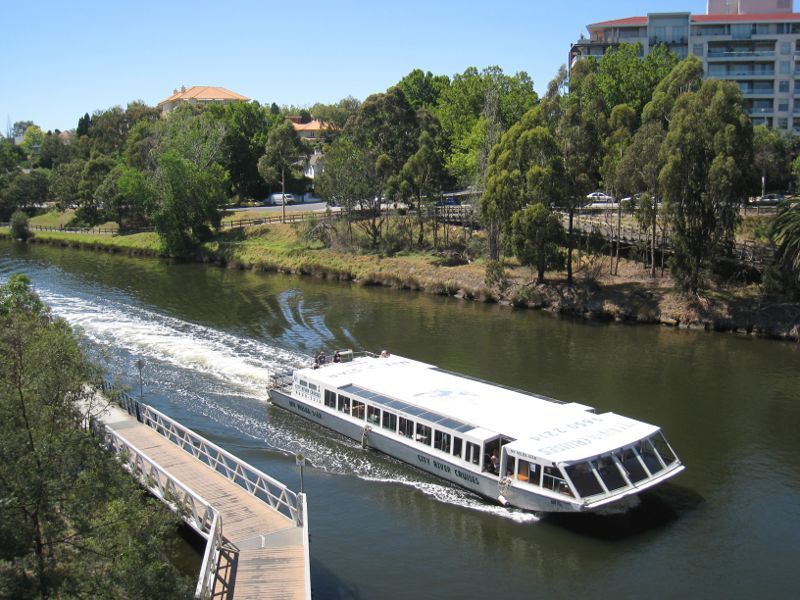
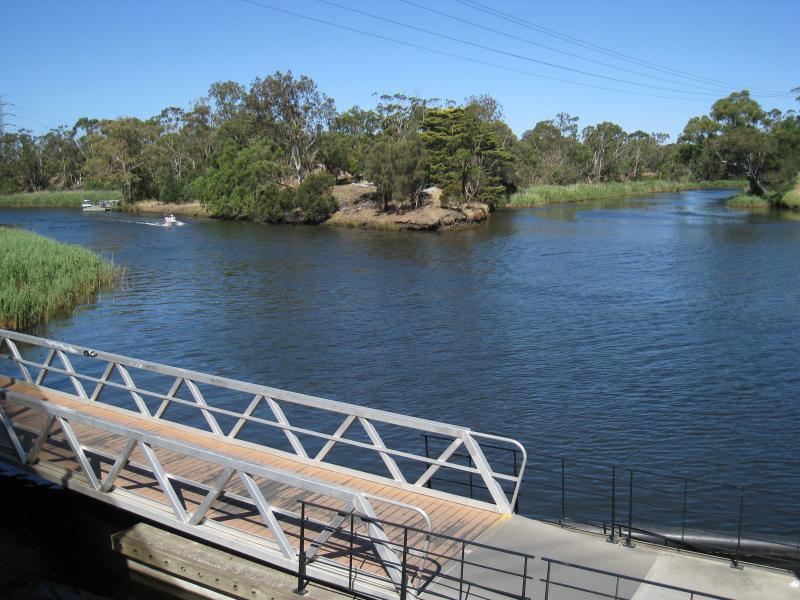
View south along Capital City Trail along Yarra River towards Victoria Bridge
View east across Yarra River, Capital City Trail south of Victoria Bridge

View south along Yarra River and Capital City Trail between Victoria Bridge and Hawthorn Bridge
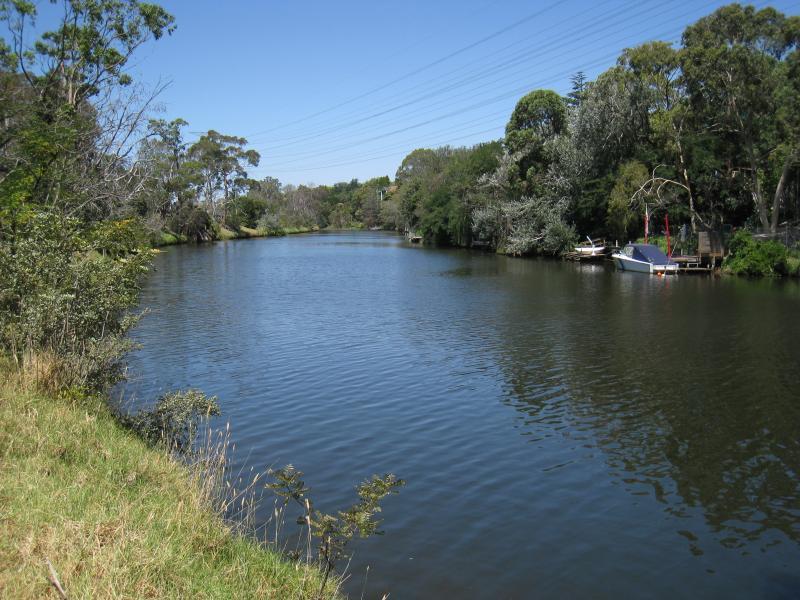
View north along Yarra River and Capital City Trail between Victoria Bridge and Hawthorn Bridge
View south along Yarra River from Richmond Landing towards Hawthorn Bridge
View west across Yarra River towards O'Connell Reserve from Hawthorn Bridge
View north along Yarra River from Hawthorn Bridge
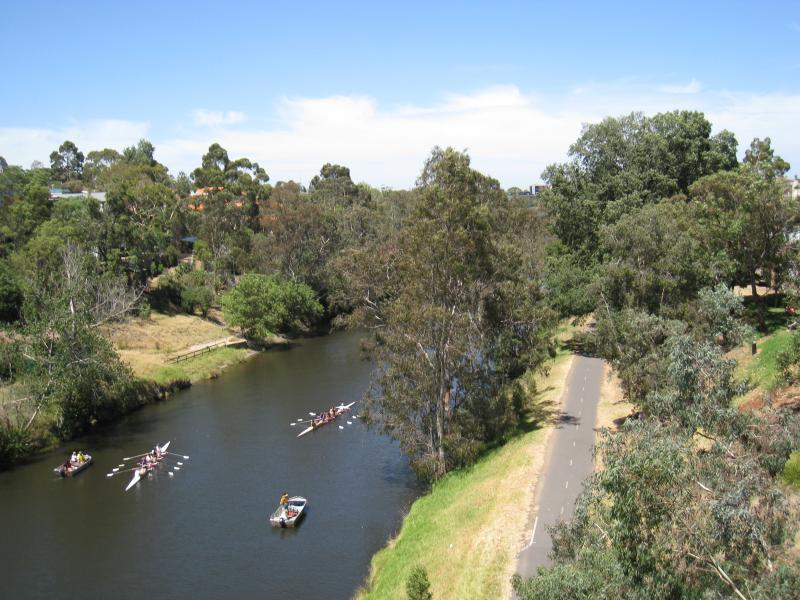
View south along Yarra River from Hawthorn Bridge
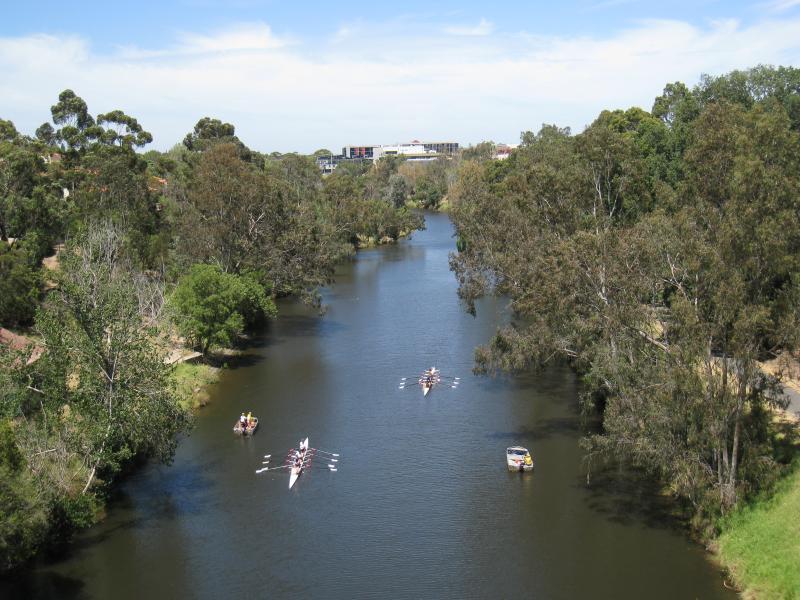
View south along Yarra River from Hawthorn Bridge
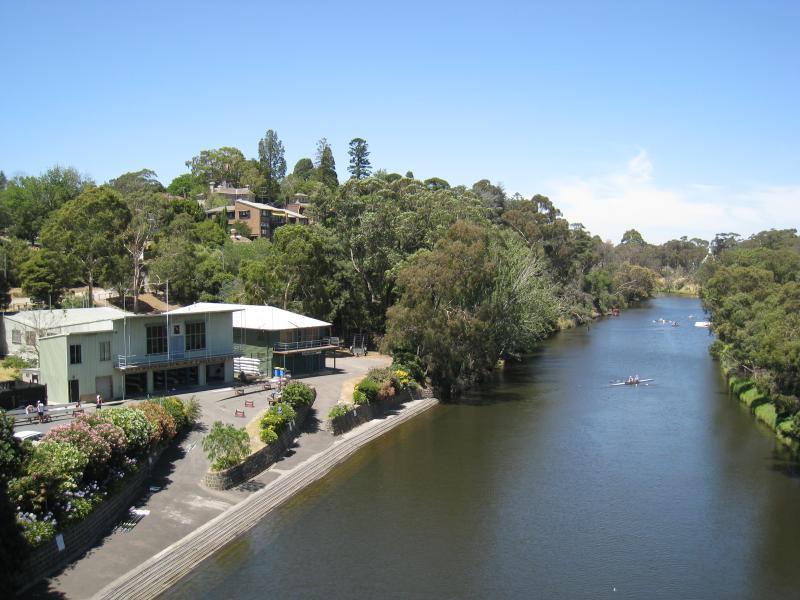
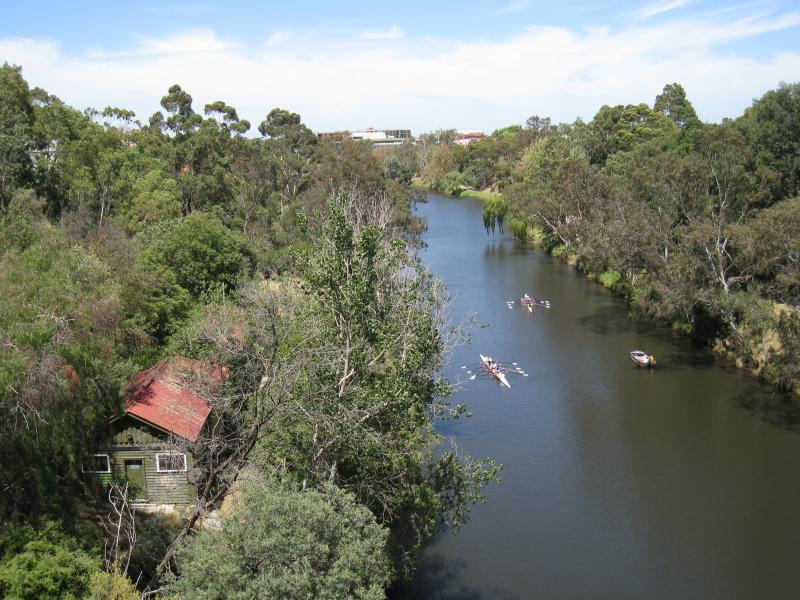
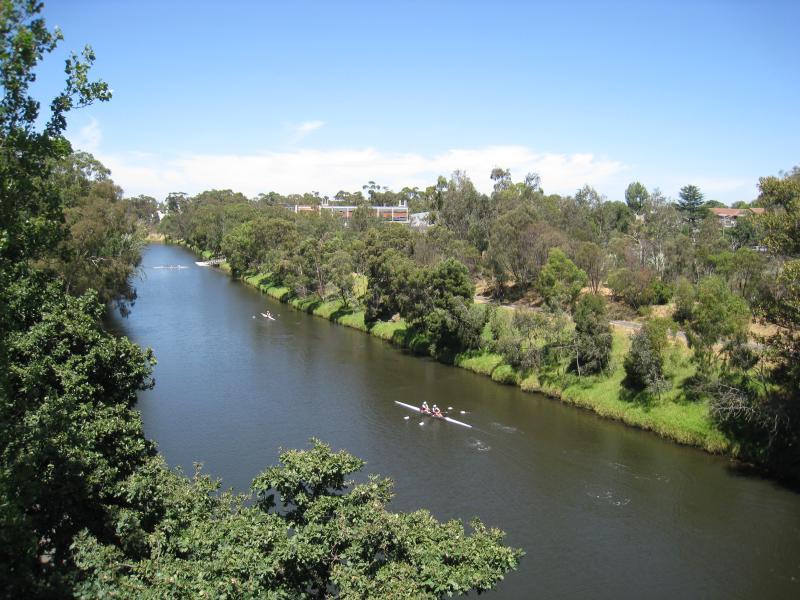
View south along Yarra River from Hawthorn Bridge towards rowing clubs
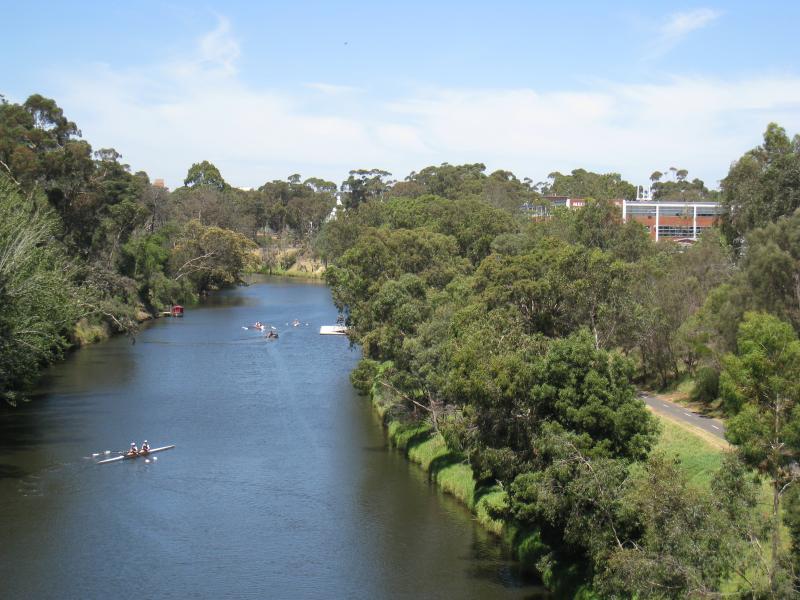
View south-east along Yarra River at Burnley Park
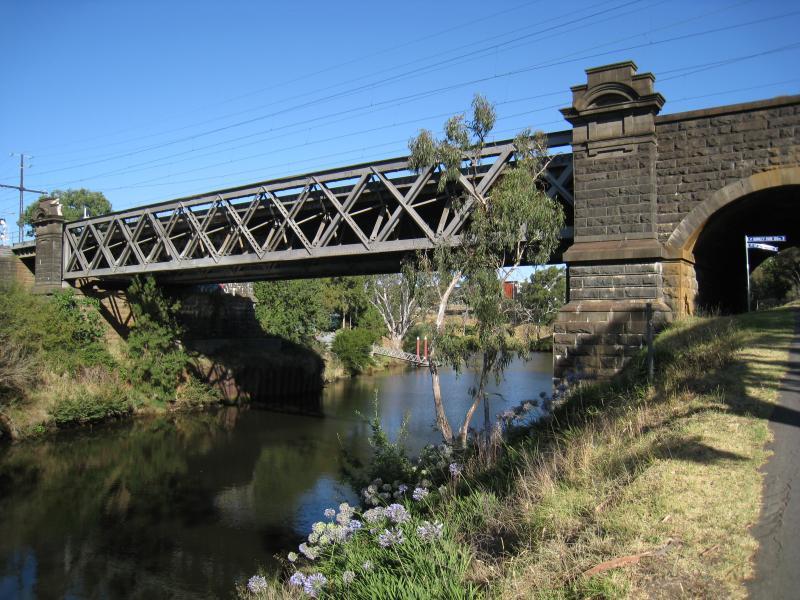
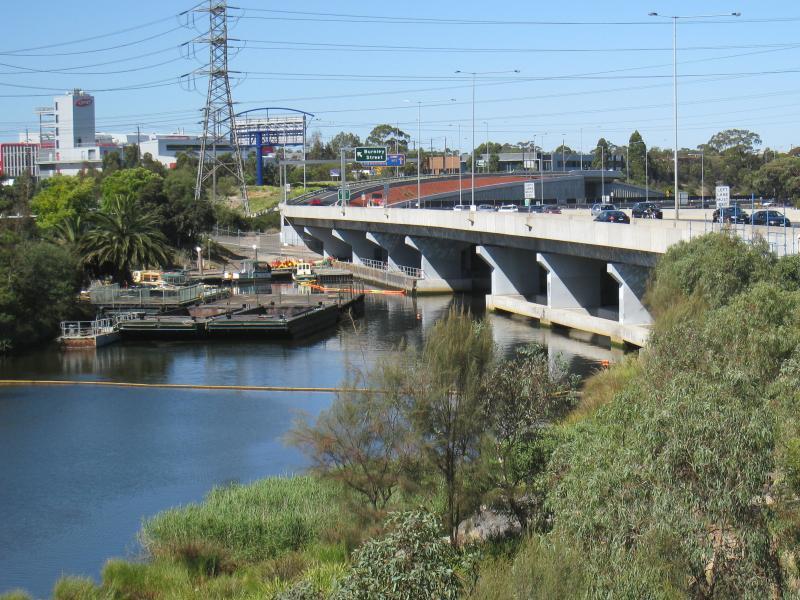
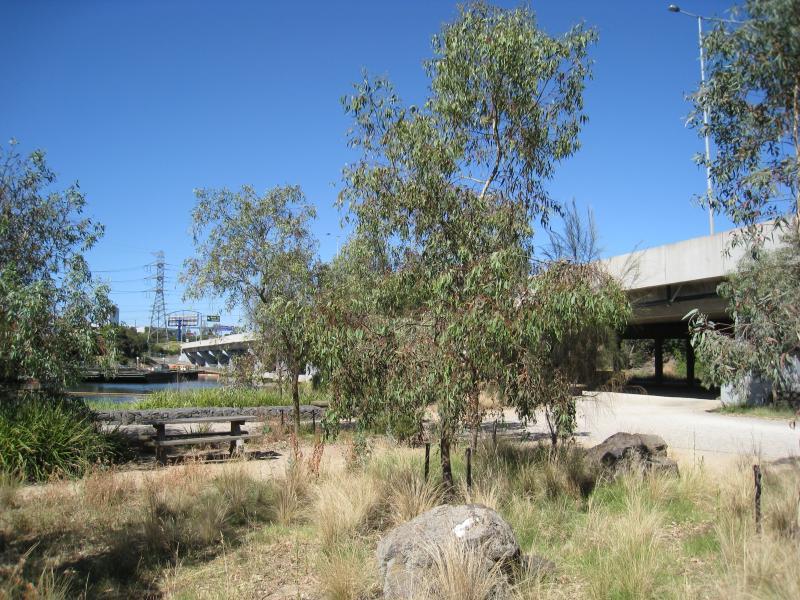
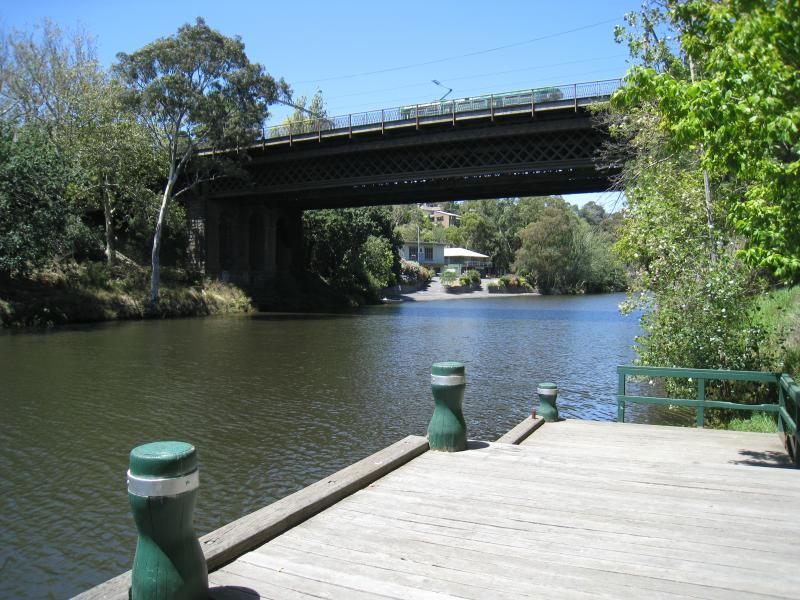
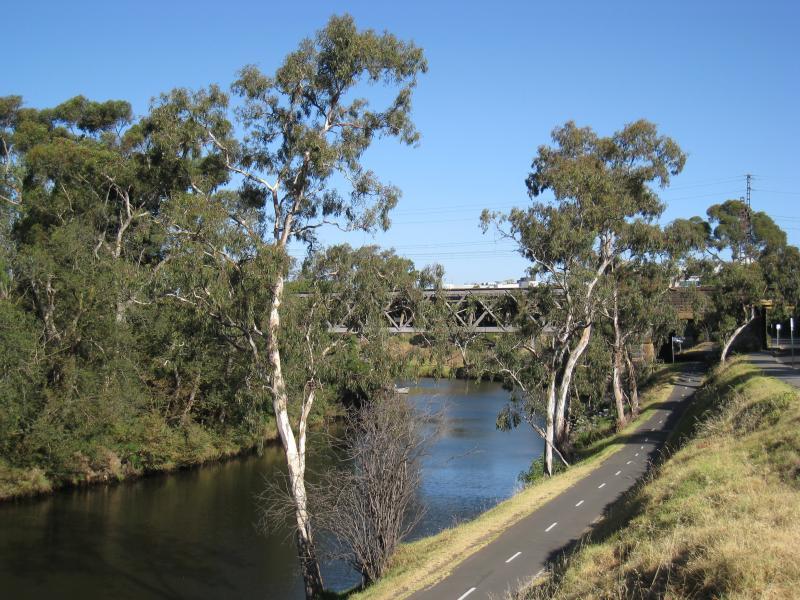
Railway bridge over Yarra River, Yarra Bvd at Burnley Park
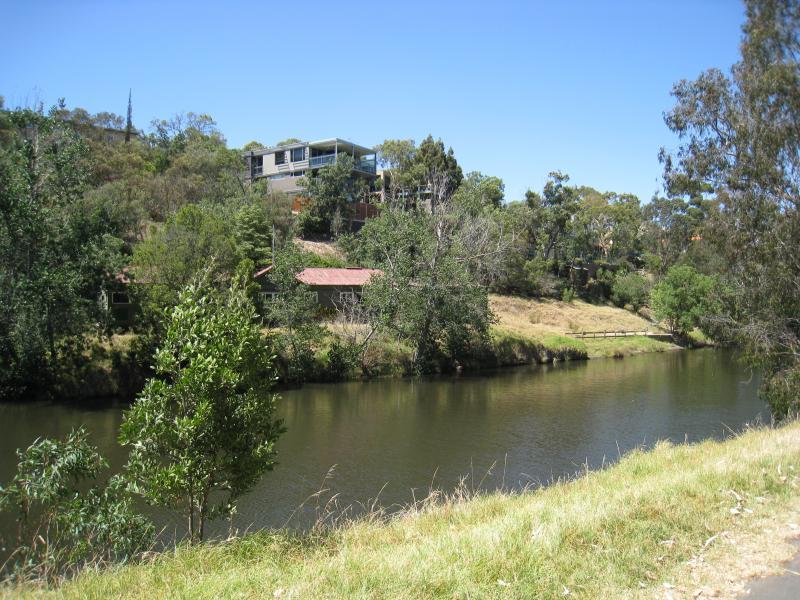
View north-west along Yarra River at Burnley Park
View east across Yarra River from Yarra Bvd north of Swan St overpass

View north-west along Yarra River from bridge at Swan St
View south-east along Yarra River from bridge at Swan St
View south-east across Yarra River north of Monash Fwy overpass
View south across Yarra River from Yarra Bvd east of Monash Fwy interchange
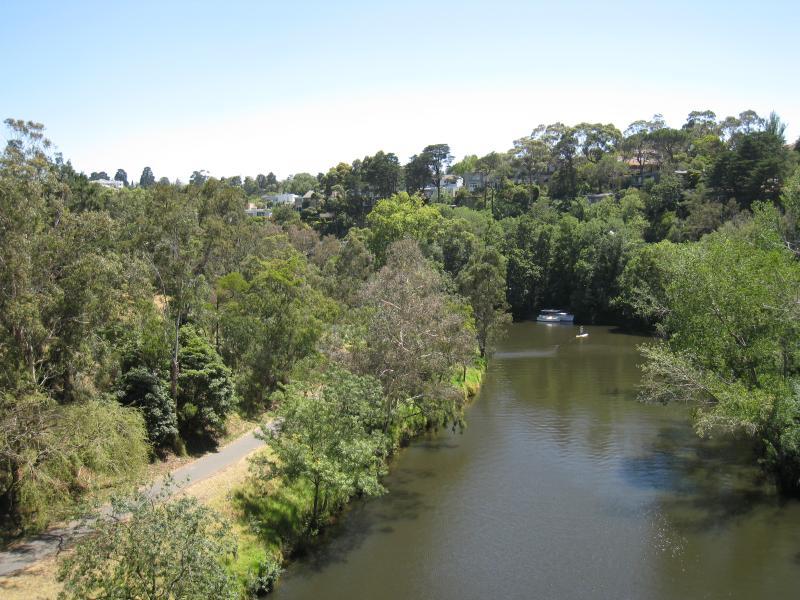
View east along Yarra River from near MacRobertson Bridge
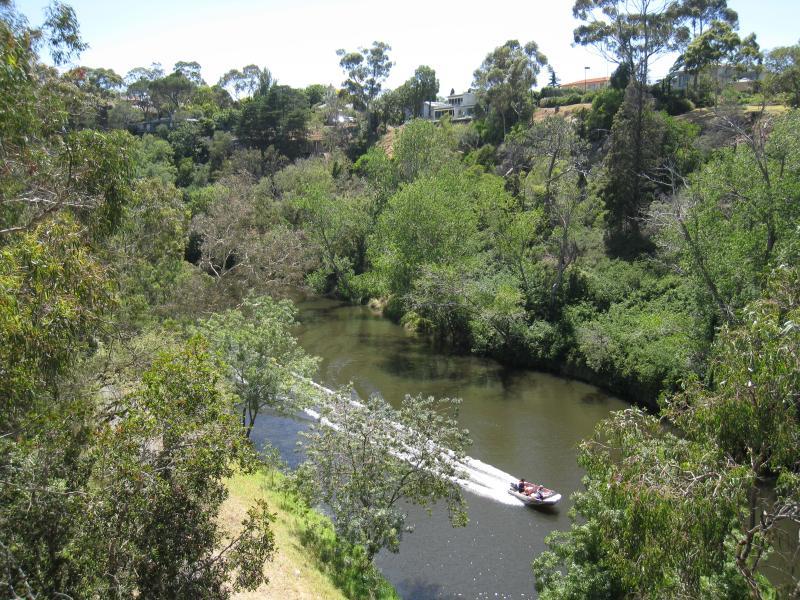
View east along Yarra River and Monash Fwy from MacRobertson Bridge
View east along Yarra River from Main Yarra Trail towards MacRobertson Bridge
View south-west along Yarra River, west of MacRobertson Bridge
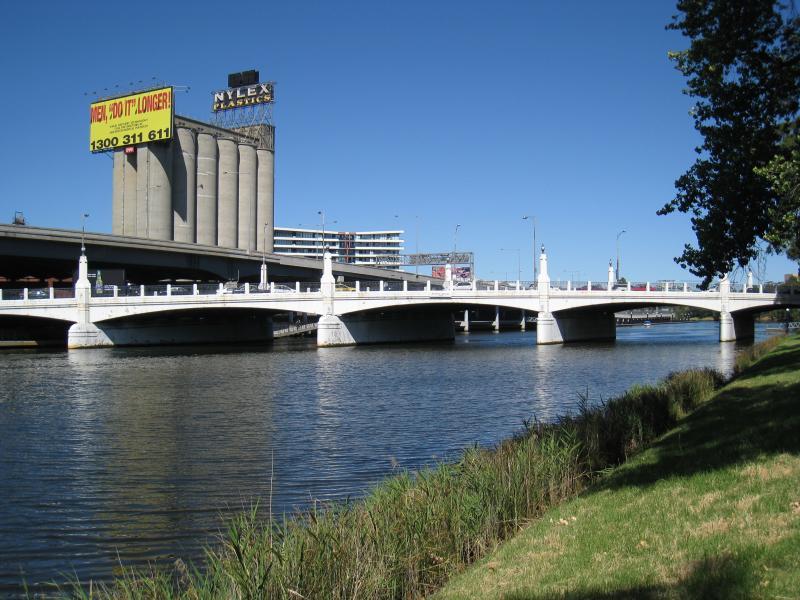
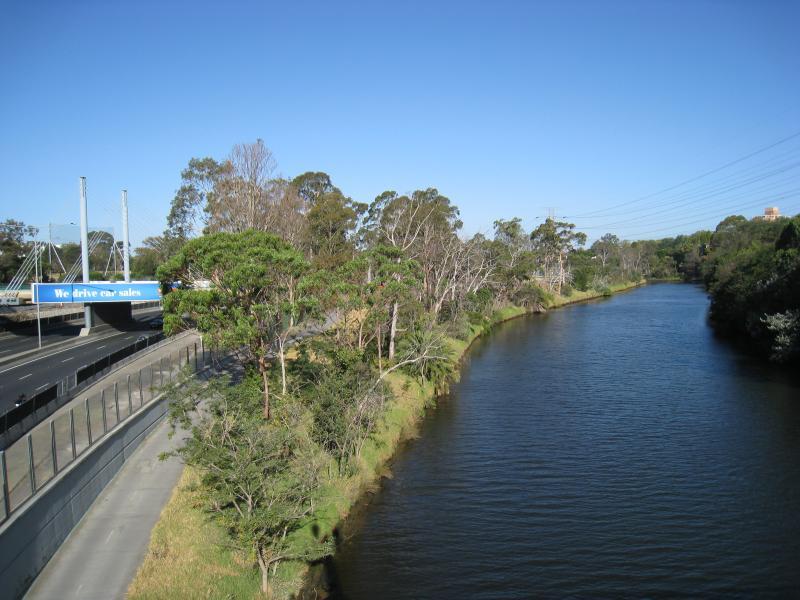
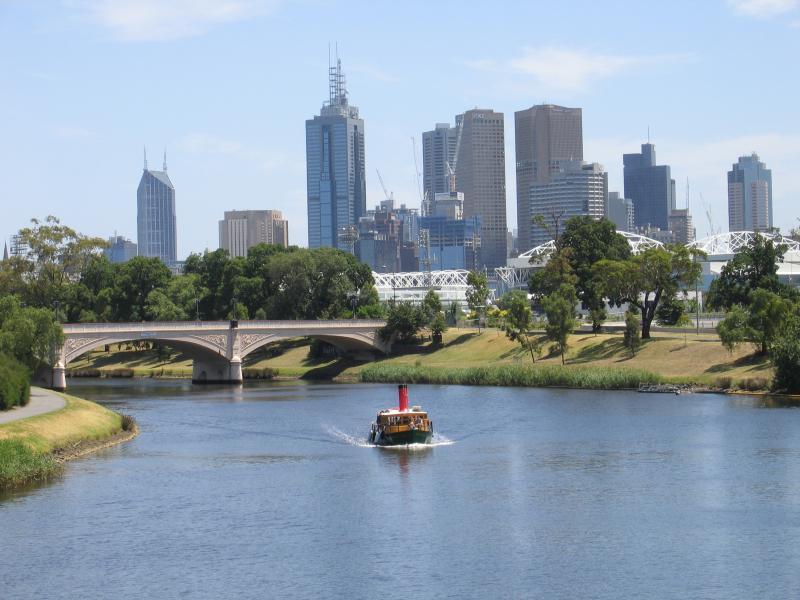
View south east along southern bank of Yarra River towards Hoddle Bridge and Nylex Clock
View south-east along Main Yarra Trail on north side of Yarra River towards Hoddle Bridge
View south-east along Yarra River from Hoddle bridge
View south-east along Yarra River and Monash Fwy from Hoddle Bridge
View north-west along Yarra River from Hoddle Bridge
View south-east along Yarra River and Main Yarra Trail east of Hoddle Bridge
View south-east along Yarra River and Main Yarra Trail east of Hoddle Bridge
View from railway bridge, east along river towards Monash Fwy and Church Street Bridge
View from railway bridge, east along Monash Fwy and river towards Church Street Bridge
View from railway bridge, east along river towards Church Street Bridge
View west along southern bank of Yarra River from Church Street Bridge
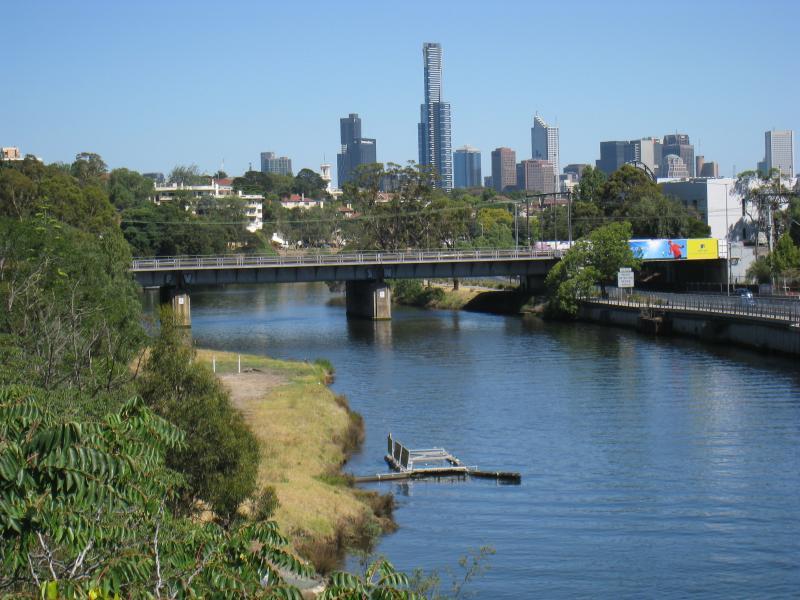
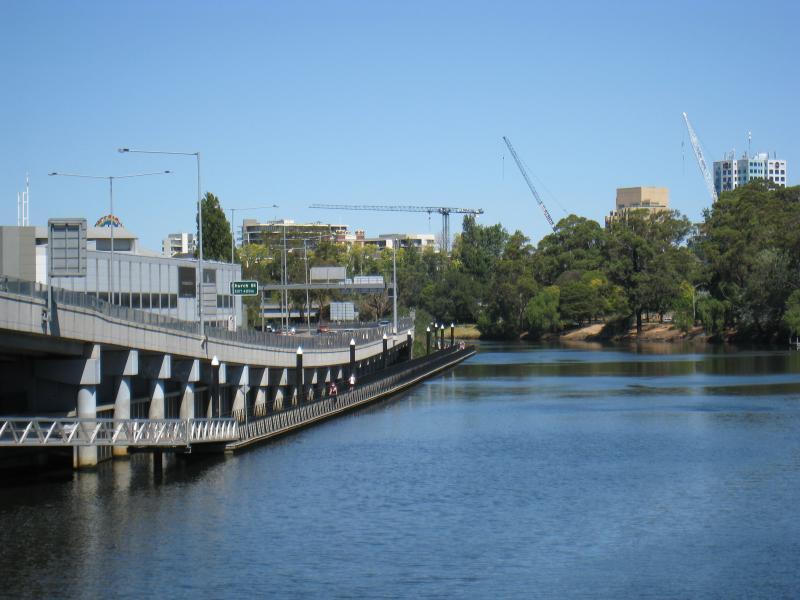
View west along river from Church Street Bridge towards city skyline
View east along Monash Fwy and Yarra River from Church Street Bridge
View east towards southern bank of Yarra River from Church Street Bridge
View west along Capital City Trail and Yarra River towards Church Street Bridge
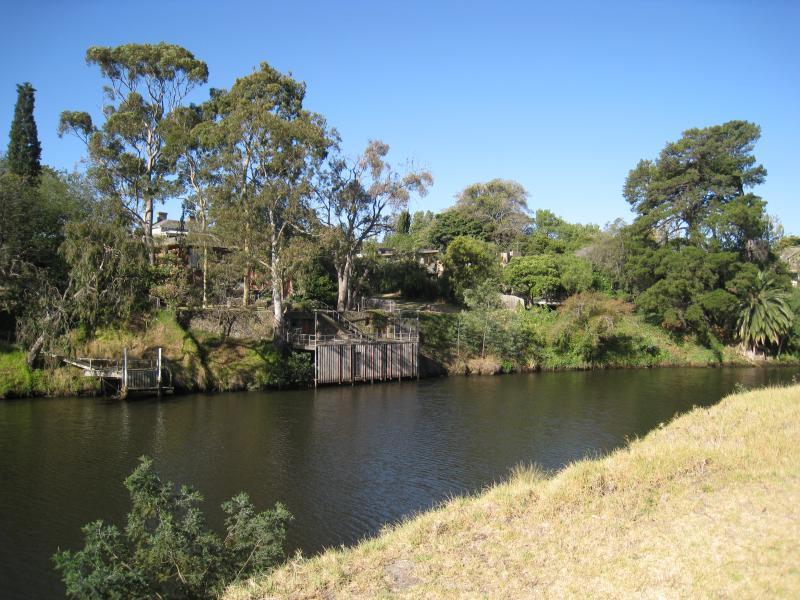
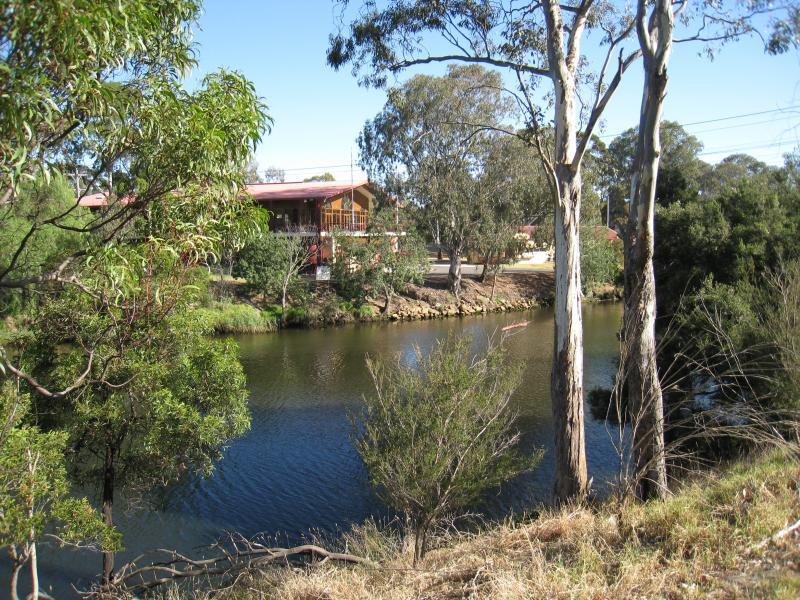
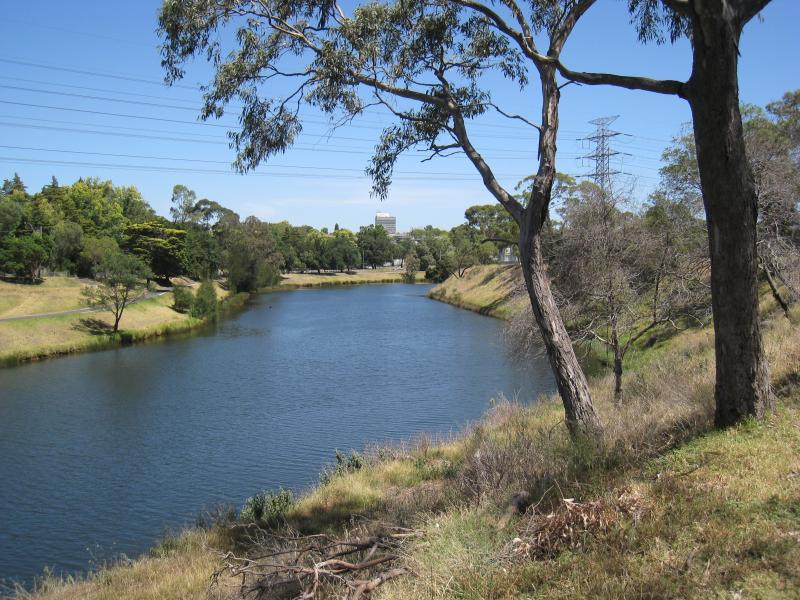
View south-west along Yarra River from northern bank near Mary St
View towards Yarra River junction at western end of Herring Island
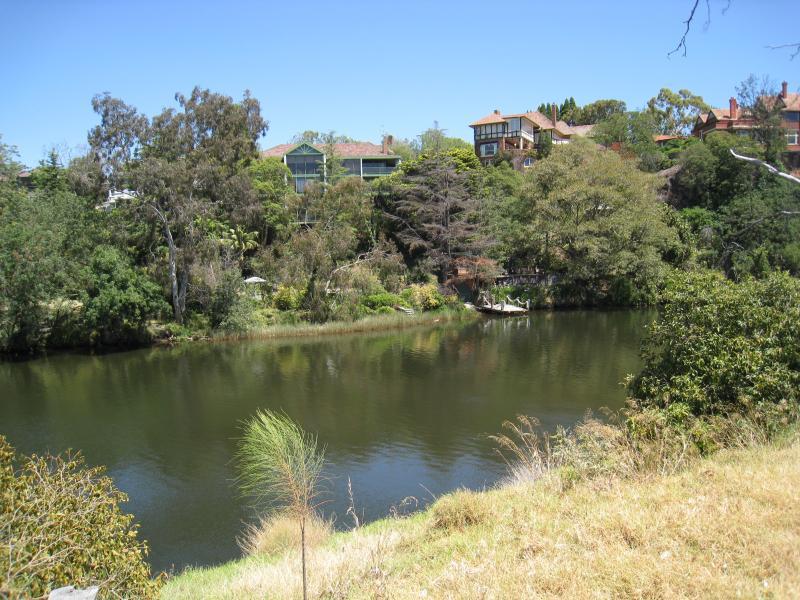
View east along Yarra River towards southern side of Herring Island

View south across Yarra River towards jetty on northern side of Herring Island
View north-east along Yarra River past Herring Island towards Burley Harbour
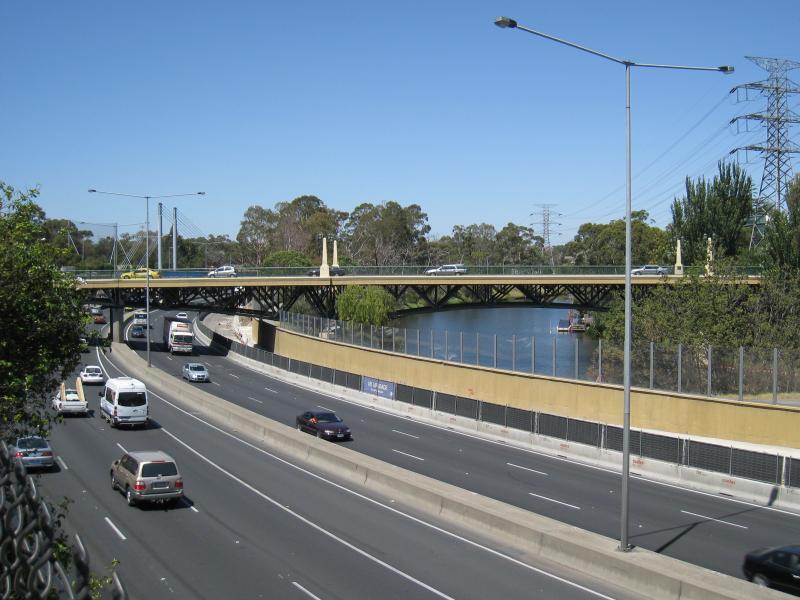
View east along Monash Fwy towards MacRobertson Bridge
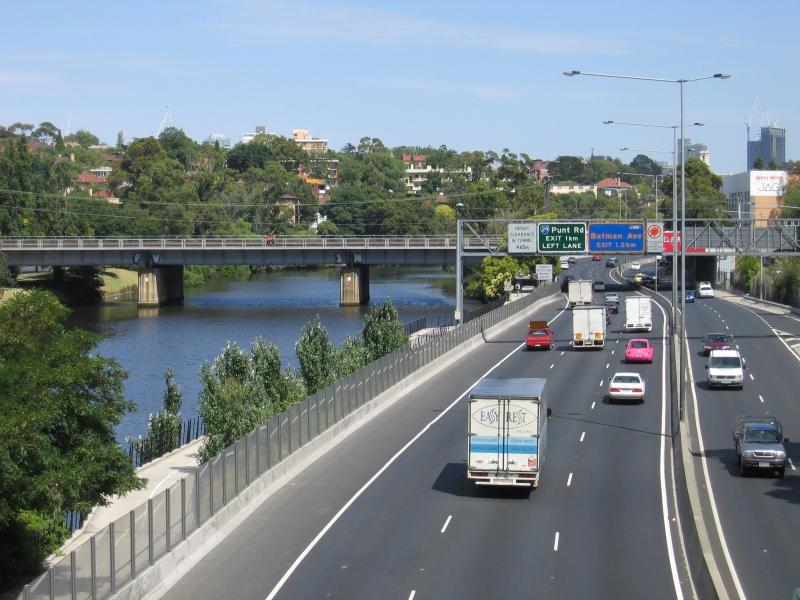
View west along Monash Fwy from Church Street Bridge
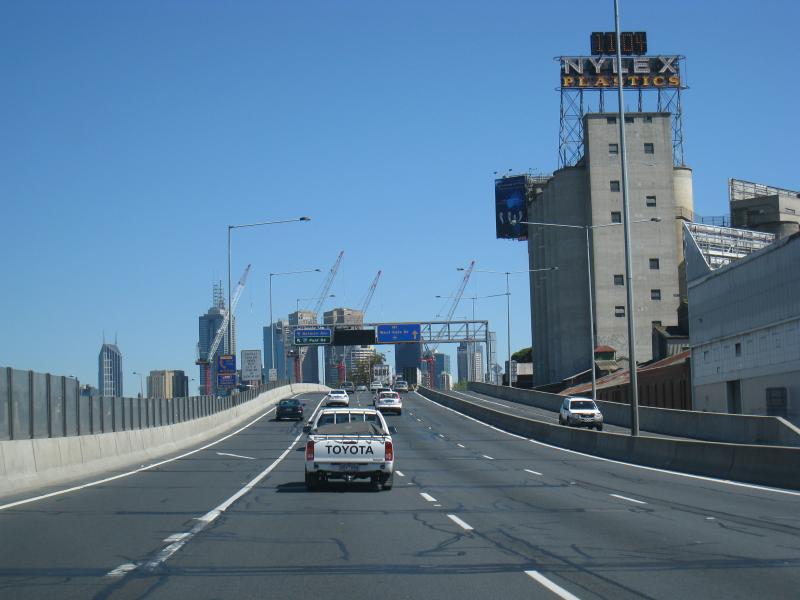
View north-west along Monash Fwy towards Nylex Clock at Punt Rd
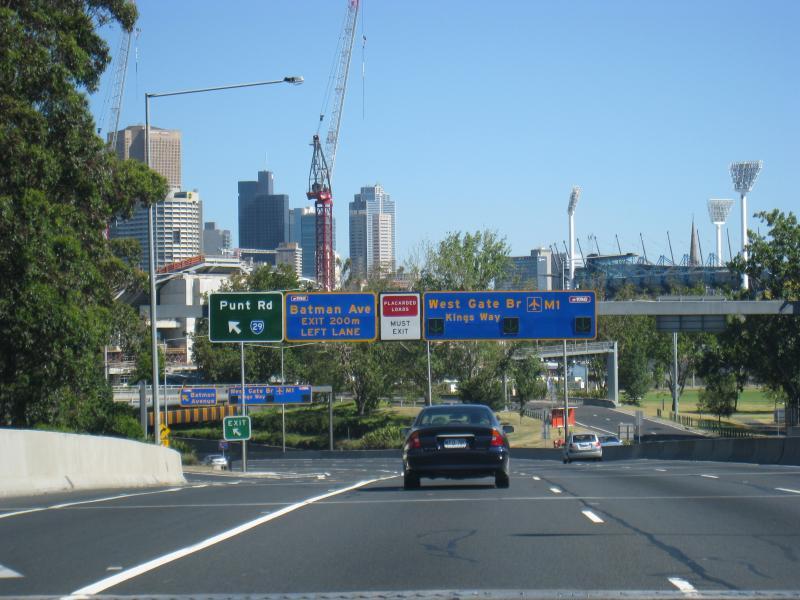
View north-west along Monash Fwy towards Punt Rd exit
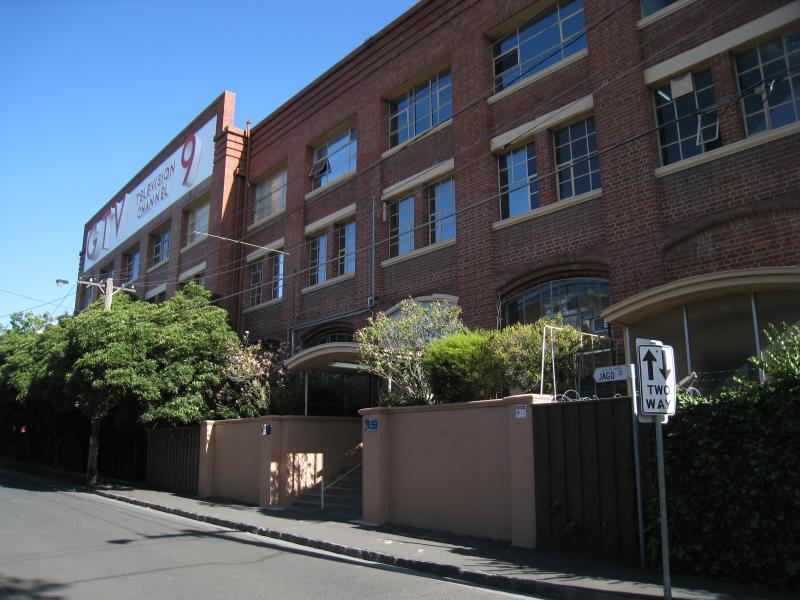
Channel 9 TV station viewed from Jago St
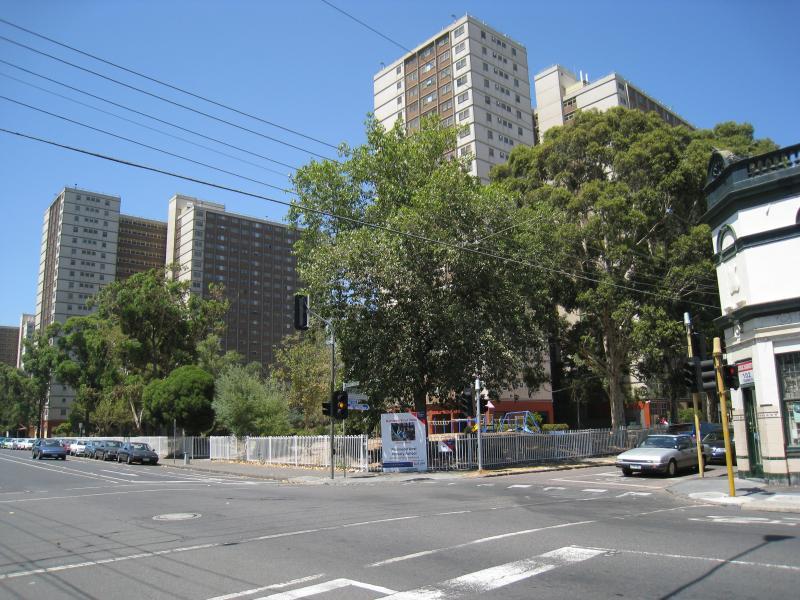
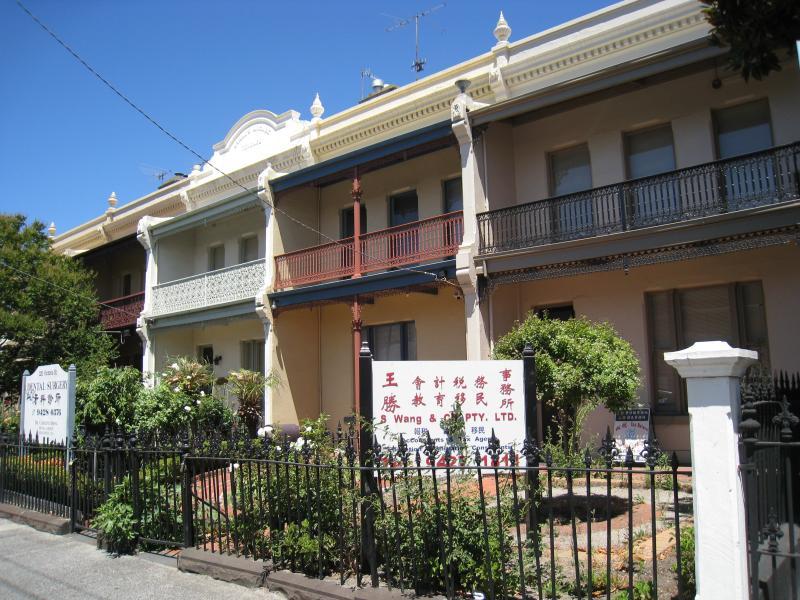
Apartment buildings, view east along Elizabeth St at Lennox St