Yarra Glen - photos
Yarra Glen
Stay
See and do
Food and drink
Shopping
Getting around
Visitor information
View north along Bell St service road near Healesville Rd
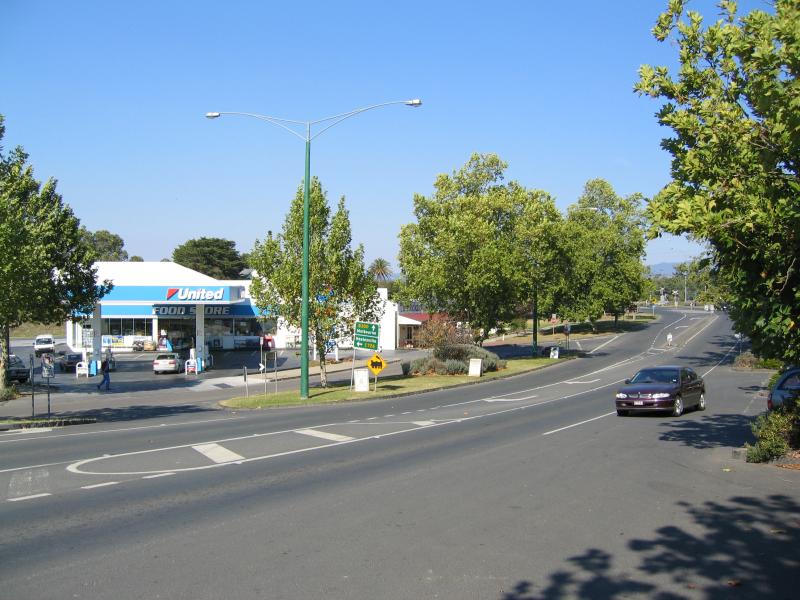
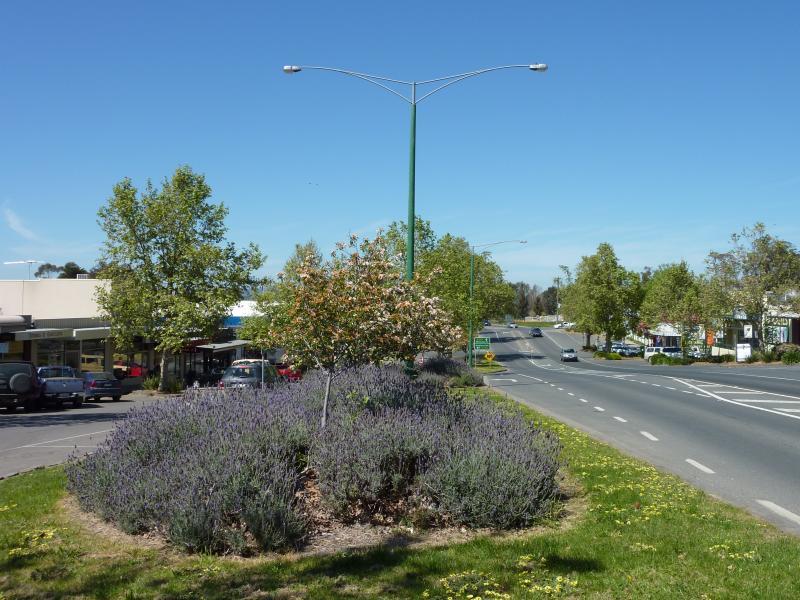
View south along Bell St towards Healesville Rd
View north along Bell St service road
View south along Bell St from near Grand Hotel
View north along Bell St towards Grand Hotel
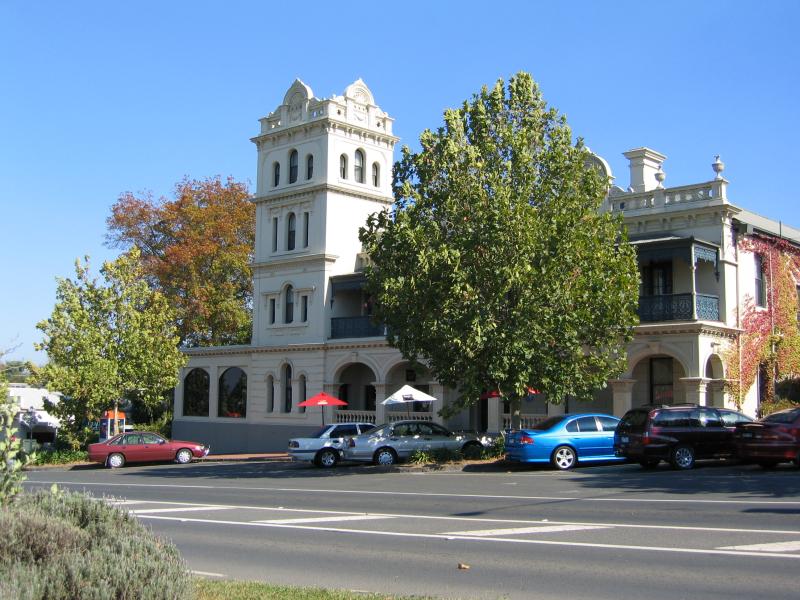
View across Bell St towards Grand Hotel
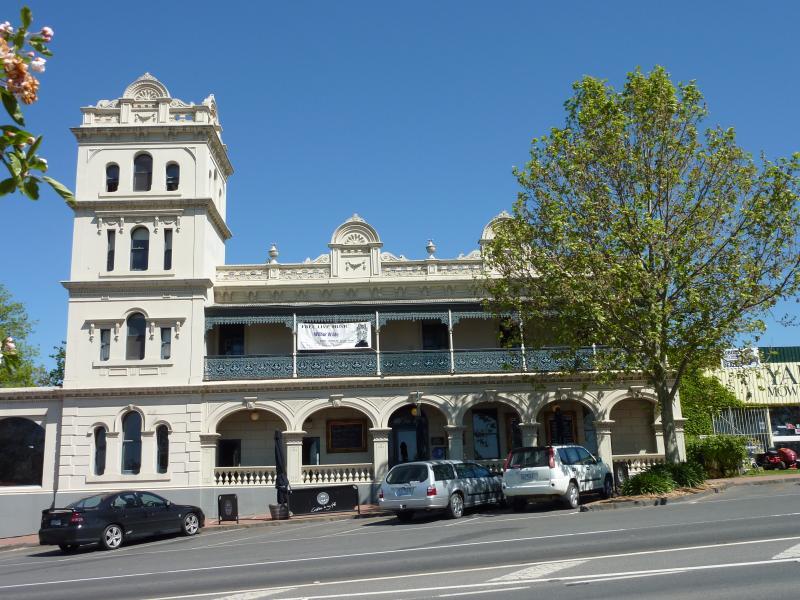
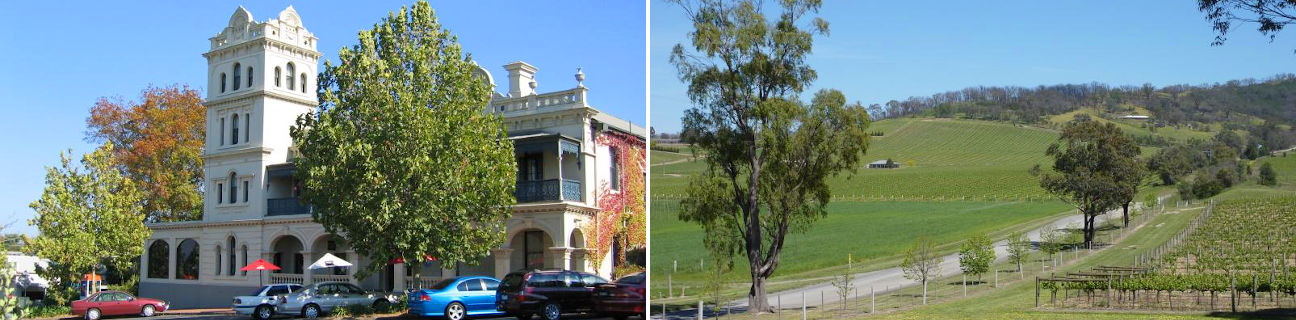
Front of Grand Hotel

View from Grand Hotel balcony, looking east
View from Grand Hotel balcony, looking north-east
View north along Bell St, north of Grand Hotel
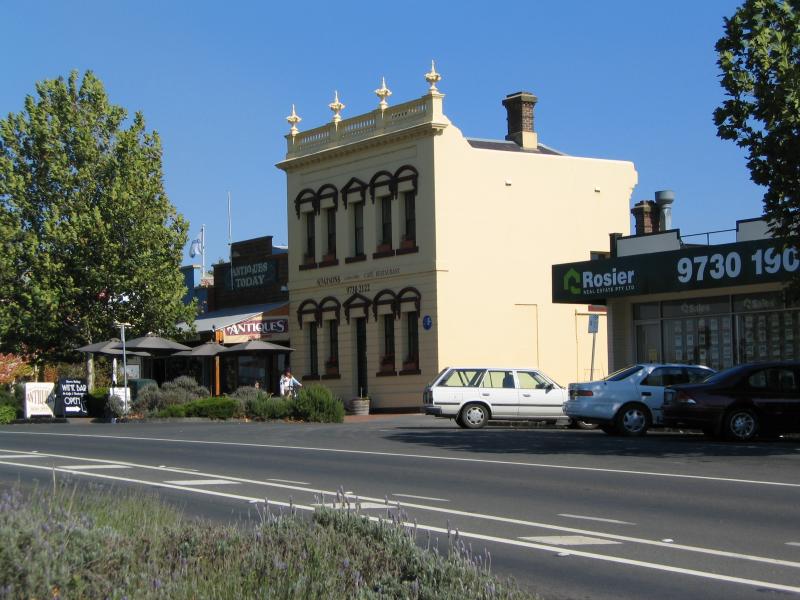
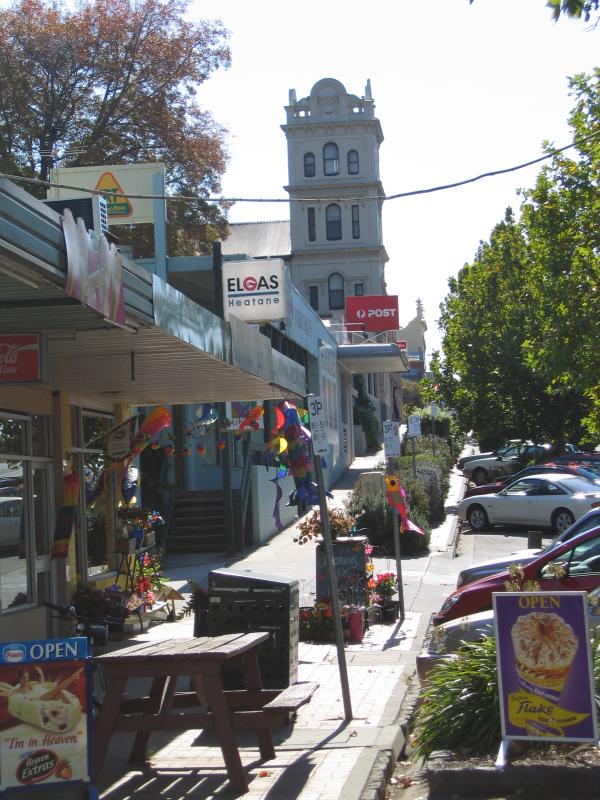
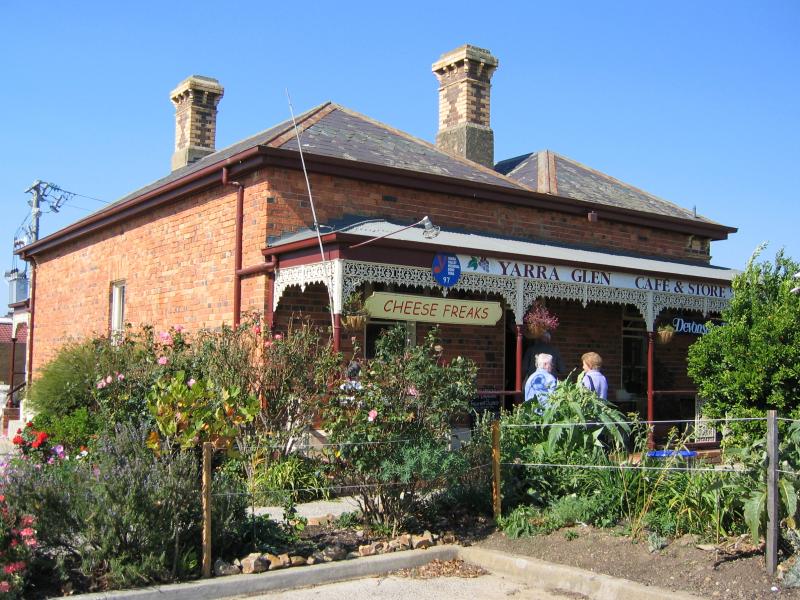
Historical building of Watsons Restaurant, Bell St
View south along Bell St, north of Grand Hotel
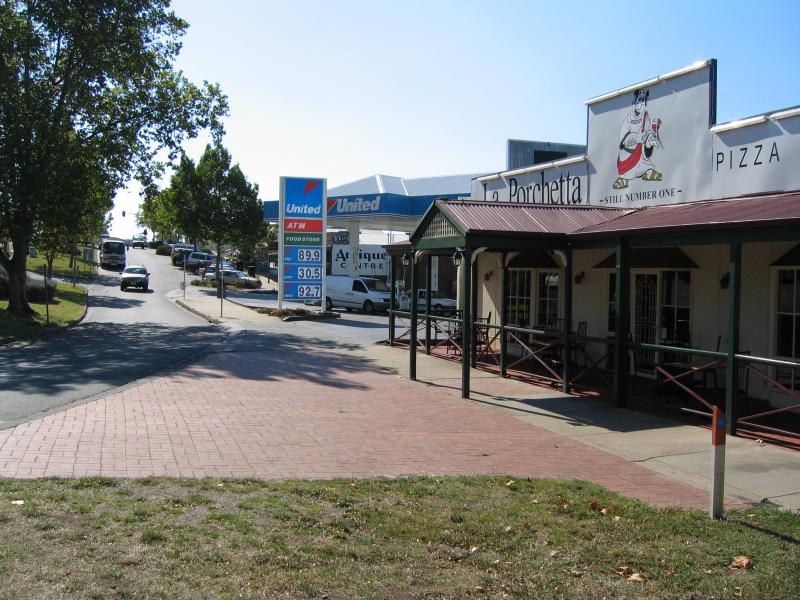
Cafe near Yarra Glen Shopping Centre
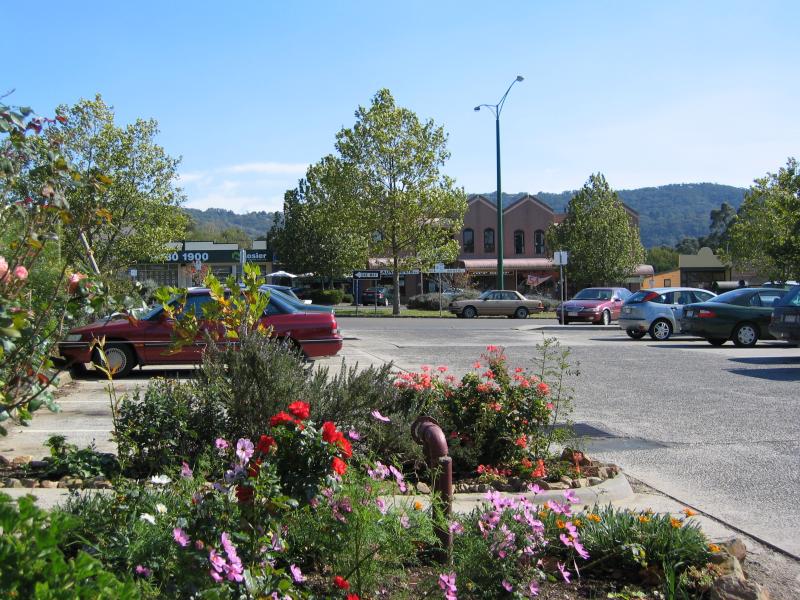
View west from near Yarra Glen Shopping Centre towards Bell St
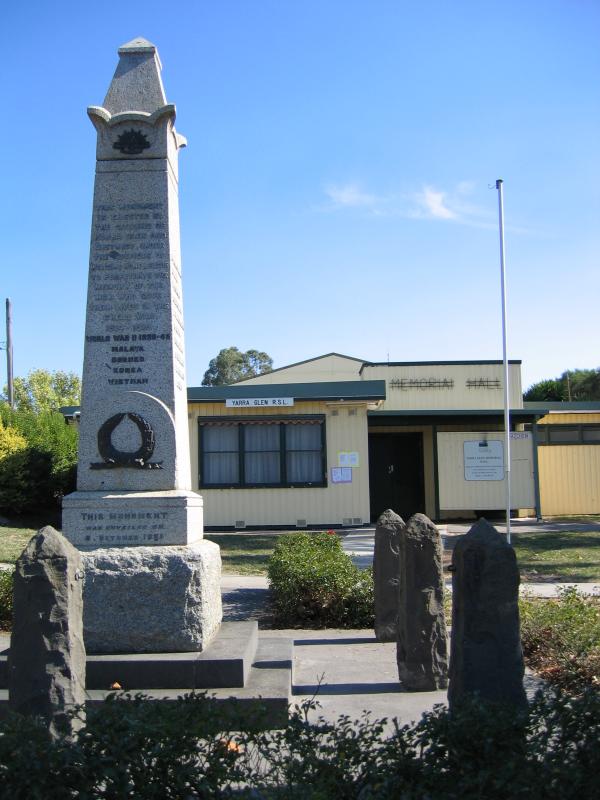
Yarra Glen Memorial Hall, Bell St at Anzac Av
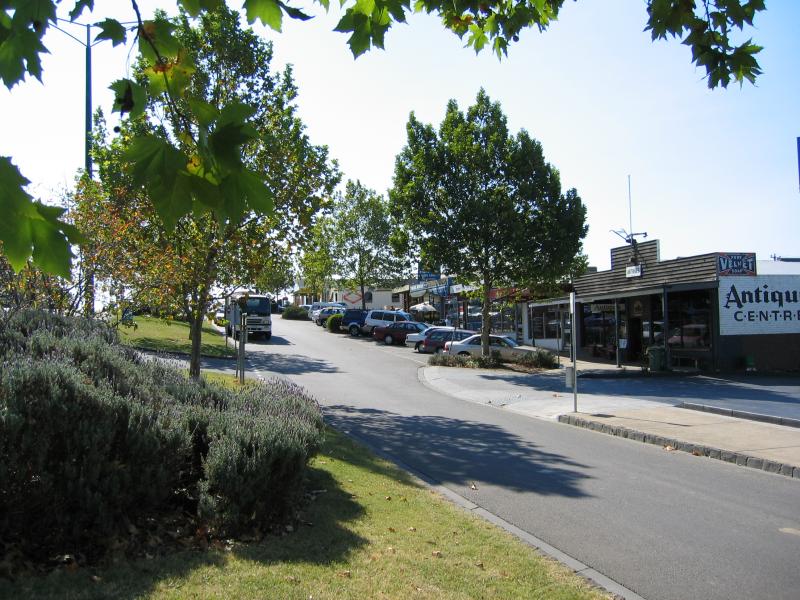
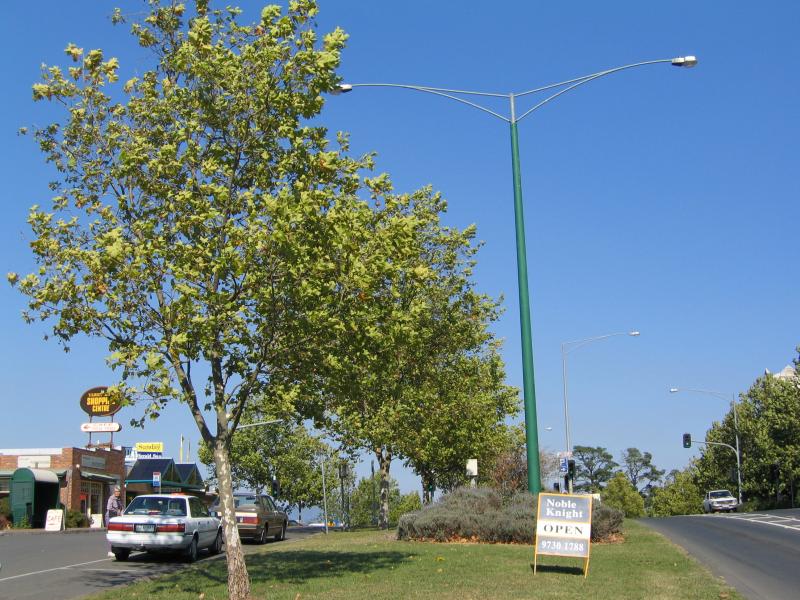
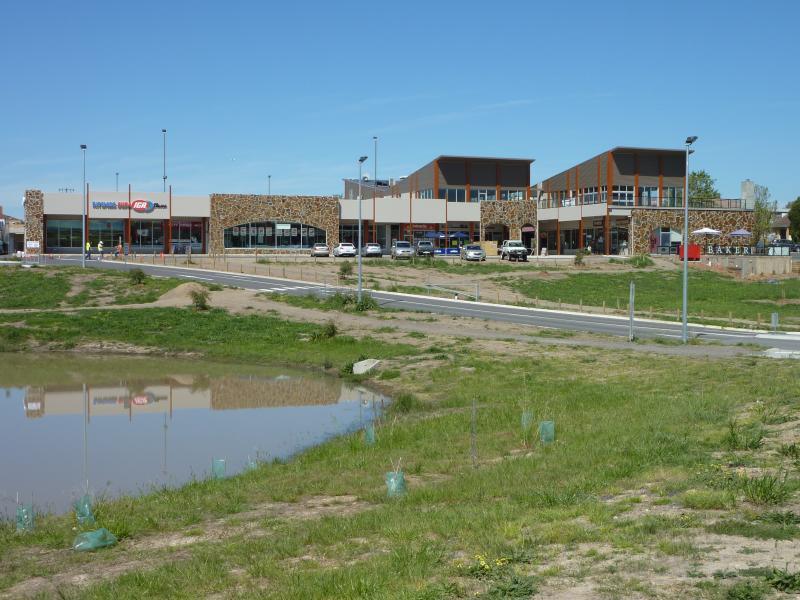
View north along Bell St service road towards Yarra Glen Shopping Centre
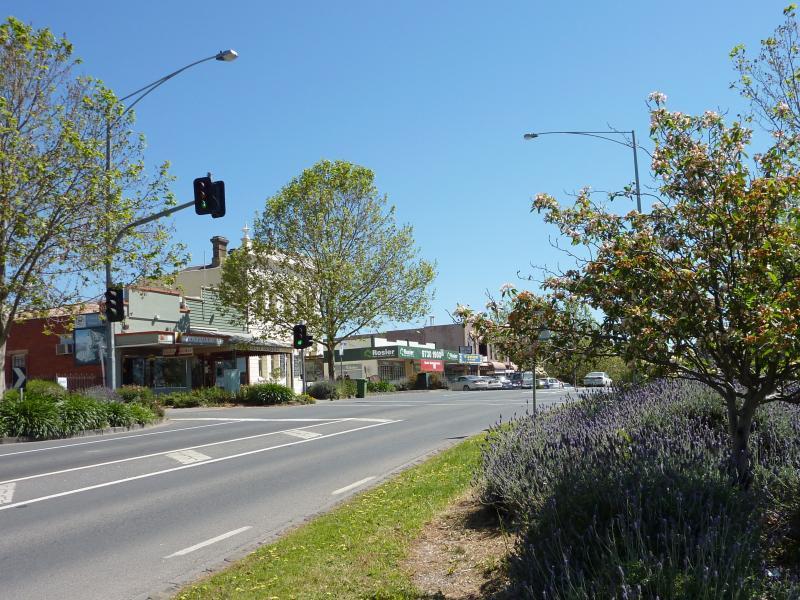
View south along Bell St towards Yarra Glen Shopping Centre
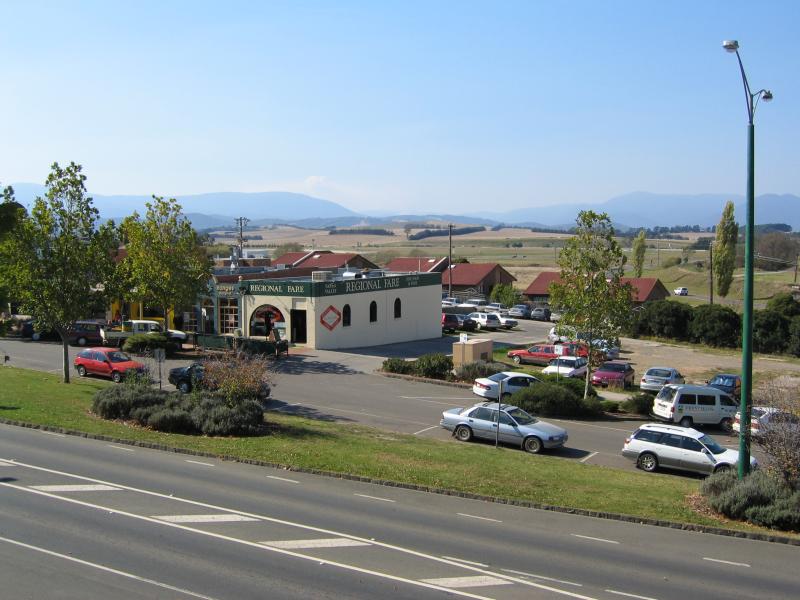
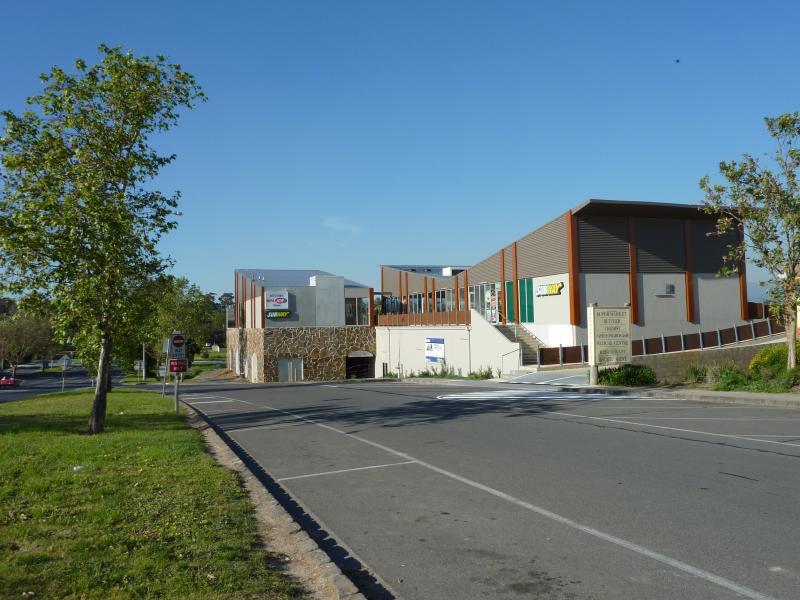
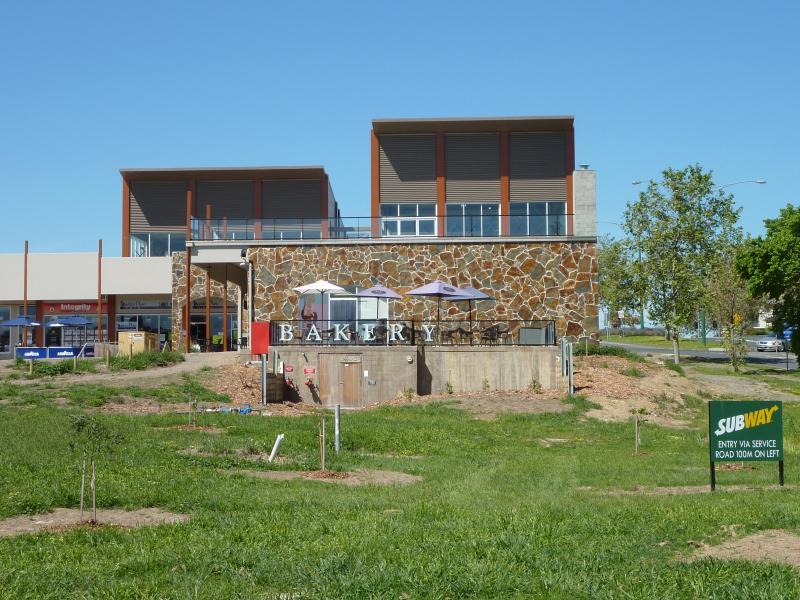
Yarra Glen Shopping Centre viewed from Pinoak Dr
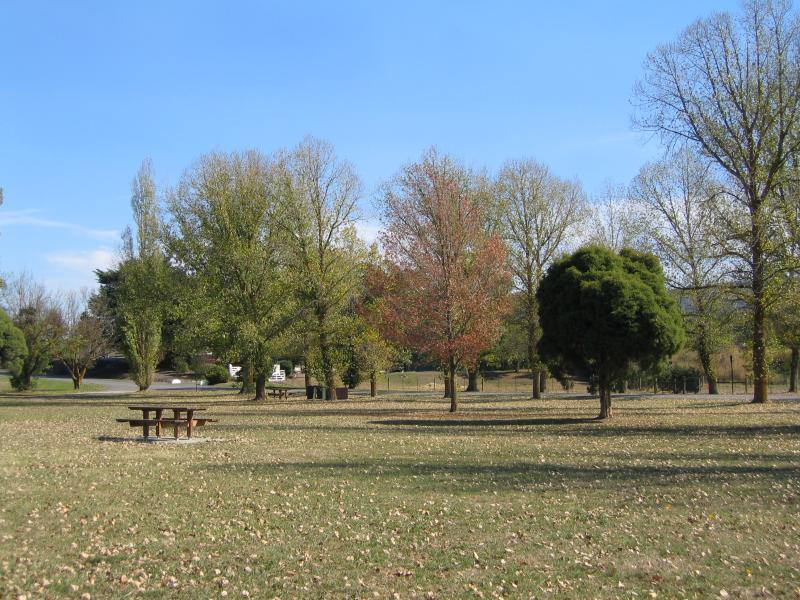
Parklands
Parklands at car park next to Yarra River
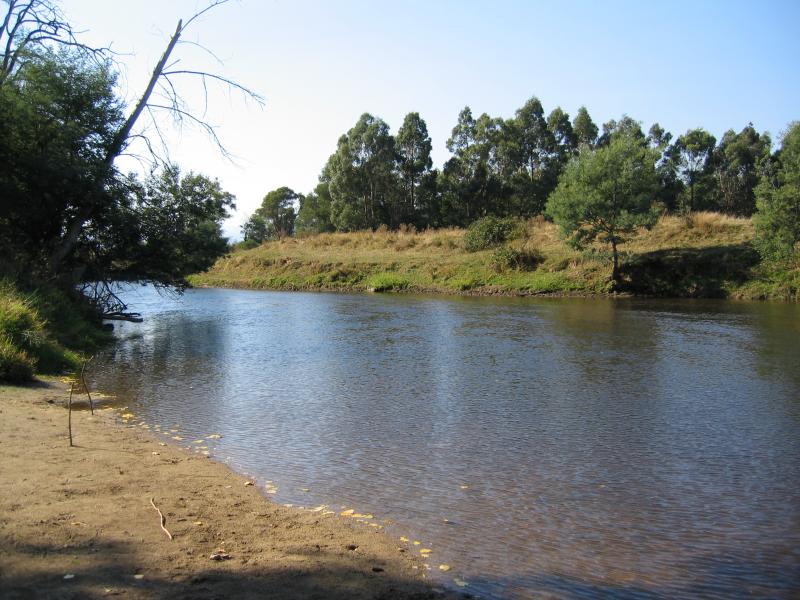
View of Yarra River
Entrance at Armstrong Gv
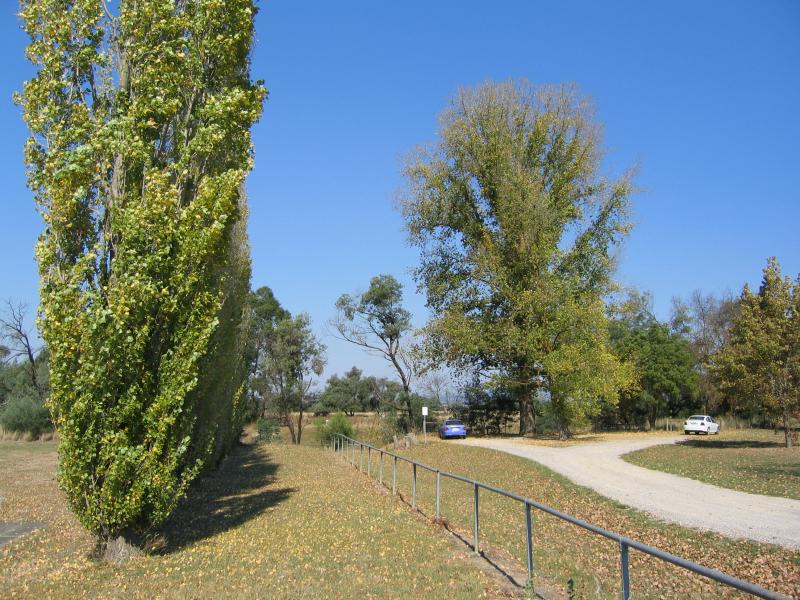
View from car park
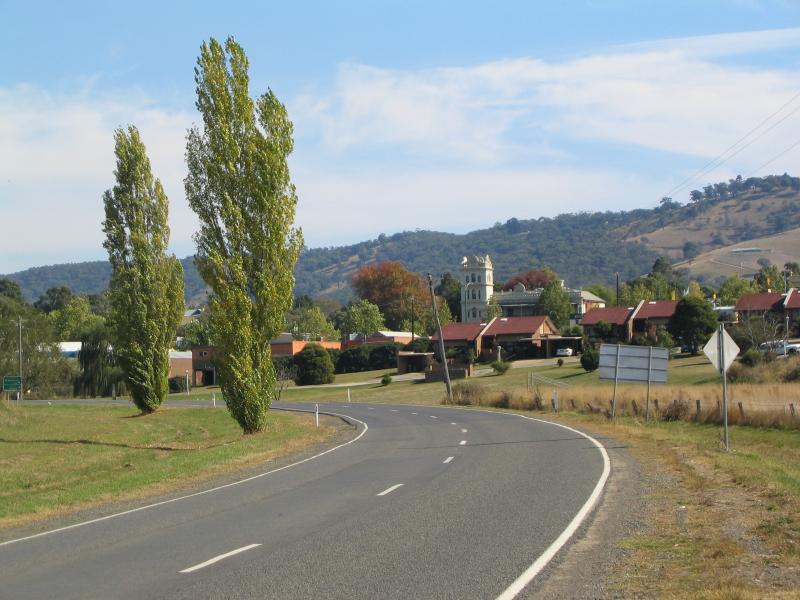
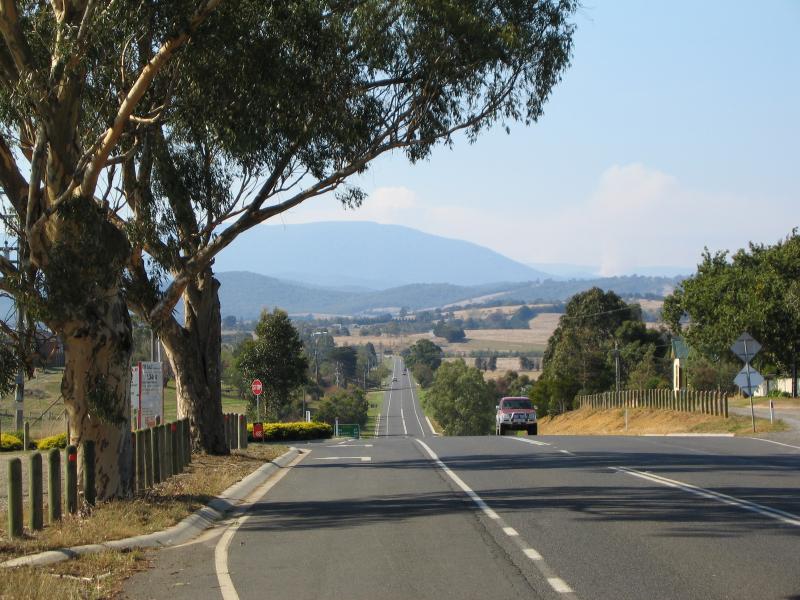
View north-west towards town from Healesville Rd at Armstrong Gv
View west along Healesville Rd at Armstrong Grove
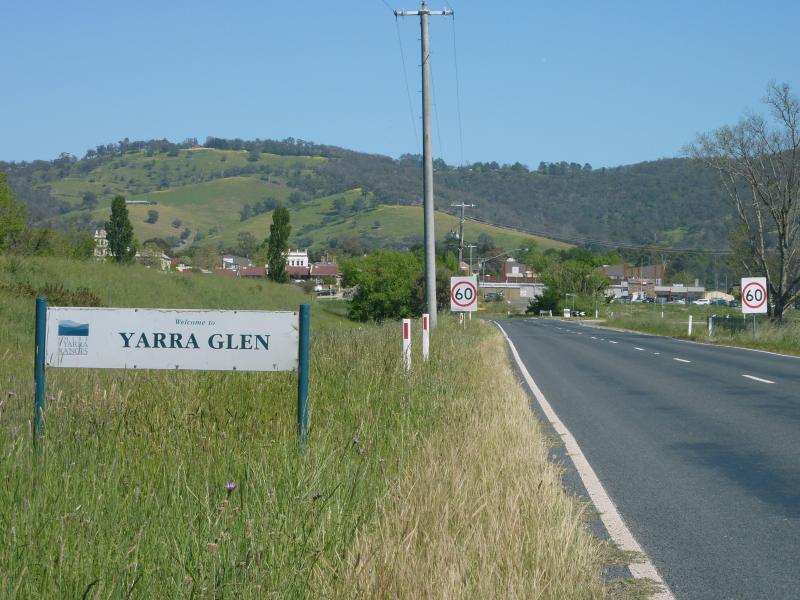
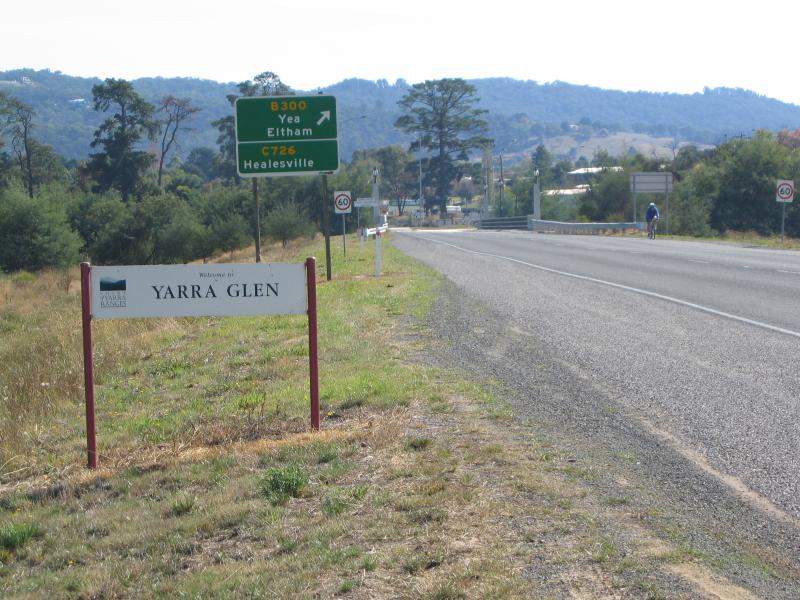
Yarra Glen town sign, view west along Healesville Rd towards Armstrong Gv
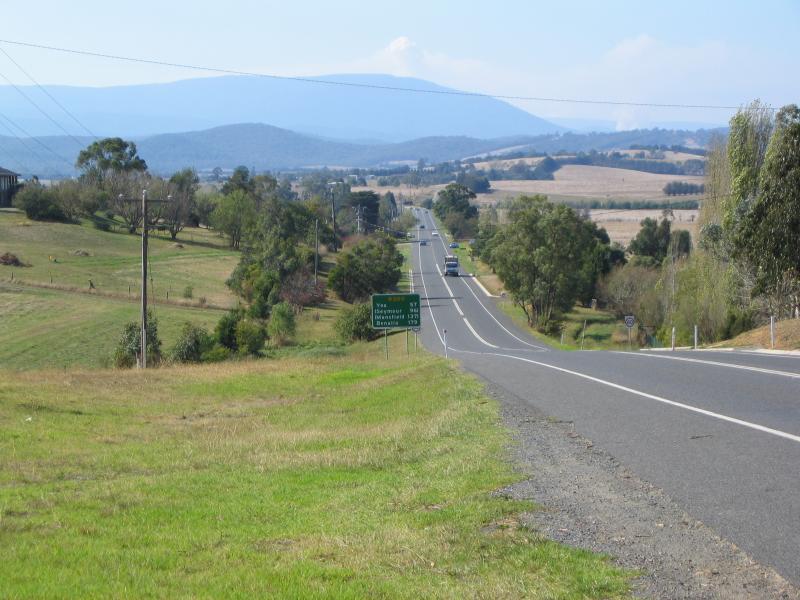
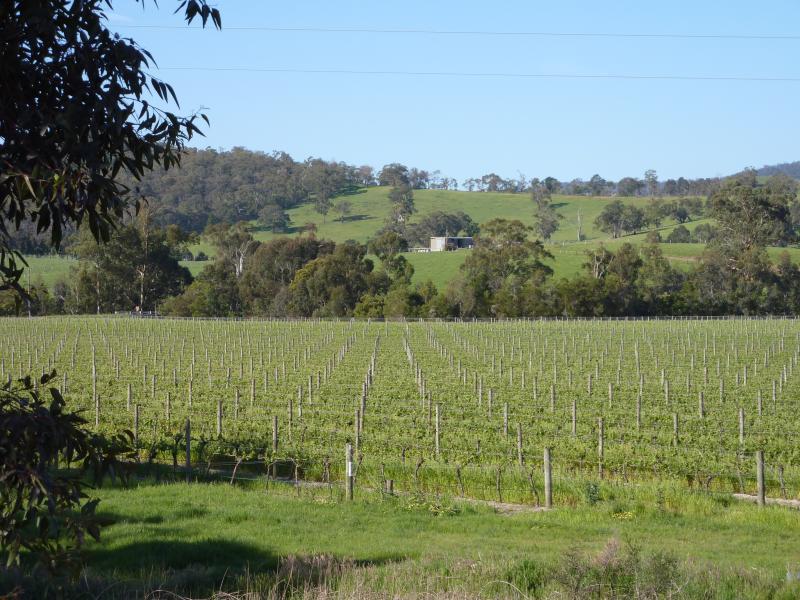
North-westerly view west of Bleases La

North-westerly view near Bleases La
North-westerly view near Bleases La
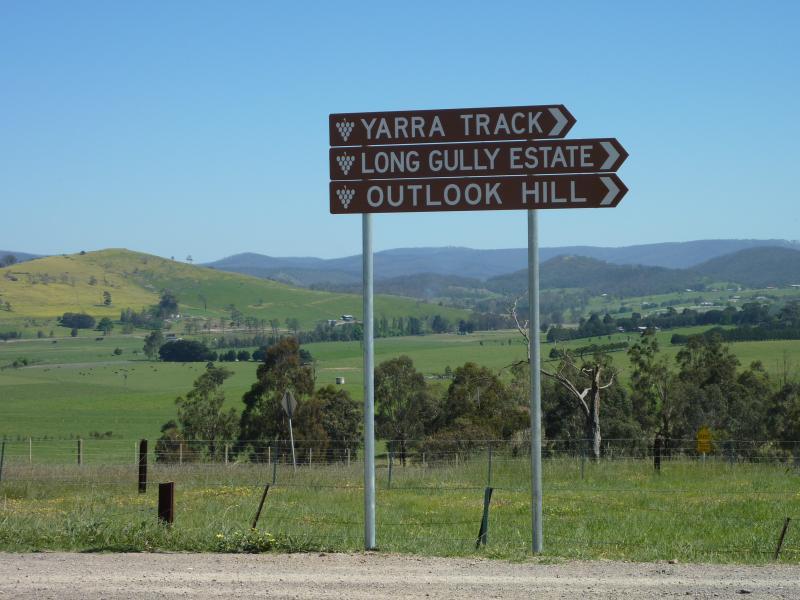
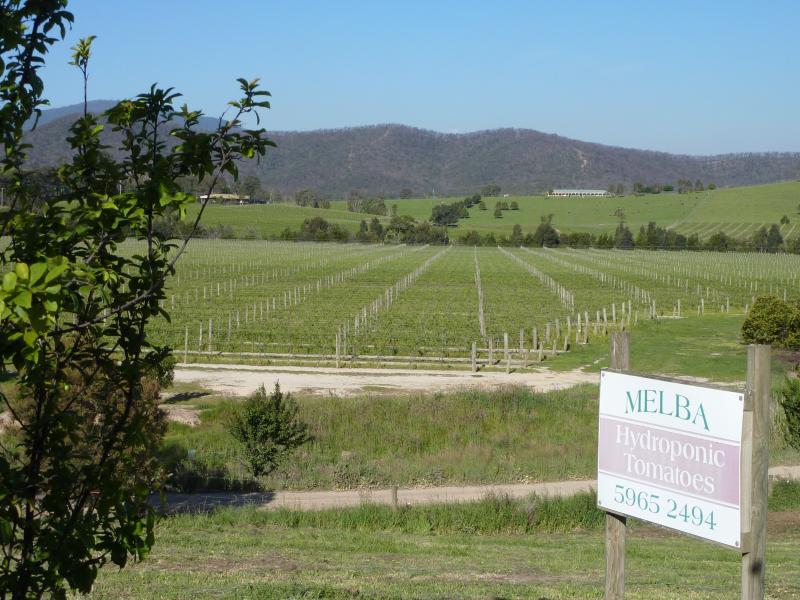
Winery signage on northern side of road near Bleases La
Northerly view along Bleases La
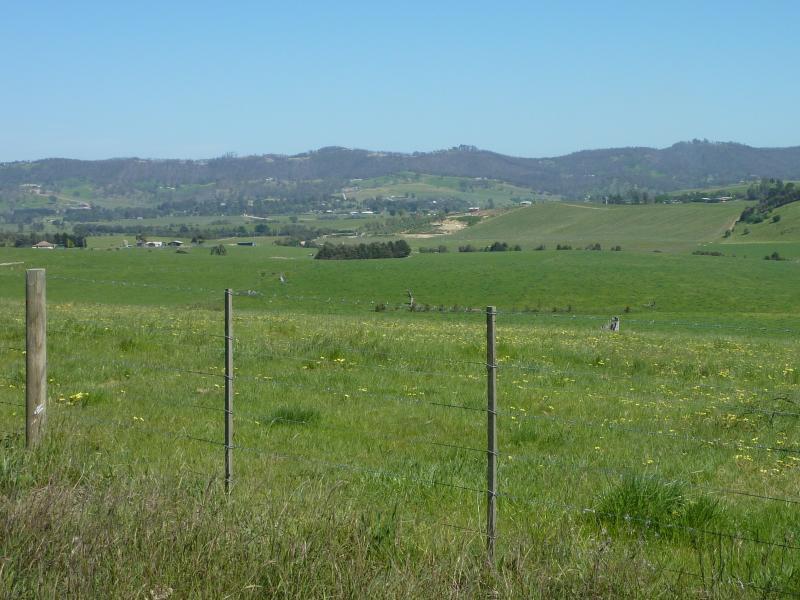
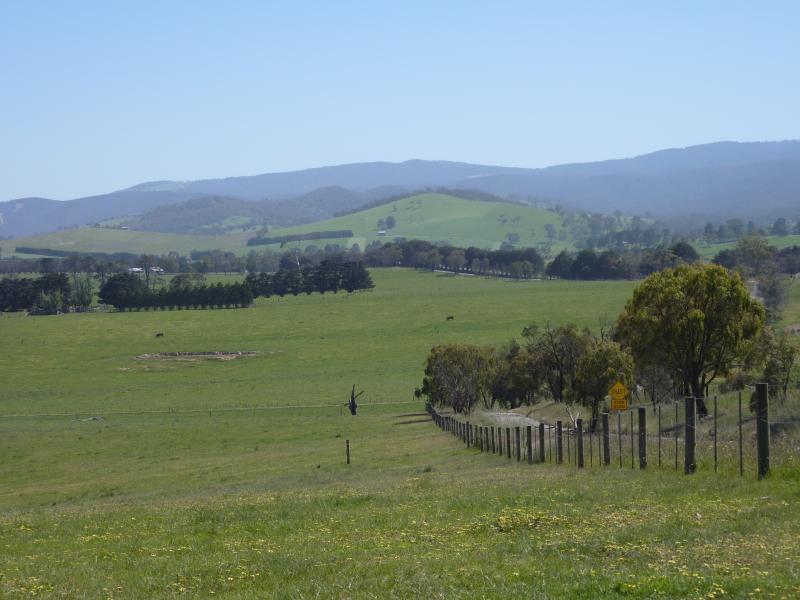
Southerly view at Tarrawarra Rd
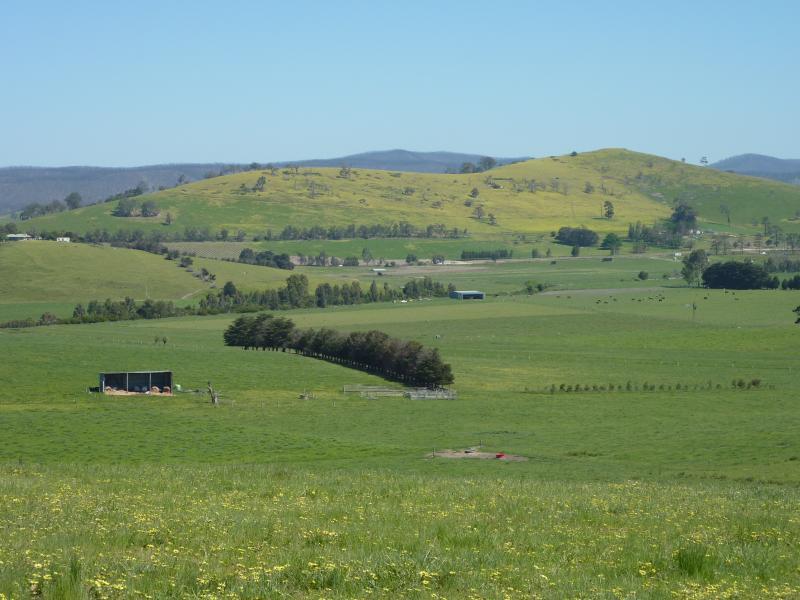
South-easterly view at Tarrawarra Rd
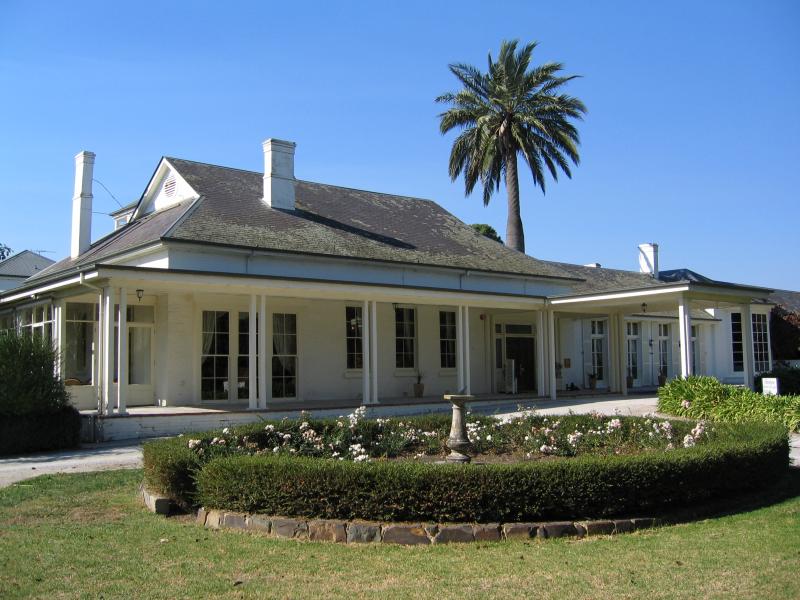
Chateau Yering historic house hotel

Gardens at the Chateau
Yering Station winery, bar and wine sales
View across winery towards Wine Bar Restaurant and tourist complex
Tourist complex, Wine Bar Restaurant and gardens
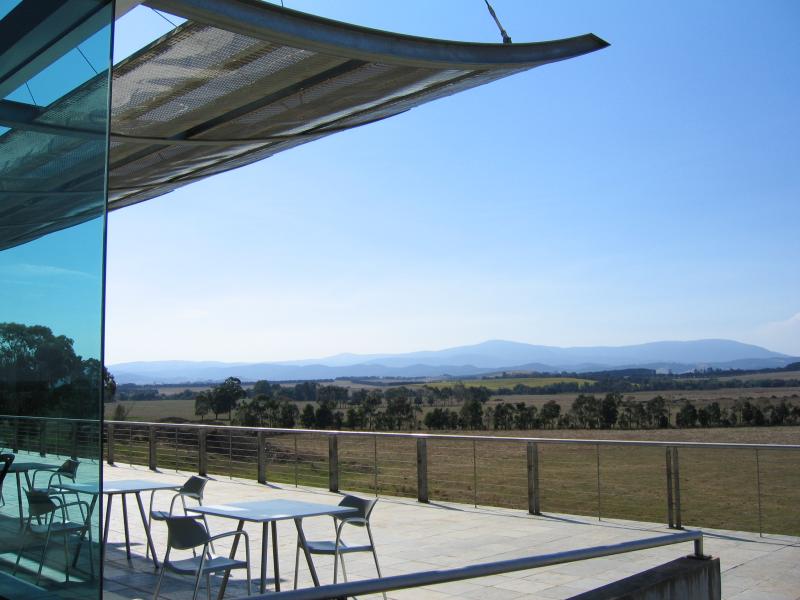
View from outdoor tables at Wine Bar Restaurant
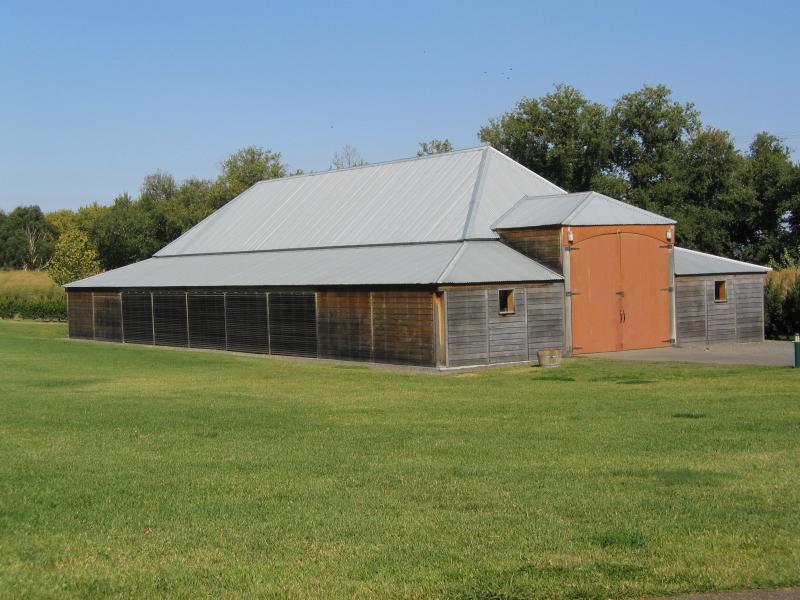
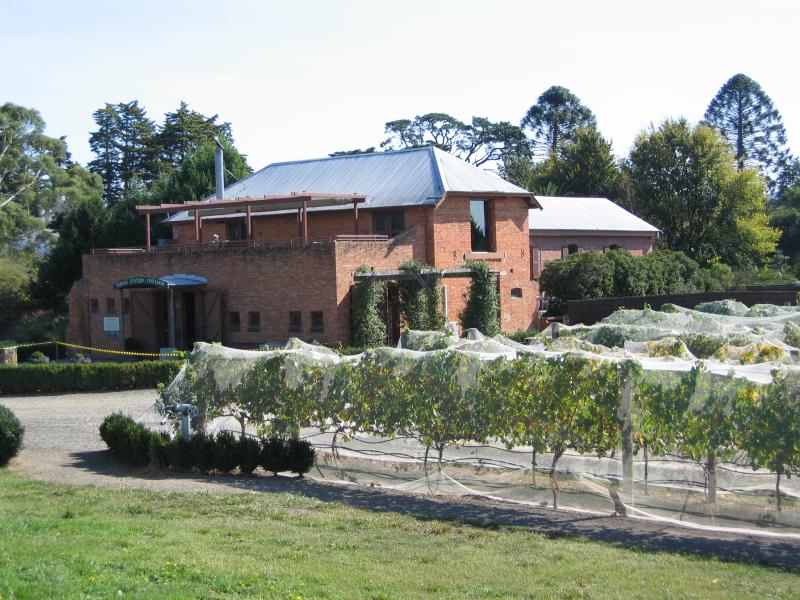
Historic Old Barn, dating from around 1850, now used as a function venue
Welcome to Yarra Glen, Melba Highway approaching Yarra River
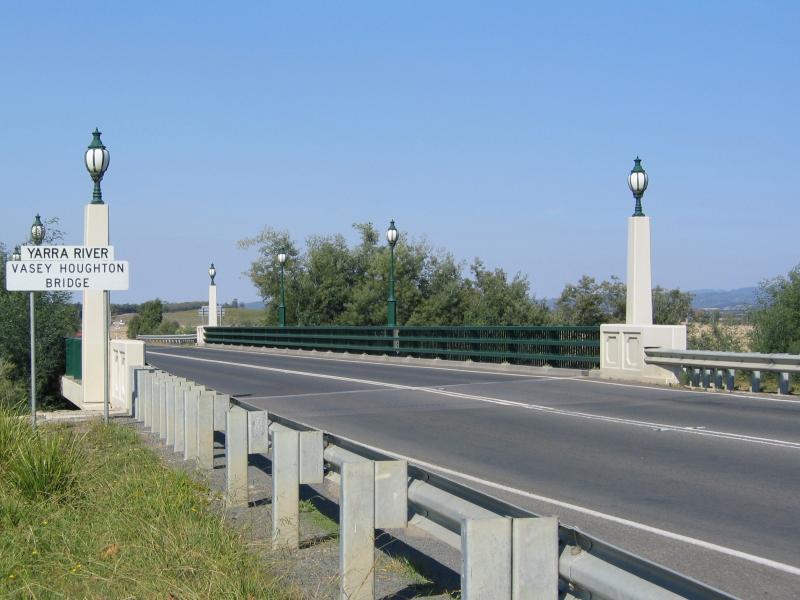
Vasey Houghton Bridge across Yarra River
View north-east along Melba Highway towards Kameel Drive
View north-east along Melba Highway at Kameel Drive
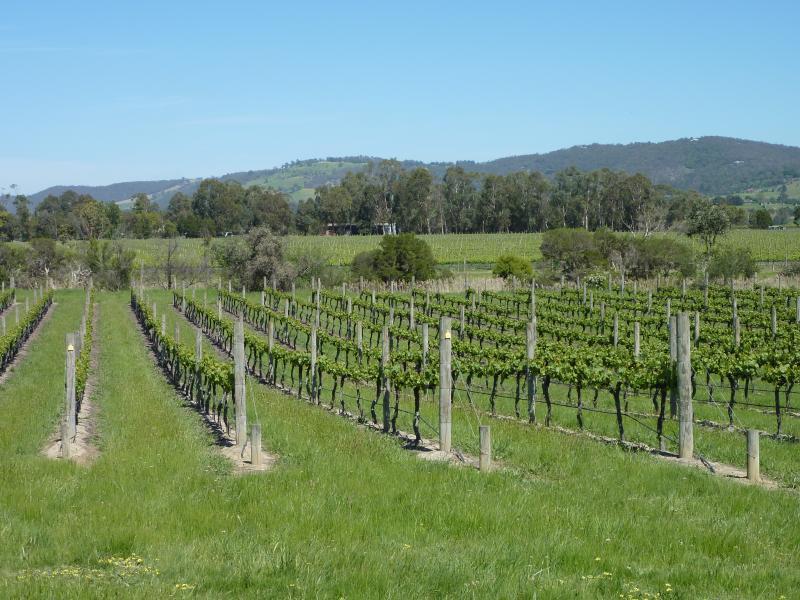
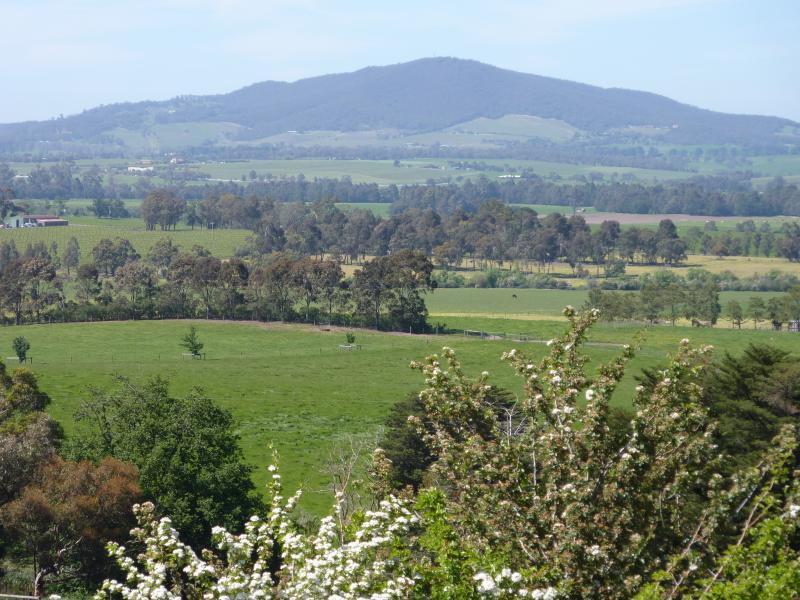
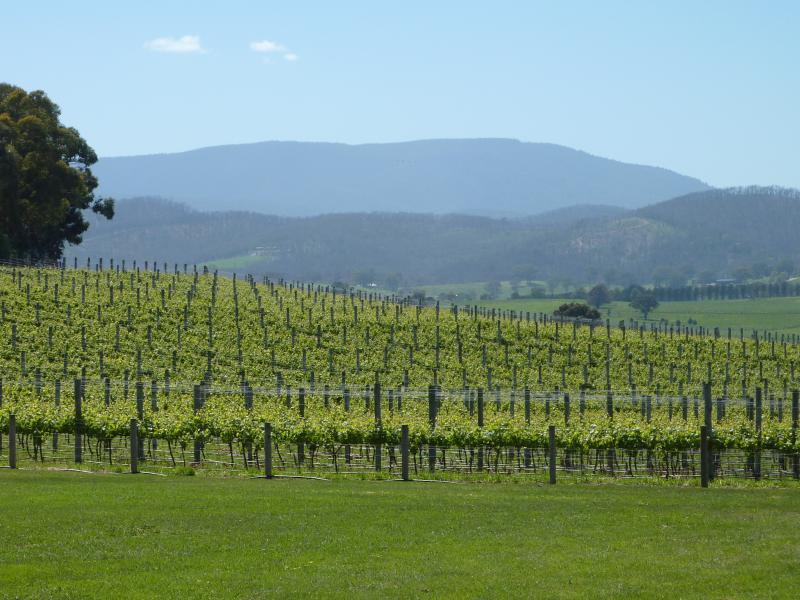
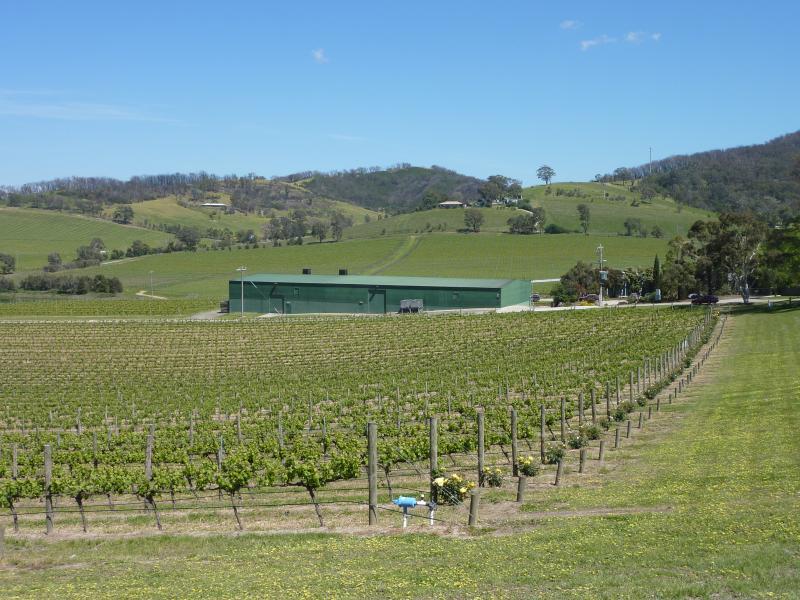
Westerly view across vineyard just north of Old Healesville Rd
North-westerly view across vineyard, north of Old Healesville Rd
Balgownie Estate restaurant and cellar door fronting Gulf Rd
North-easterly view across vines at Balgownie Estate
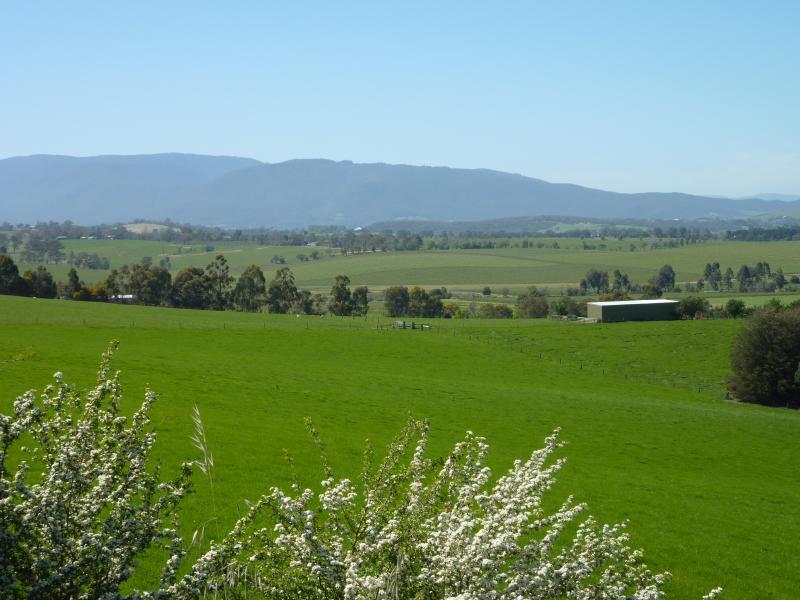
View west along Gulf Rd
Southerly view across Yarrawood Estate
View east across vineyard from Melba Hwy at Pinnacle La
North-easterly view across vineyard from Melba Hwy at Pinnacle La
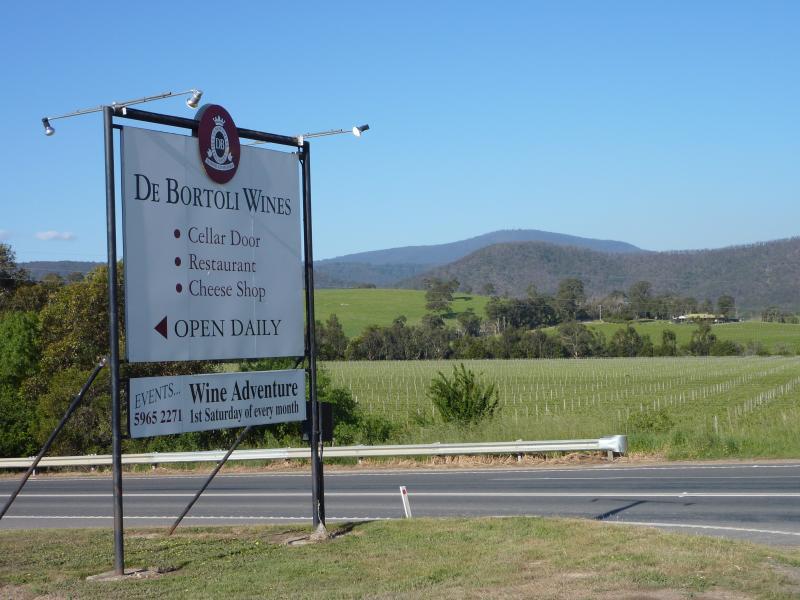
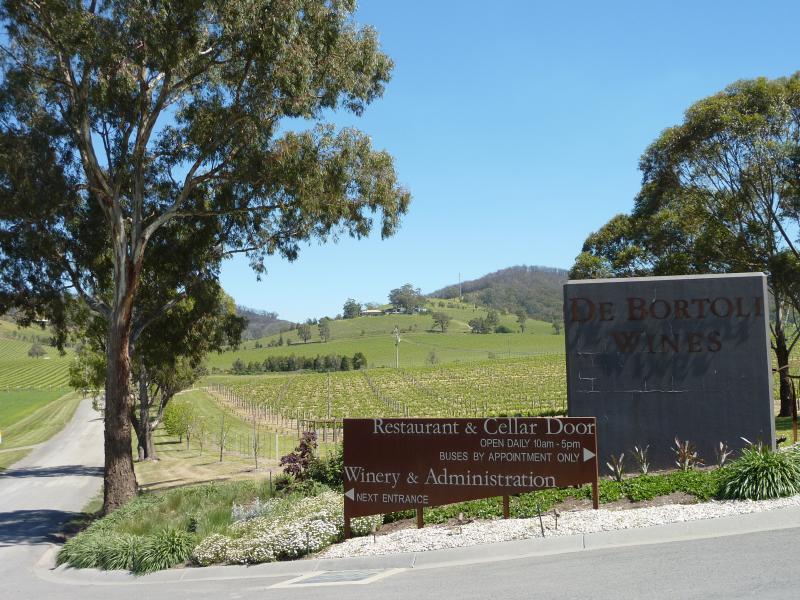
De Bortoli Wines sign, corner Melba Hwy and Pinnacle La
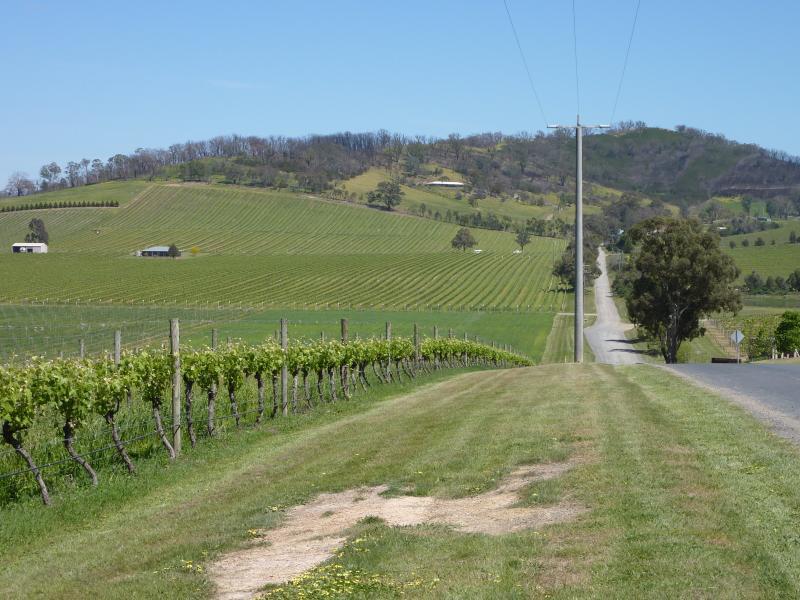
View west along Pinnacle La

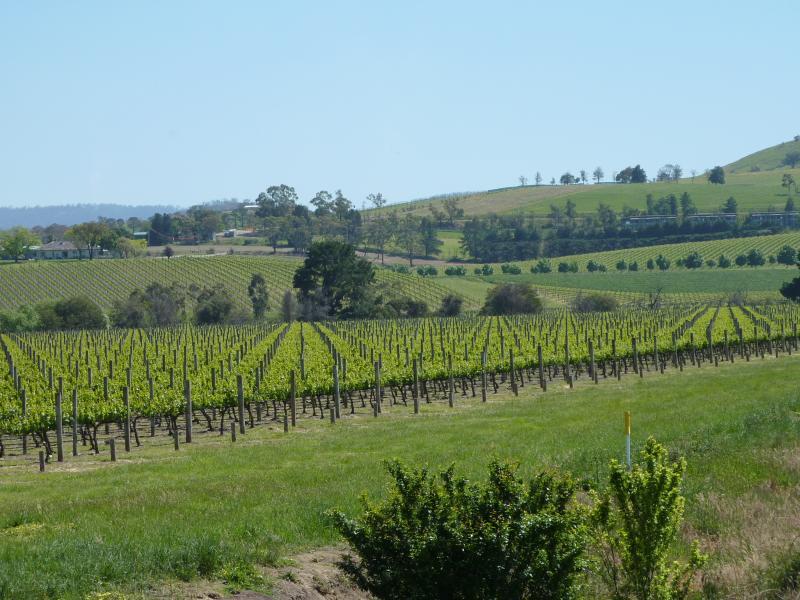
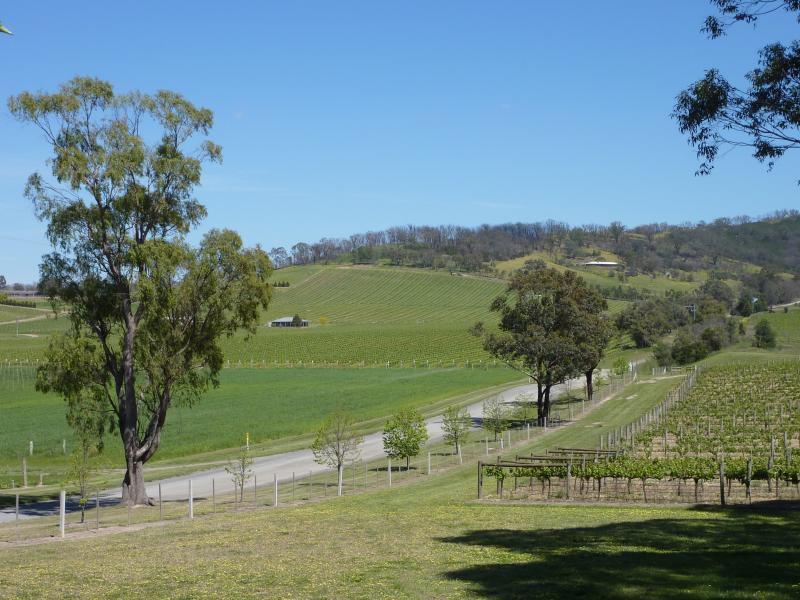
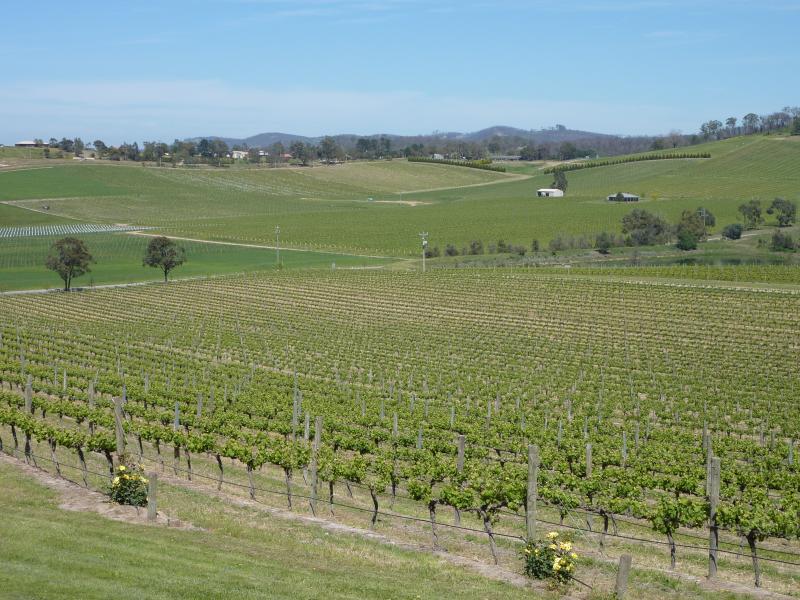
View south-west across vineyard
View west along Pinnacle La at winery entrance
South-westerly view towards Pinnacle La at winery entrance
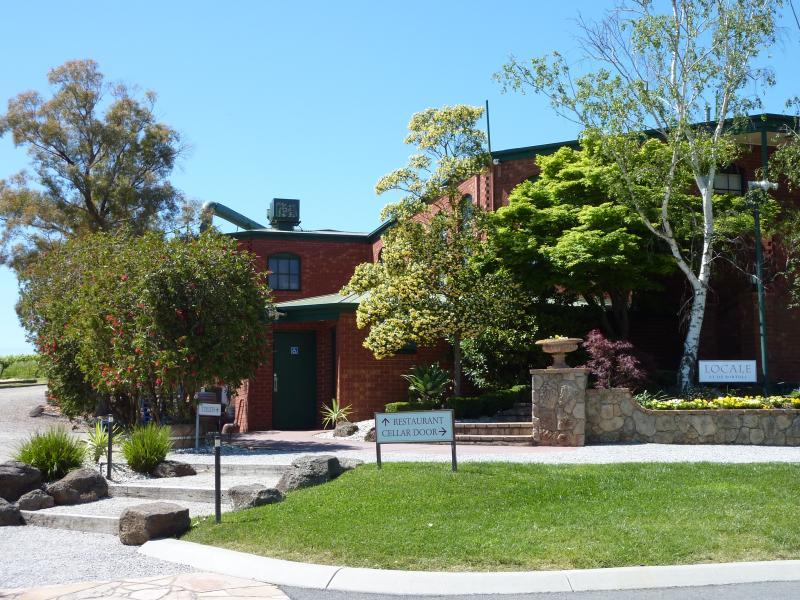
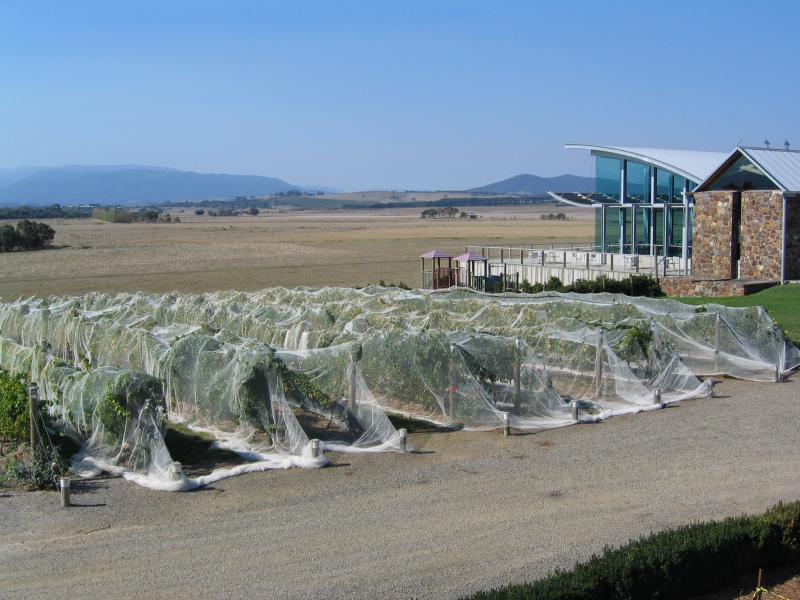
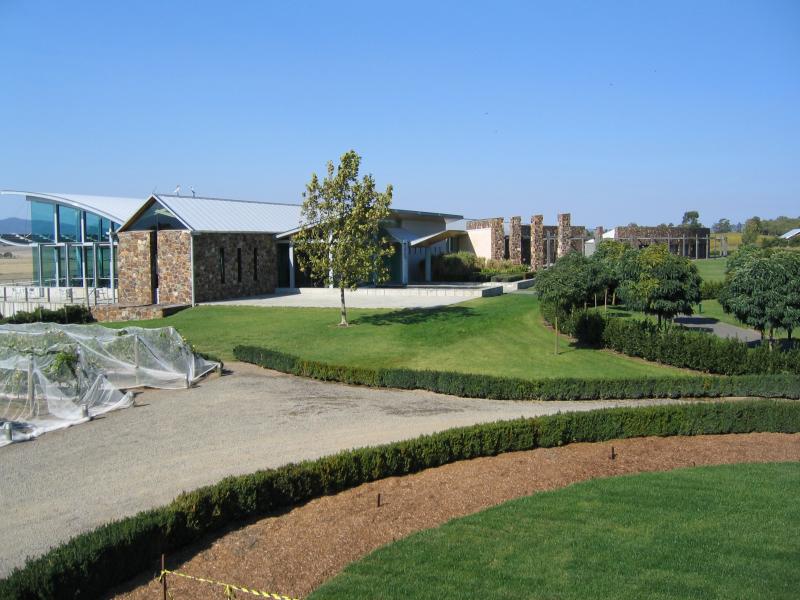
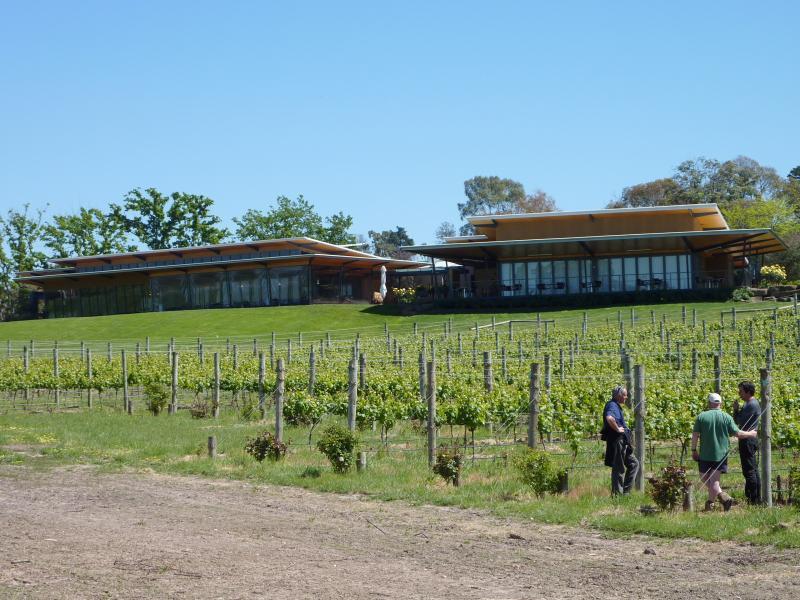
View of restaurant and cellar door from car park
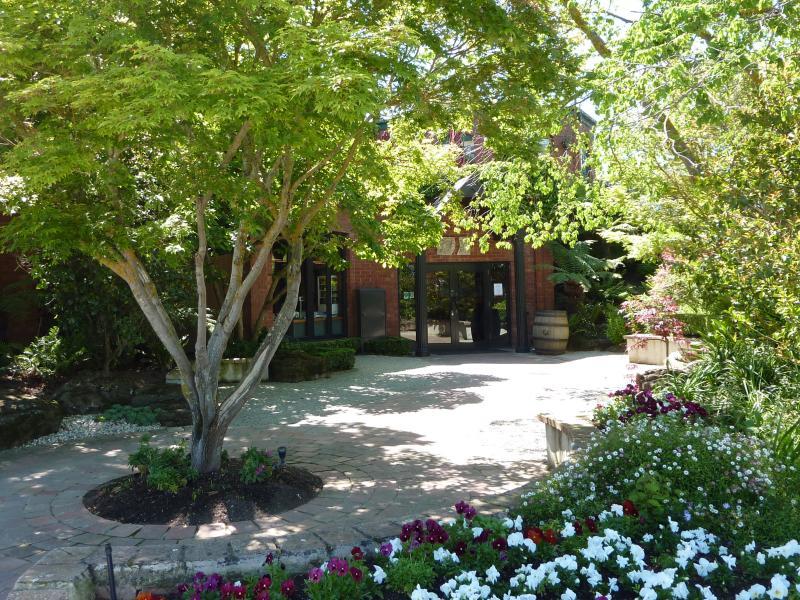
Cellar door entrance
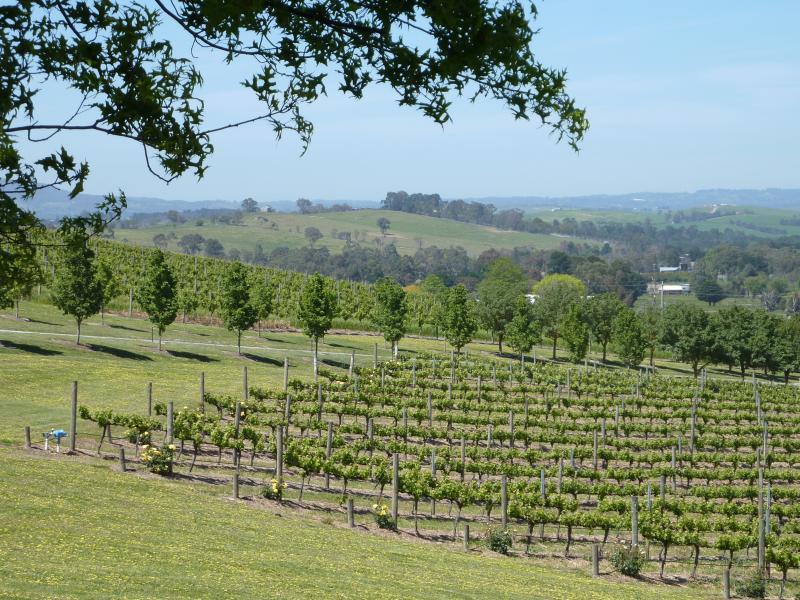
Westerly view from car park towards vineyard
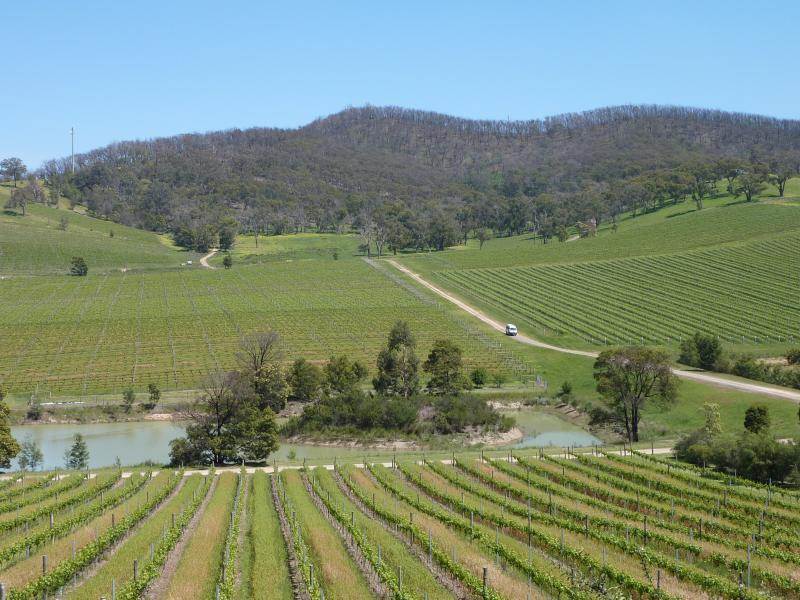
Westerly view across vineyard from car park
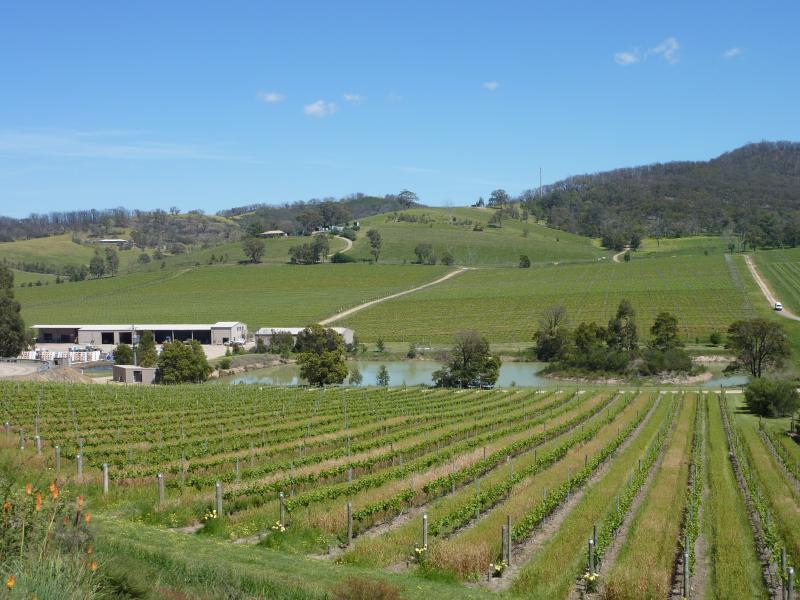
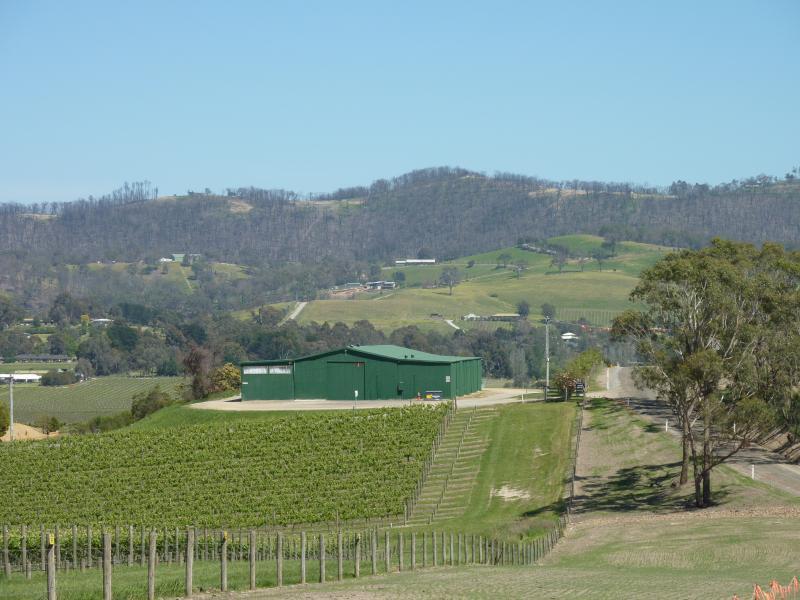
South-westerly view from car park towards vineyard, dam and work sheds
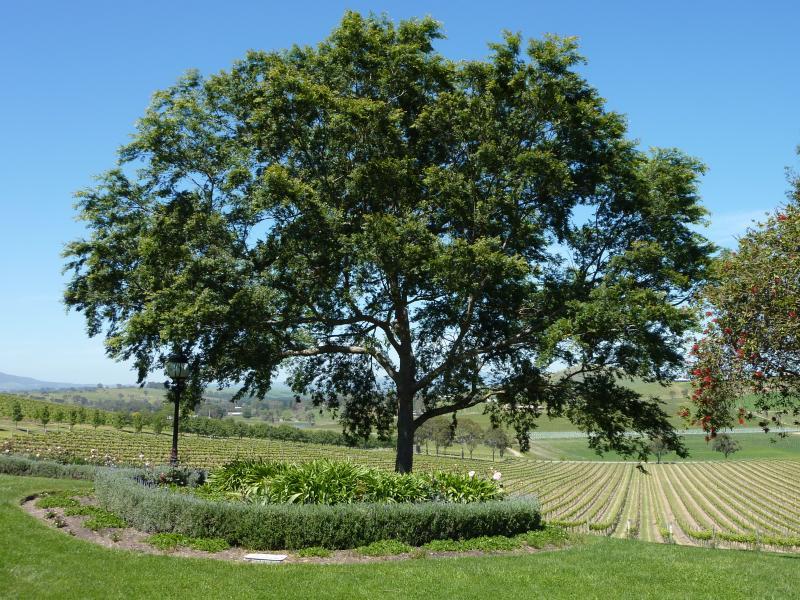
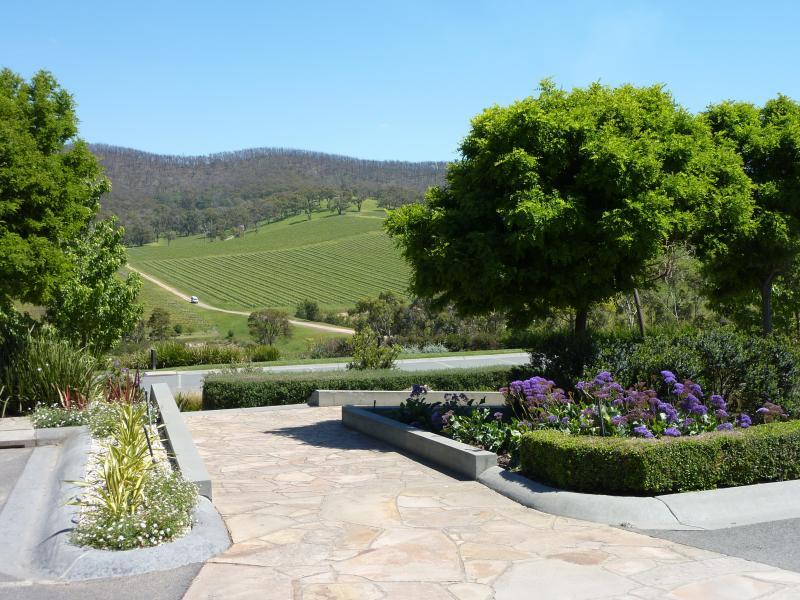
Picnic area overlooking vineyard

Lawns and shelter at picnic area
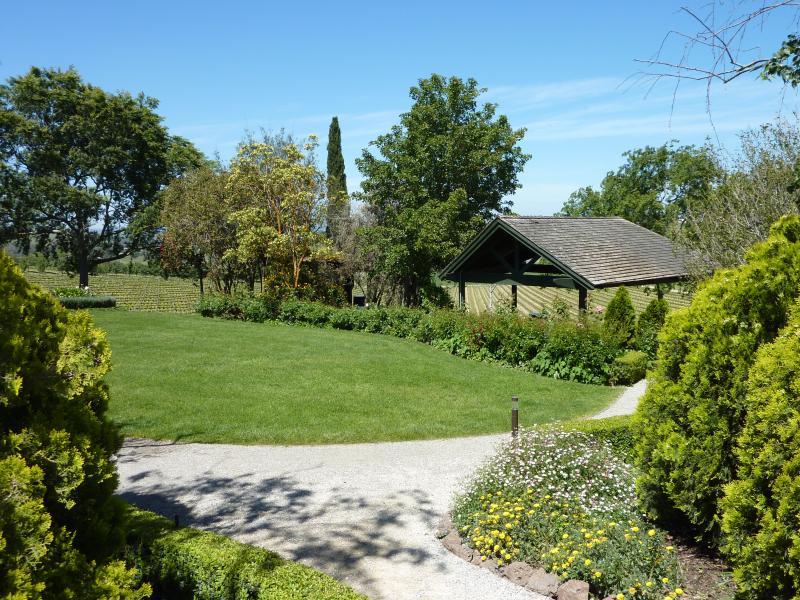
Gardens at picnic area
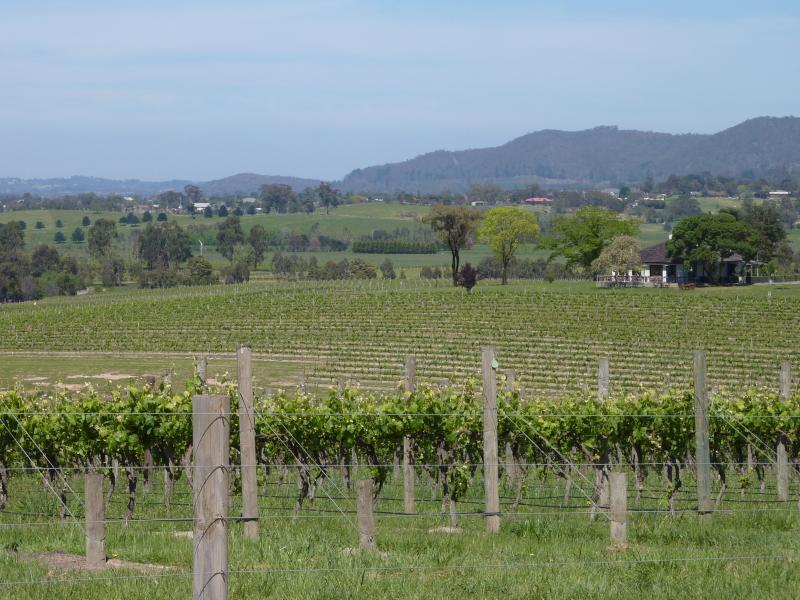
View across vines towards driveway entrance from picnic area
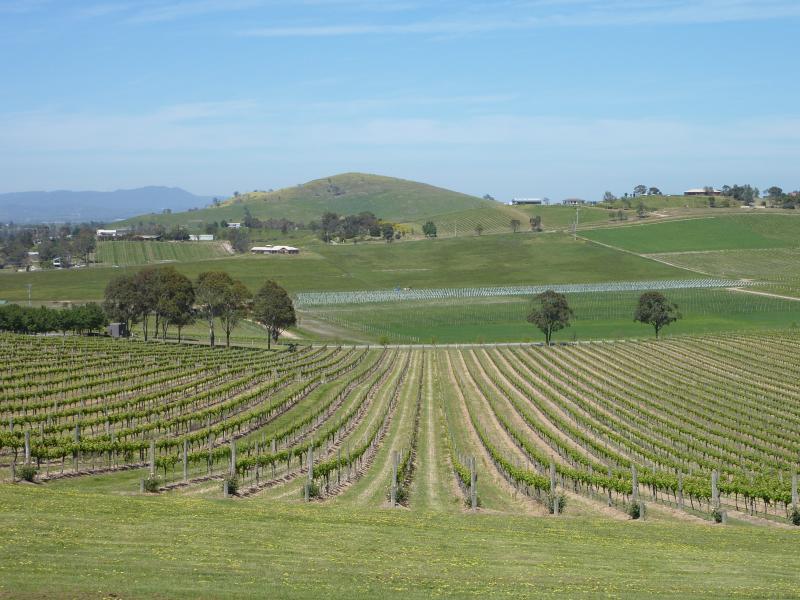
Southerly view across vines from picnic area
South-westerly view across vines from picnic area
Westerly view across vines in front of picnic area
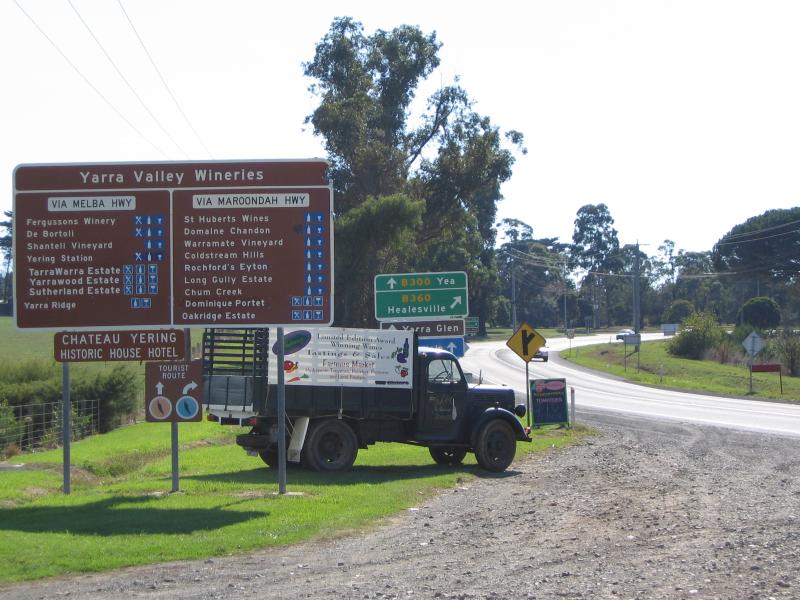
Yarra Valley wineries tourist sign, Maroondah Highway approaching Melba Highway